You’ll create stunning gemstone cluster designs by pairing complementary colors like blue sapphires with orange citrines, balancing larger central stones with smaller surrounding gems, and choosing the right metal base. Master geometric or floral arrangement patterns while considering each stone’s hardness for durability. Create strategic focal points with contrasting colors and textures, maintain 1-2mm spacing for light penetration, and design for your intended occasion. These foundational techniques will reveal the secrets to professional-quality cluster jewelry that captivates.
Choose Complementary Color Combinations for Maximum Impact
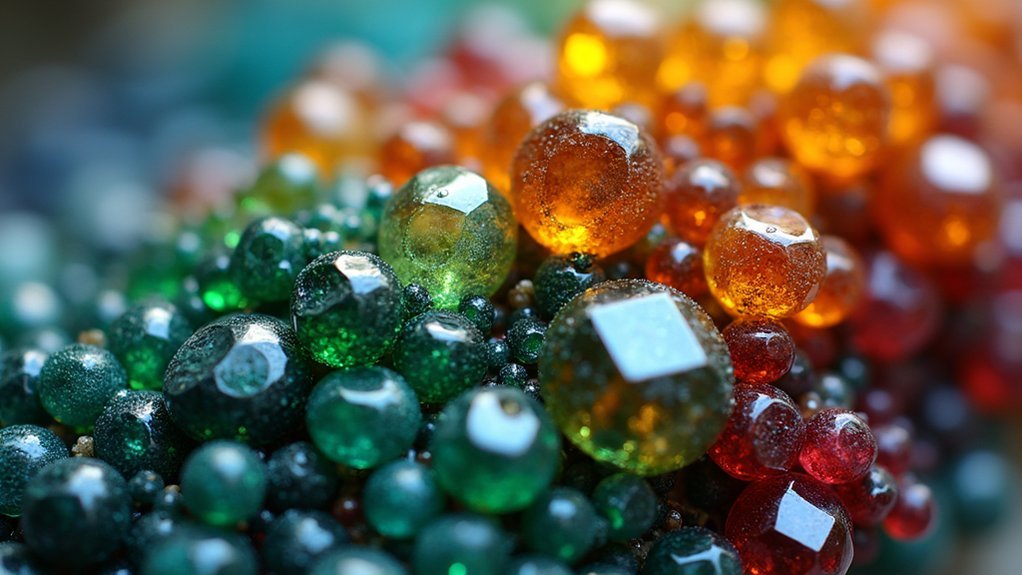
Three fundamental principles guide successful gemstone cluster color selection: contrast, balance, and harmony.
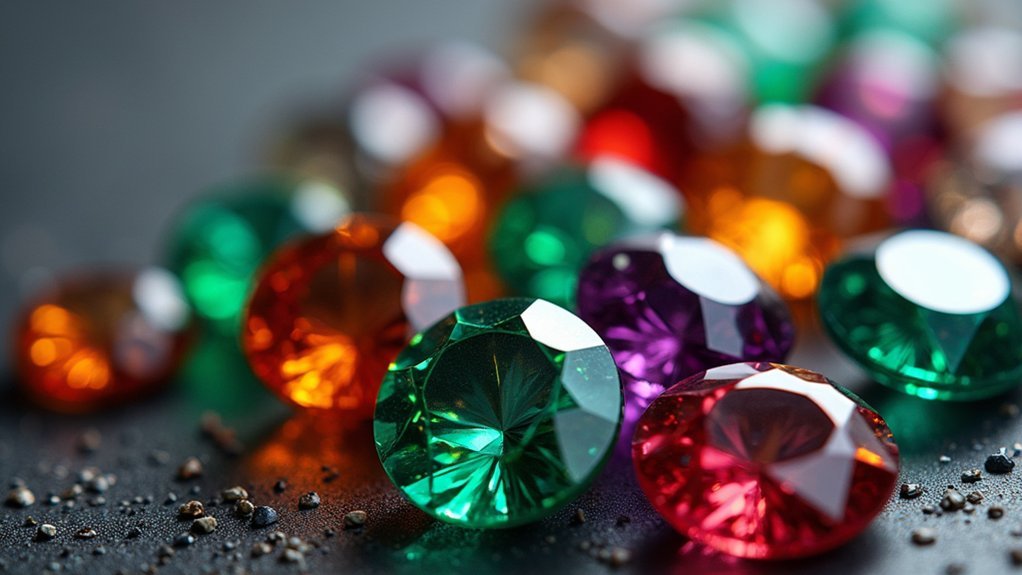
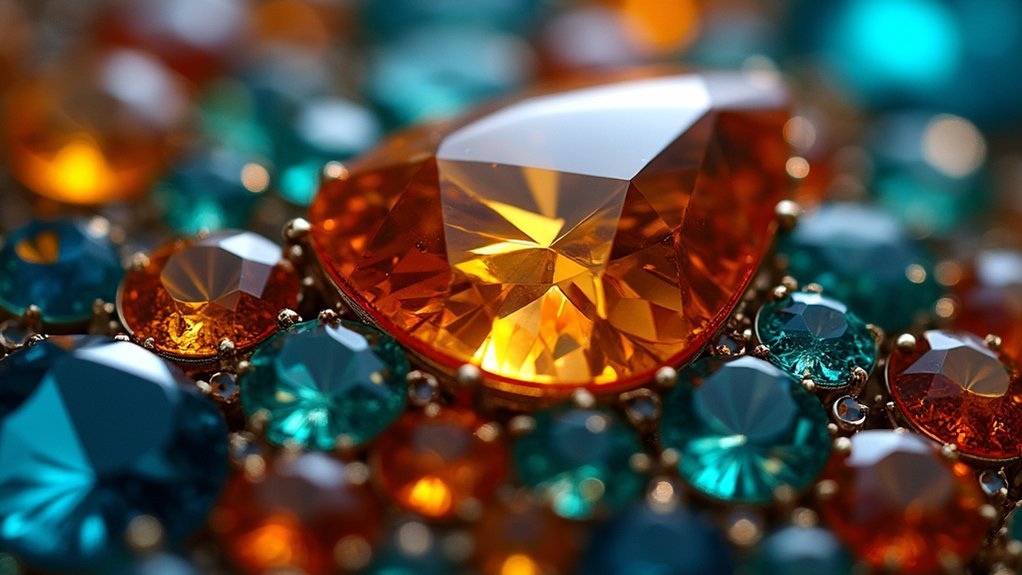
You’ll create stunning visual contrast by pairing complementary colors—blue sapphires with orange citrines or purple amethysts with yellow topazes. Use the color wheel to identify these powerful combinations that make gemstones pop.
Position a dominant central stone in a unique color, then surround it with smaller complementary gems for balanced impact.
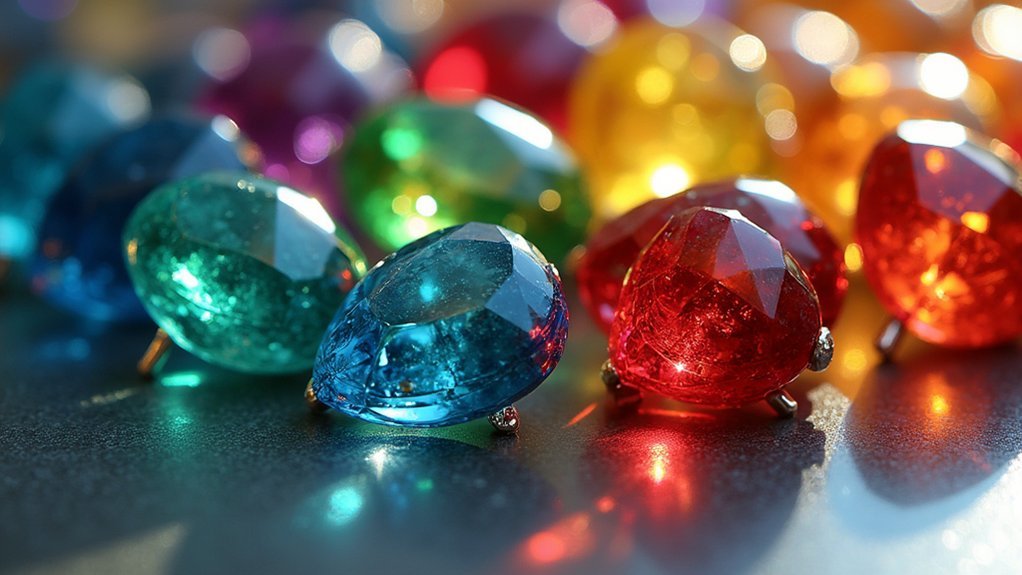
Experiment with monochromatic schemes alongside contrasting accents—blend light pinks with deep reds, then add green emeralds for dramatic effect.
Don’t overlook your metal setting’s role in color combinations.
Yellow gold warms cooler stones, while white gold or platinum enhances colorful gems’ brilliance, amplifying your cluster’s overall impact through strategic contrast and harmony.
Balance Gemstone Sizes for Visual Harmony
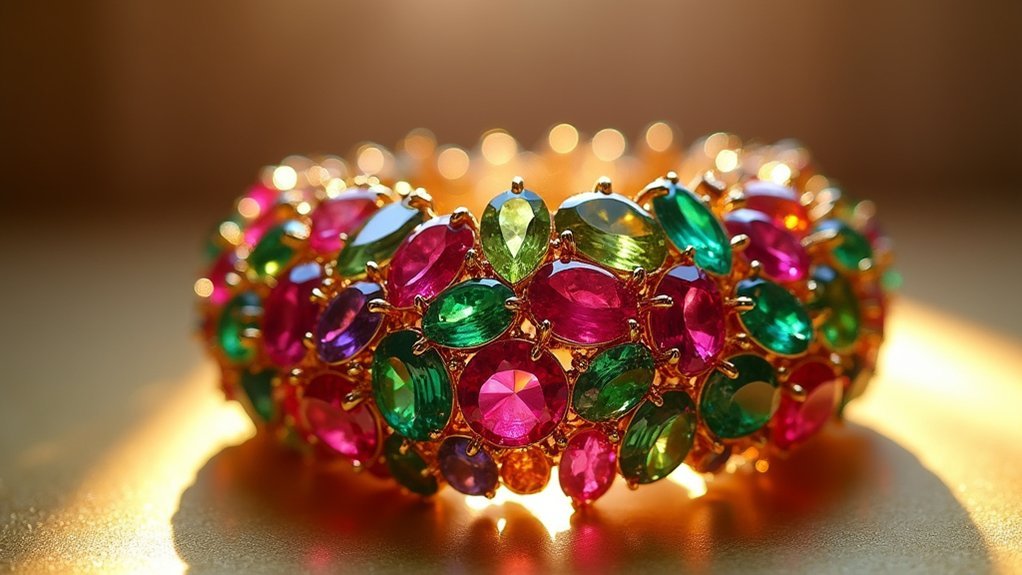
The strategic arrangement of gemstone sizes creates visual flow that draws the eye naturally across your cluster design. You’ll achieve perfect balance by placing a central larger gemstone surrounded by smaller stones, establishing a clear focal point while maintaining visual harmony throughout your piece.
Strategic gemstone size arrangement creates natural visual flow, with larger central stones surrounded by smaller ones for perfect focal balance.
Create graduated size shifts by arranging stones from largest at the bottom to smallest at the top. Keep size differences between adjacent stones to just 1-2mm for subtle yet effective gradation.
When smaller stones are arranged closely together, they can form compelling shapes like flowers or stars that enhance symmetry.
Consider how stone sizes interact with color intensity in your cluster. Larger gemstones can overpower vibrant smaller ones, so balance size distribution carefully to guarantee every stone contributes to your design’s overall impact.
Select the Right Metal Base for Your Design
Four essential metal choices form the foundation of exceptional gemstone cluster designs, each offering distinct advantages that’ll directly impact your piece’s durability, aesthetics, and comfort.
Platinum delivers unmatched durability and scratch resistance, making it perfect for intricate cluster settings with delicate details. Yellow gold provides classic warmth that complements vibrant gemstones, while white gold creates a modern backdrop that enhances diamond brilliance.
Rose gold’s romantic hue has gained popularity in cluster settings, beautifully highlighting colorful stones with its unique appeal.
Consider weight and comfort when selecting your metal – lighter options like silver work well for larger designs, while heavier metals provide substantial feel.
Match your metal choice to your gemstones’ needs, using protective settings for softer stones.
Master Different Cluster Arrangement Patterns
You’ll discover that mastering cluster arrangement patterns requires understanding the fundamental differences between geometric and floral layouts.
Geometric patterns emphasize clean lines and symmetry through triangular or square formations, while floral arrangements mimic nature’s organic beauty with delicate, flower-like designs.
Your stone spacing techniques will determine whether you achieve the modern precision of geometric clusters or the charming, natural flow of floral compositions.
Geometric Vs Floral Layouts
Both styles can be customized with different gemstone types and colors, allowing you to reflect personal taste and style preferences throughout your
overall design approach.
Stone Spacing Techniques
While selecting the right gemstones sets the foundation for your cluster design, mastering proper spacing techniques will determine whether your piece achieves professional-level brilliance or falls flat.
You’ll want to guarantee smaller stones are arranged to maximize light exposure, creating maximum sparkle throughout your design.
Consider micro-spacing techniques where stones sit less than 1mm apart. This creates a seamless surface that enhances brilliance and produces the illusion of one larger, continuous gem.
For vintage-inspired pieces, maintain symmetrical spacing around your dominant center stone to highlight the cluster’s elegance.
Whether you’re working with geometric patterns requiring precise alignment or floral arrangements mimicking natural petal placement, proper spacing transforms ordinary stones into extraordinary designs that capture and reflect light beautifully.
Consider Gemstone Hardness for Durability
You’ll need to understand gemstone hardness ratings on the Mohs scale to create cluster designs that won’t deteriorate over time.
When you’re mixing softer stones like opals or pearls with harder diamonds and sapphires, you’re setting yourself up for potential damage and uneven wear.
That’s why selecting protective setting combinations becomes essential for maintaining your cluster’s long-term beauty and structural integrity.
Mohs Scale Selection Guide
When designing gemstone clusters, understanding the Mohs hardness scale becomes crucial for creating durable jewelry that’ll withstand daily wear. This scale rates gemstones from 1-10, guiding your setting choices based on each stone’s durability.
| Hardness Level | Recommended Settings |
|---|---|
| 1-4 (Soft) | Bezel, flush mount |
| 5-6 (Medium-soft) | Protective bezels |
| 7-8 (Medium-hard) | Prong, cluster |
| 9 (Hard) | Any setting style |
| 10 (Diamond) | All designs possible |
You’ll want to match gemstones with similar hardness ratings in your cluster designs. This prevents softer stones from chipping against harder ones during wear. Sapphires and rubies work beautifully together, while opals need careful pairing with stones of comparable hardness. Smart mohs scale selection guarantees your clusters maintain their stunning appearance for years.
Protective Setting Combinations
Since softer gemstones face greater vulnerability to damage in cluster designs, strategic setting combinations become your primary defense against chips and scratches.
You’ll want to pair delicate stones like opals with flush or bar settings that minimize exposure during daily wear. For your cluster ring, position softer gems in less exposed areas based on the Mohs hardness scale arrangement of stones.
Choose bezel settings for vulnerable gemstones, as the protective setting creates a metal rim that shields them effectively.
Balance your design by incorporating durable gemstones like diamonds or sapphires in high-impact positions. The metal used should be platinum or high-karat gold for superior strength.
Clean gently with a soft brush to maintain these protective combinations without compromising your carefully planned gemstone placements.
Plan Your Setting Technique Before Assembly
Before diving into the assembly process, you must first determine which setting technique will best showcase your gemstones and achieve your desired aesthetic. Whether you’re choosing floral, geometric, or halo settings, each approach dramatically affects your final result.
Consider your gemstones’ size and shape carefully to guarantee they’ll fit harmoniously within your chosen framework, allowing for effective spacing and visual balance throughout.
Thoughtful consideration of gemstone dimensions ensures seamless integration and maintains the visual harmony essential for professional-quality results.
Use graph paper to sketch your design layout before starting. This planning step helps you arrange stones strategically and maintain symmetry during assembly.
Don’t overlook your adhesive selection either—medical silicone or liquid bandage each offers different benefits for the assembly process and long-term durability.
Finally, factor in adequate curing time to guarantee your cluster maintains its integrity and brilliance once completed.
Create Focal Points With Strategic Stone Placement
Your careful planning now leads to the most visually impactful aspect of cluster design: establishing compelling focal points through deliberate stone placement.
Position your largest gemstone at the center to create focal points that immediately draw attention and maximize visual impact. Surround this central stone with contrasting colors and textures among smaller stones, creating vibrant displays that highlight your main gem.
Consider asymmetrical arrangements for modern appeal, where strategic placement guides the eye toward your focal point while maintaining balance.
Vary the sizes of smaller stones around your central piece to build depth and dimension.
Don’t forget to incorporate negative space between stones—these gaps accentuate your focal point and prevent your gemstone cluster from appearing cluttered, ensuring your design feels dynamic and engaging.
Ensure Proper Spacing Between Gemstones
Three critical millimeters can make the difference between a cluttered mess and a brilliantly sparkling cluster. Proper spacing between gemstones is fundamental to maximizing your cluster design’s brilliance and visual impact.
You’ll want to maintain at least 1-2 millimeters between each stone, allowing light to penetrate and reflect effectively.
When arranging your gemstones, consider their individual sizes and shapes. Larger stones need more breathing room to prevent overshadowing smaller companions. Use graph paper to visualize and maintain consistent spacing throughout your design process.
Beyond aesthetics, adequate spacing simplifies maintenance considerably. You’ll find cleaning much easier when dirt and grime can’t accumulate in cramped spaces between stones, keeping your cluster’s sparkle intact longer.
Account for Light Reflection and Brilliance
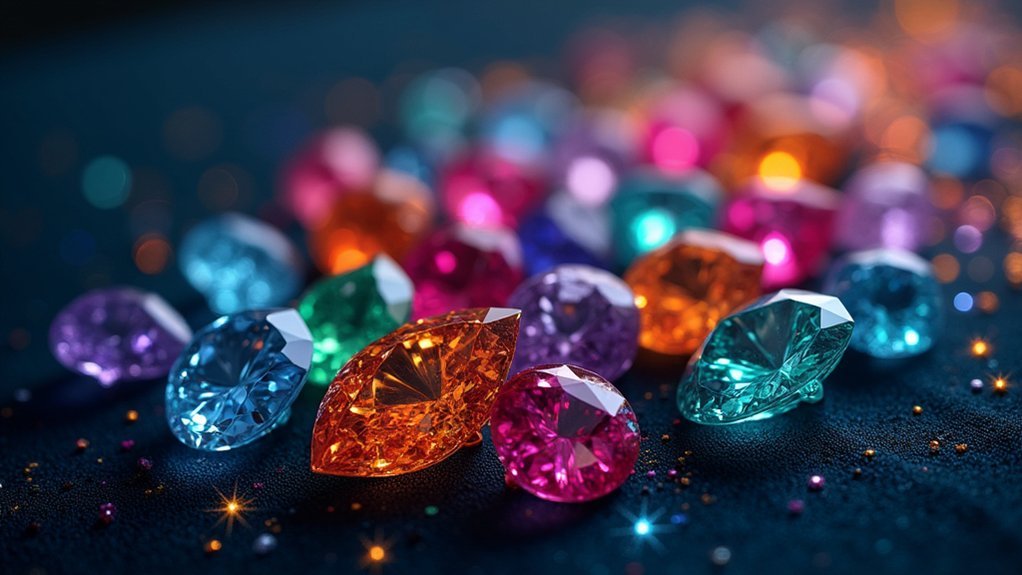
When light dances through your gemstone cluster, the arrangement determines whether you’ll achieve breathtaking brilliance or disappointing dullness. Maximize light reflection by positioning stones at ideal angles that enhance their natural sparkle.
Mix different gemstone cuts like round and princess to create dynamic light interaction, as each cut responds uniquely to illumination. Choose the right cluster density—too crowded blocks light, while proper spacing lets every stone shine.
Strategic mixing of round and princess cuts creates captivating light play while proper spacing ensures each gemstone achieves maximum brilliance.
Incorporate transparent or semi-transparent stones to amplify visual impact by allowing light to pass through and reflect between adjacent gems.
Consider a halo setting around your central stone, where surrounding smaller gems reflect light back onto the focal piece, creating an incredibly dazzling effect that elevates your entire design’s brilliance.
Design for Your Intended Wear Occasion
When you’re designing gemstone clusters, you’ll need to match your piece to where and when you’ll wear it.
Your daily jewelry requires different considerations than statement pieces for galas or subtle designs for professional environments.
Each occasion demands specific choices in gemstone size, setting complexity, and overall visual impact to guarantee your cluster complements rather than competes with your intended setting.
Daily Wear Considerations
Since daily wear jewelry endures constant movement and potential impacts, you’ll want to prioritize durability when designing your gemstone clusters.
Choose secure settings like bezel or flush mounts that protect your stones from damage during regular activities.
Opt for smaller stones in lightweight designs that feel comfortable throughout the day and won’t catch on clothing.
Select durable, low-maintenance gemstones such as diamonds or sapphires that resist scratching and need less frequent cleaning.
Create versatile color combinations that complement various outfits, ensuring your cluster piece works across different occasions.
Focus on designs that blend seamlessly with casual attire, adding an elegant touch without overwhelming your look.
This approach guarantees your gemstone cluster becomes a reliable, stylish companion for everyday wear.
Special Event Styling
Special events demand a completely different approach to gemstone cluster design than your everyday pieces. You’ll want to elevate your style with luxurious options like a diamond cluster ring for galas or weddings that truly make a statement.
| Event Type | Recommended Style |
|---|---|
| Formal/Evening | Diamond clusters, luxurious designs |
| Daytime/Casual | Minimalist floral, asymmetrical pieces |
| Themed Events | Colored gemstones matching event palette |
Consider your metal type carefully—rose gold adds romantic elegance for evening events, while white gold provides sleek modernity for formal settings. Layering cluster jewelry creates dynamic visual impact for any special occasion. Stack rings or pair cluster earrings with bracelets to achieve a cohesive, stylish look that complements your outfit’s color palette perfectly.
Professional Setting Appropriateness
Professional workplaces require a delicate balance between personal style and appropriate restraint when selecting gemstone clusters.
You’ll want to choose a cluster setting that’s sophisticated yet understated for office environments. Opt for smaller stones and more durable settings suitable for everyday wear, as you’ll be typing, writing, and handling documents throughout the day.
While a floral cluster design might feel too feminine for conservative offices, geometric patterns offer professional appeal. Avoid the halo cluster design’s dramatic sparkle, which can appear excessive in business settings.
Focus on the color and type of gemstones carefully—neutral tones like sapphires, pearls, or diamonds work best. Though you’re aiming for professionalism, you can still achieve a luxurious look through quality materials and refined craftsmanship.
Frequently Asked Questions
How Much Should I Budget for a Custom Gemstone Cluster Design?
You’ll typically spend $500-$5,000 depending on gemstone quality, metal choice, and complexity. Set aside 20% extra for unexpected costs. Research designers’ portfolios and get detailed quotes before committing to your budget.
Can I Mix Genuine and Synthetic Gemstones in the Same Cluster?
You can definitely mix genuine and synthetic gemstones in cluster designs. They’ll create beautiful combinations while helping you stay within budget. Just guarantee you’re transparent about which stones are synthetic when selling.
What Tools Do I Need to Create Gemstone Clusters at Home?
You’ll need jewelry pliers, wire cutters, head pins or eye pins, jump rings, and strong adhesive. Don’t forget a jewelry mat, tweezers for handling small stones, and good lighting to see details clearly.
How Do I Prevent Gemstones From Falling Out Over Time?
You’ll secure stones permanently by using high-quality epoxy adhesive, ensuring surfaces are completely clean before bonding, applying adequate curing time, and avoiding excessive moisture or temperature fluctuations that weaken adhesive bonds.
Where Can I Source High-Quality Gemstones for Cluster Designs?
You’ll find quality gemstones at reputable gem dealers, mineral shows, online suppliers like Rio Grande, and specialty lapidary shops. Don’t overlook estate sales and auctions for unique stones perfect for clustering.
In Summary
You’ll create stunning gemstone clusters by applying these fundamental design principles. Don’t rush the planning process—take time to visualize your color combinations and arrangement patterns before setting stones. Remember that successful cluster designs balance technical considerations like hardness and spacing with artistic elements like focal points and light play. Practice these techniques consistently, and you’ll develop the intuition needed to craft truly enchanting pieces that showcase each gemstone’s unique beauty.


Leave a Reply