You’ll create stunning wire chains by selecting 18-gauge wire for structure and 24-gauge for binding, mastering consistent loops with round-nose pliers, and varying link sizes for visual interest. Balance warm and cool metal tones, secure connections with proper wrapping techniques, and plan appropriate lengths for different necklines. Add texture through mixing wire finishes, maintain even spacing between components, and file all edges smooth to prevent snagging. These foundational techniques will elevate your designs to professional quality.
Choose the Right Wire Gauge for Your Design

When selecting wire for your chain designs, understanding wire gauge becomes essential since this measurement directly impacts both the structural integrity and aesthetic appeal of your finished piece.
Lower numbers like 18 gauge indicate thicker wire, perfect for creating frames and main structural components in sterling silver projects. You’ll find this thickness provides excellent durability and support.
For intricate details, choose 24 gauge wire since it’s more pliable when wrapping it around connection points. This flexibility makes binding and detailed work much easier.
When working with delicate elements requiring smaller holes, consider 26 or 28 gauge options.
Don’t forget wire hardness affects your design too. Dead soft wire bends easily for complex shapes, while half-hard wire offers better structural support.
Master Basic Loop and Spiral Techniques
You’ll need to master perfect loop formation as your foundation for creating professional-looking wire chain designs.
Start by practicing consistent loop sizes using round nose pliers, focusing on clean bends and secure closures that won’t compromise your connections.
Once you’ve perfected your loops, you can advance to spiral control techniques that’ll add elegant curves and visual flow to your wire jewelry pieces.
Perfect Loop Formation
Creating flawless loops forms the foundation of professional-looking wire jewelry, and mastering this technique will elevate your chain designs from amateur to artisan quality.
Wire wrapped connections require precise loop formation to achieve clean, secure joints that would look seamless throughout your design.
Start by cutting a 2-3 inch wire piece, giving yourself adequate material for wrapping and securing. Grasp the wire with round nose pliers about a quarter inch from the end, positioning it carefully.
Roll the wire around the pliers smoothly, avoiding kinks that’ll weaken your loop’s structure. Practice using the same plier section consistently—this guarantees uniform loop sizes on either side of your chain links, creating professional symmetry that distinguishes quality craftsmanship from hurried attempts.
Spiral Control Techniques
Spiral formations demand even greater precision than basic loops, requiring you to maintain consistent tension while guiding wire through controlled curves.
To create open spirals, gently bend your wire into circular shapes while maintaining consistent width. Use a mandrel or round object as your guide for uniformity across multiple pieces.
Control spiral size by adjusting tension and angle as you wrap wire around itself. This technique allows you to create both tight, compact spirals and loose, flowing designs within the same project.
Utilize rulers or calipers to measure spiral diameters, ensuring consistency throughout your chain design.
Experiment with different wire gauges to achieve varied effects. Thicker wires produce bold, statement spirals, while thinner gauges enable delicate, intricate formations that add subtle elegance to your stylish chain designs.
Create Visual Interest With Varying Chain Link Sizes

When you incorporate different chain link sizes into a single design, you’ll immediately notice how the varying proportions create natural focal points that draw the eye along the piece.
Large links command attention while smaller ones provide supporting texture, establishing visual hierarchy that keeps viewers engaged. You’ll find that mixing sizes enhances movement, allowing your chain to drape more elegantly around the wearer’s body.
Varying link sizes creates visual hierarchy that guides the eye while enhancing drape and movement for more elegant jewelry designs.
Try pairing large oval links with smaller round ones to add contrast and depth. This combination also improves weight distribution, ensuring comfortable wear without sacrificing style.
Don’t hesitate to experiment with asymmetrical arrangements—placing different-sized links irregularly creates trendy, unique pieces that’ll stand out in any jewelry collection while maintaining sophisticated appeal.
Balance Color Combinations for Maximum Impact
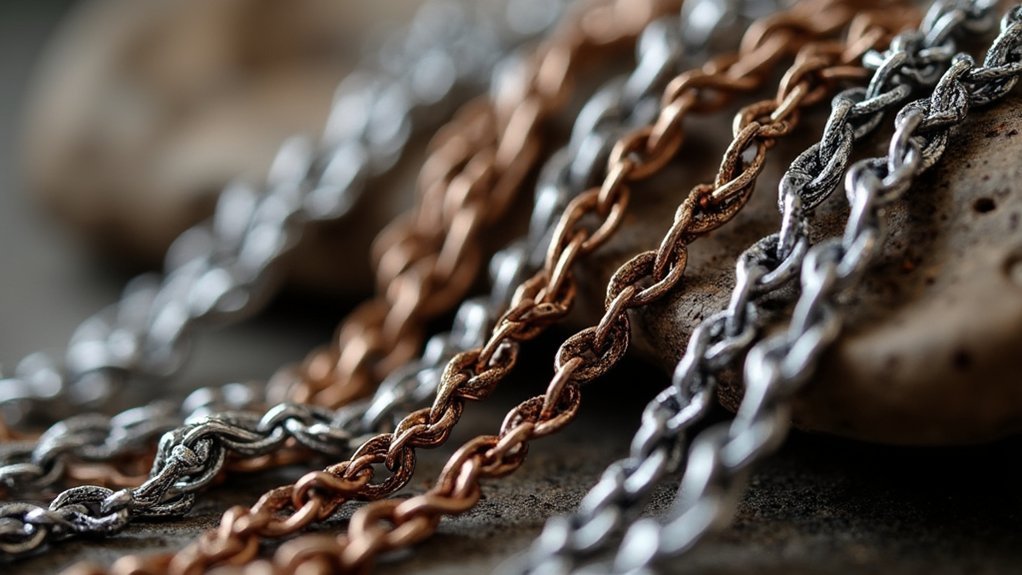
You’ll achieve stunning visual impact by thoughtfully pairing complementary metal wires that create natural contrast in your chain designs.
Consider how warm-toned wires like copper or gold become more vibrant when paired with cool silver or gunmetal, while your gemstone accent colors should either harmonize with or boldly contrast against your chosen metal palette.
The key lies in selecting accent stones that enhance your wire combinations without overwhelming the overall composition.
Complementary Metal Wire Pairings
Mastering the art of complementary metal wire pairings transforms ordinary wire chains into stunning statement pieces that captivate the eye.
You’ll create striking visual contrast by combining sterling silver with gold-filled wire, elevating your design’s overall aesthetic impact.
Strategic metal pairings enhance your wire chains through these key approaches:
- Contrast finishes – Mix matte and shiny wires together to highlight textures and create eye-catching details that draw attention to your craftsmanship.
- Vary wire gauges – Use 20 gauge for structural elements and 26 gauge for delicate wrapping to achieve visual balance while maintaining stability.
- Incorporate colored metals – Blend copper or brass with neutral tones to add depth and dimension without overwhelming your focal points.
These combinations guarantee your wire chains stand out with sophisticated elegance.
Gemstone Accent Color Selection
Since gemstone accent colors can make or break your wire chain design, selecting the right combinations requires strategic thinking about how hues interact with your metal framework.
You’ll want to use the color wheel to identify complementary hues that create striking contrast or analogous colors for subtle harmony.
Consider the psychological impact of your choices—blue and green gemstones bring calming energy, while red and orange add warmth and vibrancy.
Don’t overlook neutral tones like clear quartz or white pearls, which balance bolder colors and create sophisticated backdrops.
Experiment with varying gemstone sizes and shapes to add depth and visual interest.
This approach guarantees your color combinations maintain proper balance while creating dynamic, eye-catching wire chain designs.
Secure Connection Points With Proper Binding Methods

When creating durable wire chain jewelry, establishing rock-solid connection points requires precise binding techniques that’ll withstand daily wear. You’ll need 24 gauge wire for best results, as its thickness provides secure wraps without creating unwanted bulk in your design.
Follow these essential binding steps:
- Prepare your wire – Cut 1.25-inch lengths and bend them into U-shapes for easier handling during assembly.
- Secure the connection – Wrap wire around crossing points at least two times over the front, maintaining consistent tension throughout.
- Finish cleanly – Trim all excess wire ends after completing multiple connection points to prevent snagging.
Consistent tension prevents loose connections that compromise both structural integrity and visual appeal.
Proper binding guarantees your wire chain jewelry maintains its professional appearance while surviving everyday handling.
Incorporate Decorative Elements at Strategic Intervals
Three key placement strategies transform basic wire chains into stunning statement pieces through thoughtful decorative element integration.
Start with a center-focused approach, positioning larger beads or gemstones at your chain’s midpoint while scaling down to smaller accents toward the ends. This creates natural balance and visual harmony.
Next, experiment with contrasting colors and textures to add depth and dimension. Bold color differences or varying surface finishes make your decorative elements pop against the wire framework.
Finally, develop your unique rhythm through strategic spacing experiments. Don’t settle for uniform intervals—test different patterns until you find what complements your overall design.
Remember to secure each element with appropriate wire gauge wrapping, preventing shifting or loss during wear while maintaining your chain’s structural integrity.
Plan Your Chain Length and Proportions

You’ll need to master standard necklace length guidelines to create chains that fit properly and look proportional on different body types.
Balance your wire gauge ratios carefully—thicker wires work best for shorter chains while thinner gauges suit longer designs.
Measure neck placement accurately by having the wearer try on similar-length pieces or use a flexible measuring tape to determine their preferred positioning.
Standard Necklace Length Guidelines
Although personal style preferences vary widely, understanding standard necklace length guidelines will help you create wire chain designs that flatter different body types and complement various necklines.
Here are the essential length categories you’ll want to take into account:
- Choker to Princess (14-20 inches): Perfect for layering and everyday wear, with chokers sitting snugly at 14-16 inches and princess lengths falling gracefully at 18-20 inches.
- Matinee (20-24 inches): Creates dramatic impact while resting comfortably on or below the collarbone, ideal for statement pieces.
- Opera (28-36 inches): Offers maximum versatility for single-strand elegance or doubled layering effects.
Remember that neckline compatibility matters—pair longer chains with lower necklines and shorter styles with higher cuts.
Take pendant weight too into account, as heavier elements require shorter chains for stability and comfort.
Balancing Wire Gauge Ratios
Once you’ve determined your ideal chain length, the wire gauge ratios become your blueprint for structural integrity and visual appeal.
You’ll want to use 18 gauge wire for your main structural components like the chain itself, while 24 gauge works perfectly for binding and decorative wraps. This combination creates balance without overwhelming your design.
Maintain harmonious proportions by establishing a ratio where thicker wire handles the heavy lifting and thinner wire adds refinement.
When crafting swirls or loops, keep consistent proportions by using similar wire lengths for each element. Experiment with varying component lengths between 1.5 to 2.5 inches to create dynamic visual flow.
This approach guarantees your wire chain maintains both strength and elegance throughout the entire piece.
Measuring Neck Placement Accurately
How do you guarantee your handcrafted wire chain sits perfectly against your neckline? Start by measuring around your neck with a soft measuring tape or string, allowing comfortable movement without tightness. This foundation measurement determines your ideal chain length.
Consider these essential length guidelines:
- 16 inches – Perfect for choker styles that sit snugly at the base of your neck.
- 18 inches – Princess length that works beautifully with most necklines and pendants.
- 24 inches – Matinee style that creates elegant draping for longer torsos.
Match your chain length to your body type—longer chains complement taller frames, while shorter lengths enhance petite builds.
Don’t forget to factor in pendant size; larger focal pieces need proportional chain lengths to maintain visual balance.
Use Texture Variation to Add Depth

When you combine different wire gauges in your chain designs, you’ll immediately notice how the contrast between thick and thin elements creates visual intrigue that draws the eye.
Pair 18 gauge wire for structural foundation with delicate 24 gauge sections for intricate details. Experiment with wire hardness by mixing dead soft wire’s flexibility with half-hard wire’s durability to enhance your design’s tactile experience.
Introduce twisted or braided components that catch light uniquely, adding dimensional depth to your piece.
Create contrasting surfaces by combining smooth wire sections with hammered finishes for enhanced visual appeal. You can further accentuate textural differences by incorporating decorative elements like beads or gemstones in varying shapes and sizes throughout your chain design.
Maintain Consistent Spacing Between Links
Achieving professional-looking wire chains requires meticulous attention to the spacing between each link, as even minor inconsistencies can disrupt the piece’s visual flow and diminish its overall impact.
You’ll want to establish uniform gaps that complement your design style, typically ranging from 1/4 inch to 1/2 inch.
To maintain precise spacing throughout your project:
- Use measuring tools consistently – Keep a ruler or caliper handy to verify distances as you position each link during assembly.
- Create templates or jigs – Fashion guides from cardstock or plastic, or use adjustable wire-wrapping jigs to maintain consistent spacing and angles.
- Check progress regularly – Visually inspect your work and measure periodically to catch inconsistencies early before they compound throughout the design.
Finish Edges Smoothly to Prevent Snagging
Since rough or jagged wire ends can quickly transform an elegant chain into a hazardous accessory, you’ll need to prioritize smooth edge finishing throughout your construction process. Always use wire cutters designed for jewelry making to achieve clean cuts without jagged edges that snag clothing or skin.
| Tool | Purpose | Technique |
|---|---|---|
| Wire Cutters | Clean initial cuts | Position perpendicular to wire |
| File/Sanding Tool | Smooth cut ends | Gentle circular motions |
| Round Nose Pliers | Bend sharp ends | Curve inward or downward |
| Inspection Loop | Check for protrusions | Regular quality assessment |
After cutting, file each end smooth and use round nose pliers to bend sharp points inward. Wrap all wire ends securely, tucking them safely inside your design. Regularly inspect your finished chain, gently pressing or trimming any protruding ends to maintain professional quality.
Frequently Asked Questions
What Tools Are Essential for Beginners Starting Wire Chain Jewelry Making?
You’ll need round-nose pliers, flat-nose pliers, and wire cutters as your foundation. Add a ruler, file, and hammer for precision work. Don’t forget quality wire in various gauges to practice different techniques effectively.
How Do I Prevent Wire From Tarnishing After Completing My Chain Design?
You’ll prevent tarnishing by storing your wire chains in airtight containers with anti-tarnish strips. Apply clear protective coating or wax before storage. Keep jewelry away from moisture, perfumes, and chemicals that accelerate oxidation processes.
Can I Repair a Broken Link Without Redoing the Entire Chain?
You can definitely repair a broken link without starting over. Simply open the damaged link with pliers, remove it, and attach a new jump ring or wire loop to reconnect the chain segments securely.
What’s the Best Way to Store Finished Wire Chains to Prevent Tangling?
You’ll prevent tangling by hanging chains individually on hooks or laying them flat in compartmented jewelry boxes. Don’t coil tightly – instead, drape loosely or store in separate pouches with tissue paper.
How Do I Price Handmade Wire Chain Jewelry for Selling Online?
Calculate your material costs, add labor time at your desired hourly rate, then include overhead expenses. Research competitors’ prices for similar pieces. Don’t undervalue your craftsmanship—you’re selling unique, handmade artistry that deserves fair compensation.
In Summary
You’ve learned the essential techniques for crafting beautiful wire chain designs. Remember that practice makes perfect—don’t get discouraged if your first attempts aren’t flawless. Experiment with different gauges, textures, and color combinations to develop your unique style. Take time to plan each piece carefully, ensuring secure connections and smooth finishes. With patience and attention to detail, you’ll create stunning wire chains that showcase your growing metalworking skills.


Leave a Reply