
You’ll create metal jewelry using cuttlebone, the porous calcium carbonate skeleton of a cuttlefish, as a natural mold. First, you’ll cut the bone lengthwise, sand the surfaces flat, and press your master model into one half to create an impression. After adding sprue channels and binding the halves together, you’ll pour molten metal into the cavity. The bone’s unique texture transfers to your finished piece, creating organic patterns you can’t achieve with traditional casting methods. Master these fundamentals and you’ll reveal advanced techniques for creating stunning textured jewelry.
Understanding Cuttlebone as a Casting Material
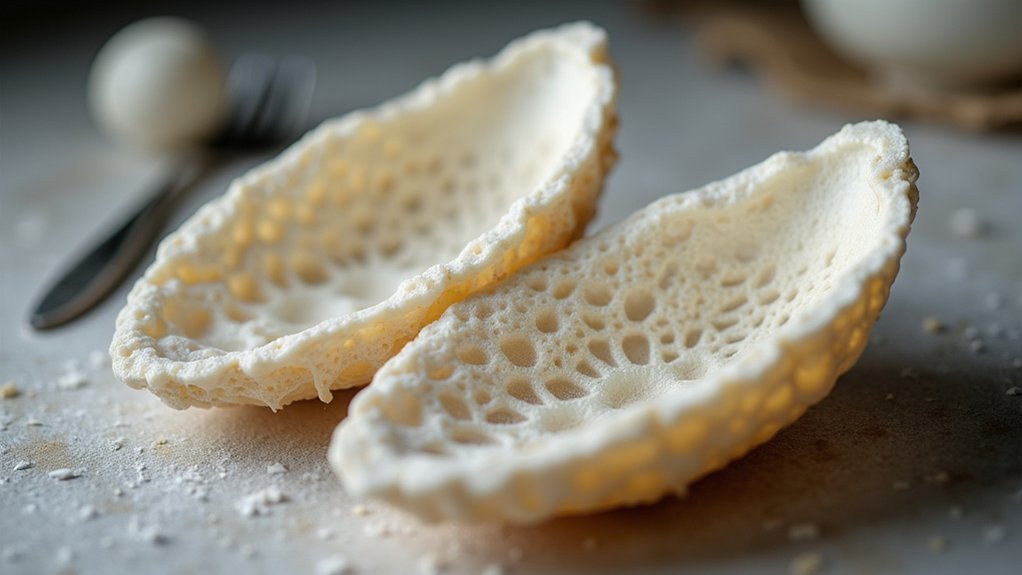
Cuttlebone offers metal casters a remarkable natural material that’s both accessible and versatile. When you choose cuttlebone for your casting projects, you’re working with porous calcium carbonate that’s easily carved and shaped with simple tools.
Cuttlebone provides metal casters with an accessible, versatile natural material made of easily carved porous calcium carbonate.
This soft internal structure makes Cuttlefish Casting particularly appealing for artisans and jewelry makers who want an approachable casting method.
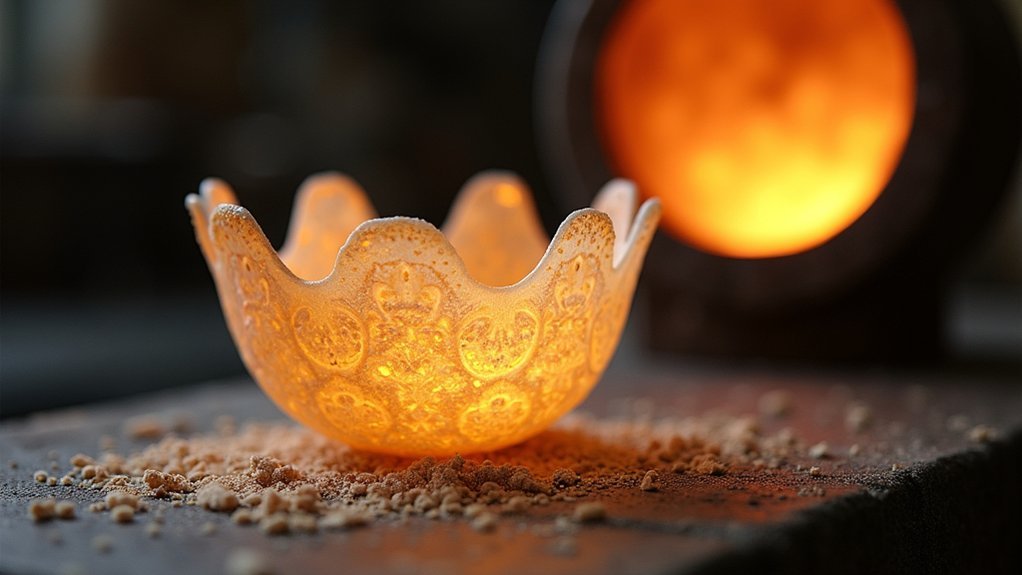
Each cuttlebone you use brings unique growth patterns that create distinct textures in your finished metal pieces, similar to woodgrain variations.
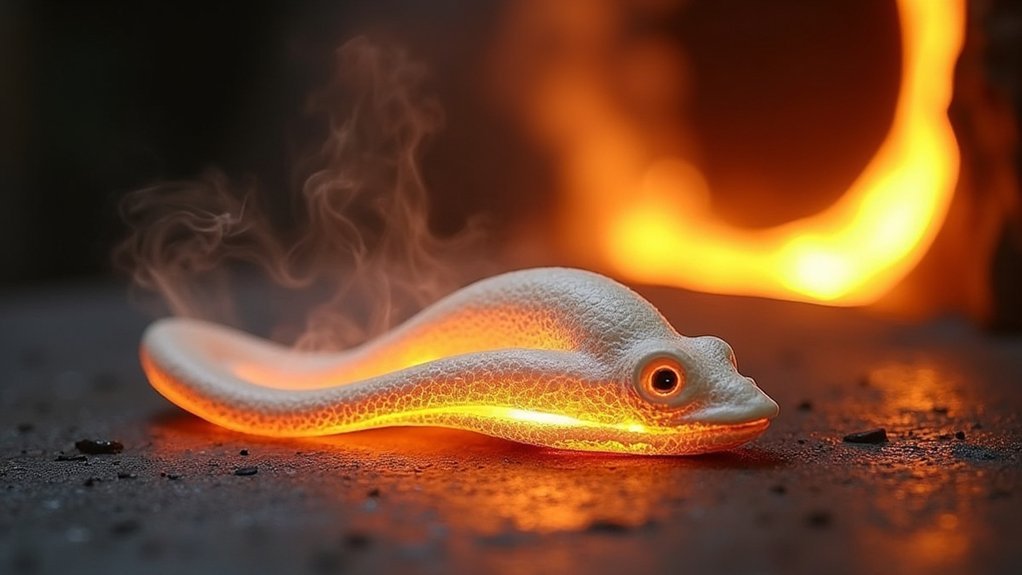
You’ll appreciate how environmentally friendly this process is, producing minimal smoke and avoiding toxic materials found in other casting methods.
However, remember that each cuttlebone serves a single purpose – once you’ve cast one object, that particular cuttlebone becomes unusable for future projects.
Essential Tools and Materials Required
You’ll need specific tools to prepare your cuttlebone and cast metal successfully.
For cuttlebone preparation, gather sandpaper or files to smooth the surface, wire to bind mold halves together, and a small cutting tool for creating sprues and air vents.
Your metal casting equipment should include a torch or ladle for melting, a thermometer to monitor temperature, plus essential safety gear like gloves and goggles.
Cuttlebone Preparation Tools
Before you begin the cuttlebone casting process, you’ll need to gather several essential tools and materials. Your primary requirement is the cuttlebone itself, easily found at pet supply stores. This buoyant cuttlefish structure serves as your natural mold material.
For preparation, you’ll need a sharp saw or knife to cut the cuttlebone cleanly. Sandpaper smooths rough surfaces, while wire binds the halves together during casting. Your model needs to be constructed from durable materials like plastic, metal, or sturdy wood to withstand casting pressure.
| Tool Category | Essential Items |
|---|---|
| Cutting Tools | Saw, knife, sandpaper |
| Assembly Items | Wire, registration keys |
| Casting Features | Sprue, air vent channels |
Registration keys guarantee proper alignment, while sprue channels facilitate molten metal flow and air escape.
Metal Casting Equipment
Success in metal casting depends on having the right equipment ready before you heat your first piece of metal.
You’ll need a refractory crucible to safely melt your chosen metals without contamination. A welding torch or bud torch provides the intense heat required to transform solid metal into molten metal. Keep a steel ladle nearby for transferring the liquid metal from crucible to your prepared Cuttlefish Bone mold.
Stock up on scrap metals like gold or silver for your projects.
Adding zinc to your metal mixture improves castability and eliminates troublesome air bubbles that can ruin the surface of the casting. This preparation guarantees smooth, professional results every time you pour molten metal into your cuttlebone mold.
Selecting and Preparing the Cuttlebone
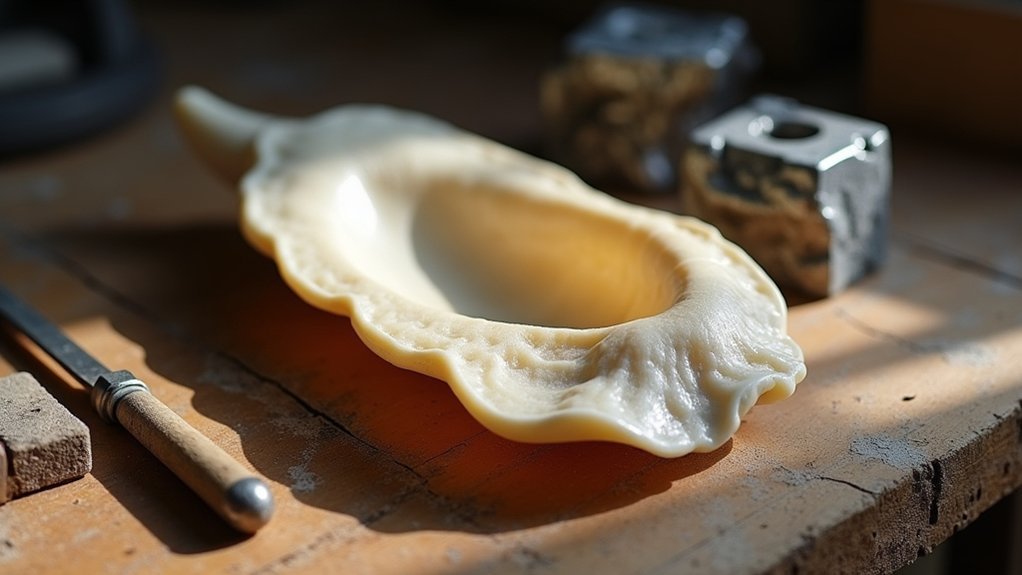
When creating a cuttlebone mold, you’ll need to select a bone that’s appropriately sized for your intended casting project and cut it in half lengthwise to form two workable mold halves.
The cuttlefish bone should be large enough to accommodate your model with adequate space around the edges.
Before using the two halves, you must sand both cut surfaces until they’re completely smooth and flat. This guarantees proper contact between the mold sections and creates an accurate impression.
Unlike lost wax casting methods, cuttlebone casting requires models that are solid and free of undercuts. Choose materials like plastic, metal, or hard wax for your models.
Remember to make your model approximately a quarter size smaller than your desired final piece to facilitate easy removal from the mold after casting.
Creating Your Master Model
Your master model serves as the template that’ll create the cavity in your cuttlebone mold, so it must be constructed from durable materials that can withstand the pressure of being pressed into the bone’s surface. Choose plastic, metal, sturdy wood, or hard wax for ideal results. Size your model about a quarter smaller than your desired final product to guarantee proper fit within the mold cavity.
Design considerations for your master model:
- Avoid undercuts in your design to prevent removal complications and mold damage.
- Position the model in the cuttlebone’s thickest section for even pressure distribution.
- Use lead cautiously due to toxicity concerns, despite its traditional malleability advantages.
- Confirm the model’s surface is smooth for clean cavity formation.
- Test-fit your model before final pressing to verify proportions.
Cutting and Flattening the Cuttlebone Halves
Once you’ve finalized your master model, prepare the cuttlebone itself by cutting it lengthwise into two equal halves using a fine-toothed saw or sharp knife.
Before you begin cutting, verify you’ve selected a cuttlebone with appropriate thickness and dimensions that’ll accommodate your intended cast object size.
Remove the brittle ends from both halves first to prevent cracking during the casting process.
Next, sand the cut surfaces of each half until they’re completely smooth and flat. This step guarantees ideal contact between the two halves when you close the mold.
Polish both surfaces thoroughly to create the smoothest finish possible.
Well-polished surfaces will enhance the detail captured in your final metal piece and produce professional-quality results.
Pressing the Pattern Into the Mold
You’ll need to press your solid model firmly into one half of the prepared cuttlebone to create a deep, clear impression that captures all the details of your pattern.
Make certain you’re applying even pressure across the entire surface so the model sinks uniformly into the soft bone material without creating air pockets or incomplete areas.
Once you’ve achieved the proper depth, you’ll add registration keys to both mold halves to guarantee they align perfectly when you assemble them for casting.
Creating Deep Impressions
When creating deep impressions in cuttlebone molds, you’ll need a solid model that’s slightly smaller than the cuttlebone’s cavity to guarantee a tight fit during pressing.
Start by cutting the cuttlebone in half and sanding both surfaces until they’re smooth and flat. This preparation guarantees your model makes proper contact and creates a high-quality impression.
Apply firm, even pressure when pressing the model to prevent warping or damage. Your model must be free of undercuts so you can remove it easily while maintaining clean, detailed impressions.
- Cut cuttlebone in half and sand surfaces smooth for best contact
- Use a solid model slightly smaller than the cavity for tight fitting
- Apply firm, even pressure during pressing to avoid mold damage
- Make sure your model has no undercuts for easy removal
- Add registration keys for proper alignment during metal pouring
Alignment and Registration
Registration keys serve as your guide for perfect mold alignment, ensuring the two cuttlebone halves fit together precisely during metal pouring. When you press your pattern into the sanded cuttlebone surface, you’ll create these essential alignment markers alongside your model’s impression.
Position your model carefully on the smooth, prepared surface, then press firmly to create a clean, detailed impression. The registration keys you add will lock the mold halves together, preventing dangerous misalignment that could ruin your casting.
| Common Mistakes | Professional Results |
|---|---|
| Rushed pressing | Patient, steady pressure |
| Skipped registration keys | Perfect mold alignment |
| Uneven impressions | Smooth, detailed cavities |
| Poor surface prep | Clean, professional finish |
| Misaligned halves | Precise casting accuracy |
Your attention to alignment details determines casting success.
Assembling the Two-Part Mold System

Start by selecting a medium-sized cuttlebone and slicing it cleanly in half lengthwise with a sharp knife or fine-toothed saw.
Sand both surfaces smooth to guarantee ideal contact between the mold halves. You’ll need to create registration keys on both pieces for precise alignment during assembly.
Position your model in the thickest section of the cuttlebone and press firmly to create a clear, detailed impression.
Avoid creating undercuts that’ll prevent easy removal of your finished casting. Cut your funnel-shaped sprue and fine air vents into the mold to allow molten metal entry and air escape.
- Sand cuttlebone surfaces completely smooth
- Create registration keys for perfect alignment
- Press model firmly into thickest section
- Cut sprue and air vents carefully
- Bind halves tightly with wire
Cutting Sprues and Venting Channels
The success of your casting depends heavily on properly cut sprues and venting channels that allow molten metal to flow smoothly while eliminating trapped air. You’ll need to create funnel-shaped openings in your cuttlebone mold that serve as entry points for the molten metal. These sprues must be wide enough to prevent blockages during pouring.
| Component | Purpose | Key Considerations |
|---|---|---|
| Main Sprue | Primary metal entry point | Wide funnel shape, centered positioning |
| Secondary Sprues | Additional flow paths | Strategic placement for complex designs |
| Vent Channels | Air escape routes | Thin cuts leading to mold edges |
| Sprue Wells | Metal collection areas | Adequate depth for smooth flow |
| Channel Alignment | Proper directional flow | Straight cuts without obstructions |
Careful placement and sizing of these channels directly impacts your final casting’s quality and detail.
Melting and Preparing the Metal
With your sprues and venting channels properly cut, you’re ready to melt your metal and achieve the ideal temperature for casting.
Achieving the perfect casting temperature requires careful preparation of your sprues, venting channels, and precise metal melting techniques.
You’ll need to heat your ladle to red heat before beginning the melting process. Use a bud torch to melt your gold until it reaches a very fluid state for optimal pouring.
Add gold flux to achieve a smoother melt and reduce oxidation during the process. Mix approximately 0.5% zinc with your metal to improve castability and reduce porosity in your final piece.
Pour the molten metal just as a skin forms over the surface in the crucible to maintain detail.
- Heat your ladle to red heat before melting begins
- Use a bud torch for achieving optimal metal fluidity
- Add gold flux to reduce oxidation and improve flow
- Mix 0.5% zinc to enhance castability and reduce porosity
- Pour when skin forms over molten metal surface
Pouring Molten Metal Into the Mold
Once your metal reaches the perfect temperature with a thin skin forming on the surface, you’ll need to act swiftly to pour it into your prepared cuttlefish mold.
Add a thin strip of zinc to the molten metal before pouring to prevent air bubbles from forming during casting. Temperature control is critical—pouring too hot will damage your mold and cause detail loss in your final piece.
Pour the metal steadily into the mold, allowing the fine air outlets you created to release trapped air effectively. This guarantees the molten metal fills every area of your mold completely.
Remember that different metals have varying weights—silver signet rings weigh approximately double that of gold rings, which are about 2.5 times heavier than standard weights.
Cooling and Extracting the Cast Piece
After completing your pour, patience becomes your most valuable tool as the molten metal begins its transformation back to solid form. The cooling duration varies greatly based on your casting’s thickness and metal type, ranging from minutes to several hours. You can’t rush this process without compromising your piece’s integrity.
Once completely cooled, you’ll carefully break away the cuttlebone from your cast object. Remember, each cuttlebone is single-use since the casting process chars it beyond reusability.
After extraction, examine your piece for air bubble defects that might’ve occurred during pouring.
- Allow complete cooling before attempting extraction to prevent cracking
- Break cuttlebone away gently to avoid damaging delicate cast details
- Inspect for air bubbles and surface imperfections immediately
- Plan for finishing work like polishing and refining
- Prepare new cuttlebone for future projects
Finishing and Polishing Your Cast Jewelry
Once you’ve extracted your cast piece from the cuttlebone, you’ll need to remove any casting defects like sprues, flash, or rough edges using files, cutters, or sandpaper.
While cleaning up these imperfections, you must carefully preserve the unique natural textures that the cuttlebone created, as these distinctive marks give your jewelry its character.
After addressing defects, you can enhance your piece’s appearance through various polishing techniques, from tumbling to hand polishing with compounds.
Removing Casting Defects
When your cast jewelry emerges from the cuttlebone, you’ll likely notice imperfections that need attention before the piece reaches its full potential. Trapped air bubbles during casting create surface defects that require careful removal.
You’ll need to address these issues systematically while preserving the unique textures that make cuttlebone casting special. Start by examining your piece thoroughly to identify problem areas. Use appropriate hand tools and techniques to eliminate defects without compromising the natural character lines captured from the cuttlebone.
- Remove air bubble marks using fine files and sandpaper
- Separate and smooth the casting hole area completely
- Preserve distinctive cuttlebone texture patterns during cleanup
- Apply polishing compounds gradually for controlled results
- Inspect thoroughly before proceeding to final polishing stages
Preserving Natural Textures
Since cuttlebone casting’s greatest appeal lies in the organic textures it creates, you’ll want to approach finishing with restraint and precision.
The natural growth patterns and striations from the cuttlebone create intricate details that should be highlighted rather than polished away. Start with careful sanding using fine-grit paper, working gradually to enhance the surface without removing the unique characteristics that make each piece one-of-a-kind.
Follow with gentle buffing to bring out subtle highlights while preserving the distinct lines and textures central to the piece’s artistry. Avoid excessive polishing that could eliminate these organic features.
For small designs, use water displacement to verify you’re maintaining the intended weight and volume throughout the finishing process.
Final Polishing Techniques
Building on the careful surface preparation you’ve completed, the final polishing stage requires specialized techniques to achieve professional results.
You’ll need to balance achieving a brilliant shine while preserving the distinctive cuttlebone textures that make your piece unique. Use rotary tools with polishing wheels to gradually work up to higher grits, focusing on smooth areas while avoiding aggressive pressure on textured regions.
Your finishing approach should enhance rather than eliminate the natural growth patterns. Water displacement methods help verify your piece maintains proper weight and volume specifications throughout polishing.
- Start with medium-grit compounds and progress to fine polishing pastes
- Use light, consistent pressure to prevent flattening unique surface details
- Focus intensive polishing only on deliberately smooth design areas
- Preserve organic textures that showcase the cuttlebone’s natural character
- Test polishing techniques on practice pieces before working on final jewelry
Frequently Asked Questions
What Is Cuttlefish Bone Casting?
You’ll use cuttlefish bone casting as an ancient metal casting technique where you cut cuttlebone in half, press a model into it, then pour molten metal into the carved cavity for unique results.
What Is the Process of Metal Casting?
You’ll melt metal in a crucible, pour it into prepared molds, then let it cool and solidify. This transforms liquid metal into solid shapes by using heat, gravity, and specially designed cavities that define your final product’s form.
Are Cuttlefish Killed for Cuttlebone?
You don’t need to worry about cuttlefish being killed for cuttlebones. They’re naturally shed as cuttlefish age and grow, or collected after the animals die from natural causes.
How Is Cuttlefish Bone Made?
You can’t actually make cuttlefish bone since it’s naturally formed inside living cuttlefish as their internal shell. The cuttlefish grows this calcium carbonate structure throughout its lifetime for buoyancy control.
In Summary
You’ve now mastered the ancient art of cuttlebone casting, transforming natural materials into stunning metal jewelry. This traditional technique offers incredible versatility and doesn’t require expensive equipment. With practice, you’ll develop the skills to create intricate designs and achieve professional-quality results. Remember that each casting teaches you something new, so don’t be discouraged by imperfections. Keep experimenting with different metals and designs to expand your metalworking repertoire and artistic expression.


Leave a Reply