You’ll master diamond faceting by controlling the HAI system’s height, angle, and index settings for precise cuts, maintaining crown angles between 32.5-35 degrees and pavilion angles of 40-41.6 degrees. Focus on proper rough assessment through inclusion mapping, execute clean cleaving along natural planes, and use progressive polishing stages from 3000 to 100,000+ grit. Perfect your girdle thickness, achieve 54-61% table percentages, and guarantee flawless facet alignment through constant inspection. These foundational techniques will open the advanced methods that separate exceptional craftsmen from the rest.
Understanding Diamond Anatomy and Crystallographic Structure
Mastering diamond faceting begins with understanding the fundamental anatomy and crystallographic structure that determines a stone’s brilliance.
Understanding diamond anatomy and crystallographic structure forms the essential foundation for achieving optimal stone brilliance through precise faceting techniques.
You’ll need to recognize key components including the girdle (widest part), crown (top portion), and pavilion (bottom section). These elements work together through diamond anatomy’s face-centered cubic lattice, where each carbon atom bonds tetrahedrally to four others, creating exceptional hardness.
For ideal light performance, you must achieve precise angles. Your crown angle should measure between 32.5 and 35 degrees, while the pavilion angle needs to range from 40 to 41.6 degrees.
Don’t overlook girdle thickness – it considerably impacts cut grade and should remain thin to slightly thick. Deviating from these proportions causes light leakage, diminishing the stone’s sparkle and value through poorly cut facets.
Mastering the HAI System: Height, Angle, and Index Control
You’ll need to master the HAI triangle lock mechanism to achieve consistent, professional-grade facet cuts that maximize your diamond’s brilliance.
This system requires you to understand how height, angle, and index work together as interdependent variables rather than isolated settings.
Once you’ve grasped these precision control techniques, you’ll consistently produce facets with the exact geometry needed for ideal light performance.
Understanding HAI Triangle Lock
Although diamond faceting requires numerous skills, the HAI triangle lock system forms the foundation that transforms rough stones into brilliant gems.
You’ll find this precision in diamond faceting relies on three critical components working in harmony. Height determines your facet depth, ensuring uniform cuts across the stone’s surface. Your angle setting controls the exact plane where each facet meets the diamond, directly impacting light performance and brilliance. Index rotation manages the gem’s position using gear increments of 64 or 96, creating perfect symmetry.
When you properly lock the HAI triangle lock, you’re establishing a stable reference point throughout the cutting process. Diamond cutters depend on this consistency to replicate precise measurements, ultimately producing higher-quality stones with enhanced value and exceptional optical properties.
Precision Control Techniques
Precision control in diamond faceting transforms understanding of the HAI triangle lock into practical cutting mastery.
When cutting the crown, you’ll need to coordinate all three HAI elements simultaneously. Your height settings determine facet depth—adjust incrementally to maintain consistent pavilion angles.
Modern faceting machines offer digital readouts for exact measurements, eliminating guesswork from your precision control techniques.
Angle adjustments directly impact light return. Set your mast angle precisely using calibrated dops to achieve excellent cuts with maximum brilliance.
Index positioning ensures perfect facet alignment—use 96-tooth gears for complex designs requiring greater angular precision.
The HAI system demands methodical approach: lock your height first, verify angle settings, then advance index positions systematically.
This sequence prevents cumulative errors that compromise symmetry and polish quality in your finished diamonds.
Precision Crown and Pavilion Angle Optimization
Two critical angles determine whether your diamond will dazzle with brilliance or disappoint with lackluster performance. Your crown and pavilion angles must work in perfect harmony to maximize how light reflects throughout the stone.
Set your crown angle between 32.5 and 35 degrees, while maintaining pavilion angles of 40 to 41.6 degrees for peak brilliance of a diamond.
Monitor your depth percentage carefully, keeping it between 59% and 62.9% to guarantee proper light capture.
Balance your table size between 54% and 61% of the diamond’s diameter for enhanced sparkle.
Advanced Planning and Rough Diamond Assessment
Before you make your first cut, examine every millimeter of your rough diamond’s crystal structure to identify its natural cleavage planes and internal characteristics.
Advanced planning determines whether you’ll maximize brilliance or waste precious material. Your assessment strategy directly impacts the final cut grading and overall value.
Focus on these critical evaluation areas:
- Crystal structure analysis – Map natural planes for strategic cleaving directions
- Inclusion mapping – Document internal flaws to plan around them effectively
- Weight distribution assessment – Calculate potential carat yield and ideal proportions
- Light performance simulation – Use 3D modeling to predict facets on a gem behavior
- Anatomical planning – Design crown, pavilion, and girdle relationships for maximum brilliance
As a skilled diamond cutter, you’ll discover that thorough rough diamonds evaluation prevents costly mistakes and guarantees exceptional results.
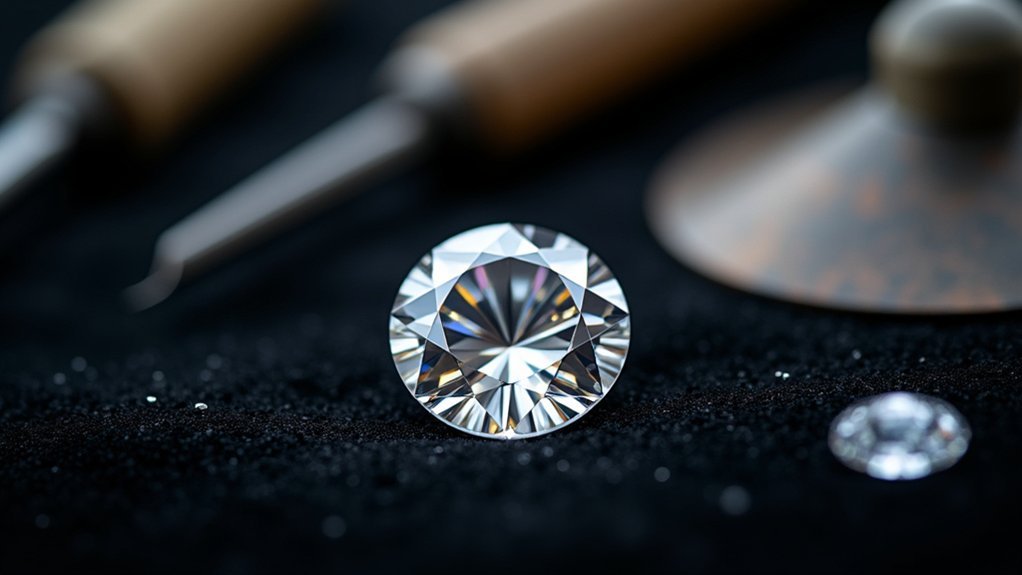
Professional Cleaving and Sawing Techniques
Once you’ve completed your thorough rough diamond assessment, you’ll transform your strategic plan into reality through two fundamental cutting processes: cleaving and sawing.
You’ll start with cleaving, splitting your rough diamond along natural weakness planes using precise hammer strikes on a metal blade. This maximizes yield while creating manageable pieces for further work.
Next, you’ll use sawing with diamond dust-coated blades to achieve finer cuts and shape your diamond into specific diamond shapes. You’ll need careful alignment between your rough diamond and blade to control cutting direction and depth.
Specialized machines help maintain consistency throughout the process.
Master both techniques carefully—improper execution causes significant material loss and compromises your diamond’s final quality before faceting operations begin.
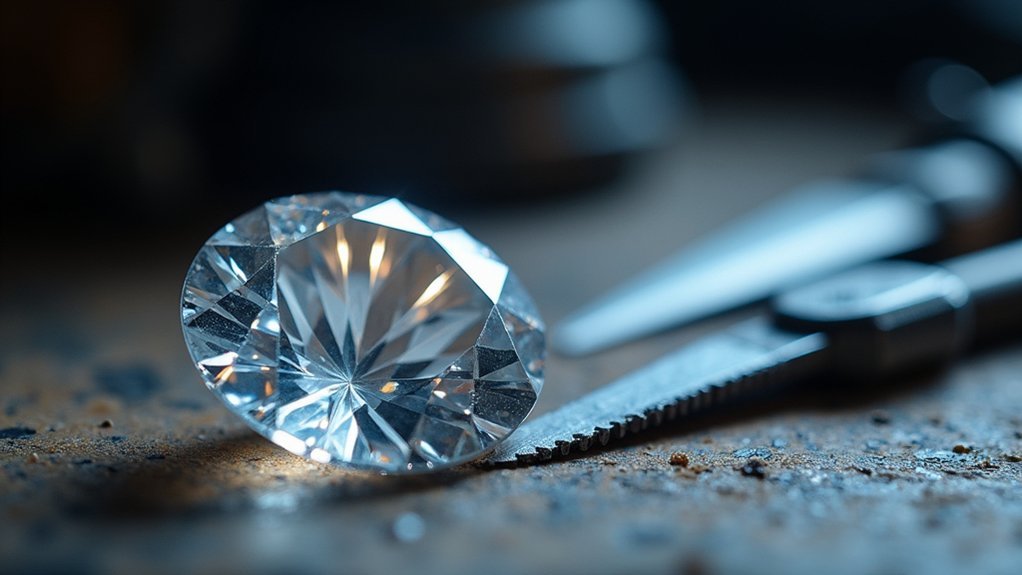
Perfect Bruting Methods for Symmetrical Shaping
You’ll achieve symmetrical diamond shapes through precise grinding wheel speed control that maintains consistent pressure throughout the bruting process.
Your success depends on mastering the techniques that create perfectly balanced forms while optimizing surface quality for subsequent faceting stages.
Control these three elements—speed, symmetry, and surface finish—and you’ll transform rough diamonds into precisely shaped gems ready for final polishing.
Grinding Wheel Speed Control
When you’re shaping diamonds through bruting, controlling your grinding wheel speed becomes the foundation for achieving perfect symmetrical results.
Your diamond consists of several crystalline structures that require specific speed adjustments based on hardness levels. Medium speeds provide ideal balance, preventing overheating while maintaining effective material removal.
Key speed control principles include:
- Adjust grinding wheel speed according to diamond hardness – softer stones need slower speeds
- Monitor sound changes during operation to verify facets are meeting correctly
- Set precise depth controls to maintain consistent diameters across all facets
- Use medium speeds as your baseline for balanced bruting processes
- Combine coarse and fine laps for smooth shifts to polishing
Precision in bruting depends on your ability to fine-tune these variables, ultimately creating a perfectly symmetrical faceted gem ready for final polishing stages.
Symmetrical Form Achievement
While grinding wheel speed provides the technical foundation, achieving symmetrical form demands meticulous attention to diamond alignment and pressure distribution throughout the bruting process.
You’ll need to precisely grind two diamonds against each other on spinning axles, ensuring uniform shape and proportionality for brilliant cuts. Perfect symmetry requires constant inspection and pressure adjustments to prevent uneven facets that compromise light reflection and brilliance.
Advanced technology like laser-guided bruting machines greatly reduces human error while enhancing accuracy.
You must focus on creating well-proportioned girdles and pavilions with complementary angles that optimize light refraction. Any misalignment during this critical phase directly impacts the diamond’s overall performance.
Regular monitoring allows you to make necessary corrections, ensuring your finished diamond achieves the perfect symmetry essential for maximum brilliance.
Surface Quality Optimization
Although achieving symmetrical form establishes the foundation, surface quality enhancement requires you to master the precise mechanics of diamond-against-diamond grinding.
When you’re creating a brilliant cut, surface quality becomes paramount to maximizing light performance.
Your bruting success depends on these critical factors:
- Maintain an ideal 90-degree bruting angle to prevent chipping while ensuring uniform shaping
- Control grinding process pressure and speed through regular symmetry inspections
- Use high-quality diamond dust blades during sawing to preserve structural integrity
- Deploy precision measuring tools and computer simulations for enhanced accuracy
- Monitor diamond rotation on spinning axles to eliminate surface imperfections
You’ll achieve superior symmetry by adjusting grinding parameters based on continuous assessment.
Advanced technologies enable you to detect minute irregularities, ensuring your final diamond exhibits flawless surface quality and ideal light refraction properties.
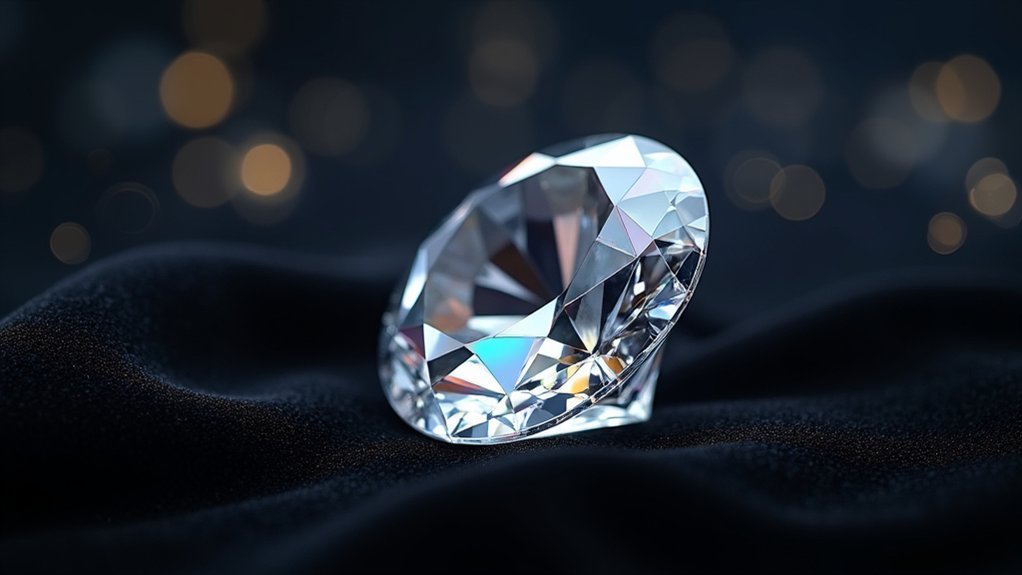
Expert Polishing Strategies for Maximum Brilliance
Since your diamond’s brilliance depends entirely on how light interacts with its polished surfaces, mastering expert polishing techniques becomes your most critical skill in faceting. You’ll need high-quality polishing laps with diamond powder to create flawless facets that maximize light reflection. Start with pre-polishing to eliminate cutting scratches, then progress through finer stages for enhanced brilliance and sparkle.
| Polishing Stage | Diamond Grit | Purpose | Result |
|---|---|---|---|
| Pre-polish | 3000-8000 | Remove scratches | Clean surface |
| Fine polish | 14000-50000 | Refine texture | Enhanced clarity |
| Final polish | 100000+ | Perfect finish | Maximum brilliance |
| Inspection | N/A | Quality check | Flawless facets |
Maintain your polishing wheel’s calibration and focus on achieving ideal angles. Regularly inspect each surface under bright light to identify imperfections that diminish sparkle.
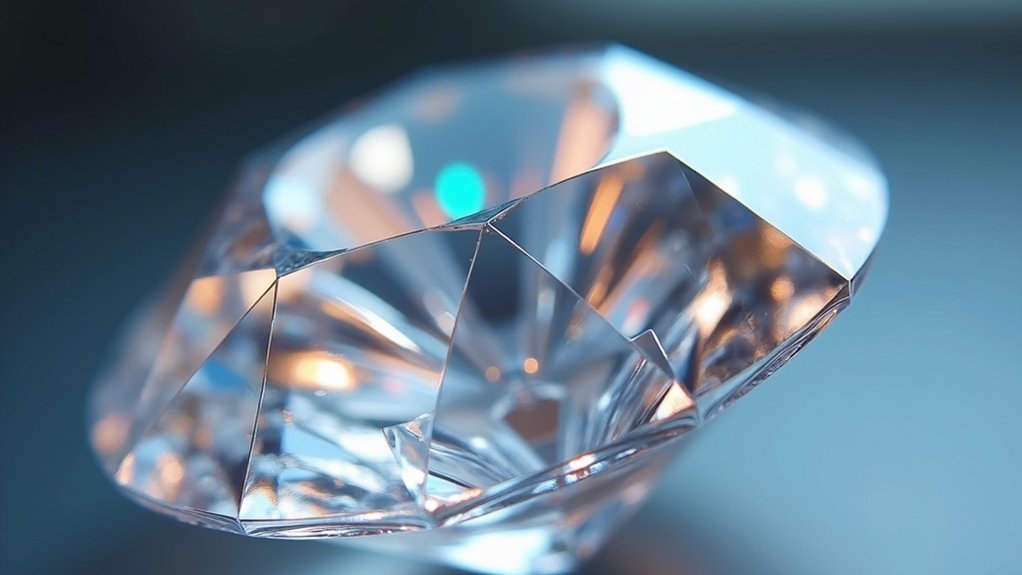
Achieving Flawless Facet Alignment and Meeting Points
Perfect facet alignment transforms your polished diamond from merely brilliant to absolutely stunning, as even microscopic deviations in meeting points can scatter light and diminish the gem’s fire.
Achieving flawless facet alignment demands precision and attention throughout your cutting process:
Flawless facet alignment requires unwavering precision and meticulous attention to detail throughout every stage of the diamond cutting process.
- Set precise angles using your machine’s protractor or digital display to guarantee each facet is cut at ideal angles for maximum light performance.
- Listen carefully while cutting—sound changes indicate proper contact as facets align at the gem’s center.
- Maintain consistent depth control by adjusting based on how facets meet at intersections, avoiding excessive material removal.
- Use transfer fixtures for accurate dopping to prevent misalignment between crown and pavilion cutting phases.
- Conduct regular inspections during cutting, allowing real-time adjustments for perfect symmetry and meeting points.
Light Performance Enhancement Through Proportion Control
Once you’ve mastered facet alignment, controlling proportions becomes your next powerful tool for maximizing your diamond’s light performance.
For round brilliant cut diamonds, you’ll want crown angles between 32.5-35 degrees and pavilion angles from 40-41.6 degrees to achieve superior light return.
Keep your table size within 54-61% of the diamond’s diameter while maintaining pavilion depth that contributes to a total depth percentage of 59-62.9%.
These precise measurements directly impact cut grades, with excellent cut grade stones requiring girdle thickness between thin and slightly thick ranges.
You’ll also need to guarantee the culet remains graded as “None” or very small, preventing light leakage that diminishes brilliance and fire in your finished stone.
Quality Inspection and Grading Standards for Cut Excellence
Precision in cut grading determines whether your diamond achieves market-commanding excellence or falls short of its potential value.
Understanding grading systems helps you master the technical standards that separate exceptional stones from mediocre ones. GIA grades evaluate your diamond’s brightness, fire, and scintillation through rigorous quality inspection protocols.
When evaluating diamonds cut quality, focus on these critical elements:
- Table percentage: Maintain 54%-61% for ideal light return
- Depth percentage: Target 59%-62.9% to prevent light leakage
- Main facets alignment: Guarantee perfect symmetry across crown and pavilion
- Polish quality: Achieve flawless surface finish on all facet planes
- Girdle thickness: Balance protection with proportional aesthetics
Excellent cut grades command 5%-10% premiums over Very Good ratings, making precise adherence to these standards financially rewarding for your craftsmanship investment.
Frequently Asked Questions
Is Gem Faceting Difficult?
Gem faceting isn’t difficult once you understand the basics. You’ll master the round brilliant cut in hours with modern machines. Practice reduces cutting time from eight hours to just one or two hours.
How Long Does It Take to Become a Diamond Cutter?
You’ll need six months to two years for basic training, depending on technique complexity. With apprenticeships and continuous practice, you can cut your first diamond in six to eight hours, improving to one or two hours with experience.
What Do You Call a Person Who Cuts, Polishes, and Engraves Precious Stones?
You’d call someone who cuts, polishes, and engraves precious stones a “gem cutter” or “lapidary.” These skilled artisans transform rough stones into beautiful finished gems using specialized tools and techniques.
What Is the Easiest Gemstone to Facet?
You’ll find the round brilliant cut easiest to facet when you’re starting out. It’s got straightforward angles and symmetry that you can master quickly, making it perfect for beginners learning basic techniques.
In Summary
You’ve now explored the fundamental techniques that separate amateur cutters from master craftsmen. By applying these precision methods—from understanding crystal structure to achieving perfect light performance—you’ll transform rough diamonds into stunning gems that maximize brilliance and value. Remember, mastering diamond faceting isn’t just about technical skill; it’s about combining scientific knowledge with artistic vision. Practice these techniques consistently, and you’ll develop the expertise that defines true diamond cutting excellence.


Leave a Reply