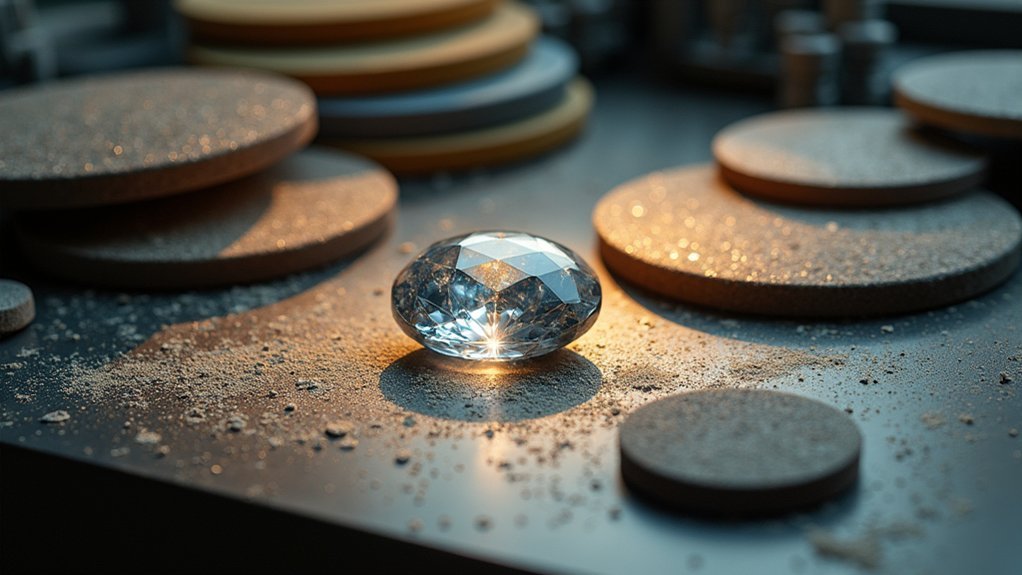
You’ll need to master proper grit progression, starting with 60-120 grit for initial shaping, then advancing through 600-1200 for pre-polishing, and finishing with 3000-8000 grit for mirror polish. Always wear safety gear and maintain clean equipment between stages to prevent contamination. Focus on removing all coarse grinding damage before moving to finer grits, and apply light pressure with consistent motion. Understanding these foundational techniques will reveal advanced polishing methods that create professional-quality results.
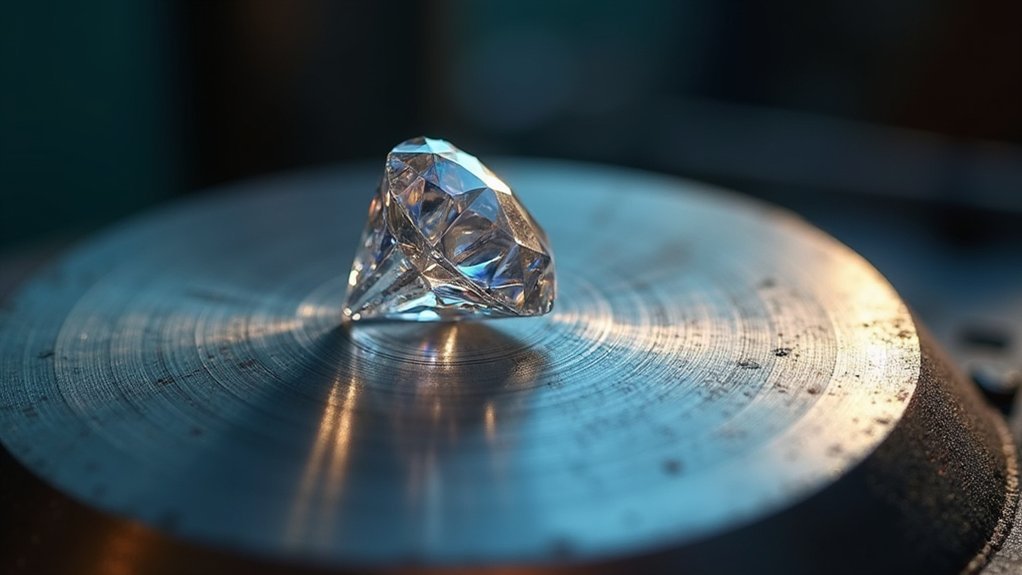
Essential Diamond Polishing Equipment for New Gem Cutters
When you’re starting your journey in diamond polishing, selecting the right equipment forms the foundation of your success.
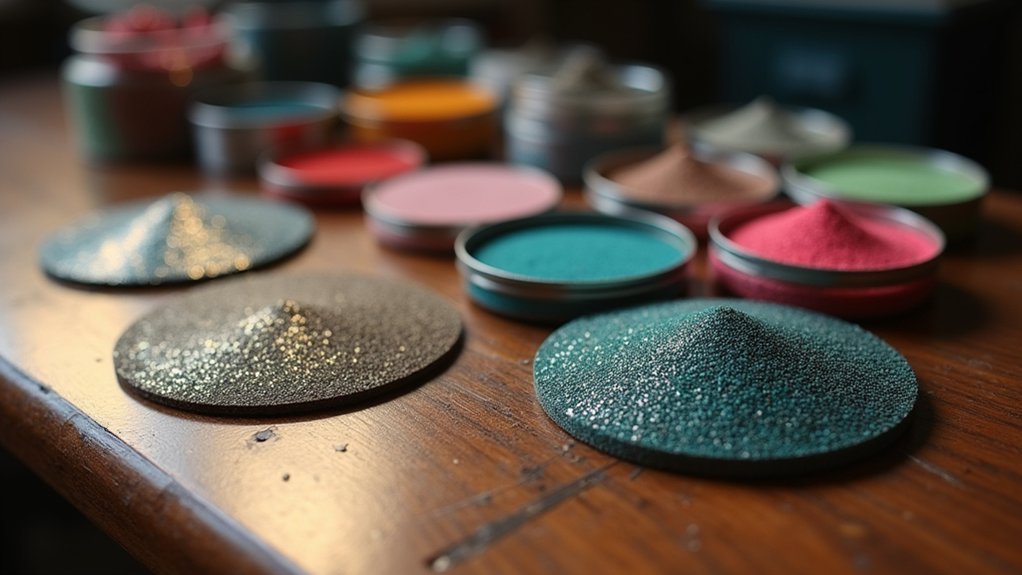
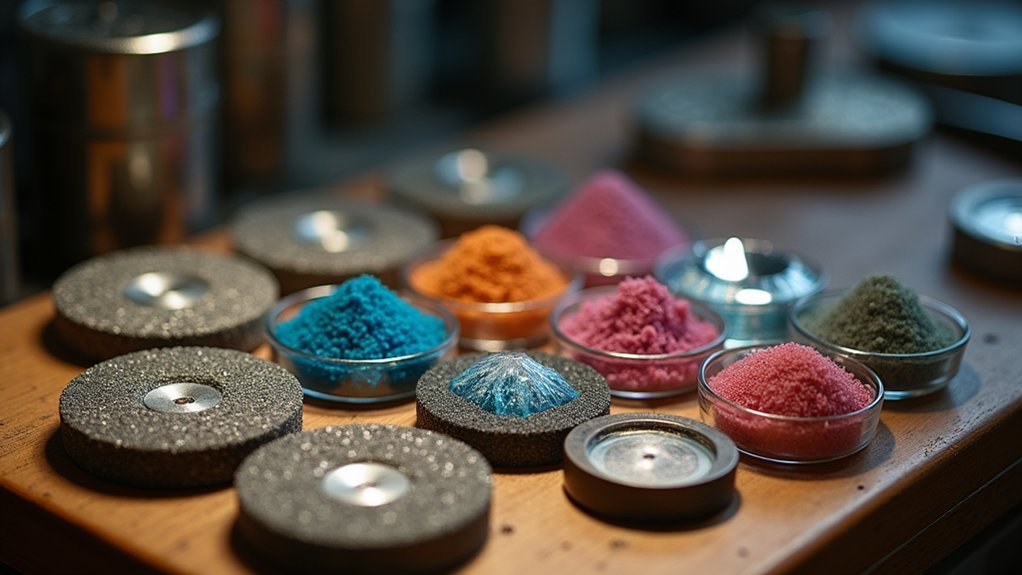
You’ll need various laps including zinc, ceramic, and tin to handle different polishing stages and achieve professional finishes.
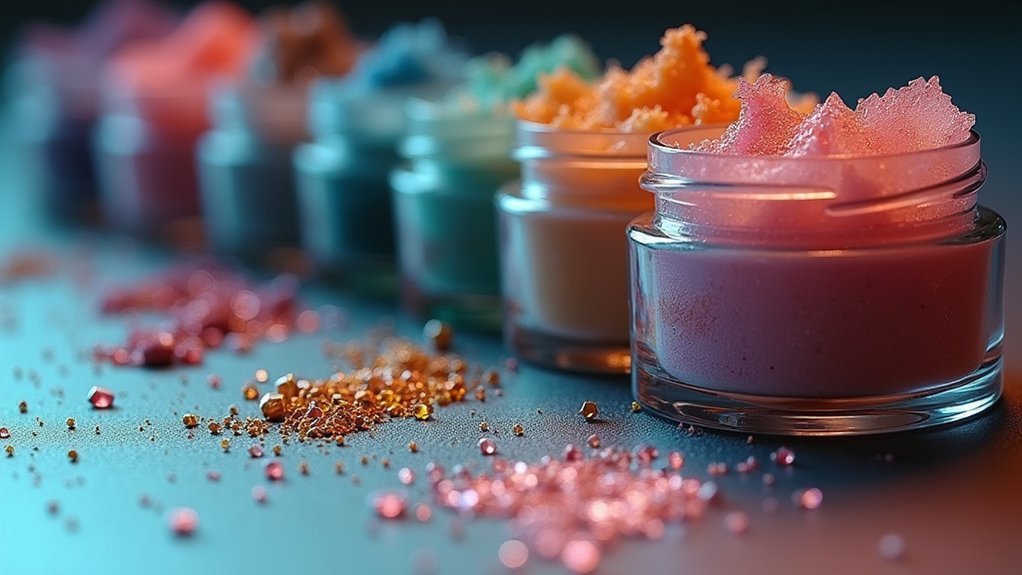
Invest in diamond paste across multiple micron grades for precise work on hard materials like quartz and corundum.
Diamond paste in varying micron grades ensures precision when polishing exceptionally hard materials like quartz and corundum gemstones.
A fast-running handpiece with diamond burs is essential for effective drilling and shaping before polishing begins.
Don’t overlook diamond powder, which provides excellent results when combined with proper compounds.
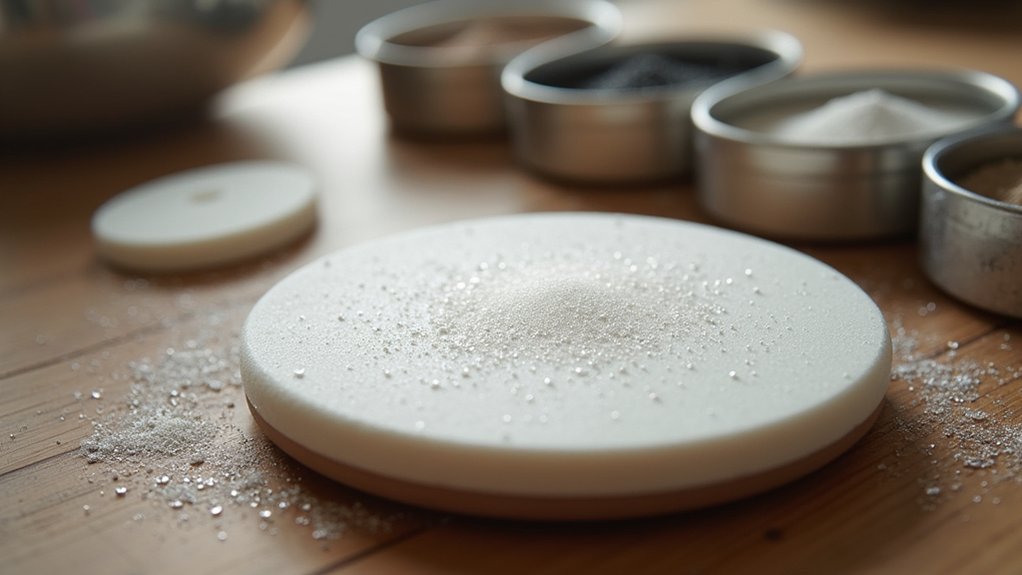
You’ll also need oil-soluble or water-soluble lubricants to prevent rust and guarantee smooth operation.
Finally, prioritize safety gear including goggles and dust masks to protect yourself from harmful particles during the polishing process.
Understanding Diamond Grit Sizes and When to Use Each
Why does selecting the proper diamond grit size matter so much in your polishing journey? Understanding diamond grit is essential because it determines your stone’s final finish quality. You’ll start with coarser grits for initial shaping, then progress systematically to finer ones.
| Grit Size | Purpose |
|---|---|
| 60-120 | Initial grinding and shaping |
| 600-1200 | Pre-polishing preparation |
| 3000-8000 | Fine polishing |
| 50,000 | Final mirror finish |
| Cleaning | Between each grit change |
Begin with 600 or 1200 diamond grit for pre-polishing, ensuring you remove all coarse grinding marks. Progress gradually through each level—don’t skip steps, as this prevents scratches. Always clean your tools between grit changes to avoid contamination that’ll ruin your gemstone’s finish.
Pre-Polishing Techniques That Prevent Surface Scratches
You’ll need to focus on three critical pre-polishing techniques that’ll save you from surface scratches and wasted time.
First, you must remove all coarse grinding damage before moving to finer grits, as any remaining scratches will show through your final polish.
Second, you’ll want to properly prepare your lap and clean it thoroughly between each grit change to prevent contamination.
Remove Coarse Grinding Damage
Grinding leaves behind coarse scratches that’ll ruin your final polish if you don’t remove them during pre-polishing.
Start with 600 grit to systematically remove all grinding damage before progressing to finer grits. You’ll need multiple passes on a well-dressed lap to achieve perfectly flat facets without imperfections.
Maintain strict cleanliness when using polishing stones, as contaminated laps create deep scratches that are difficult to remove.
Use dedicated laps for each grit type to prevent cross-contamination. Check your work frequently under magnification to verify you’ve completely eliminated coarse damage before moving to the next stage.
Rushing through this step will create visible scratches during final polishing.
Resources like “Master Gemcutting Tips” offer detailed techniques for perfecting your pre-polishing process and achieving professional results.
Proper Lap Preparation
Since your lap’s condition directly determines polish quality, you must dress it properly before applying any grit. Proper preparation prevents diamond particles from creating unwanted scratches during the polishing process.
Follow these essential steps for effective lap preparation:
- Apply polishing grit evenly across your ceramic lap surface to guarantee consistent cutting action.
- Create a test window in synthetic corundum and polish it multiple times until you achieve a perfectly flat surface.
- Mark your laps clearly with the specific grit type used to prevent cross-contamination between different grits.
- Clean thoroughly with soap and hot water after each polishing session to remove all residual particles.
Remember to use light pressure throughout the process, as excessive force can damage your gemstone’s surface despite proper lap preparation.
Clean Between Grit Changes
Between each grit change, contamination becomes your biggest enemy in achieving flawless diamond polish results. You must clean between grit changes to prevent coarser particles from scratching your gemstone during finer polishing stages.
Start by thoroughly washing your diamond with detergent and a soft brush, removing every residual particle.
Next, clean your polishing lap with soap and hot water to eliminate contaminants that could transfer between grits. Organize your diamond grits and tools by size to prevent cross-contamination.
Before shifting to finer grits, inspect both your gemstone and lap for scratches or debris.
Implementing this consistent cleaning routine maintains your equipment’s integrity and guarantees maximum polish quality.
Don’t skip these critical steps—they’re essential for professional results.
How to Properly Dress Your Ceramic Lap Before Polishing
Before you can achieve a flawless polish on your gemstone, you must properly dress your ceramic lap to create an ideal working surface. This critical preparation step guarantees peak diamond polishing results by establishing a clean, scratch-free window.
Follow these essential steps to dress your ceramic lap:
- Apply 600 grit diamond to the ceramic lap and polish the window completely.
- Repeat the polishing process five times to guarantee proper surface preparation.
- Clean thoroughly with soap, hot water, and a plastic scrub pad to remove all residue.
- Inspect both surfaces – examine the synthetic corundum and ceramic lap for any scratches.
Remember to maintain light pressure throughout the entire process. This prevents damage to your gemstone while achieving that coveted high-quality finish you’re aiming for.
Why Tin Laps Are More Beginner-Friendly Than Ceramic Options
While ceramic laps demand meticulous preparation and constant vigilance against contamination, tin laps offer a more forgiving alternative that’s perfect for your first diamond polishing projects.
You’ll find tin laps require minimal maintenance and won’t punish you for minor technique mistakes like ceramic options do.
The pre-polishing process becomes straightforward with tin laps – you can start with 600 or 1,200 grit before progressing to 3,000, eliminating guesswork.
Unlike ceramic surfaces that show every scratch from improper dressing or contamination, tin laps produce consistent, high-quality results even when you’re still learning proper pressure application.
You won’t need to obsess over constant cleaning either, as tin laps resist cross-contamination better than ceramic alternatives, letting you focus on developing your polishing technique.
Applying the Right Pressure During Diamond Polishing Sessions
One fundamental mistake destroys more beginner polishing projects than any other technical error: applying too much pressure to your diamond during the polishing process.
When you’re applying the right pressure during diamond polishing sessions, you’ll achieve better results by letting the diamond grit do the work instead of forcing it.
Here’s your pressure control checklist:
- Start minimal – Begin with barely perceptible pressure and increase gradually only if necessary.
- Stay consistent – Maintain steady, gentle pressure throughout each polishing session.
- Check frequently – Stop regularly to inspect for scratches and adjust your technique accordingly.
- Match material hardness – Softer gemstones need less pressure than harder ones, but keep everything controlled.
You’ll prevent scratches and achieve professional-quality finishes by mastering this essential technique.
Maintaining Clean Laps to Avoid Contamination Issues
Perfect pressure control means nothing if you’re working with contaminated laps that scratch your diamonds before you even begin polishing. Maintaining clean laps prevents costly damage and guarantees consistent results throughout your polishing sessions.
Clean your laps with soap, hot water, and plastic scrub pads after each use. This removes contaminants that cause scratches. Use separate laps for different grit sizes and mark them clearly to prevent cross-contamination between coarse and fine grits.
| Cleaning Step | Method | Purpose |
|---|---|---|
| After each session | Soap + hot water + scrub pad | Remove contaminants |
| Between lubricants | Thorough washing | Prevent residue buildup |
| Grit changes | Complete cleaning | Avoid cross-contamination |
| Diamond spreading | Even distribution in extender | Maintain consistent surface |
| Storage | Proper separation | Prevent accidental mixing |
Always wash thoroughly between different lubricants since oil residues negatively affect polishing performance.
Working With Diamond Paste and Compounds on Different Materials
You’ll need to master proper paste application methods to achieve professional-quality results on your gemstones.
Different materials require specific diamond compounds – oil-soluble varieties work best for hard stones like quartz and corundum, while softer materials need different approaches.
Your compound selection directly impacts both the polishing effectiveness and the longevity of your equipment.
Paste Application Methods
Success in diamond polishing depends heavily on proper paste application techniques that guarantee even coverage and ideal results.
You’ll need to master the fundamentals of working with different types of polishing compounds to achieve professional-quality finishes.
Follow these essential application steps:
- Mix properly – Combine your diamond paste with lubricating fluid until you achieve a smooth, workable consistency.
- Saturate your tools – Soak felt bobs or wheels thoroughly in the paste mixture before application.
- Apply evenly – Spread the compound across the entire gemstone surface for uniform polishing coverage.
- Clean between grits – Use detergent and soft brushes to prevent cross-contamination when changing grit sizes.
Organize compounds by grit in separate syringes and tools to maintain cleanliness and prevent mixing different abrasive levels.
Material-Specific Compound Selection
While diamond paste works effectively across various materials, selecting the right compound type and grit size depends entirely on the hardness and characteristics of your specific gemstone. Material-specific compound selection guarantees you’ll achieve professional results without damaging delicate surfaces.
For hard materials like quartz and corundum, you can use aggressive diamond compounds that reach difficult angles and crevices. However, softer stones like jade and turquoise require careful grit selection to prevent over-polishing.
| Material Type | Recommended Compound | Grit Considerations | Solvent Type |
|---|---|---|---|
| Hard (Quartz, Corundum) | Standard diamond paste | Coarser grits acceptable | Oil-soluble preferred |
| Soft (Jade, Turquoise) | Fine diamond compounds | Conservative grit selection | Water-soluble suitable |
| Difficult stones | Oil-soluble compounds | Variable based on hardness | Oil-soluble only |
| General use | Mixed with lubricant | Create smooth paste consistency | Depends on application |
Choose oil-soluble compounds for challenging materials to prevent tool rust.
Choosing Between Oil-Soluble and Water-Soluble Diamond Products
When you’re selecting diamond products for polishing, the decision between oil-soluble and water-soluble options can greatly impact your results. Each type offers distinct advantages depending on your project requirements and experience level.
Here’s what you need to evaluate:
- Oil-soluble products excel with harder gemstones like quartz and topaz, providing longer-lasting applications and preventing tool rust for superior finishes.
- Water-soluble products offer easier cleanup and less mess, though they require proper drying to prevent tool corrosion.
- Material compatibility matters – oil-based compounds work better on difficult materials, while water-based options suit softer stones.
- Enhancement techniques include mixing lubricating fluids with compounds to improve application smoothness.
Experiment with both types while maintaining cleanliness to avoid cross-contamination and discover your preferences.
Common Polishing Mistakes That Create Visible Scratches
You’ll encounter scratches on your gemstone if you skip proper pre-polishing preparation, especially when coarse grinding marks remain on the surface.
Contaminated laps present another major problem since residue from previous grits can transfer deep scratches to your stone.
Clean your equipment thoroughly between stages and guarantee you’ve completed adequate pre-polishing to avoid these costly mistakes.
Inadequate Pre-Polishing Preparation
Many beginners underestimate how critical proper pre-polishing preparation is to achieving a flawless finish on their diamonds.
Inadequate pre-polishing creates problems that’ll haunt your final results, forcing you to remove significant material to correct mistakes.
You must address these essential preparation steps:
- Remove all coarse grinding scratches – Any remaining grinding damage will become glaringly visible during final polishing.
- Properly dress your ceramic lap – Uneven surfaces or contaminants will create deep scratches during polishing.
- Maintain absolute cleanliness – Contaminated pre-polishing laps transfer scratches directly to your gemstone.
- Apply light pressure only – Excessive pressure exacerbates existing scratches and damages the surface.
Skipping thorough pre-polishing preparation means you’ll struggle with visible imperfections that compromise your diamond’s brilliance and value.
Contaminated Lap Issues
Contaminated laps rank among the most destructive yet preventable causes of scratching during diamond polishing. When you don’t clean your laps thoroughly between sessions, residual grit particles become embedded in the surface, creating deep scratches that’ll become painfully visible during final polishing stages.
You’ll prevent this disaster by washing each lap with soap and hot water after every use. Mark your laps clearly with their specific grit types to avoid cross-contamination.
Never use the same lap for multiple grits without proper cleaning—even a small amount of leftover coarse particles will devastate your diamond’s surface during finer polishing stages.
Apply light pressure when polishing, especially if you’re uncertain about your lap’s cleanliness or proper dressing.
Transitioning Between Grit Stages Without Cross-Contamination
While diamond polishing requires precision at every stage, maintaining clean changes between different grit levels becomes critical to achieving professional results.
Shifting between grit stages without cross-contamination is especially important because residual particles from coarser grits can create unwanted scratches on your gemstone’s surface.
Follow these essential steps for contamination-free changes:
- Clean thoroughly – Wash your laps with soap and water after each grit stage to remove all residual diamond particles.
- Use dedicated equipment – Assign separate laps for each grit type and mark them clearly to prevent accidental mixing.
- Progress systematically – Move from coarser to finer grits in proper sequence to minimize deeper scratches.
- Store separately – Keep diamond compounds and laps organized by grit size to prevent contamination during polishing sessions.
Frequently Asked Questions
What Do You Need to Get Started in Lapidary?
You’ll need safety gear including goggles, gloves, and dust masks. Get a basic setup with a saw for cutting, grinder for shaping, and polisher for finishing your stones effectively.
What Do They Use to Polish Diamonds?
You’ll use diamond polishing wheels or scaife wheels with diamond powder mixed in oil. Professional cutters apply different grit sizes, starting coarse and progressing to fine powder for achieving that brilliant mirror-like finish.
What Are the Grades of Diamond Polishing?
Diamond polishing grades range from 600 grit for initial stages to 50,000 grit for ultra-fine finishing. You’ll commonly use 1,000, 3,000, 8,000, and 14,000 grades, progressing through each step systematically.
What Grit to Polish Gemstones?
You’ll want to start with 600 grit diamond for pre-polishing, then progress to 1,200 and 3,000 grit. Finish with 50,000 grit diamond paste for harder stones like quartz and topaz.
In Summary
You’ll master diamond polishing by starting with proper equipment and understanding grit progression. Don’t rush between stages—clean your workspace thoroughly to avoid cross-contamination. Practice on tin laps before advancing to ceramic ones, and always dress your laps correctly. Remember that patience beats speed when you’re learning. Focus on consistent pressure and technique rather than trying advanced methods too quickly. These fundamentals will give you the foundation for professional-quality results.


Leave a Reply