You’ll master bezel setting by first measuring your stone precisely with calipers and calculating bezel height at 25-33% of stone height. Shape 30-gauge fine silver wire around your stone, file ends flush, and solder with hard solder. Create a sterling silver backing larger than your bezel for support. Use appropriate tools like bezel rockers for thin bezels, starting at corners and working toward flat sides. Finally, polish with rotary tools and felt points for a professional finish that’ll showcase advanced techniques ahead.
Measuring Your Stone and Calculating Bezel Dimensions
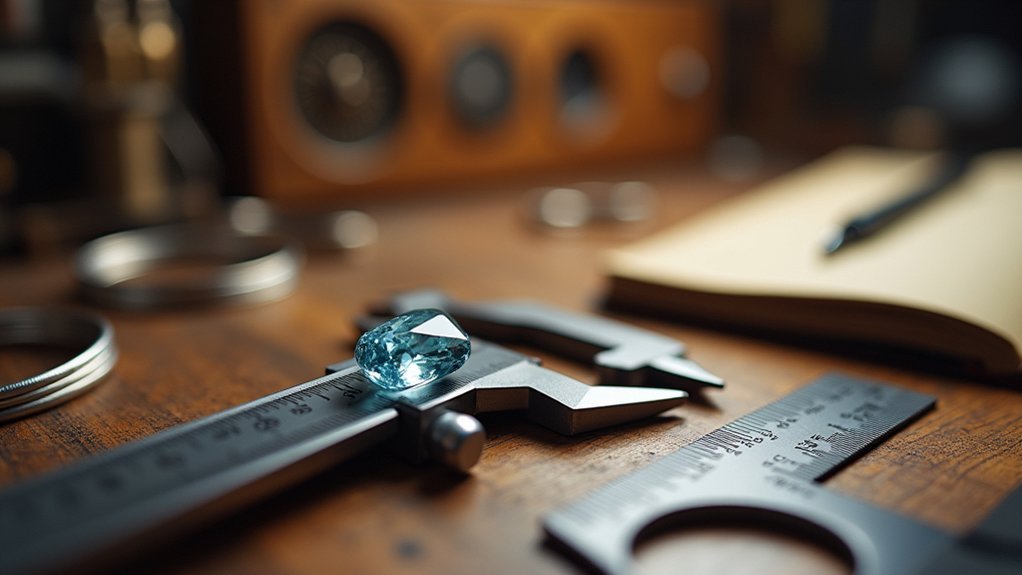
Before you can craft a proper bezel, you’ll need to take precise measurements of your stone using calipers or a ruler to record its exact length, width, and height dimensions.
These measurements guarantee your bezel will fit snugly around the stone without gaps or looseness.
Next, inspect your stone with a 10X loupe to spot any fractures or inclusions that might affect your bezel design.
To calculate the proper bezel height, multiply your stone’s height by 25% to 33% for secure setting without burying the stone.
For bezel length, wrap thin paper around the stone and mark where it meets, or use this formula for round stones: diameter multiplied by 3.5, plus 1.5mm for metal thickness.
Consider your stone’s overall shape and shoulder height when finalizing your design.
Shaping and Soldering Your Bezel Wire
With your measurements complete, you’ll start shaping your fine silver bezel wire, typically 30 gauge, around your stone. Creating a bezel requires careful manipulation to guarantee the wire overlaps slightly for security. Trim the height by cutting excess material, then file the ends flush to eliminate gaps.
For soldering the seam, apply flux and place hard solder inside the bezel wire. Heat until the solder flows evenly, creating a strong bond. After soldering, pickle the bezel to remove oxidation and rinse thoroughly.
| Step | Action |
|---|---|
| Shape | Wrap wire around stone |
| Trim | Cut to proper height |
| Flux | Apply to seam area |
| Heat | Until solder flows |
Gently reshape the bezel around your stone for a snug fit.
Creating the Perfect Backing and Assembly
Proper backing construction forms the foundation of your bezel setting and determines the overall strength of your finished piece. Cut your sterling silver sheet larger than the bezel to guarantee adequate support for your stone. Before beginning the soldering process, stamp any logos or signatures on the backing since heat can affect surface details.
Cut your sterling silver backing larger than the bezel and stamp details before soldering to ensure maximum structural support.
Follow these essential steps for perfect assembly:
- Position your bezel on a tripod and screen setup for even heating during soldering.
- Use hard or medium solder to securely attach the bezel, guaranteeing complete flow around the joint.
- Allow proper cooling time before handling your work.
- Trim excess silver with a jeweler’s saw for a perfect fit.
This careful approach guarantees your final piece maintains structural integrity while achieving professional results.
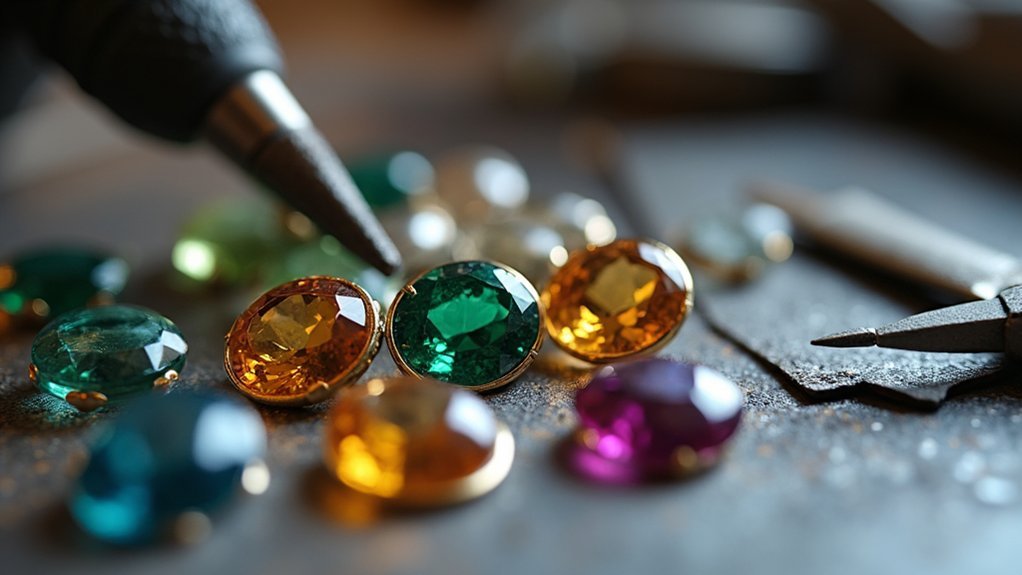
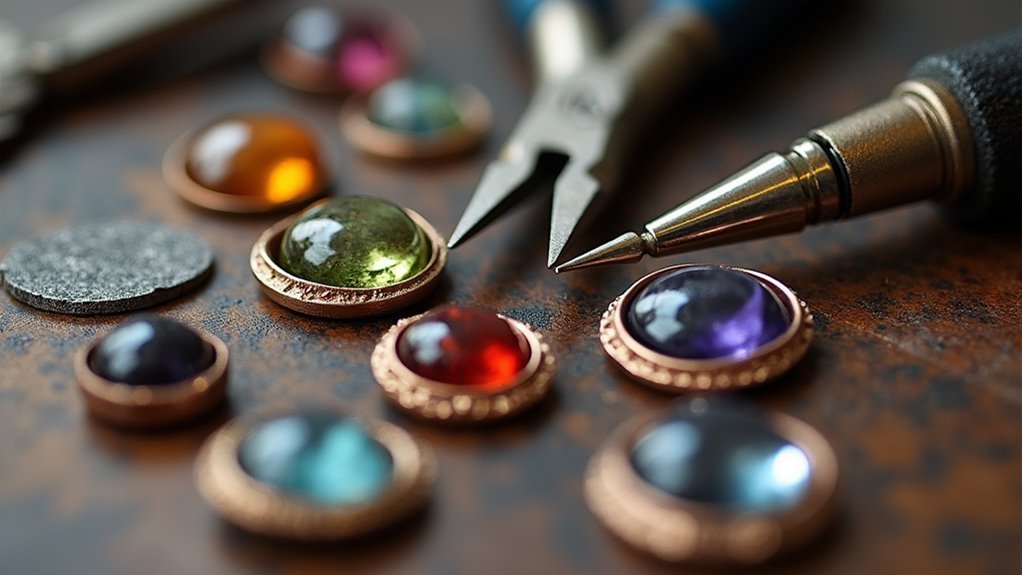
Setting Your Stone With Proper Tool Techniques
Once you’ve completed your backing assembly and prepared your bezel, the actual stone setting process begins with selecting the right tools for your specific project.
For thick bezels, use a hammer handpiece or punch, guaranteeing proper alignment with the bezel chamfer to achieve an even setting. Thinner bezels work better with a bezel rocker or burnisher, which doesn’t require chamfering and suits beginners perfectly.
Start burnishing at the corners, then work toward flat sides using gentle, even pressure. This technique prevents metal wrinkling while creating a smooth shift from bezel to stone. Ascertain no gaps remain that could collect debris.
After setting, polish your piece with a rotary tool and felt points for a professional finish that enhances your bezel height and overall appearance.
Finishing and Polishing Your Completed Bezel
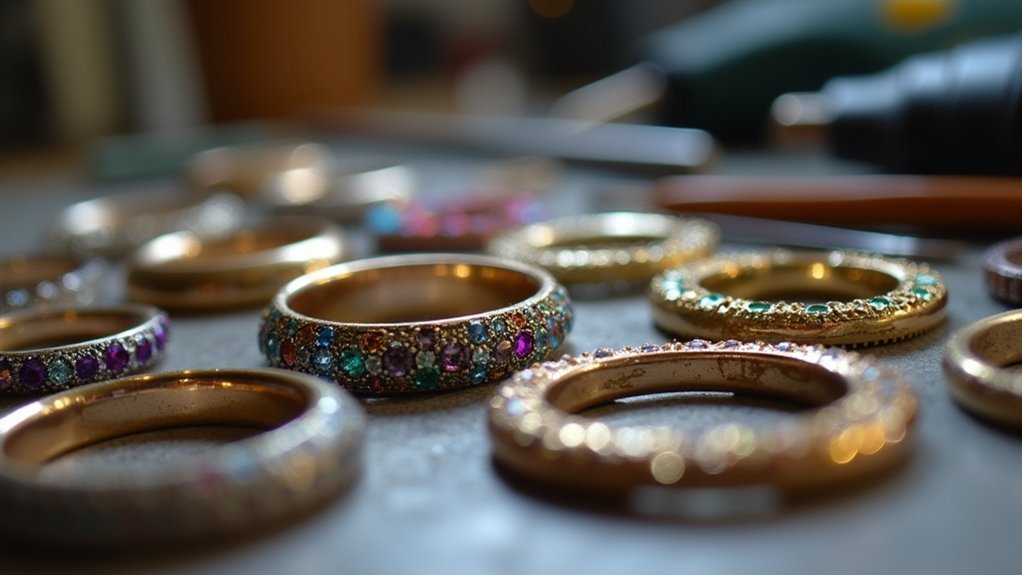
Transform your freshly set bezel into a professional-quality piece by carefully finishing and polishing every surface. Once you’ve secured your stone, these essential steps will elevate your work to professional standards.
- Clean thoroughly – Remove all solder residue and debris from the bezel surface before beginning any finishing work.
- Sand smoothly – Use 1000 grit sandpaper to carefully smooth the top edges of your bezel, creating clean lines around the stone.
- Polish professionally – Apply polishing compounds with a rotary tool and felt points to buff both the bezel and stone surfaces.
- Apply patina and burnish – Consider darkening the metal with patina solution, then use a burnisher to enhance shine and smoothness for the final finish.
Frequently Asked Questions
How to Create a Bezel Setting?
You’ll measure your stone, shape bezel wire around it, solder the seam, attach it to a backing sheet, then push the bezel over your stone using a burnisher for a secure fit.
What Are the Disadvantages of a Bezel Setting?
You’ll find bezel settings reduce your stone’s brilliance by blocking light. They’re heavier, harder to resize, and risk loosening if improperly made. The technique requires advanced skills and more time than simpler settings.
How Thick Should a Bezel Setting Be?
You should use 24 gauge bezel wire for most projects, as it’s durable and easy to manipulate. For rings, choose thicker 22 gauge since they’ll endure more wear than pendants or earrings.
What Is the Difference Between Gypsy and Bezel Setting?
You’ll find bezel settings completely surround your stone with metal for maximum protection, while gypsy settings sit flush with the surface, creating a sleek, minimalist look that’s more exposed.
In Summary
You’ve now mastered the fundamentals of bezel setting that’ll serve you well in your jewelry-making journey. Remember, precision in measuring and patience during each step are your best allies. Don’t get discouraged if your first attempts aren’t perfect – bezel setting improves with practice. Start with softer stones and gradually work up to harder materials. Keep your tools sharp, take your time, and you’ll create stunning professional-looking pieces.


Leave a Reply