You’ll discover that gold granulation isn’t just another jewelry technique—it’s an ancient art form that transforms simple wire into intricate, museum-quality pieces right in your workshop. While most jewelers shy away from this challenging process, you can master the precise heat control and placement skills needed to fuse tiny gold spheres onto metal surfaces. The secret lies in understanding exactly when those granules reach their critical temperature point.
Understanding the Ancient Art of Granulation

While modern jewelry-making techniques dominate today’s market, granulation stands as one of humanity’s most remarkable metalworking achievements, tracing its origins back 5,000 years to the ancient city of Ur in Sumer, Iraq.
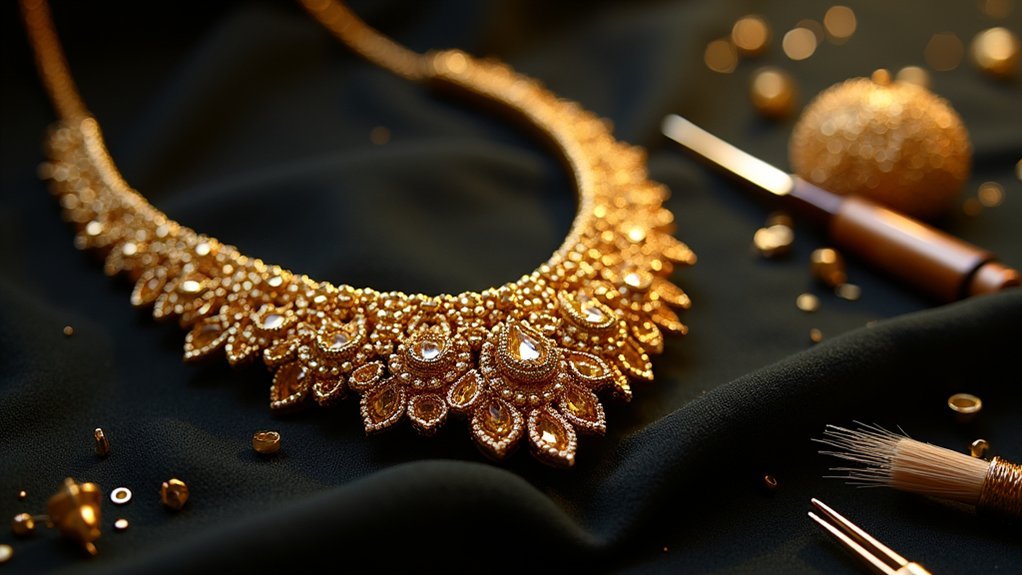
This sophisticated technique involves attaching tiny gold spheres, called granules, onto gold surfaces to create intricate decorative patterns.
You’ll discover that granules are made by carefully forming small gold spheres, then precisely positioning them on your base metal.
Ancient civilizations including Egyptians, Greeks, and Romans perfected this jewelry making art, creating ornate pieces that showcased extraordinary craftsmanship.
Throughout ancient times, artisans developed various methods like hard soldering, fusing, and colloidal soldering to secure these delicate elements, requiring masterful temperature control around 850 degrees Celsius.
Essential Tools and Safety Equipment for Gold Granulation
Before you begin creating beautiful granulated jewelry, you’ll need to gather proper safety equipment including an apron, safety glasses, and a mask to protect yourself from harmful fumes and metal particles.
Your essential metalworking tools should include measuring instruments like a ruler and permanent marker for precision, an air/acetylene torch for melting the metal, and a pickle pot for cleaning your finished granules.
Most importantly, you’ll need to prepare a charcoal block that creates the reducing atmosphere necessary to prevent oxidation during the heating process.
Safety Gear Requirements
Safety gear forms the foundation of any successful gold granulation project, protecting you from the inherent dangers of working with high-temperature torches and molten metal.
You’ll need safety glasses to shield your eyes from flying debris and brilliant sparks that occur during granulation. An apron protects your clothing and skin from hot metal splashes while you’re working with torches and molten materials. A mask prevents inhalation of toxic fumes and charcoal dust generated throughout the heating process.
Beyond personal protection, you’ll need a high-temperature charcoal block that creates a reducing atmosphere to prevent oxidation of your granules.
Proper workspace ventilation is essential for minimizing exposure to harmful gases released during soldering and granulation processes.
Essential Metalworking Tools
Precision drives every aspect of gold granulation, making your tool selection critical to achieving professional results.
You’ll need a charcoal block as your foundation – it provides controlled heating while preventing metal oxidation during the granule formation process. An air/acetylene torch delivers the precise temperature control necessary for reaching gold’s melting point without over-melting your pieces.
Measuring tools like rulers and permanent markers guarantee uniformity when cutting metal into appropriately sized pieces before making granules.
A soldering pick becomes essential for manipulating hot granules during formation, while a pickle pot handles post-heating cleanup to remove any oxidation.
These metalworking tools work together seamlessly, transforming raw gold into perfectly formed granules ready for your jewelry designs.
Charcoal Block Preparation
Your charcoal block requires specific preparation steps to create the perfect foundation for forming uniform gold granules.
Start by placing paper towels underneath to catch dust generated during drilling. Use a screwdriver or mini file to create holes, maintaining 3-4mm gaps between each hole for proper granule formation. This spacing guarantees your gold particles develop evenly without interference.
Secure the charcoal block with binding wire to prevent cracking during heating. The wire keeps everything stable while you work with high temperatures.
After drilling’s complete, clean up any charcoal dust thoroughly before proceeding. A tidy workspace prevents contamination and safety hazards.
Always wear essential safety gear: apron, safety glasses, and mask. These protect you from dust particles and potential debris during the preparation process.
Preparing Your Charcoal Block Mold
Before you begin drilling holes in your charcoal block, place paper towels underneath to catch the fine dust that’ll inevitably scatter during the process. This preparation step for charcoal block granulation prevents contamination and keeps your workspace clean.
Use a screwdriver or mini file to carefully create holes in the block, maintaining consistent 3-4mm gaps between each hole. This spacing guarantees ideal granule formation when you heat the metal. Work slowly and deliberately to avoid cracking the material.
Once you’ve drilled your holes, secure the entire block with binding wire. This prevents cracking during the heating process and provides stability while you work.
After drilling, thoroughly clean away any remaining charcoal dust before proceeding with your granulation project.
Measuring and Cutting Gold Wire for Perfect Granules

You’ll need to select the right wire gauge for your granules, with 22 gauge gold wire being ideal for creating consistent 2-3mm pieces.
Use a ruler to measure each section precisely, ensuring uniform lengths that’ll produce evenly-sized granules when melted.
Cut with sharp wire cutters to create clean edges, which helps the wire form perfect spherical granules during the heating process.
Wire Gauge Selection
Three critical factors determine the success of your granulation: wire gauge, cutting precision, and segment uniformity. When selecting wire for granulation, you’ll want 22 gauge sterling silver wire as your ideal choice. This thickness provides the perfect balance between manipulation ease and granule size control.
| Wire Gauge | Granule Size | Best Use |
|---|---|---|
| 20 gauge | Large (3-4mm) | Bold designs |
| 22 gauge | Medium (2-3mm) | General work |
| 24 gauge | Small (1-2mm) | Fine details |
While you might be accustomed to making jump rings with thicker silver wire, granulation requires this specific gauge for best results. The 22 gauge thickness melts uniformly, creating consistently sized spherical granules that’ll enhance your jewelry’s texture and visual appeal.
Precise Measurement Techniques
Since precision determines the quality of your granules, measuring and cutting gold wire requires meticulous attention to detail.
You’ll want to use a ruler to mark your fine gold wire into uniform lengths, typically cutting pieces between 1mm to 2mm for ideal granule size. Use a permanent marker to indicate cutting points, ensuring consistency across all pieces when making your granules.
Employ wire cutters or a fine saw to snip the wire, maintaining steady hands for clean cuts without fraying.
After cutting, sort your pieces using a sieve to separate various sizes for even application. Before heating, lightly moisten the cut pieces to prevent oxidation during the melting process, ensuring successful granule formation for your jewelry project.
Clean Cutting Methods
While precision matters in every step of granulation, the cutting method you choose directly impacts the quality of your final granules. When working with gold, clean cutting methods guarantee even melting and professional results. Use precision wire cutters or sharp shears to create uniform pieces of gold between 1-3 mm in length. Clean cuts prevent jagged edges that interfere with the melting process.
| Tool Type | Best For | Cut Quality |
|---|---|---|
| Wire Cutters | Standard cuts | Clean, precise |
| Fine Shears | Detailed work | Ultra-smooth |
| Flush Cutters | Close trimming | Flat surfaces |
| Side Cutters | General cutting | Good control |
Always wear safety glasses and a mask while cutting to protect against metal shards. Sort your cut pieces by size for controlled placement during granulation.
Creating Uniform Gold Granules Through Heat Application
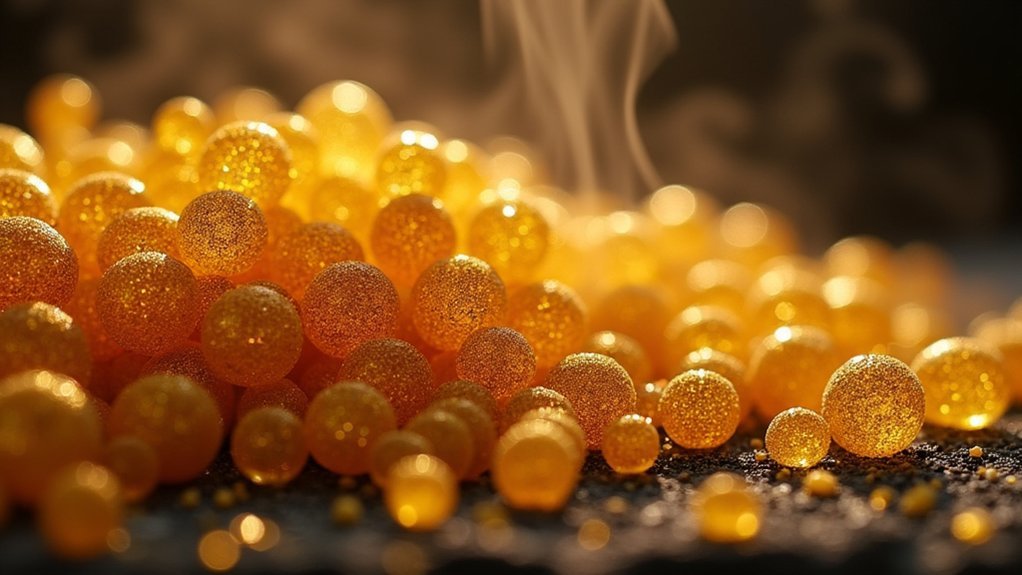
The foundation of exceptional gold granulation lies in creating perfectly uniform spherical granules through controlled heat application.
Start by cutting fine gold wire into equal 1-2mm pieces, ensuring consistency in granule size. Unlike silver, gold requires precise temperature control at 1,064 degrees Celsius.
Place your cut pieces onto a charcoal block, which creates a reducing atmosphere that prevents oxidation during heating.
Use your torch to heat the gold pieces until they reach melting point, watching them transform into perfect spheres. Make sure you don’t create different sizes by maintaining consistent heat application.
Allow the charcoal block to cool for 5-10 minutes before gently removing granules with a soldering pick.
Clean them thoroughly in a pickle bath to remove any oxidation, ensuring they’re ready for application.
Cooling and Removing Granules From the Charcoal Block
Once your gold granules have formed their perfect spherical shapes, patience becomes essential as you wait for the charcoal block to cool completely.
Allow 5-10 minutes of cooling time to prevent burns and guarantee safe handling. When it’s cooled, carefully tilt the charcoal block to let gravity help dislodge the granules from their holes.
If stubborn granules remain stuck, use a soldering pick to gently encourage them out without causing damage. Always handle the granules with tweezers to avoid contamination or damage from your fingers.
Once you’ve successfully removed all granules, clean them immediately in a pickle bath to eliminate any oxidation that occurred during the heating process.
Cleaning Granules in a Pickle Bath
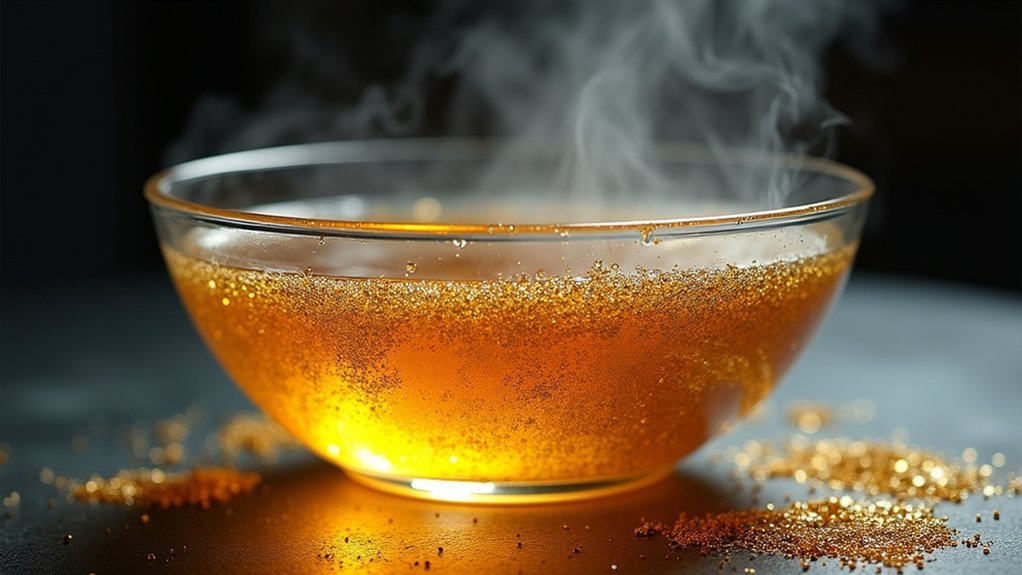
After removing your granules from the charcoal block, you’ll need to clean them in a pickle bath to eliminate oxidation and fire scale that formed during heating.
A pickle bath consists of water mixed with mild acid like sodium bisulfate or white vinegar, which cleans metal surfaces without harsh abrasives.
Follow these essential steps for proper cleaning:
- Submerge granules in the pickle bath for 10-15 minutes to guarantee thorough cleaning and achieve a bright finish
- Avoid using steel tongs when handling pieces, as they’ll cause copper plating on your gold granules
- Use plastic or copper tongs instead to prevent contamination
- Rinse granules thoroughly with fresh water after pickling to stop the acid’s action and remove residue
This cleaning process prepares your granules for the next stage of jewelry creation.
Optional Sanding Techniques for Granule Stability
You can sand one side of your granules to create a flat surface that prevents them from rolling during placement.
This technique involves gently working fine-grit sandpaper across the granules to maintain their shape while improving stability.
The flattened surface won’t only keep granules in position but also enhances adhesion when you’re ready to solder them to your jewelry piece.
Preventing Granule Rolling Issues
One common frustration you’ll encounter when placing granules is their tendency to roll around on your work surface, making precise positioning nearly impossible.
Sanding creates a flat surface that dramatically improves stability and prevents unwanted movement during application.
When you sand granules, you’ll increase the surface area contact with your metal base, which enhances adhesive effectiveness.
Here’s how to sand properly:
- Use fine-grit sandpaper to avoid damaging the granule’s appearance
- Sand just one side to create a flat surface while maintaining the rounded aesthetic
- Complete sanding immediately before application to preserve shine and prevent oxidation
- Test different techniques on sample granules first to determine your preferred method
This simple preparation step transforms frustrating placement into controlled, precise positioning.
One-Side Sanding Method
Creating a stable flat surface on granules requires the strategic one-side sanding method, which transforms spherical pieces into hemisphere-shaped elements with enhanced positioning control.
You’ll sand one side of each granule to prevent rolling during application, creating a larger contact area that guarantees superior adhesion when soldering or fusing.
Use fine-grit sanding tools and work gently to avoid greatly altering granule size, preserving your design’s aesthetic integrity. The smooth finish you’ll achieve promotes uniform appearance in your final piece.
After sanding, thoroughly clean each granule to remove dust and debris that could interfere with the bonding process. This careful preparation step guarantees ideal results when you’re ready to fuse or solder your granules onto the jewelry piece.
Enhanced Adhesion Benefits
While maintaining granule integrity remains paramount, strategic sanding delivers measurable improvements in bonding strength that can elevate your finished piece’s durability.
When you create flat contact surfaces through careful sanding, you’re dramatically increasing the surface area that touches your jewelry base. This expanded contact zone translates directly into stronger mechanical bonds during the fusing process.
The adhesion benefits you’ll achieve include:
- Increased surface contact – Flat surfaces create more metal-to-metal connection points
- Reduced movement risk – Stable granules won’t shift during heating cycles
- Better heat transfer – Improved contact ensures even temperature distribution
- Professional consistency – Uniform positioning creates cleaner, more predictable results
You’ll notice immediately how sanded granules stay exactly where you’ve placed them, eliminating the frustration of pieces rolling out of position mid-process.
Preparing Your Gold Dome Base
Before placing any granules, you’ll need to establish a solid foundation by creating a small gold dome that serves as your base structure. Shape your dome smoothly and evenly to guarantee ideal granule placement later.
Once you’ve formed the dome, fuse a small gold ring onto its surface. This ring creates a structured area where your granules will adhere during the granulation process.
The ring acts as an anchor point, providing structure and control for precise granule positioning during the delicate fusion process.
Next, prepare your adhesive solution by mixing flux with copper salts. Apply this glue mixture to both the dome and ring surfaces.
Using your torch, carefully burn off the moisture from the glue until it turns dark brown—this indicates it’s ready for granule application. While heating, maintain precision to melt and fuse the ring without using excessive heat that could disturb granule placement.
Mixing and Applying Glue Solutions
You’ll need to create a glue solution by mixing flux and copper salt with water to secure your granules during the fusing process.
Apply this mixture to your workpiece’s surface, then dip each granule into the solution before placement to guarantee they stay positioned exactly where you want them.
Let the glue dry gently with low heat until it turns dark brown, which signals it’s ready for the final fusing stage.
Glue Solution Preparation
Although traditional goldsmithing techniques might seem intimidating, preparing an effective glue solution for granulation requires only a few simple ingredients and careful attention to consistency.
You’ll need to mix equal parts water and natural adhesive like tragacanth or gum arabic until you achieve a thick, syrupy texture. This consistency guarantees your granules stay positioned during heating.
Follow these essential steps for best results:
- Add a small amount of copper salt to enhance bonding properties
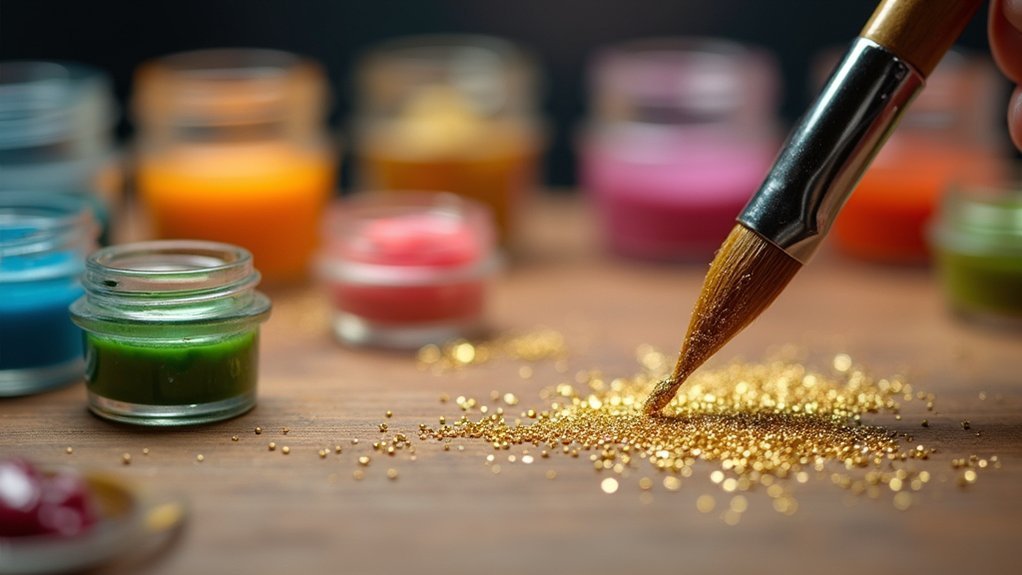
- Apply the solution evenly using a brush or applicator for precise control
- Let it dry until it turns dark brown, indicating proper moisture evaporation
- Dip each granule in the solution before placement for temporary securing
This preparation creates the foundation for successful granule fusion to your gold surface.
Application and Drying
With your glue solution properly prepared, you can now begin the precise application process that determines your granulation’s success. Dip each granule individually into the glue mixture, ensuring complete coating before carefully positioning it on your jewelry piece. The glue’s natural tension will hold granules in place, preventing unwanted movement during the critical drying phase.
| Step | Temperature | Duration | Visual Cue | Action |
|---|---|---|---|---|
| Initial Drying | Low heat | 2-3 minutes | Light brown | Continue heating |
| Full Drying | Gentle heat | 3-5 minutes | Dark brown | Ready for fusion |
| Pre-fusion | Medium heat | 1-2 minutes | No color change | Prepare for final heat |
| Fusion Stage | High heat | 30-60 seconds | Slight glow | Monitor carefully |
| Cooling | No heat | 5+ minutes | Return to normal | Complete |
Apply gentle, indirect heat to dry the glue gradually, watching for the telltale dark brown color indicating readiness for the final fusion process.
Precise Granule Placement on Metal Surfaces
Once you’ve prepared your granules, placing them precisely on the metal surface becomes the foundation for creating intricate patterns and designs.
You’ll need to position each granule individually using adhesive solutions to temporarily secure them before fusing.
Your adhesive options include:
- Modern approach: Mix flux with copper salt for reliable adhesion
- Traditional method: Use flour paste or tragacanth for natural bonding
- Advanced technique: Apply copper and organic compounds for superior hold
- Visual cue: Watch for dark brown color change indicating dried adhesive
The glue solution’s tension maintains granule positioning during heating, preventing movement that could ruin your design.
Surface tension from the adhesive acts as your invisible assistant, locking granules in place while heat transforms your careful arrangement into permanent art.
Take time arranging each piece carefully—this meticulous placement directly impacts your jewelry’s final aesthetic appeal and professional appearance.
Mastering the Final Fusing Process
Precision becomes your greatest ally during the final fusing process, where controlled heat application transforms carefully placed granules into permanent decorative elements.
Watch for the brown color change in your glue—this signals it’s time to apply heat. You’ll need to reach the exact melting point that creates a strong bond without melting your entire piece or disturbing granule placement.
Apply heat gradually and maintain careful control throughout the process. If some granules don’t fuse initially, don’t worry—you can repeat the process until all granules attach securely.
This technique offers distinct advantages over soldering since it creates seamless bonds without introducing additional materials, preserving your jewelry’s integrity and achieving professional-quality results.
Troubleshooting Common Granulation Challenges
Even experienced artisans encounter setbacks during granulation, but understanding these common challenges helps you achieve consistent results.
Mastering granulation requires patience and practice—even seasoned craftspeople face challenges while perfecting this delicate metalworking technique.
When granules don’t adhere properly during fusing, you’ll need to troubleshoot several potential issues:
- Temperature control: Maintain consistent heat at 850°C and guarantee your glue solution is completely dried before heating.
- Surface preparation: Clean your metal surface thoroughly and check soldering material quality to remove any contaminants.
- Positioning problems: Use thicker adhesive if granules roll off, and verify the glue solution has fully set before applying heat.
- Oxidation prevention: Create a reducing atmosphere using a charcoal block while avoiding excessive oxygen exposure.
Additionally, sorting granules by size before application prevents uneven heating and improves overall adherence for professional-looking results.
Finishing and Polishing Your Granulation Jewelry
After resolving granulation challenges and successfully fusing your granules to the base metal, you’ll need to transform your rough creation into a polished masterpiece. Start by immersing your jewelry in a pickle bath to remove oxidation and heating residue, ensuring a clean surface.
| Step | Tool/Material | Technique |
|---|---|---|
| 1 | Pickle bath | Remove oxidation completely |
| 2 | Brass brush | Gentle circular motions |
| 3 | Polishing compound | Apply with soft cloth |
| 4 | Warm water | Thorough rinsing required |
| 5 | Microfiber cloth | Dry to prevent spots |
Use a brass brush or soft cloth to gently polish without damaging delicate granules. Apply gold-specific polishing compound in circular motions, then rinse thoroughly with warm water. Dry with microfiber cloth and inspect under good lighting for final touch-ups.
Frequently Asked Questions
What Are the Techniques of Granulation Jewelry?
You’ll use hard soldering with lower melting materials, fusing with heat alone, or colloidal soldering with mixtures. Position granules using organic glues, then apply precise heat around 850°C to bond without melting.
Which Ancient Technique Involves the Use of Tiny Beads or Granules of Metal to Decorate a Jewelry Piece?
The ancient technique you’re looking for is granulation. You’ll create decorative patterns by affixing tiny metal beads or granules onto jewelry surfaces, a method that’s been used for over 5,000 years.
How Are Gold Granules Made?
You’ll snip fine gold wire into tiny, uniform pieces, then place them on a charcoal block. Heat the pieces with a torch until they melt and form spherical granules, creating perfect decorative elements.
In Summary
You’ve now mastered the fundamentals of gold granulation jewelry making. With practice, you’ll develop the precision needed for consistent results and stunning pieces. Don’t get discouraged if your first attempts aren’t perfect—this ancient technique requires patience and repetition. Keep experimenting with different granule sizes and placement patterns. Soon you’ll be creating unique, professional-quality jewelry that showcases your newfound metalworking skills and artistic vision.


Leave a Reply