To cut perfect emerald steps, you’ll need to maintain a precise 1.08 length-to-width ratio and target dimensions of approximately 6.2mm by 5.7mm. Start by positioning your rough stone at exactly 90 degrees in your spindle farm machine, then progress through diamond grits from 1,200 to 8,000 for systematic cutting. Keep crown angles at precisely 45 degrees throughout the process and finish with cerium oxide polishing on ultra lap for professional brilliance. The techniques below will transform your approach completely.
Understanding Emerald Replacement Requirements and Dimensions
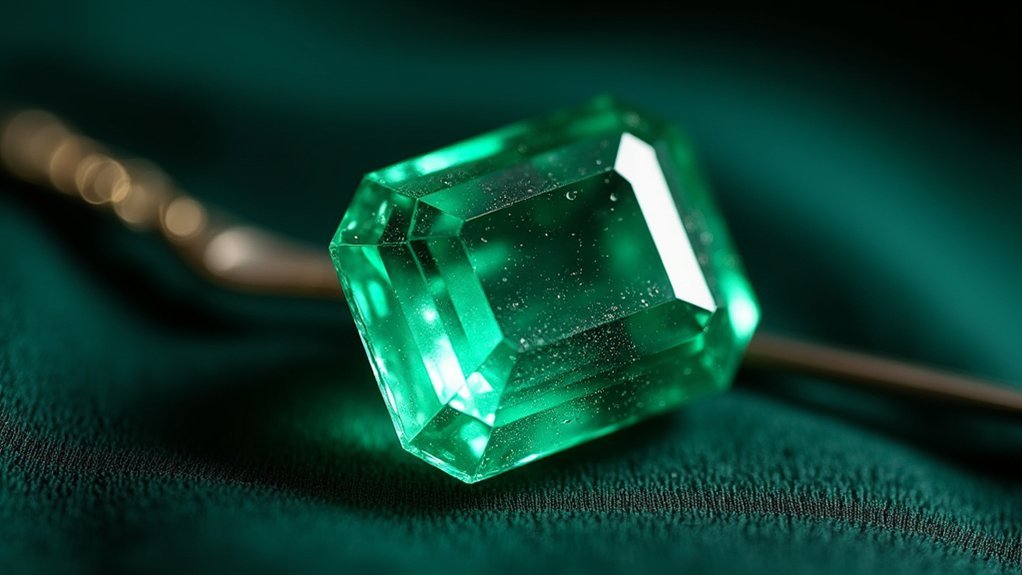
When replacing an emerald, you’ll need to start with precise measurements of the original stone to guarantee an accurate fit. Your original emerald measures 6.16mm by 5.69mm with an essential length to width ratio of 1.08.
You’ll want to aim for replacement dimensions of approximately 6.2mm by 5.7mm, starting with rough material around 8mm wide that requires trimming.
Since natural emeralds are cut to maximize yield rather than standardized sizes, you’ll face unique challenges. The 1.08 ratio presents particular difficulty—only one gem faceting diagram exists for this specification, while ratios like 1.33 offer many more options.
Natural emeralds prioritize yield over standardization, making the 1.08 ratio exceptionally challenging with limited faceting diagram options available.
Fortunately, the cutting process allows ratio adjustments, giving you flexibility to customize the stone and achieve your desired specifications while maintaining the proper proportions.
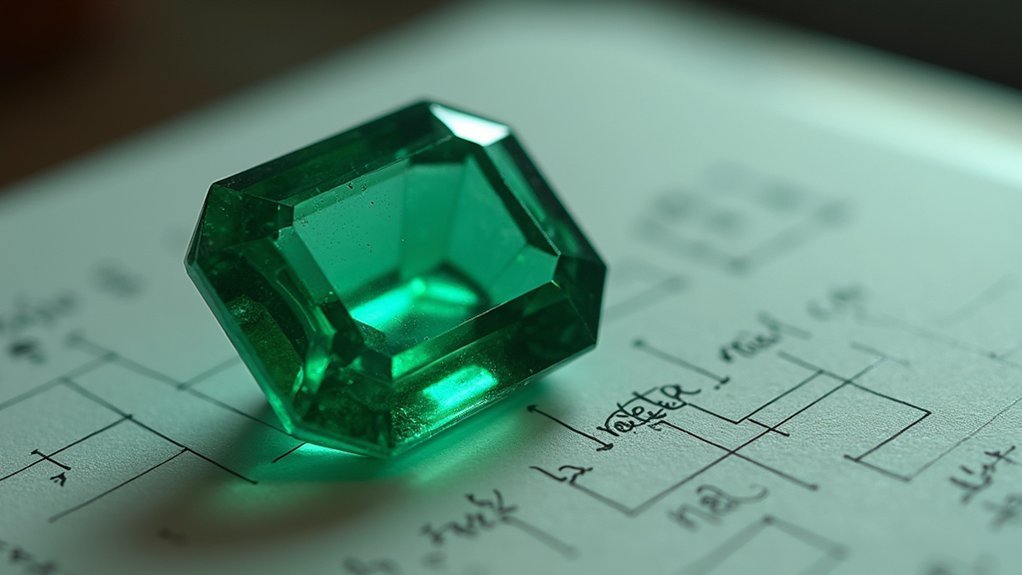
Selecting the Right Gem Faceting Diagram for Your Project
When you’re selecting a gem faceting diagram for your emerald project, you’ll need to match your desired length-to-width ratio carefully—while some ratios like 1.083 offer only one diagram option, popular ratios like 1.33 provide access to 44 different designs.
You should utilize the “show open diagrams with gem CAD files” feature to find usable designs that can be customized for your specific emerald cut requirements. This approach greatly increases your chances of achieving the exact dimensions you’re targeting for your finished stone.
Length-Width Ratio Considerations
Before you begin cutting your emerald, you’ll need to select a faceting diagram that matches your desired length-to-width ratio. Unlike round and square cuts with fixed 1.0 ratios, emerald cuts offer flexibility during the cutting process to adjust proportions.
For precise emerald cutting, consider these three approaches:
- Standard diagrams – Search for existing patterns matching your target ratio of 1.08, though only one diagram currently exists for the specific 1.083 ratio.
- Open diagrams – Check the option to “show open diagrams with gem CAD files” for additional suitable designs.
- Custom designs – Use Gem CAD software to create personalized faceting patterns while contributing to the shared database.
This careful selection guarantees your replacement stone maintains the original aesthetic and proportional integrity.
Open Diagram Resources
Since finding the perfect emerald diagram can prove challenging with limited standard options, you’ll want to explore open diagram resources that expand your cutting possibilities. Check the “show open diagrams with gem CAD files” option to access usable designs for your project. These resources provide detailed cutting instructions that guarantee precision throughout your faceting process.
| Resource Type | Availability | Key Features |
|---|---|---|
| Standard Diagrams | 44 options (1.33 ratio) | Pre-made templates |
| Custom Ratios | 1 option (1.083 ratio) | Specialized cuts |
| Gem CAD Files | Unlimited potential | User-created designs |
You can also create custom facet diagrams using Gem CAD software, which offers a 30-day free trial. This allows you to design specific cuts and contribute your creations to the shared database, helping other gem cutters access diverse cutting options.
Working With Length to Width Ratios in Emerald Cuts
Achieving the perfect emerald cut depends heavily on mastering the length to width ratio, which determines the stone’s overall proportions and visual appeal. The ideal length to width ratio for emeralds typically sits around 1.08, meaning a 5.7mm width requires approximately 6.2mm length for balanced appearance.
Perfect emerald proportions require mastering the critical 1.08 length to width ratio for optimal visual balance and appeal.
You’ll need to focus on three critical aspects during cutting:
- Precise alignment – Position your stone at exactly 90 degrees to guarantee accurate cutting according to your desired ratio.
- Tooth configuration selection – Use 96 tooth for fine adjustments and 48 tooth for width modifications to achieve specific dimensions.
- Consistent polishing angles – Maintain proper angles throughout all grit changes to preserve ratio integrity.
Emerald cuts offer flexibility in adjusting ratios during cutting, letting you accommodate specific design preferences while maintaining aesthetic balance.
Setting Up Your Spindle Farm Machine for Precision Cutting
You’ll need to reset your block and stone into the spindle farm machine with the long side positioned at a precise 90-degree angle to guarantee accurate cutting.
Proper machine alignment and calibration are critical for achieving the specific emerald dimensions of approximately 6.2mm by 5.7mm.
Your block positioning technique must account for both initial setup accuracy and the ability to maintain alignment throughout the cutting process.
Machine Alignment and Calibration
When precision determines the difference between a flawless emerald cut and costly rough loss, proper machine alignment becomes your most critical foundation.
You’ll need to execute systematic calibration checks before beginning any cutting operation to guarantee your spindle farm machine delivers the exact 6.2mm by 5.7mm dimensions required.
Your machine alignment process should include:
- Angle verification – Confirm the spindle maintains a precise 90-degree alignment with the cutting surface
- Dimensional calibration – Set length-to-width ratio controls to achieve the target 1.083 ratio
- Spindle inspection – Check for any deviation during operation that could affect cut quality
You’ll want to perform these calibration checks consistently, as even minor misalignments can compromise your emerald’s final proportions and increase material waste during the cutting process.
Block Positioning Techniques
Precision block positioning forms the backbone of successful emerald cutting, demanding meticulous attention to your spindle farm machine setup.
You’ll need to reset both the block and stone into the spindle farm machine carefully. Align the emerald’s long side at a 90-degree angle for ideal accuracy during cutting.
Adjust the block positioning techniques to accommodate your desired length-to-width ratio, especially when working with emeralds that typically feature ratios like 1.08.
Select the appropriate diamond grits based on your cutting requirements: use 24 tooth and 72 tooth grits for length adjustments, while 96 tooth and 48 tooth grits work best for width modifications.
Proper block positioning guarantees your emerald maintains structural integrity throughout the cutting process, setting the foundation for subsequent polishing stages.
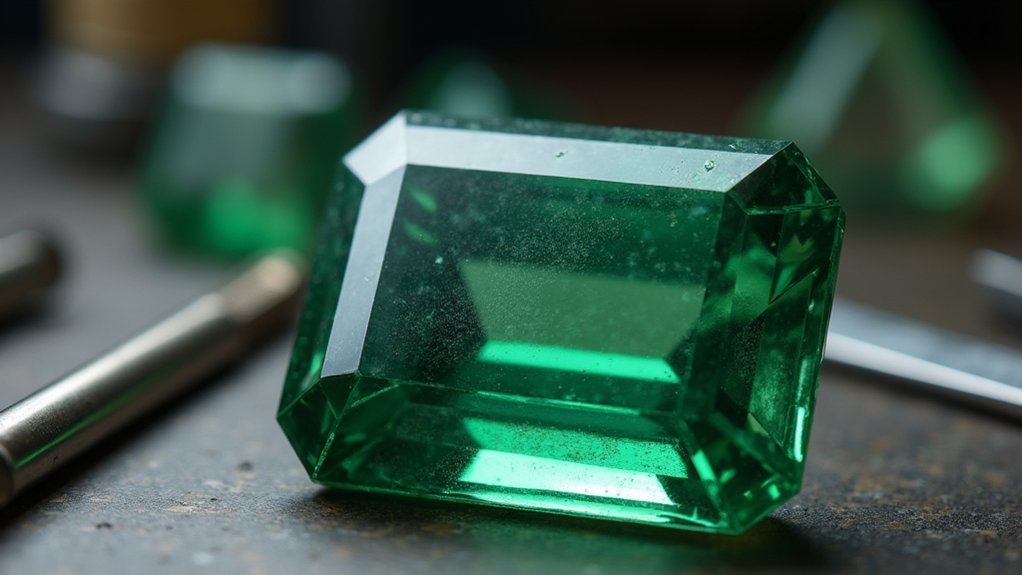
Chatham Emeralds as Quality Replacement Stones
Although natural emeralds present cutting challenges due to their inclusions and brittleness, Chatham emeralds offer a superior alternative for replacement stones that eliminates many traditional obstacles.
You’ll find these lab-created gems provide exceptional precision and quality, allowing you to cut to maximize the stone’s potential without worrying about structural weaknesses.
When working with Chatham emeralds for replacements, you can:
- Achieve exact dimensions – Cut stones to specific measurements like 6.2mm by 5.7mm for perfect setting fits
- Minimize material waste – Experience considerably less rough loss during the cutting process
- Adjust proportions dynamically – Fine-tune length-to-width ratios on-the-fly for ideal results
Their consistent clarity and reliable structure make Chatham emeralds your go-to choice for high-quality replacements without the premium cost of natural stones.
Essential Tools and Diamond Grits for Emerald Cutting
You’ll need specific diamond grits and precision equipment to achieve professional emerald step cuts that rival natural stones.
Your setup should include a spindle farm machine for proper stone alignment, along with carefully selected diamond grits ranging from coarse cutting grades to ultra-fine polishing compounds.
The key lies in understanding which grit sizes work best for different cutting phases and how to progress systematically through each polishing stage.
Diamond Grit Selection Guide
When cutting emerald steps, selecting the right diamond grit sequence determines whether you’ll achieve professional-quality results or end up with a subpar finish.
Your diamond grit selection should follow a systematic progression from coarse to fine grits.
Here’s your essential grit sequence:
- Initial shaping: Start with 1,200 grit to establish the emerald’s basic shape and remove rough material efficiently.
- Preforming adjustments: Use 24 and 72 tooth grits for length setting, while 48 and 96 tooth grits handle width modifications.
- Pre-polish preparation: Progress to 14,000 grit on a bat lap before smoothly moving on to cerium oxide.
You’ll need to shift from 8,000 grit to cerium oxide for flawless crown cuts.
Complete your polish using cerium oxide on an ultra lap with water application to maintain stone integrity.
Precision Cutting Equipment Setup
Setting up your precision cutting equipment correctly forms the foundation of successful emerald cutting, requiring specific tools and a systematic approach to achieve professional results.
You’ll need to reset your block and stone into the spindle farm machine, ensuring the long side aligns at a precise 90-degree angle for accurate cutting.
Your precision cutting equipment setup requires specific diamond grits: use 96 and 48 tooth grits for width adjustments during preforming, while 24 and 72 tooth grits handle length settings.
Start crown cutting with 1,200 grit, progressing to higher grits while maintaining a 45-degree angle.
Complete your setup with a bat lap for pre-polishing using 14,000 diamond grit and an ultra lap for cerium oxide final polishing.
Progressive Polishing Techniques
Progressive polishing transforms your rough-cut emerald into a brilliant finished gemstone through a carefully orchestrated sequence of grits and techniques.
You’ll begin with pre-polishing using 14,000 diamond grit on a bat lap to achieve that vital smooth surface foundation.
Your crown cutting process requires specific attention when you cut the table, shifting from initial 1,200 grit through progressively higher grits.
Maintain that essential 45-degree angle throughout the polished finish.
The complete progressive sequence involves:
- Preforming stage: Use 96 and 48 tooth diamond grits for width adjustments, plus 24 and 72 tooth grits for length settings.
- Pre-polishing phase: Apply 14,000 diamond grit on bat lap for surface preparation.
- Final polishing: Utilize cerium oxide on ultra lap with water to maintain lap position.
This systematic approach guarantees your rectangular step cut achieves professional-quality results.
Preforming Techniques for Width and Length Adjustments
Since emerald cuts require precise dimensional control, you’ll need to master the strategic use of different diamond grit sizes during preforming. Use 96 tooth and 48 tooth diamond grits for width adjustments while maintaining your desired length dimensions.
Mastering diamond grit selection during preforming ensures the precise dimensional control that emerald cuts demand for professional results.
For length modifications, employ 24 tooth and 72 tooth grits to achieve specifications of approximately 6.2mm by 5.7mm.
Make sure you align the stone properly in your spindle farm machine with the long side positioned at 90 degrees. This positioning enables accurate dimensional adjustments throughout the preforming process.
You can make on-the-fly adjustments to the length-to-width ratio, which proves invaluable when working with emerald’s unique proportions. Control cutting angles and pressures carefully to minimize rough loss during preforming operations.
Creating the Perfect Pavilion Cut
After completing your preforming work, you’ll focus on achieving the critical 1.08 length-to-width ratio that defines exceptional emerald pavilions.
Position your stone’s long side at 90 degrees in the spindle farm machine to guarantee uniformity across all pavilion facets during cutting.
Your pavilion requires a precise 45-degree crown angle to balance visual appeal with structural integrity. This angle is fundamental for ideal light reflection and brilliance in your finished emerald.
Follow this grit progression for superior results:
- Start with 1,200 grit for initial cutting work
- Progress systematically through medium grits
- Finish with 8,000 grit for final polishing
This methodical approach creates a smooth, polished pavilion surface that enhances clarity while maintaining the geometric precision essential for professional emerald step cutting.
Crown Cutting Methods and Angle Settings
With your pavilion complete, you’ll now focus on crown cutting techniques that require the same 45-degree angle for proper step cut geometry. Crown cutting methods demand precision to maximize your emerald’s brilliance while maintaining the rectangular step design.
Start with a 1,200 grit diamond wheel for initial crown shaping. During preforming, you’ll use specific tooth counts to establish accurate dimensions:
| Stage | Grit/Tool | Purpose | Angle |
|---|---|---|---|
| Initial | 1,200 grit | Crown shaping | 45° |
| Preform | 24 tooth | Length setting | 45° |
| Preform | 72 tooth | Width setting | 45° |
| Final | Cerium oxide | Polish/brilliance | 45° |
Progress through higher grits systematically, shifting from 8,000 grit to cerium oxide for your final polish. This guarantees the smooth, reflective surface that’s essential for your emerald’s characteristic brilliance.
Pre-Polishing With Diamond Grit on Bat Lap

Shift to pre-polishing your emerald using a bat lap equipped with 14,000 diamond grit to achieve the smooth surface foundation necessary for your final polish.
This vital stage requires precision and patience as you prepare each facet for the cerium oxide finishing process.
Apply water to your bat lap to secure the diamond grit and reduce friction during the polishing process.
Water application ensures proper grit adhesion to your bat lap while minimizing heat buildup that could compromise your emerald’s integrity.
Maintain consistent pressure and angle throughout each pass to prevent uneven surfaces that’ll compromise your emerald’s final appearance.
Follow these essential pre-polishing guidelines:
- Choose appropriate grit size – 14,000 diamond grit prevents excessive rough loss while effectively smoothing surfaces
- Monitor pressure consistency – Uneven pressure creates irregular facets that complicate final shaping
- Control temperature – Water application prevents overheating that can damage your emerald’s structure
Final Polishing Using Cerium Oxide on Ultra Lap
You’ll shift to cerium oxide on your ultra lap for the final polishing stage that transforms your emerald’s surface into a brilliant, mirror-like finish.
Start by positioning your master lap with the shiny side down and applying water to stabilize the ultra lap during this critical process.
Your cerium oxide application technique must be precise as you maintain that 45-degree crown angle to achieve the high-gloss result you’re after.
Cerium Oxide Application Technique
After completing the progressive grit sequence up to 8,000 diamond, you’ll shift to cerium oxide on an ultra lap for the final polishing stage that creates the brilliant luster emeralds are prized for.
This change marks the critical phase where your emerald achieves its signature gleaming finish.
Position your ultra lap with the shiny side down and secure it using water. This setup guarantees peak cerium oxide performance during polishing.
Maintain your 45-degree angle on the crown cut throughout this process to preserve the emerald’s optical properties.
Follow these essential steps for proper cerium oxide application:
- Apply cerium oxide evenly across the ultra lap surface
- Keep consistent pressure while maintaining the 45-degree crown angle
- Monitor the polish development to achieve maximum brilliance
This technique transforms your emerald from merely cut to professionally finished.
Ultra Lap Setup Process
Before moving to cerium oxide, verify your ultra lap is properly configured for best polishing results.
Position the ultra lap shiny side down on a stable surface, confirming it won’t shift during polishing. Apply water to hold the lap securely in place throughout the final polishing process of your emerald cut.
You’ll shift from 8,000 grit diamond to cerium oxide on this ultra lap to achieve that high-quality finish.
Make sure you’ve completed pre-polishing with 14,000 diamond grit first—this guarantees your surface is smooth and ready for cerium oxide application.
Pay careful attention to positioning and pressure during polishing.
Maintain consistent technique to minimize scratches and maximize shine on your emerald cut. Proper setup now prevents issues later.
Achieving Mirror-Like Finish
Cerium oxide delivers the mirror-like finish that transforms your emerald cut from good to exceptional. This final polishing stage requires precise technique to achieve the desired shape and brilliance you’re seeking.
Position your master lap shiny side down for ideal results during the polishing process. The shift from 8,000 grit creates the foundation for cerium oxide’s superior finishing power.
Follow these critical steps for achieving a mirror-like finish:
- Maintain consistent water application – Keep the ultra lap properly lubricated throughout the entire process.
- Hold your 45-degree angle – This positioning guarantees even contact and prevents surface irregularities.
- Apply steady, controlled pressure – Too much force can damage the stone, while too little won’t achieve proper polish.
The final polishing with cerium oxide enhances clarity and creates that coveted reflective quality that distinguishes professional emerald cuts.
Achieving the Classic Rectangular Step Cut Design
Mastery of the classic rectangular step cut design begins with understanding the fundamental ratio of approximately 1.08, which creates the traditional elongated shape that showcases an emerald’s natural color and clarity.
You’ll need to carefully position your stone in the spindle farm machine, ensuring the long side sits at exactly 90 degrees for accurate step cutting.
When you cut the top, maintain crown angles at precisely 45 degrees to achieve ideal optical effects. This specific angle allows light to reflect properly through the emerald’s stepped facets.
Your cutting sequence should progress systematically through diamond grits, starting with 1,200 and advancing to 8,000 grit for superior surface quality.
Master videos provide invaluable guidance throughout this intricate process, helping you maintain perfect dimensional accuracy while preserving the emerald’s inherent beauty.
Quality Control and Dimension Verification
While cutting progresses through each stage, you’ll need to implement rigorous quality control measures to ascertain your emerald meets precise dimensional standards.
Target dimensions of approximately 6.2mm by 5.7mm for your replacement stone, maintaining the original length-to-width ratio of 1.08 to preserve the aesthetic appeal.
Your quality control process should include:
- Regular dimensional checks during cutting to minimize rough loss and ascertain specifications.
- Tool selection verification using 96 tooth and 48 tooth for width, plus 24 tooth and 72 tooth diamond grits for length adjustments.
- Final inspection protocol examining polish quality with cerium oxide and confirming the crown maintains the correct 45-degree angle.
Consistently monitor cutting angles throughout the process to achieve a smooth surface finish that meets required quality standards.
Advanced Tips for Professional Emerald Faceting Results
Professional emerald faceting demands precise technique refinement beyond basic dimensional accuracy.
You’ll achieve superior results by mastering angular consistency throughout your step-cutting process. When you cut the girdle, maintain steady pressure and utilize your 96-tooth diamond grit for initial shaping, then shift to 48-tooth for refinement.
Your polishing sequence becomes critical at this stage. Start with 8,000 grit to eliminate scratches, then advance to cerium oxide for that mirror-like finish.
Don’t rush this shift—each grit level must completely remove marks from the previous stage.
Leverage Gem CAD software during your planning phase. You can modify existing rectangular step-cut patterns or create custom diagrams that accommodate your specific stone’s dimensions.
The 30-day trial provides ample time to perfect your approach before committing to expensive rough material.
Frequently Asked Questions
What Is the Best Cut for an Emerald?
You’ll want the rectangular step cut for your emerald. It maximizes clarity and color while minimizing chipping risks from natural inclusions. Aim for length-to-width ratios between 1.0-1.5 depending on your preference.
How to Cut Gemstones Without Machines?
You’ll need diamond files and laps to shape gemstones manually. Start with coarse grit files for basic shaping, then progress to finer grits. Use protractors for consistent angles and wear protective gear throughout the process.
Are Emeralds Hard to Cut?
Yes, you’ll find emeralds challenging to cut because they’re brittle with natural inclusions that cause fracturing. You’ll need precise angles and custom techniques since their 7.5-8 hardness makes them chip easily.
How to Make an Emerald Cut?
You’ll align your stone at 90 degrees in the spindle farm machine, start cutting with 1,200 grit progressing to 8,000, maintain a 45-degree crown angle, and keep the 1.08 length-to-width ratio throughout.
In Summary
You’ve mastered the essential steps for cutting perfect emerald facets. Remember to double-check your dimensions against the original specifications and verify each step cut’s precision before moving to the next level. Don’t rush the cerium oxide polishing phase—it’s what’ll give you that professional mirror finish. With practice, you’ll consistently produce emerald cuts that meet commercial standards. Keep refining your technique and you’ll achieve flawless results every time.


Leave a Reply