
You’ll achieve successful silver enamel adhesion by starting with proper sterling silver composition containing at least 92.5% silver and following meticulous surface preparation. Clean your silver thoroughly with soapy water and ammonia, then use a 1:1 nitric acid bright dip to remove copper oxides before neutralizing with baking soda. Apply counter enamel to prevent warping, maintain firing temperatures between 1350°F-1500°F, and use wet packing techniques for dense coverage. Master these fundamentals to reveal professional-quality results.
Understanding Sterling Silver Composition Requirements
When you’re selecting silver for enameling projects, you’ll need sterling silver with at least 92.5% silver content to achieve proper enamel adhesion. This minimum percentage guarantees the metal’s quality and provides the necessary surface characteristics for successful bonding.
However, sterling silver’s copper content creates challenges you must address. The copper causes oxidation that prevents proper enamel bonding. You’ll need to perform depletion gilding to remove these copper oxides from the surface layer.
Following depletion gilding, you must use a bright dip process with 1:1 nitric acid solution. This step guarantees your silver remains clean and free from any remaining surface contaminants.
Essential Surface Preparation Techniques
Three critical surface preparation steps will determine whether your enamel bonds permanently to silver or fails completely.
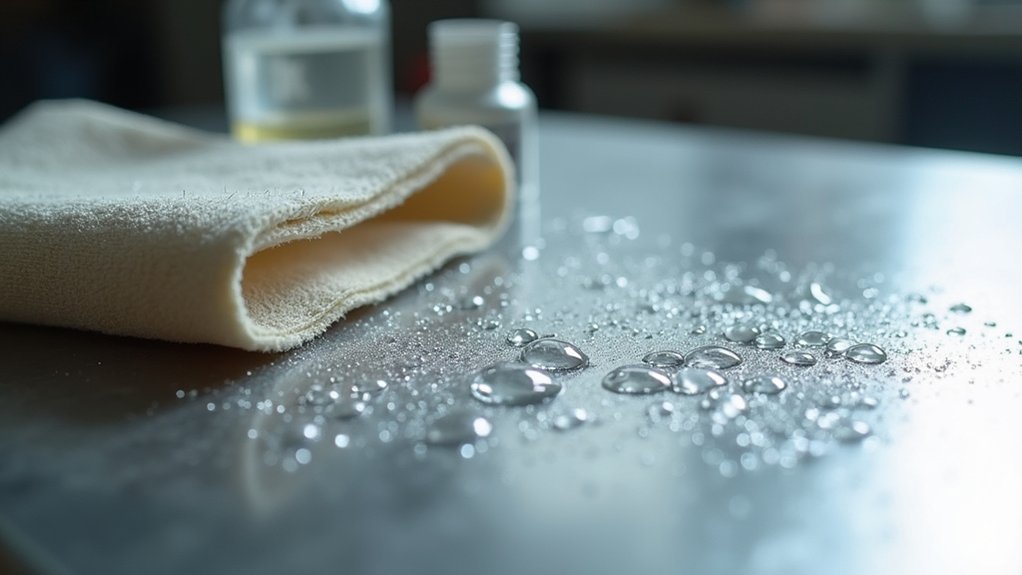
First, you’ll need to clean the surface thoroughly by degreasing the metal until water sheets off without forming droplets. This guarantees proper adhesion by eliminating any contaminants that could interfere with the bonding process.
Thorough degreasing until water sheets cleanly off the metal surface eliminates contaminants that prevent proper enamel adhesion.
Next, remove oxides using a bright dip process with a 1:1 nitric acid solution, followed by neutralization with baking soda. This chemical preparation creates the ideal surface chemistry for enamel attachment.
Finally, consider depletion gilding for sterling silver pieces. This technique removes the copper layer, exposing pure silver that provides superior enamel adherence.
Combined with proper annealing to relieve metal stress, these preparation steps create ideal conditions for permanent enamel bonding.
Proper Cleaning and Degreasing Methods
Your silver’s surface preparation begins with meticulous cleaning that removes every trace of oils, fingerprints, and contaminants.
You’ll know you’ve achieved proper cleaning when water sheets off your silver instead of forming droplets, indicating a completely degreased surface.
Start by applying a mixture of soapy water and ammonia with a soft brush, working thoroughly across all areas.
For metal clay pieces, avoid using pickle and opt for wire brushing with pumice paste to preserve surface integrity.
After cleaning, rinsing becomes essential—eliminate every soap residue that could compromise enamel bonding.
For oxide removal, you can use a bright dip process with a 1:1 nitric acid solution, though this requires extreme caution and proper neutralization afterward.
The Critical Role of Annealing
After completing your thorough cleaning process, annealing becomes the foundation that determines whether your enamel will bond permanently or fail catastrophically.
You’ll need to heat your sterling silver between 600°F and 1,000°F, depending on thickness and alloy composition. This controlled heating relieves internal stresses that could cause cracking during enameling while softening the metal for easier manipulation.
Temperature control is essential—overheating damages the silver’s structure.
Precise temperature monitoring prevents irreversible structural damage that compromises both the silver’s integrity and enamel bonding quality.
After heating, you must allow slow cooling to prevent warping that creates uneven surfaces. This process creates the ideal clean surface condition for enamel adhesion.
Bright Dip Process for Oxide Removal
You’ll need to prepare a nitric acid solution at a 1:1 ratio with water to create an effective bright dip that removes oxides and contaminants from your sterling silver’s surface.
This acid bath cleans the metal thoroughly, ensuring your enamel will bond properly without interference from oxidized layers.
After the bright dip treatment, you must neutralize any remaining acid with baking soda and rinse completely with distilled water to prevent adhesion problems.
Acid Solution Preparation
One critical step in preparing sterling silver for enameling involves creating a bright dip solution that’ll strip away stubborn oxides from the metal’s surface.
You’ll need to mix equal parts nitric acid and water to create your acid solution. Always add acid to water, never the reverse, to prevent dangerous reactions. This 1:1 ratio effectively dissolves oxidation while maintaining control over the process.
Handle this corrosive solution with extreme care, wearing protective equipment including gloves and eyewear. The acid solution creates a clean surface essential for ideal enamel adherence.
After treatment, you must neutralize the sterling silver using baking soda, then rinse thoroughly with distilled water. This preparation removes all residual chemicals, ensuring your enamel bonds properly to the pristine metal surface.
Neutralization Safety Steps
Following the bright dip treatment, neutralization becomes the most critical safety step in preventing enamel failure. You’ll need to rinse your silver thoroughly with clean water immediately after removing it from the acid solution.
Don’t skip this step—any remaining acid will compromise adhesion and cause bubbling during firing.
Next, prepare a baking soda solution and immerse your silver pieces completely. This neutralization process guarantees your metal surface remains oxide-free while eliminating dangerous acid residue.
Always wear safety gear including gloves and goggles throughout this process, as nitric acid’s corrosive properties pose serious risks.
Test the neutralization by checking that all fizzing stops. Only properly neutralized, clean silver provides the ideal surface conditions necessary for successful enamel adhesion and professional-quality results.
Counter Enamel Application Guidelines
You’ll need counter enamel on your silver’s reverse side to prevent warping and guarantee your main enamel adheres properly during firing.
The metal’s gauge determines how thick you should apply the counter enamel—thinner silver requires more careful balance between front and back layers.
Your timing matters too, as you can apply counter enamel before the first firing or between subsequent firings, depending on your project’s complexity.
Counter Enamel Purpose
When stress builds up during the enamel firing process, counter enamel becomes your vital tool for maintaining structural integrity and preventing costly defects.
Applied to the reverse side of your piece, it balances thermal stress that could otherwise cause warping and cracking.
Counter enamel serves multiple important functions:
- Stress Distribution – Equalizes expansion and contraction forces during firing cycles
- Structural Support – Maintains flatness and prevents distortion in finished pieces
- Defect Prevention – Eliminates stress-related cracks and warping issues
- Professional Results – Guarantees your work meets quality standards for durability
You’ll achieve ideal adhesion by applying counter enamel after your initial enamel firing.
Proper cleaning of the surface before application is essential, and matching the thickness to your main enamel layer guarantees balanced stress distribution throughout the piece.
Gauge Thickness Requirements
The thickness of your silver gauge directly determines how much counter enamel you’ll need to achieve proper thermal balance. When working with 24 gauge sterling silver for enamel pieces, you’ll require less counter enamel compared to the recommended 18 gauge used for frames.
Thicker gauges demand additional counter enamel coats to prevent warping and chipping during firing. This balance controls thermal expansion, ensuring your enamel and metal bond successfully.
You must verify that your compatible enamel matches your gauge thickness, as variations greatly impact adhesion and finish quality.
Application Timing Methods
Beyond establishing the right gauge thickness, applying counter enamel at precisely the right moment makes the difference between professional results and project failure.
Your application timing directly impacts adhesion quality and determines whether your enamel will survive the firing process.
You’ll achieve excellent results by following this precise sequence:
- Clean and bright dip your silver immediately before counter enamel application
- Apply counter enamel directly after cleaning while the surface remains pristine
- Complete the initial hard fusing coat before adding any decorative enamel layers
- Fire the counter enamel first to create your stable foundation base
Don’t delay between cleaning and application—even brief exposure to air can compromise adhesion.
The counter enamel must bond with perfectly clean silver to prevent warping and chipping during subsequent firings.
Temperature Control During Firing
Since successful enamel adhesion hinges on precise heat management, you’ll need to master temperature control during the firing process. Maintaining consistent temperature between 1350°F and 1500°F guarantees your enamel will adhere effectively to the sterling silver surface without bubbling or cracking.
| Temperature Range | Result |
|---|---|
| Below 1350°F | Poor fusion, weak adhesion |
| 1350°F – 1500°F | Ideal enamel maturation |
| Above 1500°F | Cloudy or burned enamel surface |
| Rapid fluctuations | Thermal shock, cracking |
| Gradual heating/cooling | Even, durable bond |
You’ll want to use a reliable kiln with an accurate temperature gauge for precise monitoring. Avoid overheating, which causes cloudiness, and prevent rapid temperature changes that create thermal shock. Gradual heating and cooling protect your enamel surface from detachment.
Wet Packing Versus Sifting Methods
While temperature control guarantees proper fusion, your choice between wet packing and sifting methods directly impacts how well the enamel powder contacts the silver surface.
Wet packing applies enamel powder using a moist medium, eliminating air pockets and creating superior metal surface contact. Sifting distributes dry powder but may leave gaps that compromise adhesion. You’ll achieve ideal results by combining both techniques—start with sifting for your base layer, then wet pack for density.
Consider these key advantages of wet packing:
- Eliminates air bubbles between enamel and metal surface
- Creates denser, more secure enamel layers through better contact
- Allows precise control during multiple firings to build thickness
- Enhances overall durability compared to sifting alone
Multiple firings with wet packing build up your enamel gradually, ensuring each layer bonds properly for lasting adhesion.
Multiple Coat Application Strategies
You’ll achieve superior adhesion by applying multiple thin coats rather than attempting fewer thick applications.
Each thin layer creates a stronger foundation for the next coat while preventing bubbling and cloudiness that compromise the bond.
Fire between each application to guarantee proper maturation before adding subsequent layers.
Thin Layer Benefits
Three distinct advantages emerge when you apply multiple thin layers of enamel instead of one thick coat.
You’ll achieve superior adhesion between the enamel powder and silver surface, preventing bubbling that compromises your piece’s integrity. Each firing at 1350°F allows proper maturation, creating stronger bonds with the underlying metal.
Key benefits of thin layer application:
- Enhanced durability – Multiple firings strengthen the enamel-to-metal bond
- Superior color saturation – Controlled layering prevents cloudiness and unwanted texture
- Better surface control – Thin coats eliminate bubbling and guarantee smoother finishes
- Creative depth – Three thin coats enable gradient effects and dimensional color work
You’ll find that wet packing techniques between applications further improve enamel powder adhesion, guaranteeing each layer bonds effectively before the next firing cycle.
Firing Between Coats
Between each enamel application, firing becomes the critical step that determines whether your layers will bond permanently or fail catastrophically.
You must fire between coats at approximately 1350°F for two to three minutes to achieve proper fusion. Each time enamel is applied, kiln firing creates the chemical bond necessary for multiple layers of enamel to adhere as one unified surface.
Before applying subsequent coats, make sure your silver remains clean and free from oxides that form during firing. This prevents weak spots that compromise adhesion.
You’ll need at least three firing cycles to build sufficient depth and durability. Allow natural cooling between firings to prevent thermal shock.
This methodical approach to firing between coats guarantees each layer creates a strong bond with both the silver base and previous enamel applications.
Preventing Bubbling and Surface Defects

While bubbling and surface defects can ruin an otherwise perfect enamel piece, you can prevent these issues by following specific preparation and application techniques.
Start with metal that’s thoroughly cleaned using a 1:1 nitric acid solution to eliminate oxides and contaminants. Apply an initial hard fusing coat to create a stable foundation that prevents bubbling during subsequent firing cycles.
- Use wet packing technique when applying enamels to achieve denser coverage and eliminate air pockets.
- Apply counter enamel coats based on your silver’s gauge thickness to balance thermal expansion.
- Maintain kiln firing temperature at approximately 1350°F for proper enamel maturation.
- Guarantee adequate firing duration to develop a strong bond between enamel and silver substrate.
These practices eliminate common defects while creating durable, professional results.
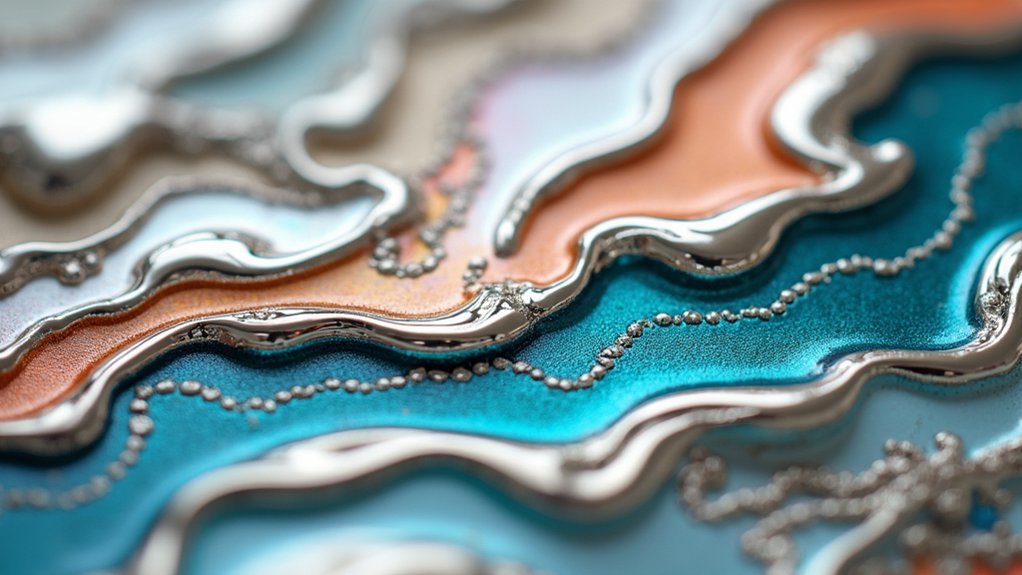
Choosing Compatible Enamel Types for Silver
Since enamel chemistry directly affects how well your coating bonds to silver, selecting the right type becomes critical for long-lasting results.
Transparent enamels work exceptionally well on silver because they harness the metal’s natural reflectivity to create brilliant, luminous finishes. When working with sterling silver, you’ll need depletion gilding first to remove copper from the surface layer, preventing chipping and strengthening the bond.
Transparent enamels maximize silver’s reflectivity for luminous results, though sterling silver requires depletion gilding to prevent copper-related chipping.
While opaque enamels can be used on sterling silver, apply them in thin layers to prevent bubbling during firing.
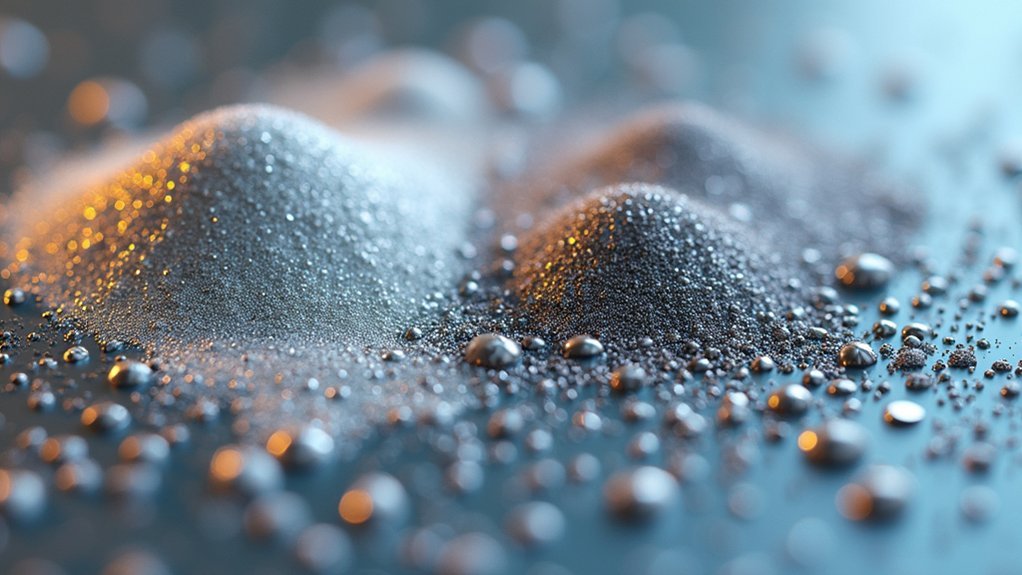
Choose 80 mesh, unleaded enamels for ideal results—their finer particles provide superior adhesion and smoother finishes.
Remember that proper surface preparation remains essential regardless of which enamel type you select for your silver project.
Testing Bond Strength and Durability
After you’ve completed your enameling work, evaluating the bond between the enamel and silver becomes essential for determining whether your piece will withstand daily use and handling.
Testing bond strength reveals whether you’ve achieved proper enamel adherence through correct preparation and firing techniques. When contaminants remain on your silver surface or firing temperatures fall outside the 1350°F-1450°F range, you’ll notice weak bonds that compromise durability.
- Conduct repeated kiln firings to stress-test the enamel-silver interface and identify potential failure points.
- Look for chipping, peeling, or cracking around edges where bond weakness typically appears first.
- Gently tap the surface with a metal tool to detect hollow sounds indicating poor adhesion.
- Apply controlled pressure to corners and raised areas where Klyr-Fire application might’ve been insufficient.
Frequently Asked Questions
Does Enamel Stick to Silver?
Yes, you’ll find enamel sticks well to silver when you’ve properly prepared the surface. You’ll need to clean, degrease, and remove oxides first, then apply thin coats for successful adhesion.
How Does Enamel Stick to Metal?
You’ll fuse powdered glass to metal at high temperatures between 1300-1600°F. Clean the surface thoroughly, removing oils and oxides, then apply bonding agents before firing to create a permanent chemical bond.
How Long Does Enamel Jewelry Last?
You’ll find enamel jewelry lasts many years with proper care. It’ll maintain vibrant colors when you apply three thin coats, prepare surfaces well, and clean gently with soft cloths while avoiding harsh chemicals.
What Temperature Is Needed for Enamelling?
You’ll need to heat your silver piece to approximately 1350°F to 1450°F for proper enamel adhesion. This temperature range guarantees the enamel fuses correctly without damaging your silver base material.
In Summary
You’ll achieve successful silver enamel adhesion by mastering each critical step in the process. You can’t skip proper surface preparation, thorough cleaning, or controlled annealing temperatures. You must remove all oxides through bright dipping and apply multiple thin coats rather than single thick layers. You’ll prevent defects by choosing compatible enamel formulations and testing bond strength regularly. Your attention to these technical details determines whether your enamel work lasts or fails prematurely.
Leave a Reply