You’ll need five essential kiln schedules for successful enamel jewelry: basic copper base firing at 1450-1500°F for 1-5 minutes, fast-fire sterling silver at 1450°F with three-stage finishing, multi-layer transparent enamel ramping to 1450°F then 1500°F with controlled holds, low-temperature 1350°F schedule for heat-sensitive findings, and champion-level cloisonné work at 1450°F with precise cooling. Each schedule requires specific temperature control, timing, and cooling phases to prevent cracking and guarantee proper adhesion. Master these techniques to transform your enameling results.
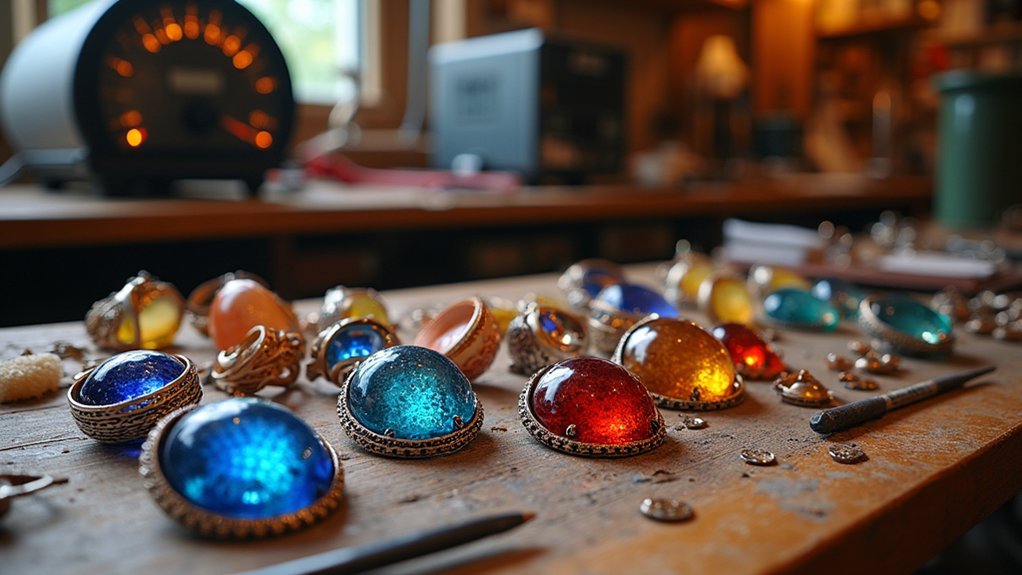
Basic Enamel Firing Schedule for Copper Base
Three critical phases define a successful basic enamel firing schedule for copper base: preheating, rapid temperature rise, and controlled cooling.
You’ll start by preheating to eliminate moisture, then rapidly increase temperature to 1450-1500°F (787-816°C). Your firing process takes 1-5 minutes depending on desired finish: wet sugar at 40-45 seconds, orange peel at 55 seconds to 1 minute, or full gloss at 1.5-2 minutes.
Heat treating requires controlled cooling—let your glass piece drop to 900-1000°F for stress relief before turning off power.
Maintain enamel thickness between 0.03-0.05mm to prevent cracking. Use firing forks, racks, and trivets for even heating and contamination prevention.
This firing schedule guarantees consistent results for copper-based enamel jewelry.
Fast-Fire Schedule for Small Sterling Silver Pieces
When working with small sterling silver pieces, you’ll need a fast-fire schedule that balances speed with precision to prevent silver oxidation while achieving perfect enamel fusion.
Set your peak temperature to 1450°F (790°C) for ideal melting without over-firing the silver base. Fire for 1-5 minutes depending on your enamel layer thickness and desired finish quality.
Always preheat your kiln to guarantee even heat distribution and minimize thermal shock.
Follow a three-stage firing approach: start with wet sugar texture, progress to orange peel, then achieve full gloss for smooth results.
Use a programmable kiln controller for precise temperature control—this prevents enamel blistering and burning while maintaining consistent results across multiple firings.
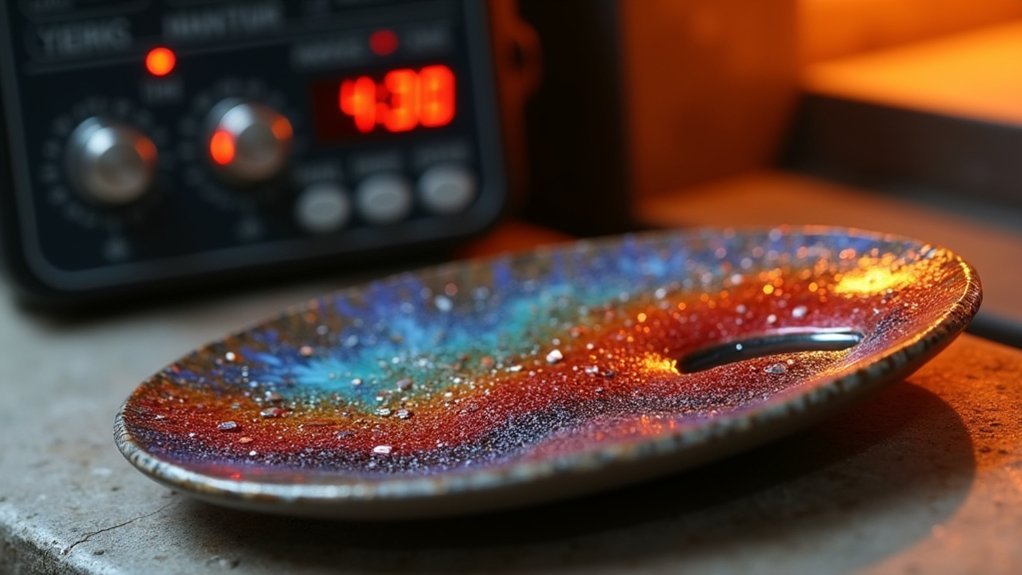
Multi-Layer Transparent Enamel Schedule
Multi-layer transparent enamel requires a more deliberate firing approach that builds complexity through successive applications.
You’ll start by ramping up to 1450°F at 300°F per hour, holding for 10-15 minutes to guarantee proper layer fusion. Next, increase temperature to 1500°F for full firing, maintaining heat for 5-10 minutes to achieve ideal clarity and smoothness.
Apply each transparent layer thinly—thicker applications extend firing times and risk bubbling.
After firing, implement controlled cooling by gradually reducing temperature to 900°F before shutting off heat. This prevents thermal shock and strengthens your piece’s structural integrity.
Place your work carefully on the kiln shelf to avoid contact marks.
Regular test firing with kiln test kits helps you enhance schedules for consistent multi-layer transparent enamel results.
Low-Temperature Schedule for Heat-Sensitive Findings
Since heat-sensitive findings like sterling silver bezels and delicate wire work can’t withstand standard enamel firing temperatures, you’ll need a modified low-temperature schedule that caps at 1350°F.
Start with gradual heating during the initial phase to eliminate unwanted bubbles from your enamel surface. Hold at peak temperature for 5-10 minutes to guarantee proper adhesion without compromising your findings’ integrity.
Gradual heating eliminates bubbles while proper temperature holding ensures adhesion without damaging delicate findings.
Monitor temperatures closely during cooling, allowing your piece to reach 900°F before shutting off the kiln. This prevents thermal shock and lets everything return gradually to room temperature.
A programmable kiln controller provides the precision you need for this low-temperature schedule, especially during your first firing when you’re establishing baseline timing for future projects.
Champion-Level Schedule for Complex Cloisonné Work
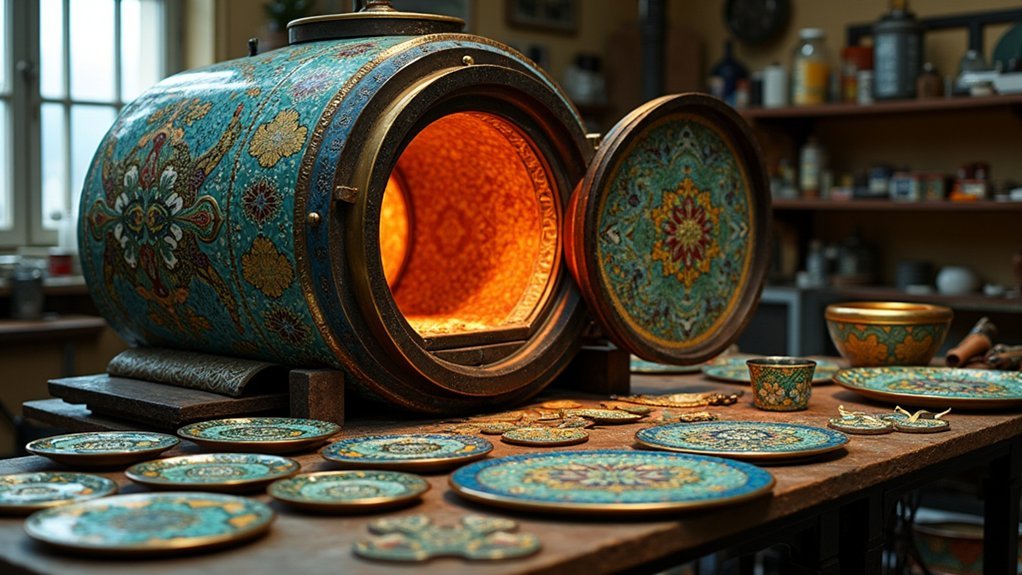
Complex cloisonné work demands a more aggressive firing schedule that pushes your kiln to 1450°F, considerably higher than the conservative approach needed for heat-sensitive findings.
This peak temperature guarantees proper melting and adhesion of your enamels to the metal substrate. Hold at this temperature for 1-2 minutes to achieve a full fuse, allowing the enamel to completely melt and bond.
Your kiln schedule must include careful controlled cooling to prevent stress-related damage. Cool gradually to 900°F to relieve glass stress and prevent cracking or bubbling.
From this annealing temperature, maintain a controlled cooling rate of approximately 100°F per hour down to room temperature. This preserves your piece’s structural integrity.
Regular testing with a kiln test kit helps refine your schedule for intricate designs.
Frequently Asked Questions
What Temperature Do You Fire Enamel?
You’ll fire enamel at temperatures between 1450°F to 1500°F, depending on your specific enamel type and desired finish. Always check your manufacturer’s guidelines since different enamels may require slightly different firing temperatures.
What Is the Firing Temperature for Thompson Enamel?
You’ll fire Thompson Enamels between 1450-1500°F depending on your specific enamel type and desired finish. You’ll need a pre-heated furnace and should monitor timing closely to achieve proper results.
What Temperature Does Enamel Burn?
You’ll find enamel burns between 1300°F to 1500°F, depending on the specific type you’re using. You must monitor temperatures carefully since overheating causes burning while under-firing results in poor adhesion.
How Do You Kiln Fire Enamel?
Preheat your kiln to 1450-1500°F, then fire through three stages: wet sugar (40-45 seconds), orange peel (55 seconds), and full gloss (1.5-2 minutes). Cool gradually afterward.
In Summary
You’ve now got five proven kiln schedules that’ll take your enamel jewelry from beginner pieces to professional-quality work. Don’t be afraid to experiment with these schedules once you’ve mastered the basics. Remember, every kiln behaves differently, so you’ll need to adjust temperatures and timing based on your specific equipment. Keep detailed notes of what works best for your setup, and you’ll develop your own signature firing techniques.
Leave a Reply