
You’ll achieve professional smooth enamel finishes by starting with proper surface preparation using oil-free degreasers and 220-grit sandpaper. Progress through increasingly fine grits from 400 to 1000+, wet-sanding with light, straight strokes while keeping the surface consistently moist. Hand sanding provides better control than electric tools, and you should clean between each grit change to remove residue. Complete the process with specialized polishing compounds and finishing polish to eliminate scratches and create mirror-like results that showcase advanced techniques.
Essential Tools and Materials for Enamel Jewelry Sanding
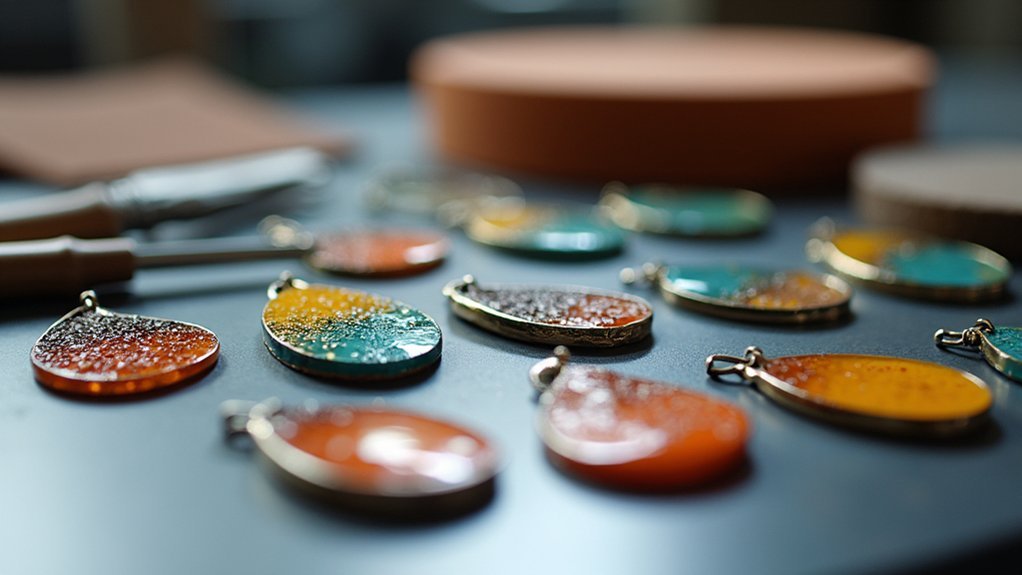
Precision defines successful enamel jewelry sanding, and selecting the right tools makes all the difference in your results.
You’ll need fine-grit sandpaper with 1000 grit or higher to achieve that coveted smooth finish without compromising your quality enamel surface. A sanding block becomes essential for maintaining even pressure across larger areas, ensuring consistent results throughout your piece.
The wet-sanding technique requires keeping both sandpaper and enamel surface moist, which dramatically reduces dust while enhancing finish quality.
You’ll also need clean cloths for regularly wiping away debris and excess water during the process. Avoid electric sanders entirely – hand sanding gives you superior control over pressure and prevents potential moisture-electricity hazards.
These carefully chosen materials enable you to apply even coats and achieve professional-grade results on your enamel jewelry pieces.
Proper Surface Preparation Before Sanding Enameled Pieces
Before you begin any sanding work, thorough surface preparation determines whether your enamel jewelry will achieve that flawless, professional finish you’re after.
Start by removing all oils and wax using an oil-free degreaser like GreenEZ cleaner to guarantee proper adhesion. Next, lightly sand with 220 grit sandpaper to create a smooth base for enhanced finish quality.
Clean with oil-free degreaser, then lightly sand using 220 grit sandpaper for optimal surface preparation and finish quality.
Rinse off any cleaning agent completely and allow the surface to dry thoroughly before proceeding. This prevents moisture from interfering with your sanding process.
Wipe down the surface with a lint-free rag or use compressed air to eliminate dust and debris. Finally, perform a final wipe using a 50/50 mix of denatured alcohol and water, creating an ideal surface ready for sanding.
Progressive Grit Techniques for Smooth Enamel Surfaces
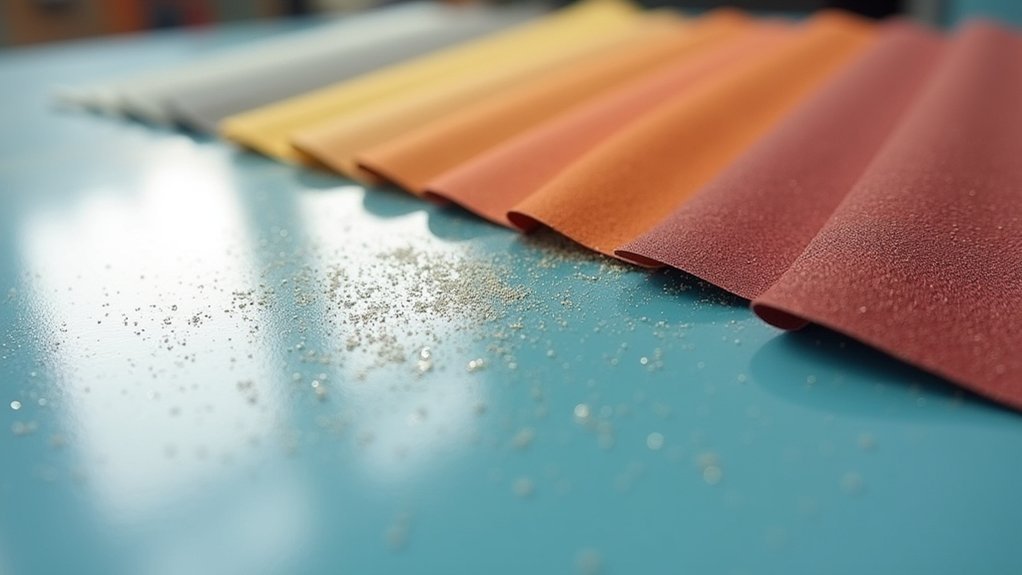
When you’re ready to begin sanding your prepared enamel surface, start with 400-grit sandpaper to eliminate imperfections and rough spots that could compromise your final finish.
You’ll need to progress methodically through finer grits to achieve professional results.
Follow this progressive grit sequence:
- 400-grit: Remove surface imperfections and rough areas
- 600-grit: Begin smoothing the enamel finish texture
- 800-grit: Further refine surface quality and minimize scratches
- 1000-grit and higher: Use wet sanding techniques for ultra-smooth results
Move to each successive grit only after completing the previous step thoroughly.
Wet sanding with higher grits reduces dust while delivering superior smoothness.
Remember to clean between each grit shift, removing all residue before continuing.
Always sand in straight lines using light pressure to prevent uneven surfaces or deep scratches in your enamel finish.
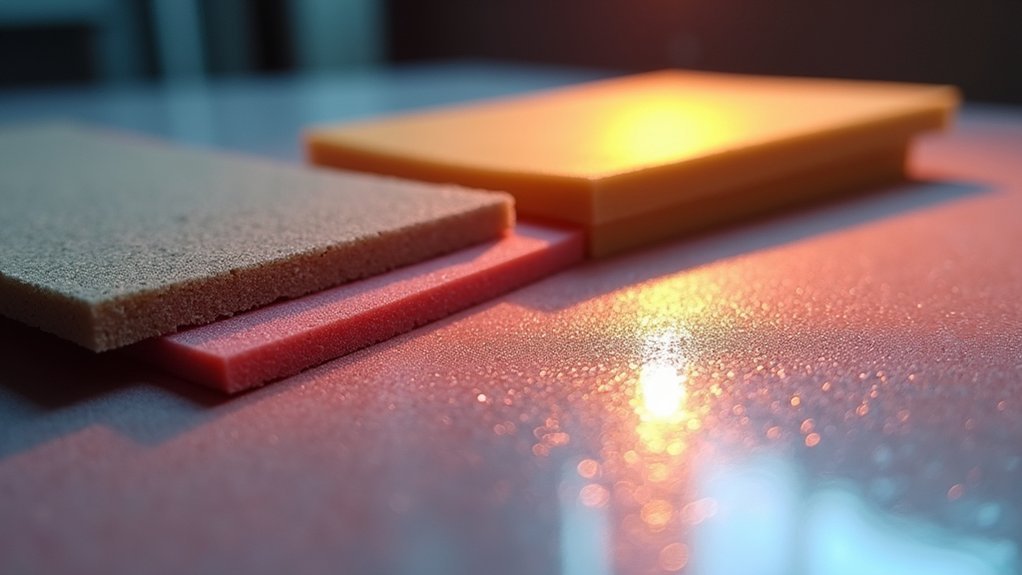
Wet Sanding Methods for Professional Jewelry Finishes
Wet sanding takes your enamel finishing technique to the next level, particularly when working with delicate jewelry pieces where precision matters most. This method uses water and high-grade sandpaper to achieve a superior finish without damaging your coat. You’ll need to wrap sandpaper around a sanding block, frequently dipping it in water to reduce friction and help the paint achieve smoothness.
| Step | Technique | Key Points |
|---|---|---|
| 1 | Preparation | Use high-grade sandpaper, wear gloves to prevent oils |
| 2 | Sanding | Light, short strokes in straight lines |
| 3 | Water Application | Keep paper consistently wet during process |
| 4 | Cleanup | Use squeegee to clear debris immediately |
Hand sanding provides better control than electric sanders. Make sure you maintain even pressure and use a squeegee to clear sanded material regularly for best results.
Polishing and Final Buffing Steps for Mirror-Like Results
After you’ve completed wet sanding with fine grits, the polishing phase transforms your enamel surface into a brilliant, mirror-like finish that rivals professional results.
Start with 1000+ grit sanding to create the smoothest possible base before polishing begins.
Fine-grit sanding above 1000 grit establishes the essential foundation for achieving professional-grade polishing results on enamel surfaces.
Use specialized polishing pads designed for high-gloss finishes, applying them with consistent, overlapping motions using a buffer.
Implement a two-step process for ideal results:
- Apply cutting compound first to eliminate fine scratches and surface imperfections
- Follow with finishing polish to maximize shine and clarity
- Clean your polishing pad regularly to prevent debris contamination
- Wipe the surface with lint-free cloth between steps
This systematic approach removes microscopic flaws while building layers of brilliance, delivering a flawless finish that showcases your enamel work’s true potential.
Frequently Asked Questions
How to Get a Smooth Finish With Enamel Paint?
Clean and prime your surface thoroughly. Apply thin, even coats with a foam roller, letting each dry completely. Sand between coats using 400-grit sandpaper, then wet-sand for final smoothness.
What Grit Sandpaper for Enamel?
You’ll want fine sandpaper with 1000 grit or higher for enamel surfaces. Start with 1000 grit, then progress to 2000 or finer grits for smoother results without damaging the paint.
How to Get a Smooth Finish After Painting?
You’ll achieve smoothness by letting paint dry completely, then lightly sanding with 1000+ grit sandpaper in straight lines. Wipe away dust thoroughly, and consider using a polishing pad for extra shine.
How Do You Sand Down Enamel Paint?
You’ll need fine 1000+ grit sandpaper and water for wet-sanding. Wait 24 hours for complete drying, then sand lightly in straight lines without excessive pressure. Clean with lint-free cloth afterward.
In Summary
You’ve now mastered the essential enamel sanding techniques that’ll transform your jewelry pieces into professional-quality works of art. By using the right tools, preparing surfaces properly, progressing through grits systematically, applying wet sanding methods, and finishing with careful polishing, you’ll achieve those coveted mirror-like finishes. Remember, patience and consistency are key—don’t rush the process, and you’ll consistently produce stunning results that showcase your craftsmanship.
Leave a Reply