To craft perfect locket hinges, you’ll need a jeweler’s saw, needle files, and silver materials. Cut three precise tubing pieces (two 6mm, one 8mm) and mark their position on your sheet metal. File indents in the sheet for better tubing fit, then solder while using a graphite rod for alignment. Install an 18-gauge silver wire pin, flaring one end to prevent slippage. Add a clasp mechanism, then finish with polishing compounds. These details make the difference between amateur and professional results.
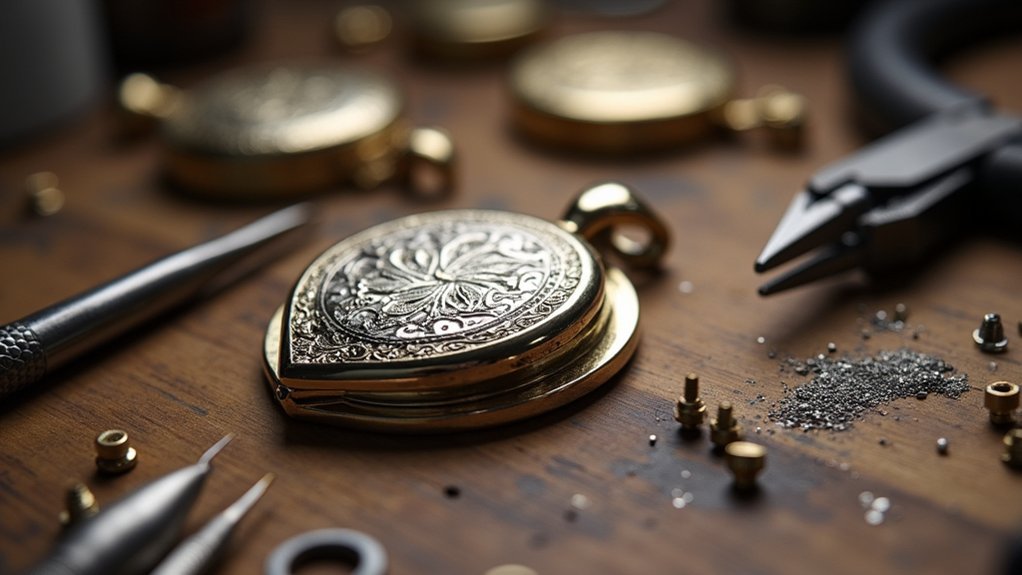
Essential Tools and Materials for Locket Hinge Creation

Precision serves as the foundation for crafting successful metal locket hinges.
Precision isn’t just helpful—it’s the essential cornerstone upon which all successful hinge work must be built.
To begin, you’ll need several essential tools: a jeweler’s saw for accurate cutting, needle files to smooth edges, and a tubing cutter jig to guarantee consistent tubing lengths for your knuckles.
For materials, sterling silver sheet forms your locket body, while silver tubing creates the hinge mechanism.
Don’t overlook the importance of a proper soldering block and propane torch for joining components, along with solder flux to guarantee strong bonds.
Steel binding wire will temporarily secure your pieces during soldering, maintaining critical alignment.
Always prioritize safety by wearing protective goggles, gloves, and masks when working with heat and metals—these precautions are as vital as the tools themselves.
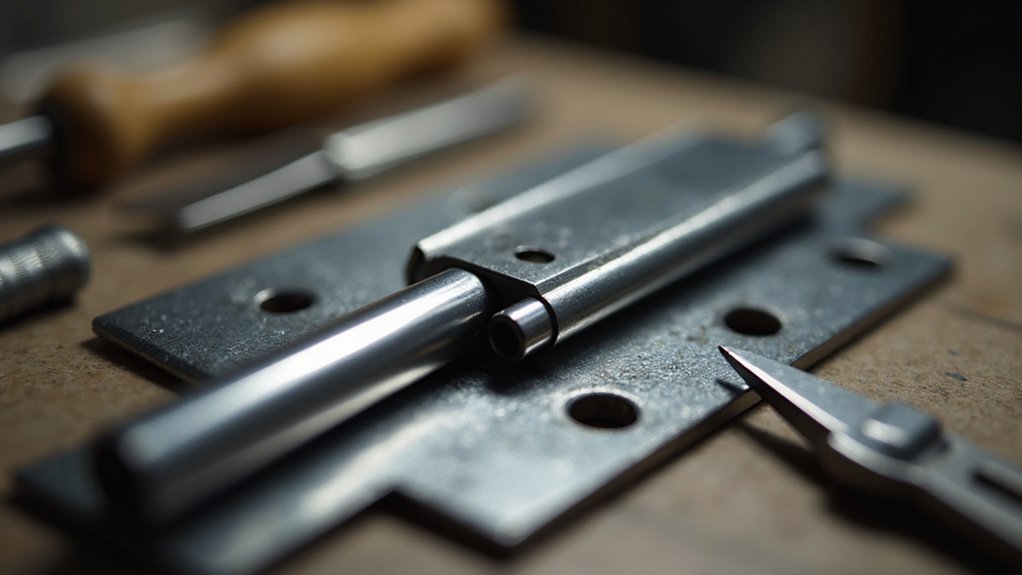
Preparing Your Metal Sheets and Tubing
The foundation of a well-functioning locket hinge begins with properly prepared components. When crafting your hinge sections, precision is vital. Cut two 6mm pieces and one 8mm piece of tubing using a proper jig to prevent collapse. Align these with your sterling silver sheet, marking carefully before you cut.
- Use a tubing cutter jig and saw for precise, clean cuts
- Mark your sheet accurately after aligning with the tubing
- Check for gaps between the tubing and sheet before you solder pieces together
- File sheet edges to create indents for better tubing placement
- Utilize a graphite rod to guarantee proper alignment during assembly
Remember to verify the fit of all components before proceeding to solder pieces together. This preparation stage determines how smoothly your locket will open and close.
Measuring and Marking for Precise Hinge Placement

Achieving proper function in your locket depends on flawless hinge placement, which begins with meticulous measuring and marking. Start by measuring the thickness of both your metal sheet and tubing with calipers to ascertain a secure fit without gaps.
Precision in measurement creates the foundation for a perfectly functioning locket hinge—there’s no room for estimation.
Use your calipers to mark the exact hinge position on both the locket shell and bearing plates, maintaining symmetry for proper alignment. Create a small groove in the locket case with a fine file—this will guide your hinge knuckles during placement.
When marking positions for the hinge pin holes, verify they’re evenly spaced and perfectly aligned with the knuckles to confirm smooth operation.
Always double-check all measurements and markings before proceeding with any cutting or drilling to prevent costly mistakes that would compromise your locket’s functionality.
Cutting Perfect Tubing Knuckles: Techniques and Tips
For perfect tubing knuckles, you’ll need a specialized tubing cutter jig and saw to achieve the precise 6mm and 8mm lengths without collapsing the delicate metal.
Your miter block will hold the tubing steady during cutting, resulting in cleaner edges that fit seamlessly against your prepared metal sheet.
Filing the sheet edges into a rounded indent and using a graphite rod for alignment will eliminate gaps, ensuring your hinge components connect securely for a professional-quality locket.
Tubing Knuckle Precision Tools
When crafting metal locket hinges, your success largely depends on the precision of your tubing knuckles. The right tools guarantee clean cuts that won’t collapse your delicate tubing. A tubing cutter jig with a saw provides the accuracy needed for those critical 6mm and 8mm segments that will house your hinge pin.
- Miter blocks hold your tubing steady during cutting, creating square edges for better fitting.
- Filing tools create a small groove in your metal sheet, forming a rounded indent for secure tubing placement.
- Measurement tools to verify perfect contact between tubing and metal sheet.
- Support pieces made from additional metal sheet sections to stabilize during soldering.
- Appropriate jewelry wire (consider steel for durability) that fits snugly as your hinge pin.
Length Measurement Strategies
The three essential techniques for measuring perfect tubing knuckles will transform your locket hinge crafting.
First, precisely mark and measure your metal tubing—you’ll need two 6mm pieces and one 8mm piece for proper hinge knuckles. Don’t rush this critical step.
For accurate cuts, utilize a cutting jig and saw rather than snips that might collapse your delicate tubing. A miter block provides stability while ensuring square, clean edges that will join seamlessly.
After cutting, verify the fit against your prepared metal sheet. If you notice gaps, file the sheet edges slightly to create an indent where the tubing will rest.
For perfect alignment during soldering, position your tubing in the groove using a graphite rod—this guarantees strong joins and smooth movement.
Solving Common Gap Issues Between Tubing and Sheet Metal
When crafting locket hinges, you’ll need to score alignment tracks on your sheet metal to guide the tubing into proper position and prevent shifting during soldering.
Measure any gaps between your tubing and metal base, ensuring they don’t exceed 0.2mm or you’ll risk weak joints that fail under stress.
For mismatched connections that appear during assembly, you can quickly fix them by either filing a rounded indent in the sheet metal or adding small support pieces to lift the sheet to the center of the tubing.
Scoring Proper Alignment Tracks
Securing proper alignment between metal tubing and sheet components often presents challenging gaps that can compromise your locket’s structural integrity.
To create perfect alignment tracks, you’ll need to make precise modifications to guarantee components fit seamlessly before you solder.
- File sheet edges to create rounded indents matching your tubing’s curvature
- Use a graphite rod to check alignment and guarantee even gaps around connections
- Opt for saw cuts instead of shears for cleaner edges that reduce alignment issues
- Add small metal sheet pieces beneath tubing to provide lift and support where needed
- Secure components with clamps or binding wire during alignment to prevent movement while you solder
These techniques help eliminate frustrating gaps and guarantee your locket hinge functions smoothly while maintaining structural strength.
Measuring Critical Tolerance Gaps
Creating perfect hinge joints requires you to manage the critical tolerance gaps between tubing and sheet metal components. Examine both sides of your tubing placement carefully, as even small gaps will prevent solder from flowing properly and create weak connections.
To eliminate these gaps, try filing a rounded indent into the sheet edge to create a better seating surface for your tubing. Alternatively, you can lift the sheet metal to the center of the tubing to guarantee complete contact.
Maintain proper alignment throughout this process by inserting a graphite rod through the tubing while you work. This temporary support prevents the tubing from shifting during soldering and guarantees your hinge components remain perfectly positioned.
Quick-Fix Mismatched Connections
Even with careful planning, you’ll occasionally encounter misaligned components that refuse to fit together properly.
When making a hinged locket, gaps between tubing and sheet metal can compromise your two soldered pieces. Address these mismatches quickly with these targeted solutions:
- File a rounded indent in the sheet metal edge to match your tubing’s contour
- Use small metal sheet pieces as supports, ensuring proper tubing alignment
- Insert a graphite rod through the tubing during alignment to maintain position
- Lift the sheet to the center of the tubing to eliminate structural weaknesses
- Check the fit consistently before soldering, ensuring full contact between components
These adjustments take minimal time but dramatically improve your hinge’s strength and functionality, preventing frustrating failures after you’ve invested hours in your metalwork project.
Aligning and Securing Hinge Components Before Soldering
Before you attempt to solder your metal locket hinges, proper alignment and secure positioning of all components must be established to confirm a professional finish. Use a graphite rod through the tubing to guarantee precise alignment, eliminating gaps between the tube and sheet metal. When you notice misalignment, file a round indent in the sheet edge to center the tubing properly.
| Tool | Purpose | Technique |
|---|---|---|
| Graphite Rod | Precise Alignment | Insert through tubing |
| Binding Wire | Secure Clamping | Wrap tightly around components |
| Solder Flux | Adhesion Improvement | Apply to all surfaces |
Wrap binding wire firmly around your locket pieces to maintain stability during the aligning process. Check your work from multiple angles, confirming the hinge knuckles fit snugly without misalignment. Apply flux before soldering to prevent unwanted solder flow between adjacent components.
Proper Soldering Techniques for Durable Locket Hinges
Three critical factors determine the durability of your soldered locket hinges: proper heat application, precise solder placement, and thorough preparation.
Apply solder flux to both locket shell and hinge knuckles, creating a surface that promotes ideal bonding during the heating process.
- Begin by applying flux to all connection points before positioning medium solder pallions.
- Heat the top and bottom knuckles first, then focus on the middle knuckle for even melting.
- Submerge your locket in water immediately after soldering to set the joints.
- Clean all excess solder from the locket surface to maintain a polished appearance.
- Remove all flux residue post-soldering to prevent potential corrosion of your finished piece.
This sequential approach guarantees strong joints without overflow, maintaining the locket’s functionality and aesthetic appeal.
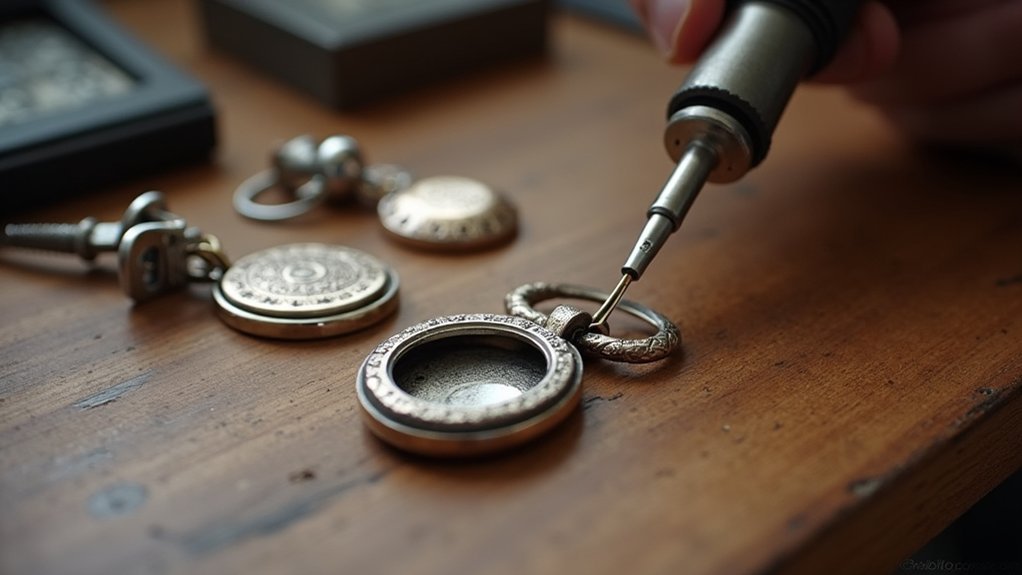
Creating and Installing the Ideal Hinge Pin
After completing the soldering process, your focus must shift to creating and installing the perfect hinge pin, which serves as the critical pivoting mechanism for your locket.
Begin by cutting a 3/16 inch (5 mm) length of 18-gauge sterling silver wire using flat-nose pliers for precision.
Select durable materials like brass, nickel, or 14k white gold to guarantee your hinge pin withstands regular use.
Once cut, slightly hammer one end to create a flare that prevents the pin from slipping out of the knuckles.
When installing, hold both sides of your locket together and carefully slide the wire through the aligned knuckles.
Position the pin so its bottom touches the inside dome of the locket, creating stability for smooth operation.
Use pliers for better grip if needed.
Adding a Functional Clasp Mechanism to Your Locket
The final essential component of your locket design is the clasp mechanism, which guarantees your creation stays securely closed when worn.
To create a functional clasp mechanism, start by soldering a jump ring to the back piece and filing a small groove at the top center for secure attachment.
For the friction-clasp pin, use 18-gauge sterling silver wire trimmed to 3/16 inch.
You’ll need to:
- Drill a hole (0.035 inch diameter) through the front bearing plate
- Verify the drilled hole only penetrates the bearing plate, not the dome
- Hammer one end of the friction-clasp pin to slightly flare it
- Position the pin so it touches the inside of the dome for alignment
- Test by closing the locket to confirm the pin fits snugly, providing secure closure
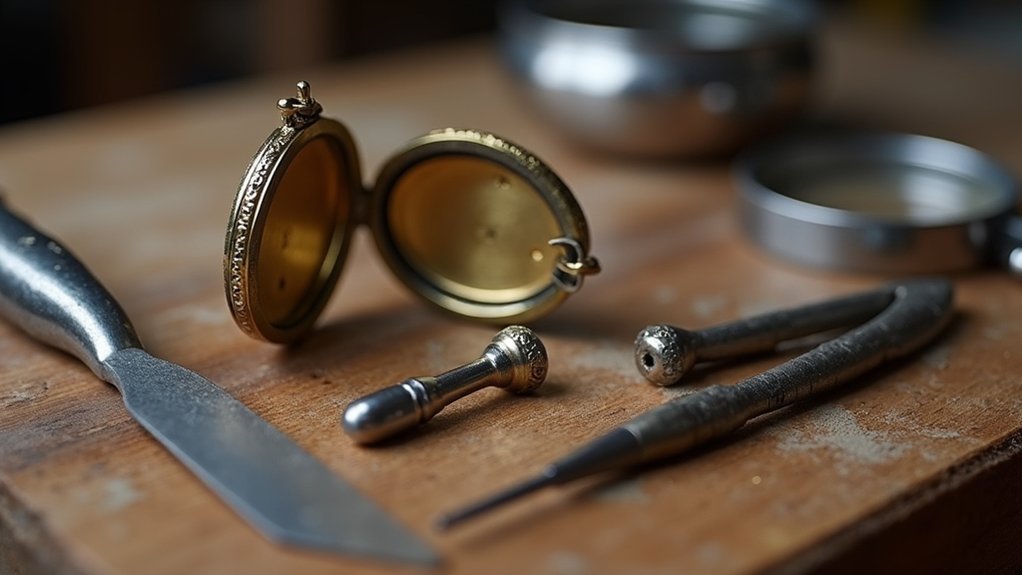
Finishing and Polishing Your Hinged Locket
To achieve a professional finish on your metal locket, you’ll need to master buffing techniques using compounds like Tripoli for initial smoothing followed by silver polish for that final lustrous shine.
Apply gentle, consistent pressure when buffing to prevent damaging delicate hinges and clasp mechanisms you’ve carefully crafted.
Seal your polished locket with a protective coating such as Renaissance wax or a specialized metal lacquer to prevent tarnishing and preserve your beautiful handiwork for years to come.
Metal Buffing Techniques
Once your locket’s hinges are properly assembled, buffing the metal will transform your piece from handmade to professional-looking.
To achieve a flawless finish, you’ll need to master proper metal buffing techniques. Begin with Tripoli polishing compound on a soft rag, focusing on scratches and imperfections. Then switch to a clean rag with silver polish for that brilliant gleam.
Before buffing, don’t forget to:
- Check that all components are secure and functioning properly
- Apply consistent pressure throughout the process for even results
- Wear appropriate protective gear (gloves and goggles) to shield against metal dust
- Use separate rags for different polishing compounds to prevent contamination
- Avoid over-polishing specific areas which can create uneven wear
These careful steps will guarantee your locket achieves that coveted professional shine.
Protective Sealing Methods
After achieving that brilliant shine through buffing, your locket now needs long-term protection to maintain its beauty. Apply a protective sealant specifically designed for metal jewelry to create a barrier against environmental elements that cause tarnish.
Before sealing, verify you’ve completed all polishing steps with Tripoli compound and silver polish on separate rags to enhance the locket’s brilliance. Check all components are securely attached and functioning properly.
| Protection Method | Benefits | Application |
|---|---|---|
| Jewelry Wax | Natural finish | Thin layer, buff gently |
| Renaissance Wax | Museum-grade protection | Small amount, circular motion |
| Spray Sealant | Even coverage | 10″ distance, 2 light coats |
Always wear protective gear including gloves, goggles, and a mask when applying sealants to safeguard yourself from potentially harmful chemicals.
Troubleshooting Common Locket Hinge Problems
Even the most carefully crafted locket hinges can encounter problems during creation or after repeated use. When addressing issues with your locket hinges, pay close attention to alignment during soldering. If misalignment occurs, don’t panic—clean the joint, pickle the pieces, and reheat to make corrections before proceeding with your project.
- Check for gaps between tubing and metal sheet; file rounded indents if needed.
- Apply solder flux properly to knuckles and shell to prevent unwanted flow.
- Test functionality by opening and closing before finalizing all components.
- Use snug-fitting jewelry wire as a hinge pin, considering steel for durability.
- If soldering creates misalignment, clean and reheat to correct mistakes promptly.
Address these common issues early to guarantee your locket hinge operates smoothly and maintains structural integrity over time.
Frequently Asked Questions
How Long Will a Properly Crafted Metal Locket Hinge Last?
A properly crafted metal locket hinge will last decades if you’re taking good care of it. You’ll see lifespans of 30-50+ years when it’s made of quality materials and doesn’t face excessive stress.
Can I Add Decorative Elements to the Hinge Itself?
Yes, you can add decorative elements to the hinge itself. Consider etching patterns, adding small gemstones, or using decorative soldering techniques. Just make certain these embellishments don’t interfere with the hinge’s functionality.
Are Certain Metals Easier to Work With for Beginner Hinge-Makers?
Yes, you’ll find brass and copper much easier to work with as a beginner. They’re softer, more forgiving metals that don’t require special tools. Silver’s also good once you’ve practiced basic techniques.
How Do I Prevent My Locket From Opening Too Far?
You’ll need to install a locket stop mechanism. Add a small metal tab or pin that creates a physical barrier, or incorporate a chain limiter between the two halves to prevent overextension.
Can I Retrofit a Hinge Onto an Existing Locket?
Yes, you can retrofit a hinge onto your existing locket. Carefully solder a small pre-made hinge or create one using wire. It’s tricky work that requires precision, but definitely possible with proper tools.
In Summary
You’ve now mastered the art of crafting perfect metal locket hinges. With practice, you’ll create increasingly refined pieces that open and close smoothly. Don’t be discouraged by initial challenges—each project improves your skills. Remember to maintain your tools and work precisely. Your handcrafted lockets, with their professionally hinged designs, will become treasured keepsakes that showcase your metalworking expertise.


Leave a Reply