You’re about to witness centuries-old metalworking secrets that master artisans once guarded jealously. These granulation and filigree techniques haven’t simply survived—they’ve evolved into sophisticated methods that’ll transform your jewelry-making approach entirely. From the precise temperature control needed for perfect granule fusion to the delicate wire manipulation required for intricate patterns, each video reveals essential details that separate amateur attempts from professional results. What you’ll discover next will challenge everything you thought you knew about working with precious metals.
Historical Origins of Balinese Granulation Jewelry
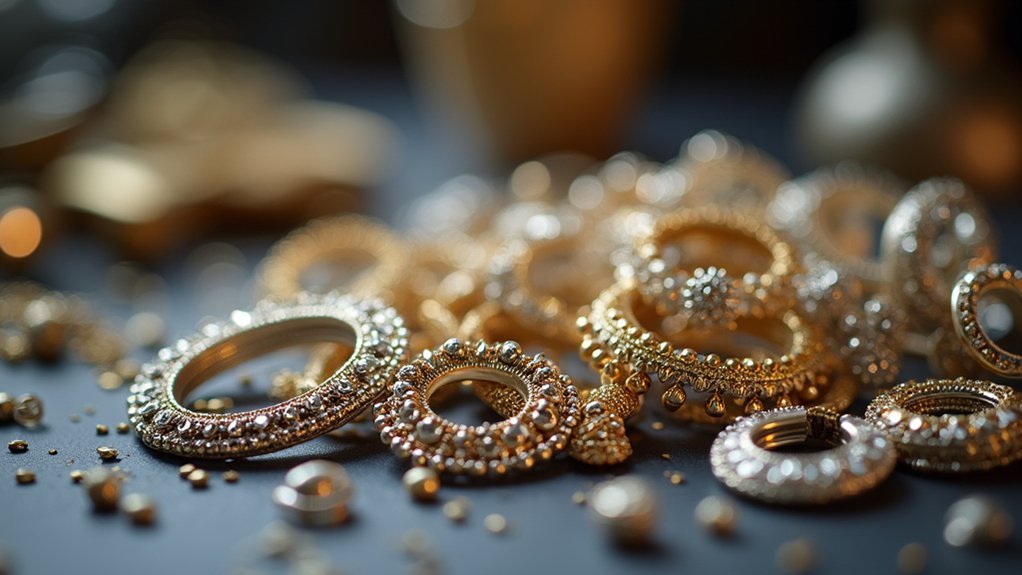
When you examine the delicate spheres adorning traditional Balinese jewelry, you’re witnessing an ancient craft that traces back to 8th-century Indonesia. This granulation technique flourished under royal patronage, where skilled artisans perfected the meticulous process of creating tiny metal spheres.
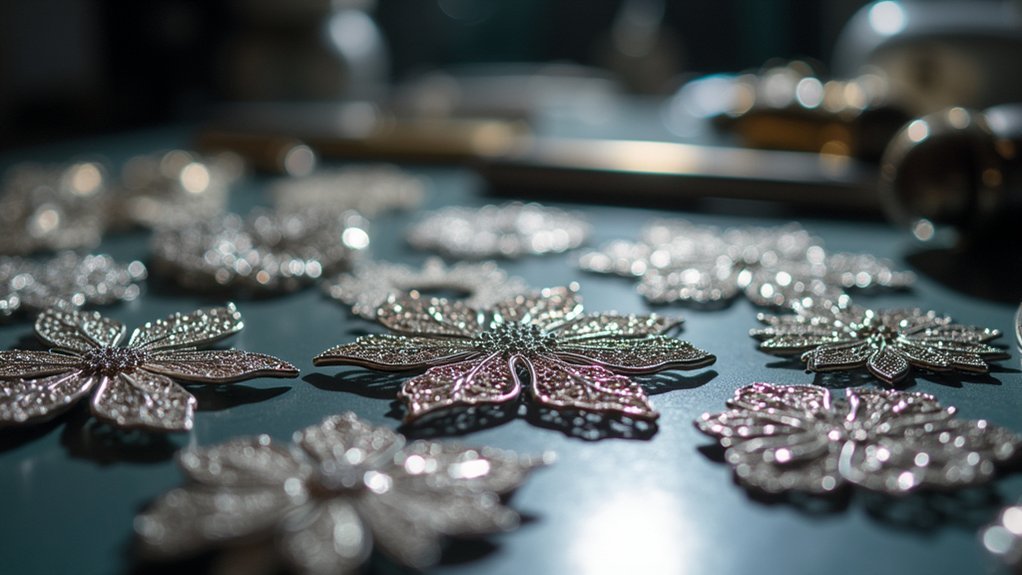
You’ll discover that specific Balinese villages became renowned for distinct art forms, with granulation and filigree techniques developing into regional specialties. The craft’s evolution reflects generations of master jewelers passing down their expertise through family lineages.
As you explore this art form, you’ll notice how Hindu and Buddhist cultural influences shaped the unique motifs and styles that define authentic Balinese granulation jewelry today.
Essential Tools and Materials for Silver Granulation
Creating authentic Balinese granulation jewelry requires specific materials and precision tools that’ll determine your project’s success. You’ll need high-quality silver combined with copper and borax to enhance strength during crafting. Scrap silver can supplement your materials, while gold and silver combinations create stunning contrast effects.
| Materials | Tools |
|---|---|
| Silver, copper, borax mixture | Rolling mill for shaping |
| Special granulation solder | Draw plate for wire pulling |
| Scrap silver pieces | Precision calipers and rulers |
| Gold and silver combinations | Soldering torch and kit |
| Polishing cloths, tamarind astringent | Various jewelry molds |
Your precision measuring tools guarantee exact dimensions for accurate assembly. The soldering kit with specialized solder bonds components effectively, while polishing cloths and tamarind astringent provide the perfect oxidized finishing touch.
Preparing Silver Alloys and Creating Metal Components
Although pure silver proves too soft for durable jewelry, you’ll transform it into workable alloy by combining it with copper and borax in precise proportions.
Begin by heating your metal mixture until it reaches proper melting temperature, then pour the molten alloy into prepared molds to create initial shapes for processing.
Once your silver bars solidify, feed them through a rolling mill to achieve the exact thickness needed for your filigree sheets and granulation wires.
During the sawing stage, you’ll measure and cut your silver plates into uniform sections—precision here guarantees consistent final components.
When shaping’s complete, construct your box clasp by soldering the silver plate pieces together, adding decorative elements using granulated silver formed into perfectly round tiny spheres.
Rolling Mill Techniques for Wire and Sheet Formation
Your rolling mill transforms those solidified silver bars into precisely measured sheets and wires through controlled pressure application. You’ll feed square silver blocks through the rolling machines, reducing thickness while increasing length—essential for creating jewelry components.
| Process Stage | Equipment Used |
|---|---|
| Sheet Rolling | Rolling Mill |
| Wire Drawing | Draw Plate |
| Measuring | Precision Tools |
| Cutting | Jeweler’s Saw |
For wire formation, you’ll use a draw plate to pull silver through progressively smaller holes, producing different gauges for intricate filigree work. Precision measuring throughout this process guarantees each component fits perfectly in your final piece. After rolling, you’ll saw the silver plates into measured sections, preparing material for construction and decoration phases of your jewelry making process.
Step-by-Step Box Clasp Construction and Soldering
When constructing a box clasp, you’ll start by cutting precise silver plate pieces that form the clasp’s foundation—typically a rectangular box body and a fitted tongue mechanism. You’ll solder these components together to create the structural base.
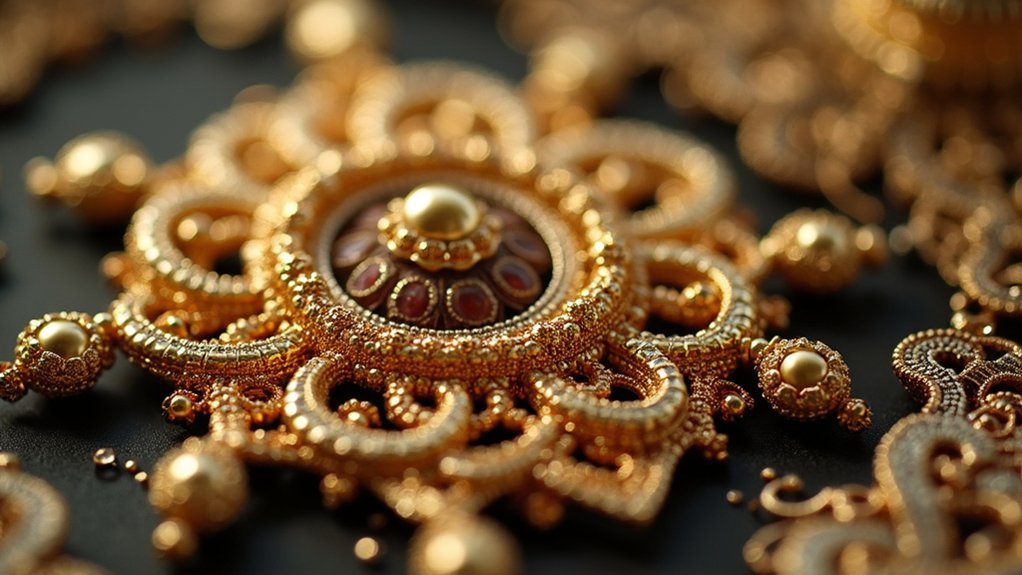
Next, you’ll add decorative granulated silver spheres made from scrap silver, sorting them by size for accurate placement. Apply sego tik paste to secure the granulation design during soldering.
Cover the silver balls with special granulation solder, then heat with a wide torch flame to fuse everything together.
Finally, you’ll polish and clean the clasp using tamarind fruit astringent, then apply antiquing solution for dark color contrast that highlights your granulation work.
Granulation Application and Professional Finishing Methods
Granulation success depends entirely on your preparation and execution of each step in the process.
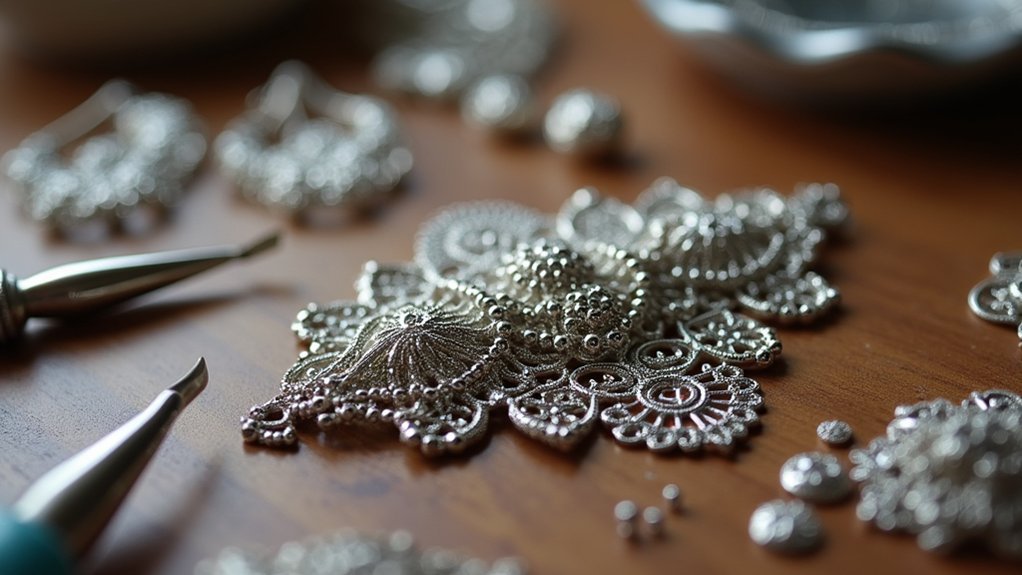
You’ll begin by forming tiny spheres from scrap silver, then sort them by size for precise placement on your jewelry piece.
Create a paste from sego tik to hold your granulated design in place during soldering, ensuring accurate alignment before heating.
Apply special granulation solder by brushing it over the silver balls to facilitate a strong bond.
Complete the soldering process using a wide torch flame, allowing the solder to flow and securely attach granules to your base piece.
For professional finishing, clean your silver with tamarind fruit astringent, then apply an antiquing solution for oxidation that creates striking contrast between raised patterns and the background.
Frequently Asked Questions
How Long Does It Typically Take to Complete a Filigree Granulation Piece?
You’ll typically spend 8-20 hours completing a filigree granulation piece, depending on complexity and your skill level. Simple designs take less time, while intricate patterns with extensive granulation require considerably more patience and dedication.
What Is the Average Cost to Get Started With Granulation Jewelry Making?
You’ll need about $300-800 to start granulation jewelry making. Basic costs include a torch, fine silver wire, flux, tweezers, and soldering supplies. You can begin with simpler equipment and upgrade as you develop your skills.
Can Granulation Techniques Be Applied to Metals Other Than Silver?
You can apply granulation techniques to gold, copper, and other metals besides silver. Each metal requires different temperatures and fusion methods, but you’ll achieve beautiful textured surfaces regardless of your chosen material.
What Are Common Beginner Mistakes When Learning Filigree and Granulation?
You’ll often overheat granules, causing them to melt completely. You’re also likely to use too much flux, create uneven wire spacing in filigree, and rush the heating process instead of building temperature gradually.
How Do You Price Handmade Filigree Granulation Jewelry for Selling?
You’ll price your filigree granulation jewelry by calculating materials, labor hours, overhead costs, then adding profit margin. Consider your skill level, local market rates, and unique design complexity when setting final prices.
In Summary
You’ve now mastered the ancient art of Balinese granulation and filigree jewelry making through these extensive tutorial videos. You’ve learned essential techniques from preparing silver alloys to creating intricate wire patterns and applying delicate granules. With your new skills in rolling mill operations, soldering, and professional finishing methods, you’re ready to craft stunning pieces that honor this timeless tradition. Keep practicing these meticulous processes to perfect your craftsmanship.


Leave a Reply