You’ll master filigree wax carving through ten essential techniques: selecting hard wax for sharp details, using specialized carving knives with fine tips, creating uniform wire patterns with consistent 0.3mm thickness, forming traditional spirals with controlled pressure, establishing solid framework foundations, layering openwork patterns for depth, carving botanical elements with precise leaf veins, maintaining 1.5mm overall thickness for casting success, and finishing with gentle sanding and wax polish. These methods transform simple wax into intricate lace-like masterpieces that replicate traditional metalwork artistry perfectly.
Understanding Filigree Wire Patterns in Wax
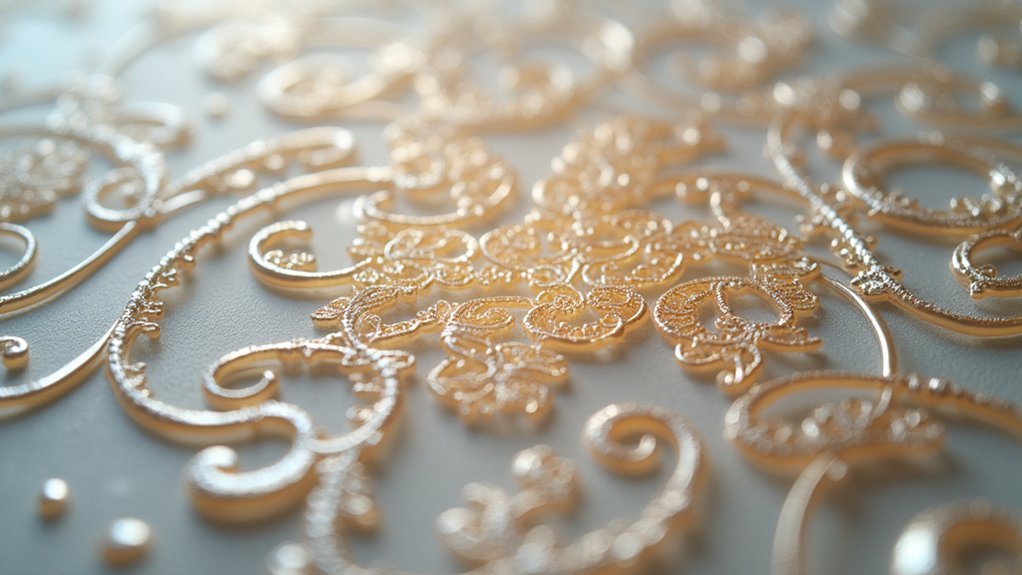
When you’re creating filigree wire patterns in wax, you’ll need to master the delicate art of twisting and shaping thin wax wires that replicate traditional metal filigree craftsmanship. Your choice of wax type directly impacts your results—hard wax delivers sharper details, while medium wax offers easier manipulation for complex curves.
Maintaining consistent wire diameter is essential for professional-looking filigree wire patterns. You’ll achieve this through careful rolling and drawing techniques before shaping begins. Focus on creating uniform thickness throughout your design to guarantee visual harmony.
Pay special attention to wire intersections, as these junction points determine your structure’s strength. You’ll often need to add extra material or use specialized joining techniques during the carving process to prevent breakage when casting.
Essential Tools for Carving Delicate Filigree Details
Five essential tools form the foundation of successful filigree carving, each serving a specific purpose in bringing your intricate wax designs to life.
Specialized carving knives enable precise cuts and detailed shaping that’s crucial for delicate filigree work.
Precision carving knives are the cornerstone of masterful filigree work, delivering the exact control needed for intricate wax detailing.
You’ll need fine files to smooth edges and refine intricate patterns, ensuring clean, visually appealing results.
Diamond saw blades provide the sharpness required for accurate cuts in hard wax materials.
A wax carving tool with interchangeable tips enhances your versatility, allowing different textures and detailing techniques throughout your design process.
Remember, maintaining sharp tools is essential—dull instruments increase the risk of damaging your delicate wax filigree.
These essential tools for carving delicate filigree details will elevate your wax carving techniques considerably.
Selecting the Right Wax Hardness for Intricate Designs
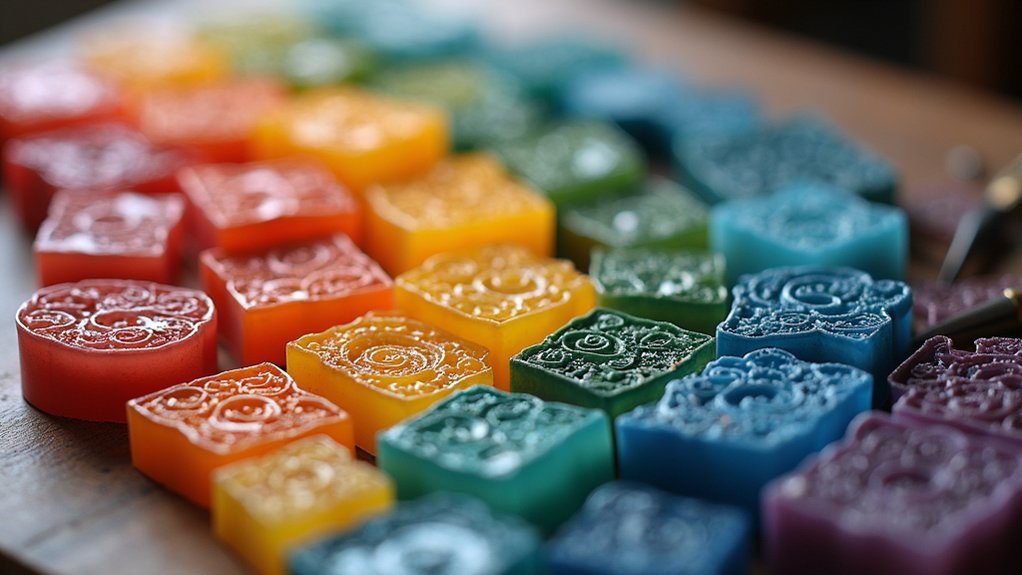
How dramatically can wax hardness affect your filigree carving success? Your choice determines whether you’ll achieve crisp, professional details or struggle with blurred edges.
Hard wax stands as your best ally for intricate filigree work, delivering the precision you need for sharp details and delicate patterns. It won’t deform under fine carving tools, maintaining its shape throughout your detailed work.
Medium wax provides versatility when you need both detail and flexibility, though it won’t match hard wax’s precision.
Soft wax, while easier to manipulate, lacks the stability for highly detailed filigree work.
Consider combining different wax types within one piece—use hard wax for detailed sections and medium wax for structural frameworks to maximize your design’s potential.
Creating Traditional Spiral and Scroll Motifs
You’ll master filigree’s most iconic elements by learning spiral wax wire techniques that mimic traditional metalwork’s flowing curves.
These spirals require controlled pressure and steady hand movements as you shape the wax into tight coils that gradually expand outward.
Scroll pattern carving methods build on these skills, letting you create S-shaped curves and volutes that add classical elegance to your jewelry pieces.
Spiral Wax Wire Techniques
While spiral motifs form the backbone of traditional filigree jewelry, mastering spiral wax wire techniques requires understanding both the material properties and manipulation methods that’ll give you consistent, professional results.
You’ll want to select soft, pliable wax wire that responds easily to shaping while holding its form. Use round nose pliers to grip and guide your wire through precise twisting motions, creating tight, uniform spirals.
Layer smaller wax wires around your primary spirals to build depth and visual interest in your design. This technique adds complexity without overwhelming the overall composition.
Before proceeding to casting, verify that all spiral elements are securely attached to your base structure. Proper adhesion prevents separation during the metal pour, ensuring your intricate spiral work translates perfectly into the final jewelry piece.
Scroll Pattern Carving Methods
When shifting from wire techniques to direct carving methods, scroll patterns demand a more sculptural approach that transforms solid wax blocks into elegant, flowing motifs.
You’ll need to sketch your design first, establishing proper dimensions before transferring it onto the wax surface. Use rounded carving knives for shaping smooth scroll curves, while pointed tools help refine intricate details and add texture.
Make light, controlled cuts to gradually develop flowing spiral patterns, allowing for corrections without compromising the overall structure.
Once you’ve achieved your desired scroll shape, apply fine files or sandpaper to eliminate rough edges and tool marks.
Consider incorporating layered scrolls or varying wax thickness to create depth and dimension, making your final jewelry piece visually striking and sophisticated.
Mastering Fine Line Carving Techniques
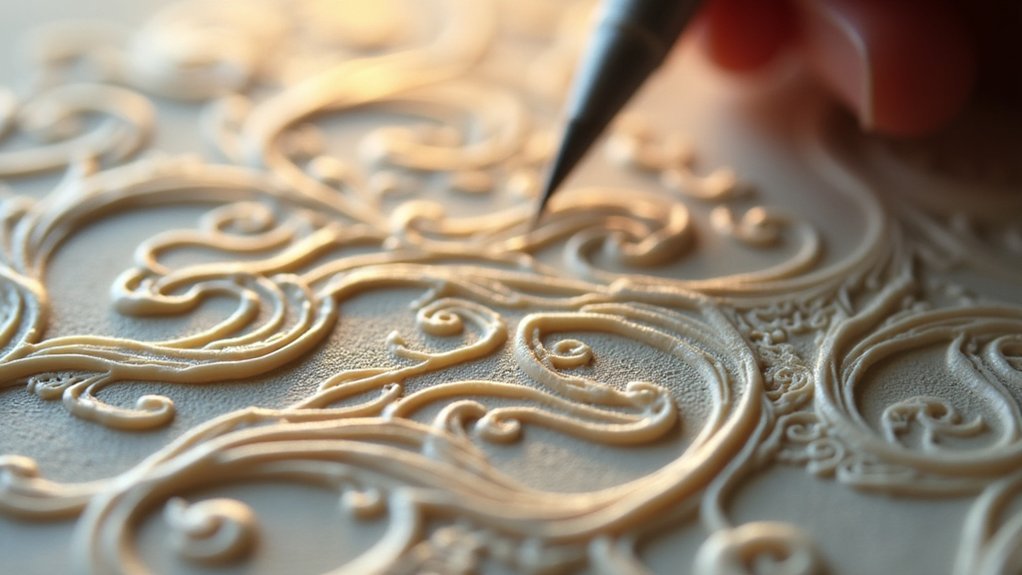
Because filigree work demands exceptional precision, mastering fine line carving techniques starts with selecting hard wax that won’t compromise under detailed manipulation. This material delivers the crisp edges and sharp details you’ll need for intricate filigree designs.
Invest in specialized carving tools like fine-pointed knives and micro-files to achieve precision in delicate patterns and textures. Before touching your wax, sketch your intricate designs on paper first. This guarantees proper proportions and minimizes costly mistakes during carving.
Keep your tools consistently sharp—dull instruments create rough edges and unwanted imperfections that’ll ruin your work.
Most importantly, cultivate patience and maintain a steady hand throughout the carving process. Rushing through fine line carving techniques undermines the finesse and detail your filigree work demands.
Building Layered Openwork Patterns
When building layered openwork patterns in filigree wax carving, you’ll start by establishing a solid base framework that serves as your foundation.
This structural layer uses thicker elements to define the overall shape and primary design lines of your piece.
Once you’ve secured this foundation, you’ll progressively add finer detail layers that create depth and visual complexity through carefully spaced openwork elements.
Creating Base Framework
Although filigree’s delicate appearance might suggest fragility, you’ll build a surprisingly robust foundation by starting with a well-planned base framework.
Begin by sketching your openwork pattern on paper, planning for proper layering and structural integrity before you start carving. Use hard wax to create your foundation since it delivers the sharp edges and crisp details essential for intricate patterns.
Form thicker wire-like structures first—these’ll support your subsequent openwork elements while ensuring adequate spacing for casting. Create your framework by intertwining wax wires into mesh-like formations that provide both visual complexity and lightweight characteristics.
Throughout the carving process, regularly assess symmetry and balance, as any unevenness will compromise both aesthetic appeal and structural stability.
Adding Detail Layers
With your base framework established, you’ll now build intricate detail layers that transform simple openwork into sophisticated filigree patterns.
Start adding detail layers using varying wire gauges to create depth and visual contrast. Thinner wires work perfectly for delicate flourishes, while medium gauges provide structural support between layers.
Combine twisting and braiding techniques to form complex shapes that interweave with your base structure. Each layer must be securely soldered to prevent detachment during casting.
Focus on building dynamic patterns that complement rather than overcrowd your design. Continuously assess symmetry and balance as you work, making adjustments to maintain harmony throughout your piece.
Remember that successful layering creates visual depth while preserving the airy, delicate essence of traditional filigree craftsmanship.
Forming Geometric Filigree Framework Structures
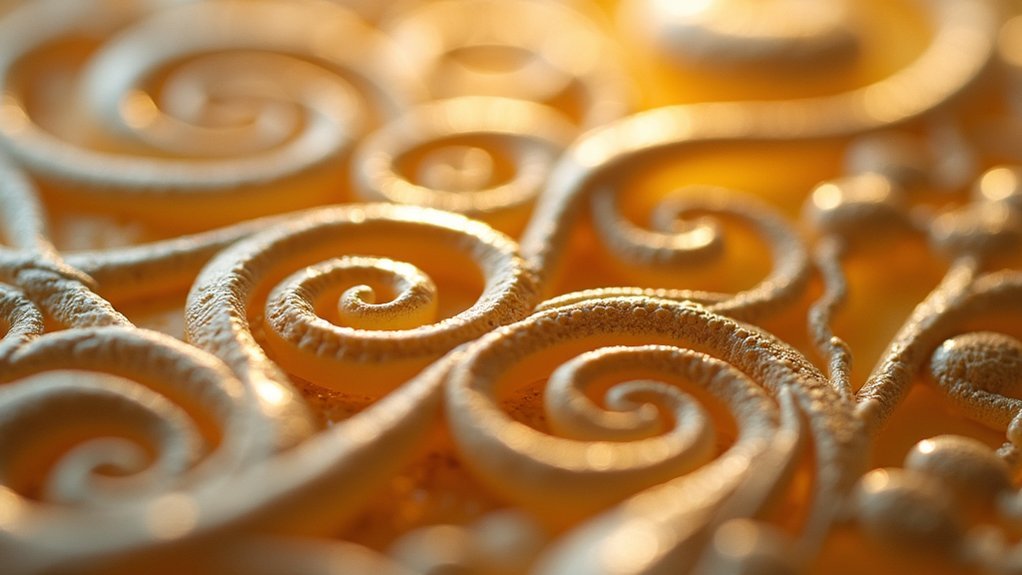
Creating geometric filigree framework structures requires a methodical approach that begins with careful planning and precise execution. You’ll start by sketching your desired geometric shapes on paper to maintain proportions before transferring them onto wax. Use hard wax for sharp edges and intricate carving, as its rigidity allows for precise geometric cuts.
Employ twisting and bending techniques with thin wires to create intricate patterns, ensuring each segment’s securely attached through soldering. Consider wax injection methods for replicating designs, achieving consistent shapes across multiple pieces.
| Technique | Application |
|---|---|
| Hard wax usage | Sharp geometric edges |
| Wire manipulation | Complex pattern creation |
| Soldering attachment | Secure connections |
| Wax injection | Design replication |
| Regular annealing | Maintained malleability |
Regularly anneal your wax to maintain malleability when forming complex structures, facilitating easier shaping without compromising design integrity.
Carving Botanical and Floral Filigree Elements
You’ll transform your filigree work by mastering leaf pattern wax techniques that capture nature’s organic flowing lines.
When you carve flower details, you’re creating intricate petals and centers that demand precision and artistic vision.
These botanical elements require specific approaches that differ considerably from the structured geometric patterns you’ve previously explored.
Leaf Pattern Wax Techniques
Botanical filigree demands exceptional precision when translating nature’s intricate leaf patterns into wax. You’ll want to start by sketching your design on paper first, ensuring accurate proportions before transferring it onto your wax block. This planning step proves essential for successful lost wax casting results.
Choose hard wax for intricate leaf details since it delivers crisp edges and sharp lines that enhance your botanical design’s authenticity. Employ carving knives with fine tips to create delicate veins and textures characteristic of natural leaves, maintaining precision throughout your work.
After carving, examine your leaf design for symmetry and smoothness—these elements greatly impact your filigree piece’s aesthetic appeal.
Consider incorporating multiple leaf layers to add depth and dimension, utilizing wax’s flexibility to create compelling three-dimensional effects.
Flower Detail Carving Methods
While leaves provide the foundation for botanical filigree, flowers offer the opportunity to showcase your most intricate carving skills through their complex petal structures and dimensional qualities.
Before implementing flower detail carving methods, sketch your designs on paper to guarantee accurate proportions and transfer them to hard wax for superior precision.
Use carving knives and files to gradually shape delicate petals, focusing on texture and depth in each element.
Experiment with layering techniques by carving multiple wax pieces that you’ll assemble later to enhance three-dimensional effects.
After completing your floral elements, apply wax polish to highlight intricate details and create brilliant shine without residue.
Achieving Proper Thickness for Casting Success
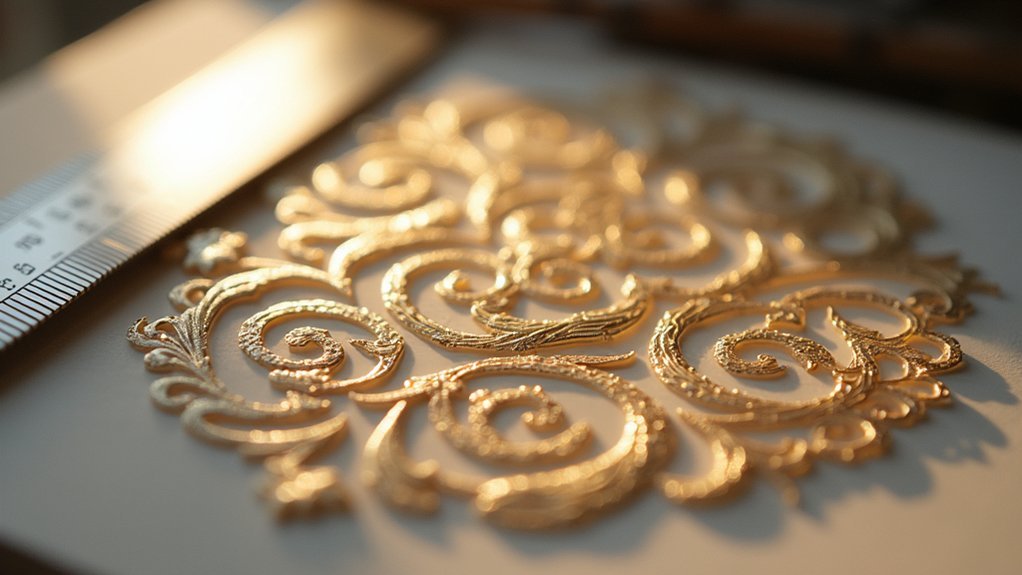
When crafting filigree designs in wax, achieving the correct thickness becomes critical for casting success. You’ll want to maintain wire thickness around 0.3 mm throughout your design to guarantee both intricate detail and structural integrity.
Uniform thickness prevents weak points that could fail during the casting process. For complex patterns, you can layer thinner wires while keeping your overall piece at approximately 1.5 mm thick. This approach gives you aesthetic flexibility without sacrificing durability.
Layering thin wires while maintaining 1.5 mm overall thickness balances intricate aesthetics with casting durability.
Essential steps for achieving proper thickness for casting success:
- Wire consistency – Maintain 0.3 mm thickness across all filigree elements
- Overall depth control – Keep total piece thickness at 1.5 mm minimum
- Regular gauge testing – Check your wax model frequently against thickness standards
These measurements guarantee your delicate filigree survives the metal pouring stage intact.
Finishing and Polishing Carved Filigree Models
After you’ve achieved the proper thickness for your filigree wax model, the finishing process demands your complete attention to detail.
Start by meticulously examining your piece for any tool marks or imperfections, ensuring smooth and symmetrical results before casting. Use fine sanding tools to polish the model, creating a refined texture that highlights your intricate filigree details.
During polishing, maintain a gentle hand to avoid damaging delicate features and preserve your design’s artistic integrity.
Apply wax polish to enhance visual appeal and provide protection without leaving casting-affecting residue.
Complete the finishing process with thorough inspection, ensuring uniform polishing across all areas. This careful attention creates a superior quality finished product that’s perfectly prepared for the casting stage.
Frequently Asked Questions
What Is the Filigree Technique of Jewelry?
You’ll create intricate jewelry using filigree, where you hand-twist precious metal wires into delicate, lace-like patterns. You’ll solder these fine wires together, forming ornamental designs that can incorporate gemstones or enamel for enhanced beauty.
What Is the Difference Between Green and Blue Carving Wax?
You’ll find green carving wax is harder and perfect for sharp, intricate details, while blue wax is softer and more flexible, making it easier to manipulate for rounded, organic shapes.
What Is the Lost Wax Method of Jewelry Making?
You’ll carve a detailed wax model, encase it in investment plaster, then burn out the wax. This creates a precise cavity where you’ll pour molten metal to cast your jewelry piece.
How Do You Smooth Jewelry Wax?
You’ll smooth jewelry wax by starting with coarse files, then progressing to finer grits. Apply gentle heat to melt imperfections, maintain sharp tools, and inspect under good lighting for remaining marks.
In Summary
You’ve now mastered the essential filigree techniques that’ll transform your jewelry wax carving from basic to breathtaking. Remember, practice makes perfect—don’t expect flawless results immediately. Start with simpler patterns before tackling complex botanical designs. Keep your tools sharp, maintain consistent wax temperature, and pay attention to thickness requirements for successful casting. With patience and persistence, you’ll create stunning filigree pieces that showcase your newfound expertise and artistic vision.



Leave a Reply