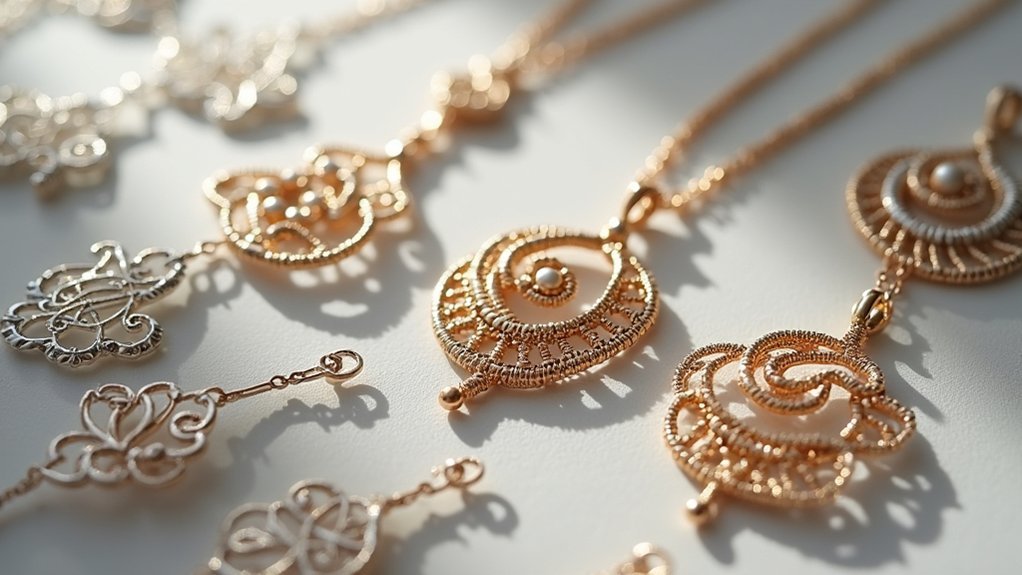
You’ve probably admired intricate filigree jewelry in boutiques, wondering how artisans create those delicate, lace-like wire patterns that seem almost impossible to replicate. The truth is, mastering filigree wirework isn’t as intimidating as it appears – you just need the right patterns and techniques. Whether you’re drawn to classic spiral designs or contemporary geometric shapes, these ten downloadable patterns will transform your wire manipulation skills and reveal the secrets behind creating museum-quality pieces.
Essential Tools and Materials for Filigree Wirework
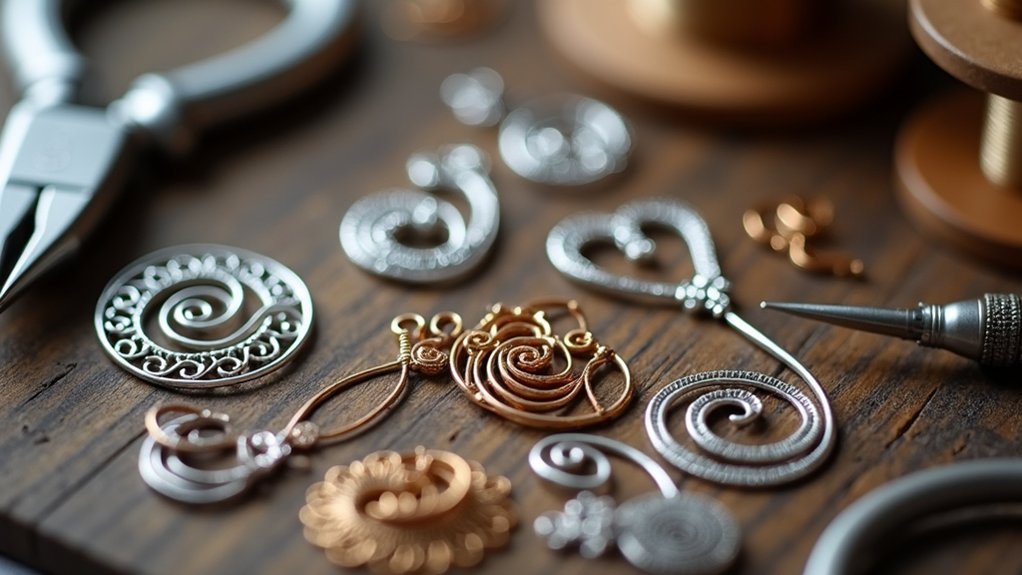
The foundation of successful filigree wirework begins with assembling the right tools and materials for your craft.
You’ll need essential pliers, a hammer, and steel block for flattening your filigree wire effectively. A drill or Dremel becomes invaluable for twisting wire with precision. Choose copper or bronze wire based on your design complexity—thicker wire suits larger patterns while thinner wire creates delicate wire earrings and intricate details.
Annealing is vital for maintaining wire flexibility. Heat your wire to a yellow-red glow, staying well below its melting point to prevent damage.
A rolling mill guarantees uniform thickness, though a small domed hammer works as an alternative. Don’t forget the quenching process—cooling annealed wire maintains its integrity throughout your filigree work, preventing breakage during manipulation.
Classic Spiral Raindrop Earring Pattern
You’ll start the Classic Spiral Raindrop Earring pattern by properly preparing your wire through straightening and measuring techniques that guarantee consistent results.
Next, you’ll form the signature spirals using controlled tension and natural wire movement rather than forcing shapes with excessive plier work.
Finally, you’ll assemble the raindrop shape by connecting your spiral elements and refining the overall form to achieve that elegant, flowing silhouette.
Wire Preparation Techniques
Master the art of wire preparation by starting with proper annealing, which transforms stiff wire into pliable material perfect for intricate filigree work. Heat your fine silver wire to a yellow-red glow without melting, guaranteeing maximum flexibility for twisting and shaping complex patterns.
Coil your wire tightly to prevent loose strands that’ll melt during annealing. You’ll achieve uniform twists by using a drill or Dremel, anchoring one end to a stable point for better control.
After twisting, re-anneal the wire to maintain flexibility and prevent troublesome kinking that’ll interfere with your design work.
For professional finishing touches, hammer or flatten your twisted wire using a steel block. This guarantees uniform thickness throughout your piece, giving your filigree jewelry that polished, expert appearance customers expect.
Spiral Formation Methods
Once you’ve prepared your twisted wire through proper annealing, creating the classic spiral raindrop pattern becomes an intuitive dance between controlled tension and gentle coaxing.
You’ll leverage the natural tension in your twisted wire to form smooth, flowing curves that capture the essence of falling raindrops.
Using pliers, gently guide the wire into its spiral shape, working with the material’s inherent properties rather than forcing it. The annealing process you’ve completed guarantees flexibility, preventing unwanted kinks as you shape each curve.
Complete your earrings by lightly hammering the spirals. This final step adds both texture and structural integrity, transforming your delicate wirework into durable jewelry pieces that showcase the elegant fluidity characteristic of the classic raindrop design.
Raindrop Shape Assembly
After completing your spiral formation, the assembly process requires precise positioning to achieve the characteristic raindrop silhouette.
You’ll need to carefully manipulate your filigree wire using pliers as anchor points, allowing the wire’s natural tension to create those smooth, elegant curves that define the raindrop shape.
Focus on maintaining consistent proportions as you work – the wider top should gradually taper to a delicate point at the bottom.
If you’re working with copper wire, you’ll find it more forgiving during this shaping phase.
Once you’ve achieved the desired form, you can enhance your design by incorporating 14 kt. gold-filled components or adding Swarovski crystals for extra sparkle.
Complete the assembly through careful annealing and twisting to guarantee your earrings maintain both flexibility and long-lasting durability.
Elegant Lima Bean Filigree Shape Tutorial
You’ll find the Lima Bean filigree shape challenges your wire manipulation skills more than basic designs due to its intricate curves.
Mastering this technique requires you to control wire tension naturally while using your pliers as anchor points rather than just bending tools.
The key lies in developing smooth, elegant curves through consistent practice with proper tension management.
Shape Formation Techniques
Three fundamental principles govern the creation of the elegant Lima Bean filigree shape: natural wire tension, strategic anchor points, and deliberate curve formation.
You’ll need to harness your wire’s inherent tension rather than forcing curves with excessive plier manipulation. This approach creates more fluid, organic lines that define the Lima Bean’s characteristic elegance.
Use your pliers as anchor points to maintain stability while shaping. Position them strategically to hold sections in place as you work the curves. Don’t grip too tightly—you’re creating reference points, not crushing the wire.
Experiment with different wire thicknesses to understand how they affect your final design. Thicker wire produces more pronounced curves, making it ideal for larger pieces.
Practice consistently to master this challenging shape’s intricate curves.
Wire Tension Control
Mastering wire tension control separates amateur filigree work from professional-quality Lima Bean shapes.
You’ll need to harness your wire’s natural tension rather than fighting against it. This inherent characteristic creates those smooth, elegant curves that define the Lima Bean’s distinctive silhouette.
Before starting, verify your wire’s properly annealed for maximum flexibility. Use your pliers as anchor points, not bending tools—this preserves the wire’s natural flow and prevents unsightly kinks.
Let the wire’s tension guide your movements as you shape each curve.
Practice with different wire thicknesses to understand how tension varies. Thicker wires require more careful handling, while thinner gauges respond quickly to subtle adjustments.
Regular experimentation develops your sensitivity to wire behavior, ultimately improving your overall wirework skills.
Wire Preparation and Annealing Techniques
Proper wire preparation forms the foundation of successful filigree work, determining whether your delicate patterns will hold their shape or break under stress.
Well-prepared wire serves as the backbone of durable filigree, preventing structural failure in your most intricate metalwork designs.
You’ll need to anneal your wire by heating it until it reaches a yellow-red glow, which increases flexibility without melting. Before heating, coil the wire tightly to prevent loose strands from melting quickly during the process.
After annealing, quench the wire in water immediately to cool it down and prepare it for twisting or shaping.
When you’re ready to twist, use a drill or Dremel with one end secured to a stable point. This maintains uniform tension and prevents kinking.
For flattening twisted wire without a rolling mill, you’ll want to use a small domed hammer on a steel block to guarantee consistent thickness throughout.
Twisted Wire Filigree Component Design
Once you’ve prepared your annealed wire, creating twisted filigree components requires strategic planning to achieve the intricate patterns that define quality filigree work.
You’ll need to securely anchor one end of your wire while using a drill or Dremel to create uniform twists along its length, maintaining consistent tension to avoid kinks.
Consider these essential steps for professional results:
- Re-anneal after twisting to maintain flexibility for easier manipulation in your final design
- Hammer strategically to flatten twisted wire, enhancing texture while maintaining uniformity for a polished finish
- Select appropriate wire gauges – thicker wires work best for larger pieces, while finer wires create intricate details
Remember to wrap your wire in copper before final annealing to prevent melting and preserve your design’s integrity.
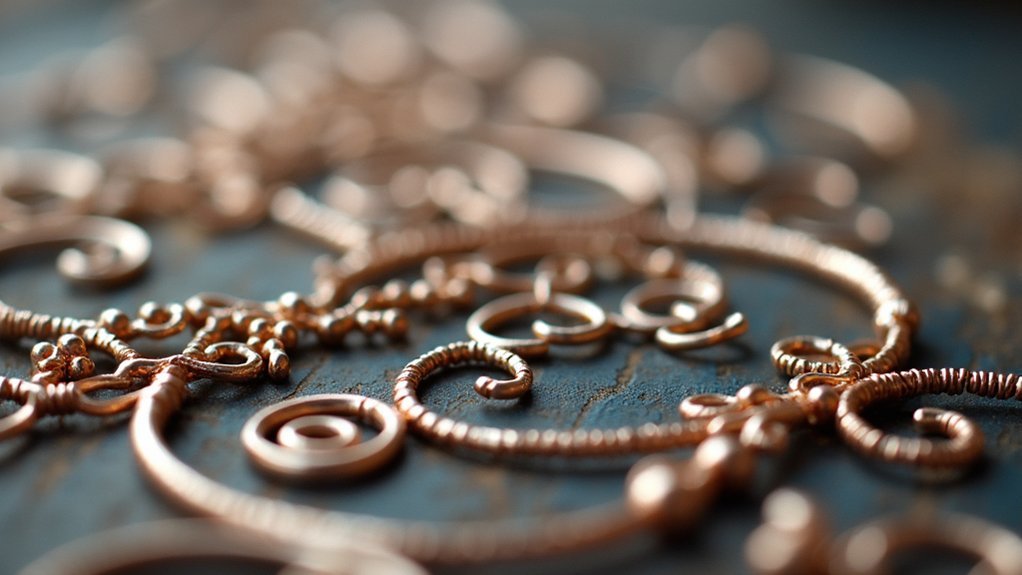
Organic Pendant With Flowing Curves
Creating an organic pendant with flowing curves transforms your twisted filigree components into a graceful piece that celebrates the natural movement of wire.
You’ll emphasize flowing curves by utilizing the wire’s natural tension rather than forcing shapes with tools alone. This technique creates more authentic, graceful forms.
Incorporate different wire types like copper and bronze to add depth and visual character to your pendant. The varying metals create stunning contrasts that enhance the organic aesthetic.
Master this technique through consistent practice, focusing on achieving smooth, flowing curves especially in complex filigree shapes.
Customize each pendant with beads or gemstones to highlight your individual creativity. The twisting and hammering process enhances the organic feel, creating a dynamic, artistic final piece.
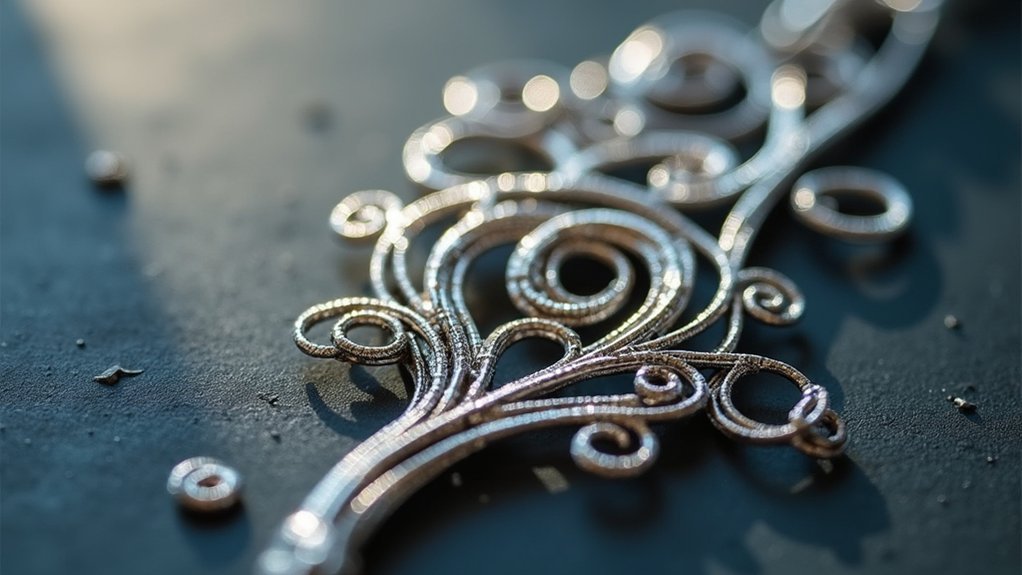
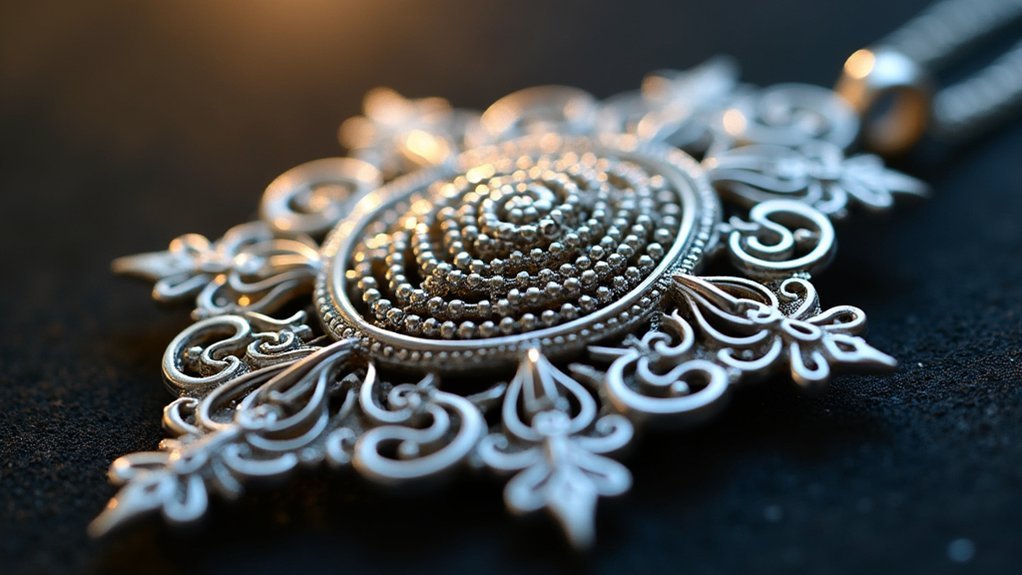
Traditional Oval Filigree Framework
Most traditional oval filigree frameworks begin with establishing precise anchor points that’ll guide your wire placement throughout the entire construction process.
You’ll find mastering this challenging design requires dedicated practice, as the delicate curves demand careful attention to detail. Your pliers serve as vital anchor points, enabling precise wire manipulation to achieve those flowing oval shapes.
The natural tension in your filigree wire becomes your ally, creating organic curves that enhance the overall aesthetic.
Consider these essential techniques:
- Wire Selection: Combine copper and bronze for visual contrast and depth
- Tension Control: Use wire’s natural properties to shape flowing curves
- Anchor Positioning: Place pliers strategically for maximum control
You’ll discover that fine wire techniques showcase both your craftsmanship and artistic expression in these intricate designs.
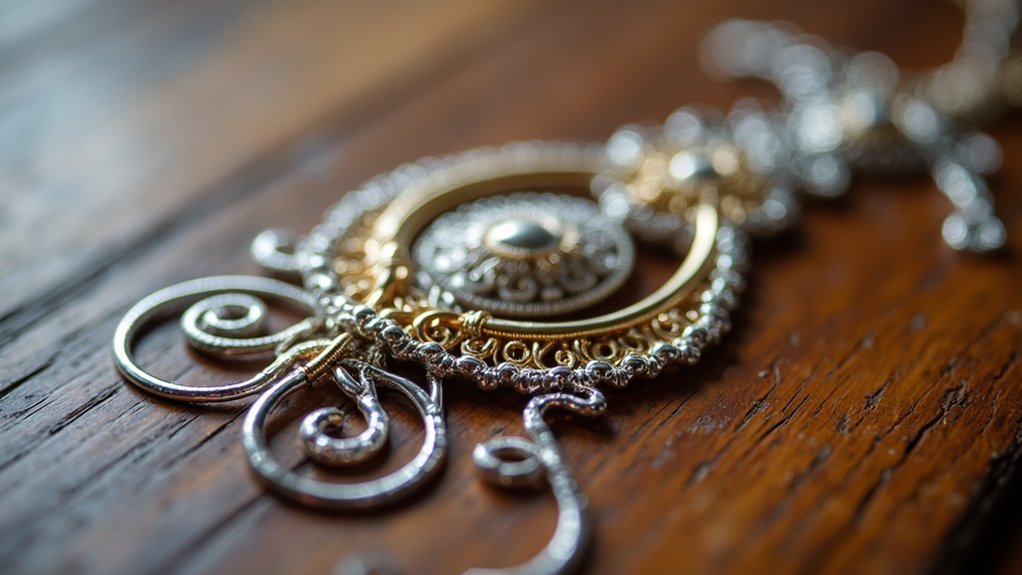
Advanced Multi-Layer Filigree Pendant
You’ll master complex wire layering techniques by strategically positioning multiple twisted wire elements at varying depths to create dimensional focal points.
When you’re ready to permanently join these intricate components, soldering multi-component assemblies requires precise temperature control to fuse connections without compromising the delicate filigree work.
You’ll need to plan your assembly sequence carefully, as each solder joint affects the structural integrity of your layered pendant design.
Complex Wire Layering Techniques
While mastering basic filigree techniques provides a solid foundation, advanced multi-layer pendants demand a sophisticated understanding of wire preparation and layering sequences that’ll transform your jewelry from simple to spectacular.
Your wire preparation starts with proper annealing to enhance flexibility and prevent melting during complex layering. Use a drill or Dremel to create uniform twists while keeping wires securely anchored, avoiding problematic kinks.
For professional results, follow these essential layering techniques:
- Foundation Building – Start with thicker wires for structural integrity, then hammer or use a rolling mill for uniform thickness.
- Detail Layering – Add thinner wires for delicate top layers that create visual depth.
- Final Treatment – Complete with annealing to maintain shape and flexibility for intricate detailing.
Experimenting with various wire thicknesses creates stunning visual effects throughout your pendant’s layers.
Soldering Multi-Component Assemblies
Three critical factors determine success when soldering multi-component assemblies in advanced filigree pendants: precise alignment, controlled heat application, and meticulous surface preparation. You’ll need appropriate fixtures to secure components and prevent movement during heating.
| Step | Temperature Indicator | Action Required |
|---|---|---|
| Surface Prep | Room temperature | File and clean all joint areas |
| Flux Application | Room temperature | Apply flux to prevent oxidation |
| Heat Application | Color change visible | Apply torch to joint areas only |
| Solder Flow | Proper flow temperature | Add solder when base metal’s ready |
Clean surfaces guarantee strong bonds by removing oxidation and oils. Use flux to help solder flow smoothly and adhere properly. Apply heat carefully with your torch, watching for color changes that indicate proper temperature. After completing joints, perform final annealing to relieve stresses and maintain your filigree’s structural integrity.
Delicate Butterfly Wing Earring Pattern
Graceful curves and delicate spirals define the Delicate Butterfly Wing Earring Pattern, transforming simple copper wire into ethereal accessories that capture nature’s most elegant form.
You’ll master intricate filigree designs that mimic butterfly wings’ delicate structure through unique twisting techniques that create surprisingly lightweight pieces.
The step-by-step instructions guide intermediate wire artists through advanced filigree methods, helping you elevate your wirework skills.
You can customize your finished earrings with personal touches:
- Add colorful beads for vibrant accents
- Incorporate gemstones for elegant sophistication
- Experiment with different wire gauges for texture variation
This downloadable pattern provides immediate access to detailed instructions, complete supply lists, and clear skill level ratings, ensuring you have everything needed to create these stunning butterfly-inspired earrings.
Hammering and Finishing Techniques for Professional Results
After completing your butterfly wing earrings, proper hammering and finishing techniques will transform your delicate filigree work into polished, professional jewelry.
You’ll need a hammer and steel block to achieve uniform thickness when flattening twisted wire. A small domed hammer gives you greater control and precision during the hammering process, ensuring consistent results throughout your design.
If you have access to a rolling mill, it’ll produce superior results compared to hammering alone, offering a more uniform finish for intricate filigree work.
You’ll need to experiment with rolling mill settings to achieve your desired wire thickness consistency.
For final annealing, wrap your wire in copper to prevent melting, then quench it afterward to maintain flexibility for further shaping and professional finishing touches.
Frequently Asked Questions
How Do I Determine the Correct Wire Gauge for Different Filigree Patterns?
You’ll choose wire gauge based on your pattern’s intricacy and structural needs. Use thinner gauges like 26-28 for delicate scrollwork, medium 22-24 for general filling, and thicker 18-20 for frames and support elements.
Can Filigree Patterns Be Resized for Larger or Smaller Jewelry Pieces?
You can resize filigree patterns by scaling them proportionally up or down. However, you’ll need to adjust your wire gauge accordingly – use thicker wire for larger pieces and thinner wire for smaller, delicate designs.
What’s the Best Way to Store and Organize Downloaded Digital Patterns?
You’ll want to create labeled folders on your computer organized by project type, difficulty level, or wire gauge. Back up your patterns to cloud storage and consider printing favorites for quick reference during crafting sessions.
How Do I Troubleshoot Common Mistakes When Following Filigree Patterns?
Check your wire gauge matches pattern specifications. Verify you’re following directional curves correctly. Practice basic coils separately before complex designs. Use proper lighting and magnification. Keep consistent tension throughout. Reference pattern photos frequently while working.
Are There Copyright Restrictions on Sharing or Selling Jewelry Made From Patterns?
You’ll need to check each pattern’s specific license terms. Most allow personal use and finished jewelry sales, but you can’t redistribute the actual patterns without permission from the original designer or publisher.
In Summary
You’ve now explored nine extensive filigree wirework patterns that’ll transform your jewelry-making abilities. Don’t hesitate to experiment with different wire gauges and metals as you practice these techniques. Start with simpler designs like the spiral raindrop earrings, then progress to complex multi-layer pendants. Remember, mastering filigree takes patience and practice. Download these patterns today and begin creating your own stunning wire jewelry pieces that reflect your unique artistic vision.


Leave a Reply