You’ll achieve intricate wax carving details by selecting the right wax type—green for sharp edges, turquoise for exceptional finish quality. Master tool control with sharp X-acto knives, using small controlled movements and pulling scrapers for cleaner cuts. Apply progressive layering techniques, starting with foundation mapping and systematic progression from large shapes to fine details. Use heat tools like wax pens at low temperatures for seamless integration. Perfect your surface finishing with fine emery paper and soft brushes for professional results that reveal advanced artisan secrets.
Selecting the Right Wax Type for Precision Work

When you’re starting on precision wax carving, selecting the appropriate wax type becomes your foundation for success.
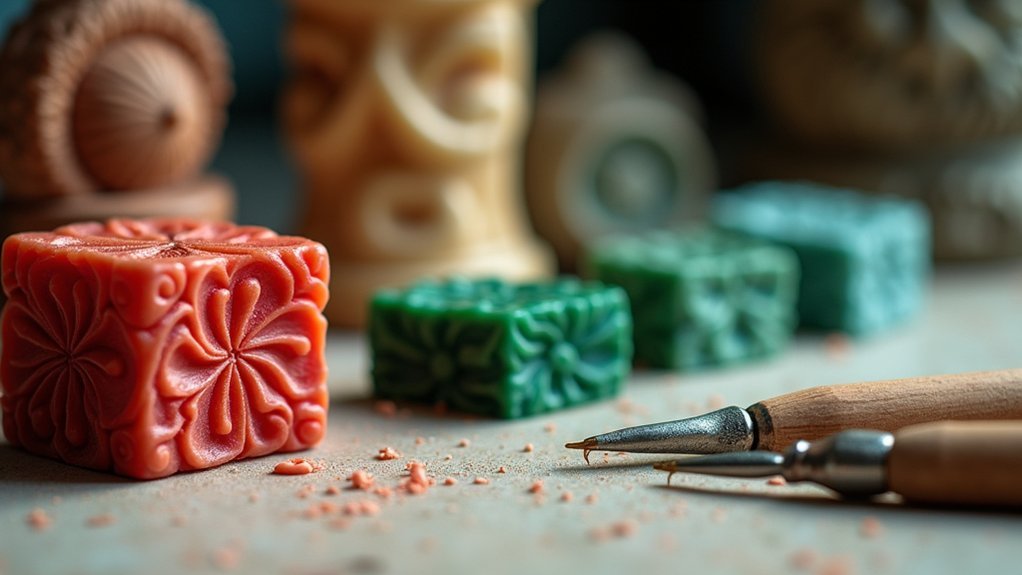
Green wax stands out as your top choice for intricate details because its hardness allows sharp edges and precise carvings without distortion. You’ll find your wax carving tools perform exceptionally well with this material when creating fine details.
Green wax’s superior hardness makes it the ideal foundation for achieving razor-sharp edges and distortion-free precision in detailed carvings.
Turquoise wax offers exceptional surface finish, strength, and toughness, making it ideal for achieving high-quality details in complex carvings.
Purple wax provides versatility for general-purpose work, balancing hardness with slight flexibility for various design requirements.
Blue wax works best for rounded surfaces and softer curves due to its increased flexibility.
Experimenting with different types helps you identify which wax properties best suit your specific project needs.
Mastering Tool Control for Clean Lines and Edges
Having the right wax type sets you up for success, but your tool control determines whether you’ll achieve those crisp, professional lines you’re after. Sharp, precise tools like X-acto knives and linoleum cutters give you better maneuverability and accuracy when carving wax.
Always pull scrapers through the material rather than pushing them—this technique creates smoother edges and cleaner cuts. Focus on small, controlled movements to avoid over-carving and preserve your design’s intricate details.
A narrow V-cutter works exceptionally well for creating defined stops and crisp lines in detailed areas. Consistent practice is essential for developing reliable tool control. Aim for about two hours of daily practice to build muscle memory and achieve those clean lines that separate amateur work from professional-quality carving wax sculptures.
Progressive Layering Techniques for Complex Patterns

Three distinct phases define successful progressive layering: foundation mapping, intermediate buildup, and detail refinement. You’ll begin by sketching your complex pattern on paper, then transferring it to soft wax. This initial layer serves as your roadmap for subsequent builds.
| Phase | Wax Type | Tool Selection | Focus Area | Cooling Time |
|---|---|---|---|---|
| Foundation | Soft | Basic gouges | Large shapes | 15-20 min |
| Intermediate | Medium | V-gouges | Mid-level detail | 10-15 min |
| Detail | Hard | Fine tools | Intricate patterns | 5-10 min |
| Refinement | Hard | Rounded gouges | Create curves | As needed |
| Assessment | Variable | All tools | Overall cohesion | Between layers |
These wax carving techniques require systematic progression. Start with largest shapes, then gradually add finer details. Progressive layering demands patience—allow each layer to cool before proceeding. Regular assessment guarantees your intricate patterns maintain cohesion throughout the carving process.
Heat Tool Applications for Seamless Detail Integration
Although traditional carving tools excel at creating foundational shapes, heat tools transform your wax carving capabilities by enabling precise detail integration that’s impossible through mechanical methods alone.
Wax pens and heat guns soften your material strategically, allowing you to meld different sections together seamlessly. When using heat, start with low temperatures and gradually increase to prevent unwanted distortion of your work.
This controlled application smooths rough edges while refining your carving’s overall surface quality. You’ll develop enhanced wax carving skills through regular practice, learning to add sophisticated textures and depth to complex designs.
Always prioritize safety by keeping heat tools away from flammable materials and monitoring their use closely throughout your carving process.
Surface Finishing Methods for Professional Results

When you’ve completed the initial carving and heat tool refinements, surface finishing becomes the critical phase that separates amateur work from professional-quality pieces. Start by using fine grit emery paper to smooth the surface and eliminate uneven edges. This preparation guarantees your polishing efforts achieve maximum impact.
| Tool | Application | Result |
|---|---|---|
| Fine Grit Emery Paper | Smooth flat surfaces | Even foundation |
| Soft Bristle Brushes | Gentle polishing motion | Enhanced finish |
| Wax Gloss Product | High-shine application | Professional appearance |
| Soft Flame Technique | Controlled heat exposure | Lustrous surface |
| Clean Soft Cloth | Final residue removal | Flawless completion |
Apply gentle pressure with polishing brushes to avoid scratches while enhancing surface quality. Finish with wax gloss or soft flame technique for exceptional shine, then clean thoroughly with a soft cloth.
Frequently Asked Questions
What Are the Different Types of Wax Carving?
You’ll find several wax carving types including relief carving for raised designs, intaglio for recessed patterns, additive building techniques, subtractive removal methods, and combination approaches that blend multiple techniques for complex jewelry pieces.
What Is the Best Wax for Sculpting?
You’ll find turquoise wax works best for sculpting since it offers exceptional strength, toughness, and flexibility while delivering superior surface finish. It’s perfect when you’re creating detailed sculptural work requiring precision.
What Is the Lost Wax Carving Method?
You’ll create a detailed wax model, encase it in plaster, then heat it to melt out the wax. This leaves a cavity you’ll fill with molten metal, capturing intricate details.
How to Smooth Out Wax Carving?
You’ll smooth wax carvings using fine-grit sandpaper with gentle, even pressure. Apply soft flame or wax solvent carefully to melt surfaces. Use burnishers for intricate details, checking regularly for consistent finish quality.
In Summary
You’ll achieve intricate wax carving mastery by combining these five techniques strategically. Don’t rush the process—precision comes from patient practice with each method. Start with proper wax selection, then focus on tool control before advancing to layering and heat applications. Remember, your surface finishing determines the final quality, so invest time perfecting each step. With consistent application of these expert techniques, you’ll create detailed carvings that showcase true professional craftsmanship and artistic excellence.


Leave a Reply