
You’ll need 18-gauge sterling silver wire, jump rings, lightweight clasps, and basic tools like pliers and a torch to craft delicate silver chains. Start by annealing your wire around a dowel, then carefully cut uniform jump rings and solder each connection with proper flux application. Clean excess solder with progressive grits from 220 to 600, add your clasp, and tumble for at least 20 minutes. Master these five core techniques to reveal professional-quality results.
Essential Materials and Tools for Silver Chain Creation
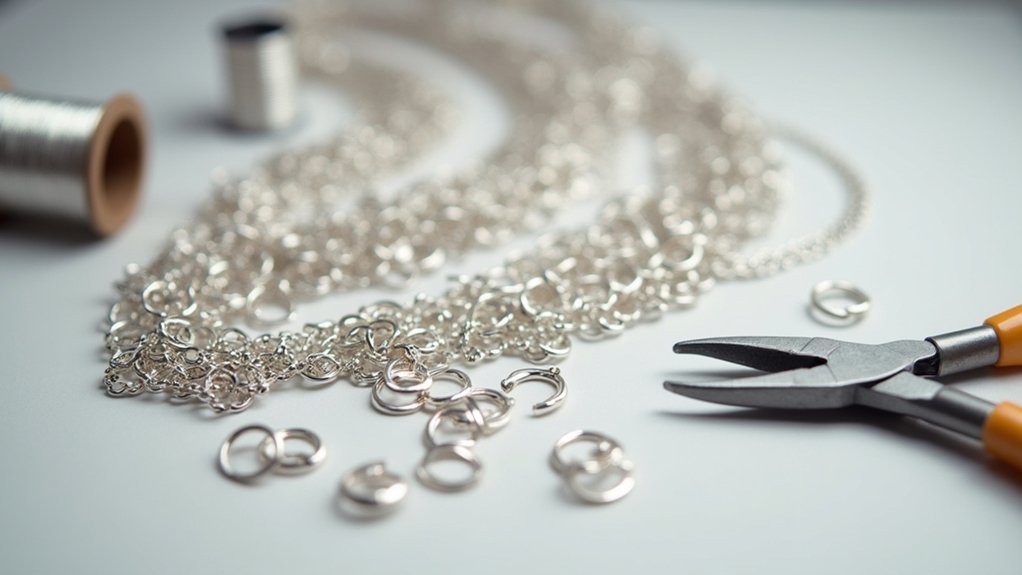
Creating beautiful silver chains starts with gathering the right materials and tools for your project. You’ll need 18 gauge sterling silver wire as your foundation, with at least 3 feet required for basic designs. For jump rings, choose wire between 1mm and 1.5mm thickness based on your chain’s intended purpose.
Start your silver chain project with 18 gauge sterling silver wire and properly sized jump rings for optimal results.
The essential materials include lightweight clasps and findings that won’t weigh down your delicate creation.
Tools necessary for successful chain making include a vice for securing wire during work, flat nose and chain nose pliers for precise manipulation, and a saw for accurate cutting of jump rings.
Don’t forget soldering supplies—solder and a torch are vital for creating secure, durable connections between links while achieving that polished, professional finish.
Wire Preparation and Annealing Techniques
Before you can begin shaping your silver chain links, you’ll need to prepare your wire through proper coiling and annealing techniques. Start your wire preparation by securing 3 feet of 18 gauge sterling silver in a vice, then wrap it tightly around a 9mm wooden dowel. Tuck the ends safely before beginning the annealing process.
Heat your coil evenly with a torch, watching for color changes that indicate proper heating:
| Stage | Color | Temperature | Result |
|---|---|---|---|
| Initial | Golden | Low heat | Beginning |
| Intermediate | Blue-black | Medium heat | Progressing |
| Final | Dull red | High heat | Complete |
| Cooled | Black | Room temp | Ready |
If your sterling silver emerges bright after annealing, you’ve under-heated it. Pickle and rinse the blackened coil to remove oxidation before proceeding.
Creating and Cutting Perfect Jump Rings
Once your annealed coil has cooled and been pickled clean, you’ll transform it into individual jump rings through careful cutting and precise alignment. Secure the coil in a vice at a slight angle, guaranteeing a firm grip that prevents movement during sawing. Cut the coil’s end bits first to eliminate sharp edges that can poke during handling.
When making jump rings, saw completely through each ring without wiggling them off the coil. This precision is essential in silver jewellery making for achieving professional results.
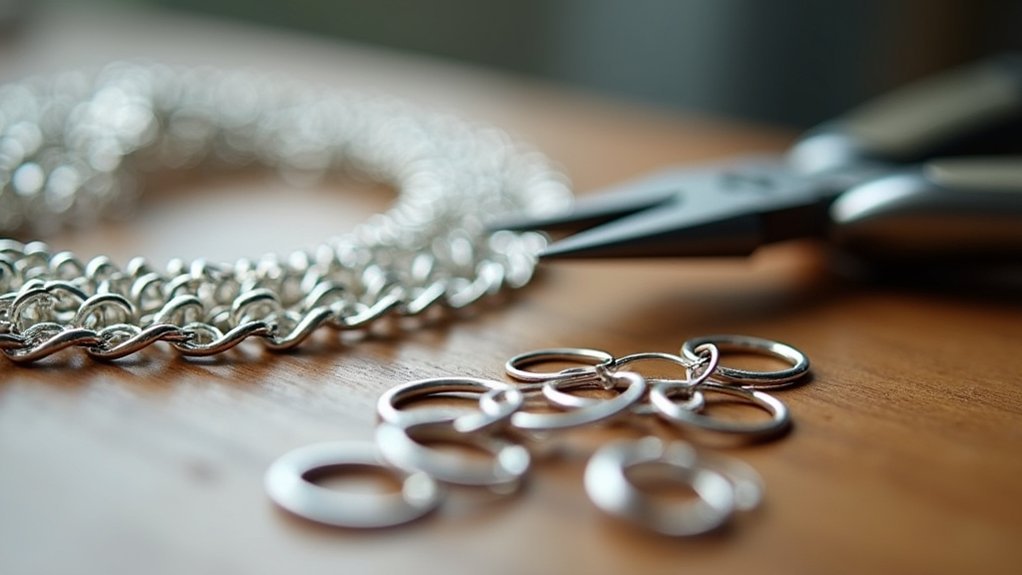
After cutting, use flat nose or chain nose pliers to align the rings perfectly—round nose pliers create unwanted dents. Confirm no gaps exist at joints, as misalignment can’t be corrected after soldering.
Practice patience throughout this process, as perfect jump rings determine your chain’s overall quality and functionality.
Mastering Solder Application and Link Assembly
With your perfectly aligned jump rings ready, you’ll now focus on the critical soldering process that transforms individual rings into a continuous chain.
Begin by fluxing each jump ring to guarantee proper solder adhesion. Master ball soldering by melting solder into a sphere using your flame’s cone before placing it on the link. Heat the ring until flux turns clear, indicating ideal temperature for instant solder melting. Use a titanium pick to position the molten solder precisely onto the heated metal surface.
For making jewellery successfully, consider the thickness of the wire when determining heat application time.
After creating soldered links, immediately align them using two pairs of pliers while still warm. Remember, misalignment can’t be corrected post-soldering, so guarantee no gaps remain between ring ends before the solder cools completely.
Finishing Methods for Professional Chain Results
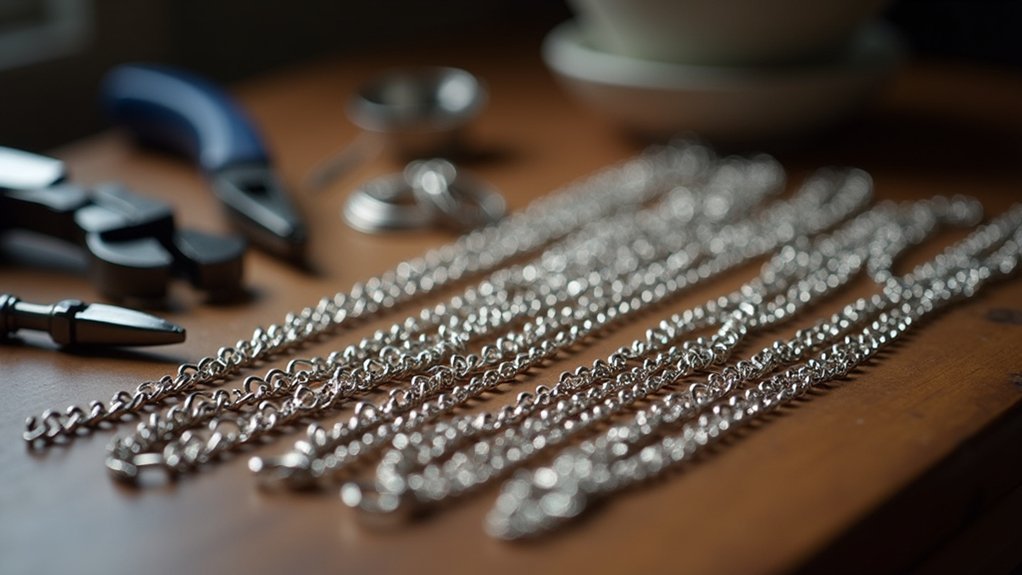
After your soldering work is complete, you’ll need to clean any excess solder from the seams to achieve a professional finish. Use files and emery to remove unwanted material, progressing through grits for ideal results.
The most effective finishing methods for delicate silver chains include:
Gentle finishing techniques preserve the delicate structure of silver chains while achieving professional-quality results through proper tool selection and careful handling.
- Start with coarse 220-grit emery and progress to 400, then 600-grit for smooth surfaces.
- Add a simple S clasp before tumbling to protect the chain during processing.
- Tumble for minimum 20 minutes as the safest polishing method for delicate jewellery.
- Avoid rotary polishing machines that can damage links; use gentle hand polishing instead.
Regularly check your silver chains after tumbling to assess the finish. If you haven’t achieved the desired shine, extend tumbling time accordingly.
This careful approach guarantees your jewellery maintains its delicate integrity.
Frequently Asked Questions
What Do You Soak Silver Chains In?
You’ll soak silver chains in warm water with mild dish soap for basic cleaning. For stubborn tarnish, you can use vinegar and baking soda mixture or commercial silver cleaners instead.
How Long to Beat Silver Chains?
You don’t beat silver chains during crafting. Instead, you’ll spend 1-2 hours on simple designs or several days on complex ones, focusing on careful soldering and link assembly techniques.
How Do I Choose a Silver Chain?
You’ll want to take into account your intended use first – whether you’re wearing it alone or with pendants. Choose appropriate wire gauge, select a complementary clasp style, and guarantee proper link clearance for functionality.
How Do You Make a New Silver Chain?
You’ll wrap sterling silver wire around a dowel to form jump rings, then anneal and cut them. Solder each ring’s joint with flux, link them together, and polish your finished chain.
In Summary
You’ve now mastered the fundamentals of crafting delicate silver chains. Remember that consistent practice will refine your technique and improve your results. Don’t rush the soldering process—patience guarantees strong, clean joints. Take time to properly finish each piece with careful filing and polishing. Your attention to detail during wire preparation and jump ring creation will show in your final product’s professional appearance and durability.


Leave a Reply