You can strengthen fracture-filled sapphires by first evaluating damage extent under magnification, then cleaning gently with mild soap and lukewarm water using a soft brush. Apply compatible filling materials like specialized resins carefully with a toothpick, ensuring proper penetration into cracks. Cure according to manufacturer guidelines and polish with a soft cloth to restore shine. Avoid ultrasonic cleaners and harsh chemicals that’ll damage existing fillings. The complete restoration process involves additional techniques that’ll maximize your sapphire’s durability and appearance.
Understanding Fracture Filled Sapphires and Their Vulnerabilities

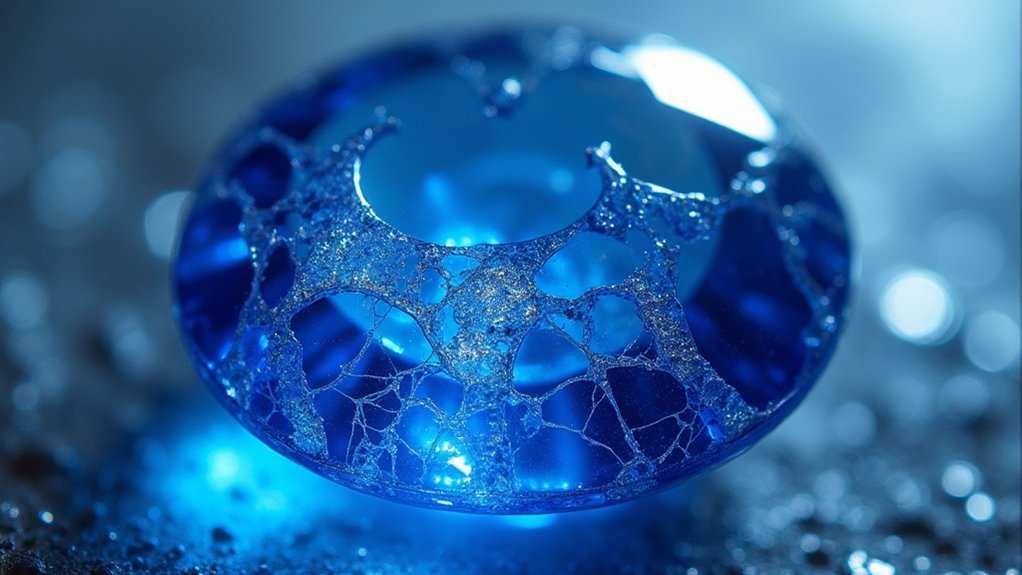
While fracture filled sapphires can appear stunning due to their enhanced clarity, you’ll need to understand that these gemstones carry unique vulnerabilities that affect their long-term durability.
These gemstone treatments involve filling surface-reaching fractures with materials like lead glass or synthetic resins to improve marketability and stabilize the stone.
Fracture filling uses lead glass or resins to enhance sapphire appearance and structural integrity for commercial purposes.
However, this enhancement creates specific weaknesses you must consider. The filling materials are sensitive to heat and chemicals, making your sapphire more fragile than untreated stones.
You’ll face ongoing maintenance challenges since fillings can deteriorate over time, particularly oil-based treatments that may require re-application.
Understanding these fractures and their treatment limitations helps you make informed decisions about care, cleaning methods, and long-term expectations for your enhanced sapphire.
Identifying Damage Patterns in Treated Sapphires
Recognizing damage patterns in your treated sapphire requires careful visual inspection and understanding of how these enhanced stones fail over time.
You’ll need to examine your stone under proper lighting to spot telltale signs of deterioration, as this common treatment makes sapphires particularly vulnerable to specific types of damage.
Look for these key indicators:
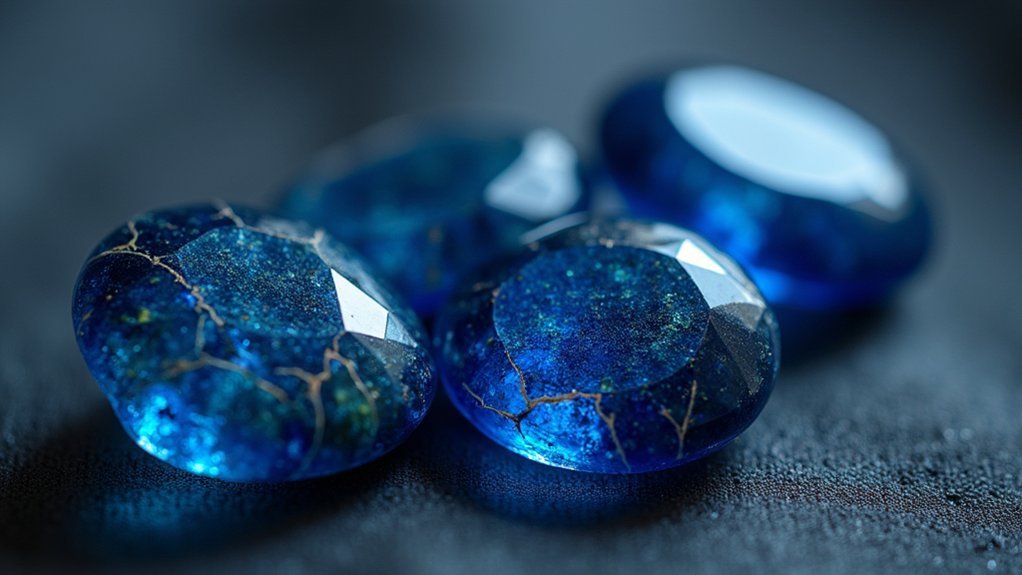
- Surface-reaching cracks – Linear fractures when viewed from different angles that extend to the stone’s surface
- Cloudiness or haziness – Areas where filling material has degraded or separated from the host crystal
- Visible chips – Small missing pieces along edges or facet junctions where stress has concentrated
- Color changes – Sections appearing lighter or different in hue where fillings have shifted or deteriorated
Regular monitoring helps catch problems early.
Essential Tools and Materials for Sapphire Repair

Once you’ve identified the damage patterns in your treated sapphire, you’ll need to gather the right tools and materials to perform effective repairs.
Your essential tools include diamond saws for precise cutting and silicon carbide wheels for proper shaping. You’ll also need various sanding discs ranging from coarse to fine grit for surface preparation, plus polishing compounds to achieve that smooth finish.
Diamond saws and silicon carbide wheels provide the precision cutting and shaping needed for professional sapphire restoration work.
A microscope or loupe is vital for inspecting fractures before and after repair.
Don’t forget water cooling systems during cutting and polishing—they’ll prevent heat damage to the fracture filling material.
Safety equipment like goggles and masks will protect you from dust and debris.
With these tools ready, you’ll be prepared to restore your sapphire’s beauty effectively.
Pre-Repair Assessment and Safety Protocols
Before you begin any sapphire repair, you’ll need to thoroughly document the gemstone’s current condition through detailed photographs and measurements.
You must verify what type of treatment the stone has received, as this directly impacts your repair approach and material selection.
Setting up your workspace with proper lighting, ventilation, and safety equipment isn’t optional—it’s essential for both your protection and achieving quality results.
Initial Damage Documentation
When you’re faced with a damaged fracture-filled sapphire, your first step involves conducting a meticulous visual inspection to catalog every existing flaw. This initial damage documentation process is essential for all gemstone types, as it establishes your repair baseline and prevents confusion about pre-existing versus repair-induced damage.
Your documentation should include:
- Detailed photographs from multiple angles capturing current condition and notable inclusions
- Precise measurements of dimensions and weight for post-repair comparison
- Complete damage inventory noting all cracks, chips, and surface wear patterns
- Environmental setup ensuring proper lighting and safe workspace conditions
You’ll want to wear protective eyewear and use specialized gemstone handling equipment throughout this process.
This thorough documentation protects both you and your sapphire during repairs.
Treatment Type Verification
How can you determine the specific type of filling material in your sapphire without causing damage during the assessment process?
Start with careful visual inspection under magnification to identify surface-reaching fractures and evaluate filling integrity. You’ll need professional gemological laboratory analysis for precise treatment verification, as different filling materials like oils or glass require distinct handling approaches.
Document your sapphire’s current condition thoroughly, noting visible inclusions and deterioration signs. This documentation guides appropriate repair techniques for your specific fracture treatment type.
The laboratory will provide certification outlining the exact filling material and recommended care procedures.
Never attempt treatment identification through destructive testing. Professional verification protects your investment while ensuring you understand your sapphire’s specific requirements before proceeding with repairs.
Workshop Safety Setup
Setting up a proper workshop environment protects both you and your valuable sapphire during the repair process.
Your workshop safety setup requires careful attention to protective measures and environmental controls that’ll safeguard both your health and the gemstone.
Essential safety preparations include:
- Personal Protective Equipment – Equip yourself with safety glasses, protective gloves, and dust masks to prevent exposure to harmful particles and chemicals during repair work.
- Workspace Organization – Arrange tools systematically in a clean, orderly manner to minimize accident risks and maintain efficient workflow throughout the process.
- Emergency Preparedness – Position first aid kits and fire extinguishers within easy reach, establishing clear emergency response procedures.
- Proper Ventilation – Install adequate ventilation systems to eliminate dangerous fumes from adhesives and repair chemicals used in fracture filling procedures.
Cleaning Techniques for Fracture Filled Stones
When cleaning fracture filled sapphires, you’ll need to abandon harsh methods and embrace gentler approaches that won’t compromise the filling materials.
You must protect these treated stones from chemical damage by avoiding ultrasonics and aggressive cleaners that can destabilize the repairs.
Professional maintenance becomes essential since these stones require specialized care to preserve both their beauty and structural integrity.
Safe Cleaning Methods
Three critical principles guide safe cleaning for fracture filled sapphires, each designed to protect the delicate filling material that maintains the stone’s structural integrity.
You’ll need to follow these essential steps for proper maintenance:
- Use mild soap with room temperature water – Apply a gentle, non-abrasive cleaning solution while avoiding harsh chemicals that can deteriorate the filling material.
- Clean with soft brushes only – Gently scrub the surface to prevent scratching while protecting the fracture filled areas from damage.
- Avoid ultrasonic cleaners completely – These vibrations can loosen or compromise the filling material’s bond within the stone.
- Dry thoroughly with lint-free cloths – Pat the sapphire dry immediately after cleaning to prevent moisture from affecting the filling’s stability and appearance.
Chemical Damage Prevention
Because fracture filled sapphires react unpredictably to chemical exposure, you must vigilantly protect them from household substances that can permanently damage or discolor the delicate filling materials.
You’ll need to avoid perfumes, hairsprays, makeup, and cleaning products that contain harsh chemicals. These substances can react with fracture filled stones’ filling materials, causing deterioration or unsightly color changes.
Keep your sapphires away from bleach, ammonia, and acidic household chemicals during cleaning routines. Even seemingly mild products like nail polish remover or alcohol-based solutions can compromise the filling’s integrity.
Store your jewelry separately from cleaning supplies and remove sapphires before applying cosmetics.
Regular inspections help detect early signs of chemical damage. If you notice any discoloration or changes in appearance, immediately discontinue exposure to potential irritants and consult a professional jeweler for assessment.
Professional Maintenance Tips
Protecting your fracture filled sapphires from chemical damage requires proper cleaning techniques that won’t compromise the delicate filling materials.
Professional maintenance guarantees your stones retain their beauty and structural integrity over time.
Follow these essential cleaning guidelines for fracture filled sapphires:
- Use mild soap and room temperature water with a soft brush to gently remove dirt without damaging the filling material.
- Avoid ultrasonic cleaners completely as they can cause severe damage to the filling and worsen existing fractures.
- Minimize heat exposure by keeping stones away from direct sunlight and hot environments during cleaning.
- Schedule regular professional inspections to monitor for deterioration signs and determine if retreatment is necessary.
Professional maintenance also means avoiding household chemicals and cosmetics that could adversely affect the filling materials.
Step-by-Step Repair Process for Minor Fractures
When dealing with minor fractures in your sapphire, start by thoroughly cleaning the stone with mild soap and room temperature water to remove any dirt or oils that could prevent proper adhesion. Next, assess the fracture’s length and depth to determine if fracture filling is viable for your stone.
| Step | Action | Time Required |
|---|---|---|
| 1 | Clean with mild soap and water | 5-10 minutes |
| 2 | Apply filling material with toothpick | 15-20 minutes |
| 3 | Cure according to instructions | Varies by product |
| 4 | Polish surface with soft cloth | 10-15 minutes |
Carefully apply synthetic resin or specialized oil using a fine applicator, ensuring complete penetration. Cure the material following manufacturer guidelines, then polish the surface to restore shine and create a seamless appearance.
Advanced Reinforcement Methods for Severe Damage

While basic fracture filling works well for simple cracks, severely damaged sapphires require more robust intervention techniques.
Advanced reinforcement methods provide the structural support needed for extensively fractured stones.
You’ll need these specialized approaches for severe damage:
- Specialized resin bonding – Apply high-grade adhesives that bond directly to existing filling material while maintaining transparency.
- Micro-pinning installation – Insert tiny stabilizing rods into fracture points to prevent further propagation.
- Laser drilling enhancement – Create precise channels for improved filling material penetration into deep cracks.
- Heat treatment combination – Combine thermal processing with resin filling to enhance both durability and optical properties.
Before attempting any advanced reinforcement methods, you must consult a professional gemologist.
Improper techniques can permanently damage your sapphire or markedly reduce its value.
Temperature Control During Repair Operations
Temperature control forms the foundation of successful sapphire repair, since even minor heat fluctuations can compromise fracture-filled stones beyond repair.
You’ll need to maintain a room-temperature working environment, keeping your gemstone away from jewelers’ torches and direct sunlight. When using heat-generating tools like polishing wheels, employ water cooling techniques to minimize thermal stress on both the sapphire and its filling materials.
Monitor your stone’s temperature regularly during handling and repairs. Excessive heat causes filling materials to expand, deteriorate, or leak from fractures.
Understanding the thermal properties of oils and resins used in treatments helps you select appropriate techniques. This knowledge prevents damage to treated sapphires during repair operations, ensuring the integrity of fracture fillings remains intact throughout your work.
Selecting Compatible Adhesives and Fillers
You’ll need to choose between resin and glass fillers based on your sapphire’s specific fracture pattern and existing treatment history.
Resin options offer flexibility and easier application, while glass fillers provide superior durability and heat resistance.
Match the optical properties of your chosen filler to the sapphire’s refractive index to guarantee the repair remains virtually invisible under normal viewing conditions.
Resin Vs Glass Options
When repairing fracture-filled sapphires, choosing between resin and glass fillers requires careful consideration of optical compatibility and long-term performance.
Resin fillers offer superior flexibility and bonding capabilities, making them ideal for durable, reversible repairs. They adapt well to temperature changes and provide excellent adhesion to gemstone surfaces.
Glass filling, while popular for its high refractive index that closely matches sapphire properties, presents certain limitations:
- Rigidity concerns – Glass fillers can’t flex with temperature variations like resin.
- Heat sensitivity – Requires low-temperature application to prevent damage.
- Durability issues – Less adaptable for long-term performance compared to resin.
- Reversibility challenges – More difficult to remove if future repairs are needed.
You’ll find resin fillers generally provide better overall performance for most sapphire repair applications.
Optical Property Matching
Achieving invisible repairs requires matching your filler’s optical properties precisely to the sapphire’s natural characteristics.
You’ll need to select adhesives with refractive indices between 1.76 and 1.78 to eliminate light distortion and maintain the gem’s brilliance. When working with fracture-filled sapphires, synthetic resins and low-iron lead glass offer excellent optical compatibility while preserving clarity.
Color matching is equally critical—choose fillers that won’t create visible differences under various lighting conditions.
Consider thermal expansion coefficients to prevent stress-induced cracking from temperature changes. UV-cured adhesives provide superior durability while maintaining transparency that seamlessly blends with your sapphire’s appearance.
These careful selections guarantee your repairs remain undetectable while preserving the stone’s value and structural integrity.
Polishing and Finishing Restored Surfaces
Although fracture-filled sapphires require delicate handling, proper polishing techniques can restore their original brilliance without compromising the repair work.
Skilled polishing methods can revive fracture-filled sapphires to their former glory while preserving the delicate internal repairs.
You’ll need a systematic approach when polishing these natural stones to achieve professional results.
Follow this essential sequence for ideal polishing:
- Start with diamond wheels – Use wet grinding to efficiently remove material while preventing heat damage to the fracture-filling compound.
- Progress through sanding grits – Begin with 600 mesh and advance systematically to 14,000 mesh without skipping any grades.
- Apply final polish – Use sapphire-specific compound with cotton buff wheels to maximize brilliance and clarity.
- Inspect continuously – Check optical clarity after each stage from multiple viewing angles to guarantee invisible restoration.
This methodical approach guarantees you’ll achieve a flawless finish that maintains the stone’s structural integrity.
Testing Repair Integrity and Durability
Once you’ve completed the polishing process, you’ll need to verify that your fracture-filled sapphire can withstand normal handling and wear.
Begin by examining the stone under magnification, looking for discoloration or deterioration in the filling material that indicates weaknesses.
Test repair integrity using a steel file to perform a gentle scratch test, ensuring the filling doesn’t chip easily.
Conduct a water immersion test by submerging your sapphire for several minutes, watching for any filling material that leaches out.
Apply gentle pressure from various directions to evaluate stability—any movement suggests compromised repairs.
Regular monitoring is essential for fracture-filled gemstones, as ongoing assessment helps maintain long-term durability and prevents future complications.
Preventive Measures to Avoid Future Damage
While fracture-filled sapphires can maintain their beauty for years, proper care becomes critical to preserving both the gemstone and its delicate filling material. Care must be taken to protect these treated stones from conditions that could compromise their structural integrity.
Fracture-filled sapphires require meticulous care to preserve their enhanced beauty and prevent damage to the delicate treatment materials.
To safeguard your fracture filled sapphires, follow these essential preventive measures:
- Store properly – Keep them away from direct sunlight and extreme temperatures, as heat deteriorates the filling material and causes discoloration.
- Clean gently – Use mild soap with lukewarm water and a soft brush, avoiding ultrasonic cleaners and harsh chemicals.
- Limit chemical exposure – Minimize contact with household cleaners, cosmetics, and perfumes that degrade filling over time.
- Schedule professional assessments – Regular expert evaluations determine when retreatment becomes necessary.
Professional Vs DIY Repair Decision Guidelines
When faced with a damaged fracture-filled sapphire, you’ll need to make a critical decision between attempting a DIY repair or seeking professional help.
First, assess the damage extent – extensive fractures affecting stability require professional intervention. Consider the filling type; oil-filled sapphires need specialized knowledge and materials that professionals possess.
Evaluate your experience and available tools honestly. Without proper equipment or expertise, you risk costly mistakes that could worsen the damage.
Remember that improper DIY repairs can greatly diminish your sapphire’s market value, while professional repair typically preserves its integrity and worth.
Always consult a certified gemologist or jeweler about specific care requirements before attempting any repair work. This consultation guarantees you’ll maintain your gemstone’s longevity and appearance while making an informed decision.
Frequently Asked Questions
Can a Cracked Sapphire Be Repaired?
Yes, you can repair a cracked sapphire through fracture filling techniques. You’ll use materials like lead glass or resins that match the stone’s optical properties, making cracks less visible and improving the sapphire’s overall appearance.
What Does Heat Treatment Do to a Sapphire?
Heat treatment enhances your sapphire’s color and clarity by heating it to 1,600-1,800°C. This process removes impurities, improves visual appeal, and actually stabilizes the stone, making it more durable and less likely to chip.
What Is the Most Commonly Fracture Filled Gem?
You’ll find emeralds are the most commonly fracture filled gems, with approximately 90-95% undergoing treatment. You’re looking at oils, resins, or glass being used to enhance their clarity and appearance.
How to Fix a Broken Gemstone?
You should assess the damage extent first, then consult a professional jeweler experienced in gemstone repair. They’ll determine if re-polishing works for minor chips or if significant fractures need specialized filling materials.
In Summary
You’ve learned the essential techniques for repairing fracture filled sapphires, from proper assessment to professional-grade restoration. Remember, you’re working with delicate treated stones that require careful handling and specific materials. Don’t rush the process—patience guarantees lasting results. While minor repairs are manageable at home, you’ll want to consult professionals for valuable pieces or extensive damage. Regular maintenance and protective storage will help preserve your restored sapphires for years.


Leave a Reply