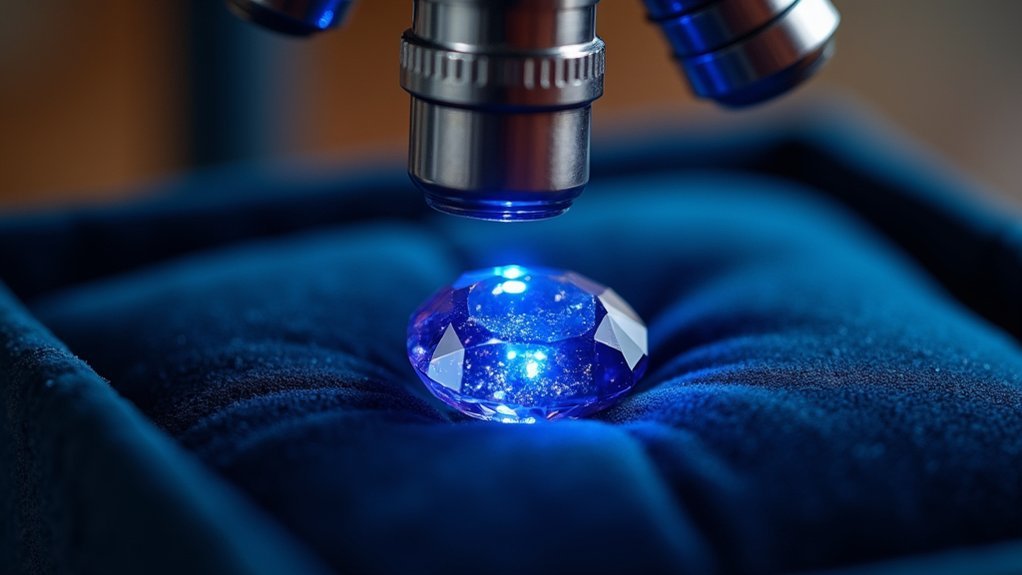
Examining gemstones under a microscope requires proper setup and technique. First, clean both the gemstone and microscope eyepiece thoroughly. Secure your stone with tweezers, adjust the eyepiece spacing, and select appropriate lighting—dark field shows inclusions while bright field highlights color. Use 10x-60x magnification and try different angles to spot inclusions, growth patterns, and potential treatments. Document what you see for future reference. The details revealed through microscopy will transform how you evaluate gemstones.
12 Second-Level Headings for “How To Examine Gemstones Under A Microscope”
When examining gemstones under a microscope, you’ll need to follow several key steps to guarantee accurate observation and identification.
To effectively structure your examination process, consider these essential headings:
“Preparing Your Equipment,” where you’ll clean both the gemstone and microscope eyepiece;
“Selecting Proper Magnification,” typically between 10x-60x with 40x or 80x being standard for identification;
“Choosing Illumination Methods,” where dark field lighting helps identify inclusions with less glare than bright field;
“Handling and Positioning Techniques,” involving secure placement with tweezers to minimize movement;
and “Recording Your Observations,” where you’ll document all inclusions, fractures, and potential treatments.
Each heading represents a critical phase in gemstone examination, ensuring you don’t miss subtle characteristics that determine authenticity and value.
Essential Equipment for Gemstone Microscopy
When examining gemstones properly, you’ll need a binocular stereo microscope with 10x-60x magnification capabilities to identify critical features.
Your illumination setup must include options for both dark field and bright field lighting, as these methods reveal different characteristics within the stone.
Stone holders, tweezers, and immersion cells complete your essential toolkit, allowing for secure positioning during observation without damaging the specimen.
Microscope Types and Features
Anyone serious about examining gemstones needs access to proper microscopic equipment. Binocular stereo microscopes are ideal for gemological examinations, providing three-dimensional views that enhance depth perception when studying stones.
A quality gemstone microscope consists of:
- Lens system – Provides the necessary magnification to observe minute details
- Illumination methods – Various lighting techniques (dark field, bright field, oblique, top, and horizontal) reveal different gemstone features
- Mechanical stage – Holds and allows manipulation of specimens during examination
- Adaptable features – Ability to switch between illumination types for thorough analysis
While professional microscopes can cost thousands, you don’t need the most expensive equipment to conduct effective examinations.
Dark field illumination is particularly valuable for extended viewing sessions, reducing eye strain while highlighting inclusions.
Light Sources Matter
The four primary light sources used in gemological microscopy dramatically affect what features you’ll observe within a stone.
Dark field illumination is your best choice for extended viewing, as it reveals cracks and inclusions by reflecting light off the gemstone without entering the objective lens.
When you need to examine color bands and growth patterns, switch to bright field illumination, though it’s less comfortable for long sessions due to intense light reflection.
For thorough examination, you’ll want to employ multiple illumination methods including oblique, top, and horizontal lighting.
Enhanced illumination equipment is essential for revealing internal details invisible to the naked eye.
Without proper light sources, many structural features critical for identification and grading would remain hidden, greatly impacting your ability to assess a gemstone’s quality and authenticity.
Handling and Mounting Tools
Proper illumination alone won’t guarantee successful gemstone examination—you’ll need specialized handling and mounting tools to maximize your observation capabilities.
A stable mounting setup prevents frustrating shifts during critical moments of your microscope analysis, while proper handling tools protect both you and the specimen.
- Quality tweezers – Secure your gemstone without causing damage during examination, allowing precise positioning under the microscope.
- Gemstone mounting holder – Stabilizes the stone and prevents unwanted movement for more accurate observations.
- Soft brush – Removes dust and debris from surfaces before mounting, ensuring clear visibility of essential features.
- Adjustable microscope stage – Provides smooth x/y movement for positioning your specimen exactly where needed.
Using these tools on a non-reflective surface will further reduce glare and improve your examination results.
Setting Up Your Microscope for Optimal Viewing
Five essential steps guarantee you’ll get the most from your gemstone microscope examination.
Begin by thoroughly cleaning both the gemstone and microscope eyepiece to eliminate any debris that might obstruct your view. Next, secure the gemstone with tweezers to prevent movement during inspection and assure stable viewing.
Power on your microscope and adjust the eyepiece spacing to match your interpupillary distance for comfortable viewing.
Select the appropriate illumination method—dark field works well for transparent stones while bright field benefits opaque specimens—to highlight inclusions and surface features effectively.
Finally, adjust the focal length until you achieve crystal-clear visibility of the stone’s internal and external characteristics, allowing you to observe critical details that determine authenticity and quality.
Understanding Different Illumination Techniques

Different illumination methods offer unique advantages when examining gemstones, with darkfield illumination revealing inclusions and cracks against a dark background.
You’ll find brightfield techniques particularly useful for observing color zoning and growth patterns, though you might need to adjust intensity to prevent eye strain.
When you’re looking to identify synthetic stones or analyze internal structures, polarized light applications can reveal diagnostic features like strain patterns and optical characteristics that aren’t visible with standard lighting.
Darkfield Illumination Methods
The art of darkfield illumination transforms how you’ll observe gemstones by directing light at specific angles to reflect off the stone’s surface rather than passing straight through it.
This technique creates a dark background against which inclusions and imperfections become highly visible. Gemologists use this method extensively for detailed gemstone assessments as it reveals internal features that remain hidden under bright field lighting.
- Position your light source at a 45-degree angle to maximize reflection without light entering the objective lens
- Look for cracks and inclusions that appear bright against the dark background
- Use this method for extended examination periods to reduce eye strain
- Adjust the angle slightly for different types of inclusions to enhance visibility
Brightfield Light Techniques
Brightfield illumination serves as a fundamental lighting method that reveals a gemstone’s true colors and surface characteristics by directing light straight through the stone into your viewing lens.
When you employ this technique, you’ll effectively visualize color bands and natural growth patterns that might remain hidden with other methods.
For ideal gemstone examination, confirm the stone is clean before observation, as debris can interfere with your assessment.
While bright field illumination excels at highlighting surface details, you’ll want to limit prolonged viewing sessions as the intense reflected light may cause eye strain.
For thorough analysis of internal features, combine brightfield with other illumination methods.
This complementary approach provides a complete picture of your gemstone’s properties, allowing you to identify essential characteristics that single lighting techniques might miss.
Polarized Light Applications
Polarized light transforms your gemstone examination by eliminating unwanted reflections and revealing critical internal structures otherwise invisible to the naked eye.
When you rotate polarized filters, you’ll observe distinctive changes in color and brightness that help identify whether a stone is natural or synthetic.
- Examine birefringent materials to see how they interact with polarized light, revealing their crystalline structure.
- Identify inclusions such as stress patterns and growth rings that indicate a gemstone’s origin and authenticity.
- Observe interference colors that appear when light passes through anisotropic minerals, helping assess quality.
- Combine polarized light with other techniques like darkfield or brightfield for thorough analysis of your specimen.
This technique is especially valuable when you need to document a gemstone’s unique optical properties and internal characteristics with precision.
Preparing Gemstones for Examination
Proper preparation of gemstones before examination plays a critical role in ensuring accurate assessment and identification. Before you begin, wipe your gemstone with a soft, lint-free cloth to remove dust and fingerprints that might obscure important details.
Once you have a clean gemstone, secure it using tweezers or a dedicated gemstone holder to prevent movement during your analysis. This stability allows for precise observation of the stone’s features.
Next, adjust your microscope’s eyepiece distance to match your comfort level and optimize your field of view. Power on the microscope and select the appropriate illumination method—dark field or bright field—based on the specific features you’re examining.
After completing your focus adjustments, record all observations, noting inclusions and characteristics essential for identification.
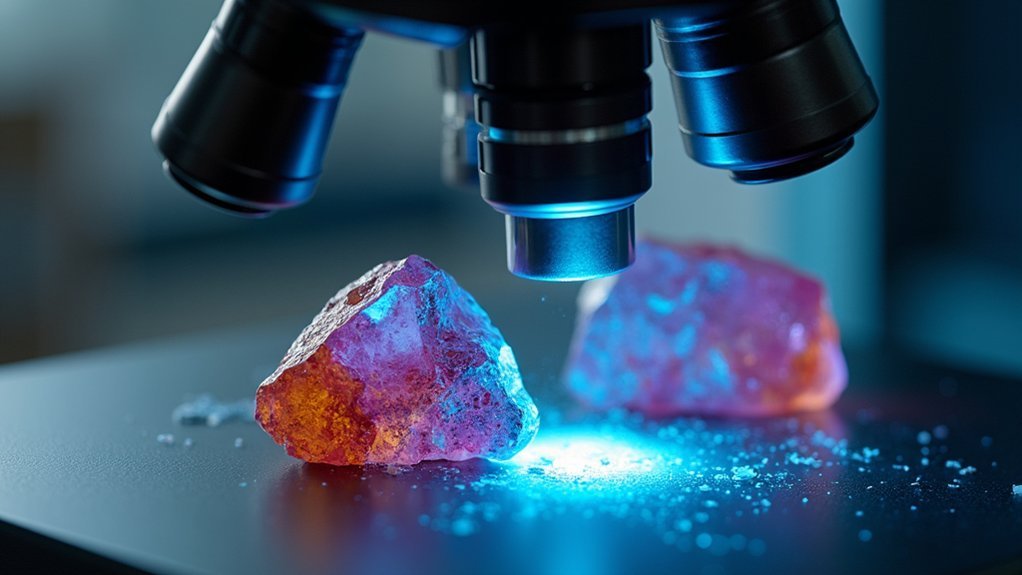
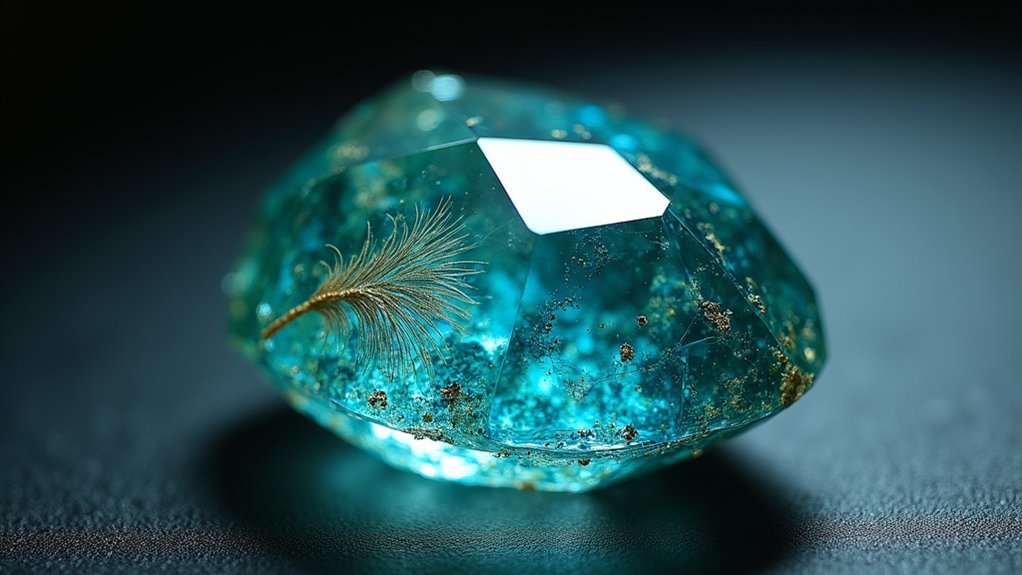
Identifying Natural Inclusions and Growth Patterns
When examining gemstones under magnification, you’ll notice that fluid inclusions appear as irregularly shaped pockets while synthetic bubbles are perfectly round with consistent sizes.
To identify valuable three-phase inclusions in emeralds and sapphires, look for a liquid, a gas bubble, and a crystal all contained within a single cavity.
Growth zoning patterns, visible as color bands or structural variations under different lighting angles, can reveal the stone’s formation history and help you distinguish natural gems from their synthetic counterparts.
Fluid Inclusions Versus Bubbles
Although both may appear as tiny imperfections within a gemstone, fluid inclusions and bubbles tell vastly different stories about a gem’s formation history. Fluid inclusions contain liquid, gas, or solid phases formed during crystallization, while gas bubbles are merely trapped air pockets with uniform spherical shapes.
When examining gems under your microscope, look for these distinguishing features:
- Shape and uniformity – Natural gems show irregular fluid inclusions, while synthetic ones often contain perfectly round bubbles.
- Growth patterns – Fluid inclusions align with crystallization directions, revealing formation history.
- Healing features – Look for fingerprint-like patterns or daughter crystals within fluid inclusions.
- Optical properties – Under polarized light, fluid inclusions may show birefringence while gas bubbles remain isotropic.
Three-Phase Inclusion Identification
One of the most fascinating discoveries you’ll make under magnification is the three-phase inclusion—nature’s signature in premium gemstones.
These distinctive inclusions contain liquid, gas, and solid components, offering a window into the stone’s formation history.
When examining a gemstone, look for these three-phase inclusions as they’re reliable indicators of natural origin. You’ll rarely find them in synthetic stones, making them valuable authentication markers.
Under your microscope, observe how the liquid bubble moves when the stone is gently rotated—this behavior reveals temperature and pressure conditions during formation.
Pay close attention to size, shape, and distribution of these inclusions, as they’ll help you identify the gemstone’s growth patterns and potential treatments.
Their presence is often your strongest evidence when confirming a gem’s authenticity.
Growth Zoning Analysis
Growth zoning patterns tell a powerful story about a gemstone’s journey from formation to discovery—complementing what you’ve learned about three-phase inclusions.
When you perform a microscopic examination, you’ll observe distinctive lines and patterns that reveal the stone’s natural history.
To conduct effective growth zoning analysis for gem identification:
- Adjust your illumination between dark field and bright field to enhance visibility of subtle growth lines.
- Look for characteristic patterns like color banding or structural variations that indicate natural formation.
- Compare any fingerprint-like inclusions against known synthetic patterns (like chevrons in lab-created emeralds).
- Document the internal architecture you observe, noting how zones shift—natural stones typically show irregular patterns while synthetics display more uniform structures.
These natural inclusions serve as nature’s fingerprints, allowing you to authenticate gemstones with confidence.
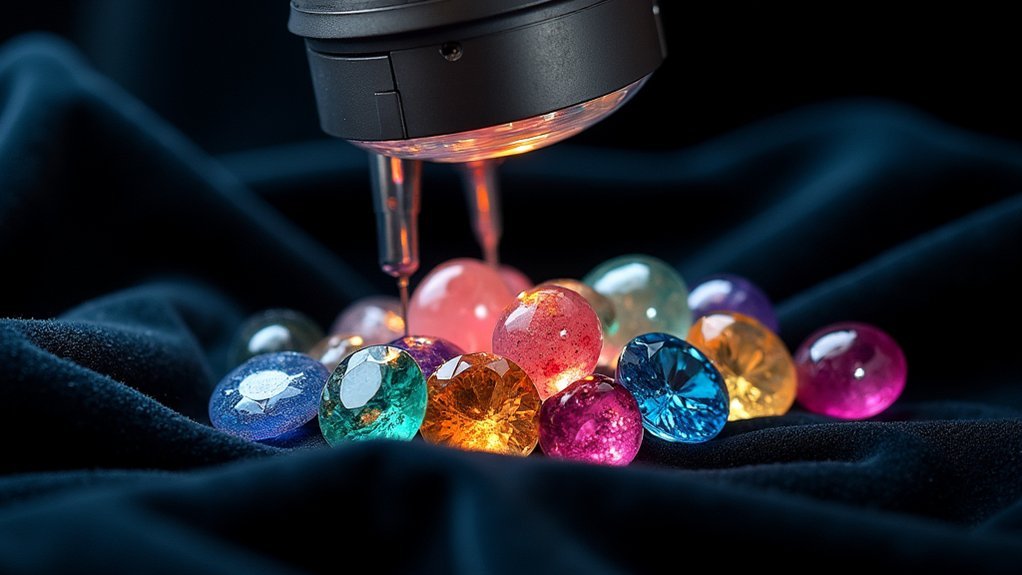
Detecting Synthetic Gemstones and Imitations
How can you distinguish between natural and synthetic gemstones when they often look identical to the untrained eye? The answer lies in careful microscopic examination of their internal features.
When using your microscope to identify synthetics, look for distinctive growth patterns that differ from natural stones, such as coarse growth lines in synthetic rubies that become visible at specific angles.
Pay close attention to chevron patterns in emeralds—these angular formations are telltale signs of synthetic origin. For sapphires, examine for fingerprint inclusions that reveal fracture planes typical of lab-created specimens.
Remember that today’s high-quality synthetics may require magnification beyond 80x for proper identification. Honeycomb fractures in synthetic rubies and other characteristic inclusions are your best tools for differentiating between natural gems and their manufactured counterparts.
Spotting Treatments and Enhancements

While natural gemstones have their own beauty, many stones on the market undergo treatments to enhance their appearance or value. Your microscope becomes an essential tool for detecting these modifications.
The untreated beauty of gemstones often faces manipulation, making your microscope the ultimate truth-teller in detecting hidden enhancements.
Look for unusual color concentrations or surface glossiness that differs from the stone’s natural appearance under high magnification.
- Use dark field illumination to create contrast that reveals surface treatments and inconsistencies
- Examine for unusual inclusions like gas bubbles or synthetic growth lines that don’t occur naturally
- Apply Epi-DIC microscopy to detect surface details indicating coatings or resin fillings
- Check for chevron growth patterns in sapphires, which may indicate beryllium diffusion treatments
Documenting Your Microscopic Observations
After identifying treatments and enhancements, your next professional responsibility involves thorough documentation of what you’ve observed. When examining gems under your microscope, record findings systematically—noting the stone type, magnification level, and lighting method used.
| Documentation Element | Purpose | Example |
|---|---|---|
| Detailed Images | Visual reference for future analysis | Close-up of rutile needles in ruby |
| Standardized Checklist | Guarantees all-encompassing examination | Color zoning, inclusions, surface features |
| Measurements | Adds precision to your observations | 0.3mm fluid inclusion at 12 o’clock position |
| Session Log | Tracks progress and conditions | Date, lighting, anomalies encountered |
| Feature Description | Contextualizes visual data | “Fingerprint inclusion with liquid-filled chambers” |
Capture images of significant inclusions and growth features to support your written observations. These records form a valuable reference library and demonstrate your professional approach to microscopic gemstone examination.
Common Inclusion Types and Their Meanings
Inclusions serve as nature’s fingerprints within gemstones, telling stories of their formation, origin, and potential treatments. When examining gem materials under magnification, these internal features help you identify the chemical composition and determine natural versus synthetic origin.
- Fingerprint inclusions in sapphires reveal fracture planes that can indicate the stone’s geographic source and treatment history.
- Chevron growth patterns in synthetic emeralds act as definitive markers that distinguish lab-created stones from natural ones.
- Comet tail formations in topaz demonstrate how growth obstacles affected the crystal’s development.
- Growth lines in synthetic rubies appear coarser than their natural counterparts and become visible when viewed from specific angles.
Common inclusions like tourmaline arrows piercing through labradorite’s labradorescence provide critical clues for accurate gemstone identification.
Microscopic Features of Popular Gemstone Varieties
Each popular gemstone reveals a distinctive microscopic world when viewed under magnification, providing you with essential identification markers and authentication clues.
When examining turritella agate, you’ll spot fossilized ostracod shells with intricate patterns that define this organic gemstone.
Moldavite’s extraterrestrial origin becomes evident through its characteristic bubbles and flow lines visible under high magnification.
For gemstone identification of synthetic gems, look for coarse growth lines and honeycomb fractures in manufactured rubies.
Goldstone’s triangular copper crystals embedded in glass matrix immediately reveal its synthetic nature when viewed through a microscope.
Natural sapphires often display fingerprint inclusions along fracture planes—microscopic inclusions that help authenticate these precious stones.
These distinctive features enable you to differentiate between natural and manufactured stones with confidence.
Troubleshooting Visibility Issues During Examination
When clear views evade you during gemstone examination, systematic troubleshooting can quickly restore prime visibility.
You’ll encounter various visibility issues while using your microscope, but most can be resolved with proper technique adjustments.
- Clean your gemstone thoroughly – Remove fingerprints and dust that obscure surface details and internal features.
- Experiment with different illumination methods – Switch between dark field and bright field lighting to reveal inclusions that remain hidden under standard lighting.
- Adjust your magnification power – Use 40-80x for most gems, but consider higher magnification for newer synthetics requiring detailed inspection.
- Fine-tune the focal length – If blurriness persists, check your objective lens for cleanliness and adjust the eyepiece distance for prime comfort and clarity.
Frequently Asked Questions
What Is the Best Tool to Test Gemstones?
Your best tool for testing gemstones is a binocular stereo microscope, offering 3D viewing at 10-60x magnification. Don’t overlook a 10X loupe for portable examinations when you’re in the field.
Do Real Gemstones Glow Under UV Light?
Some real gemstones do glow under UV light, but not all. You’ll find fluorescence varies widely—diamonds might glow blue, rubies red, while garnets and topaz typically don’t fluoresce at all.
What Is the Best Way to Test Gemstones?
You’ll get the most accurate results by combining tests: use a microscope to examine inclusions, check specific gravity, test refractive index, and verify UV reactions. Always compare against known standards.
How Do Gemologists Use Microscopes?
Gemologists use microscopes to identify inclusions and treatments in your gemstones. They’ll magnify stones 40-80x, employing various lighting techniques to distinguish natural from synthetic gems and detect alterations that affect grading.
In Summary
You’ve now equipped yourself with the skills to access a gemstone’s microscopic world. By mastering proper equipment, lighting techniques, and identification methods, you’re ready to analyze inclusions and determine authenticity. Remember, practice makes perfect—so keep examining different stones to build your expertise. The microscope has opened a new dimension of gemology that you’ll continue to explore with each new specimen.


Leave a Reply