
You’ll achieve mirror-like gold finishes by starting with 400-grit sandpaper, progressing through 600 to 1200-grit for ideal smoothness. Use brown Tripoli compound for initial cutting, then red rouge for high-gloss finishing. Hand polishing gives you superior control while power tools increase efficiency for larger pieces. Always wear anti-mist goggles and work in well-ventilated areas to protect yourself from debris. Master these foundational techniques and you’ll discover the advanced systems that separate amateur work from professional results.
Essential Tools and Materials for Gold Polishing
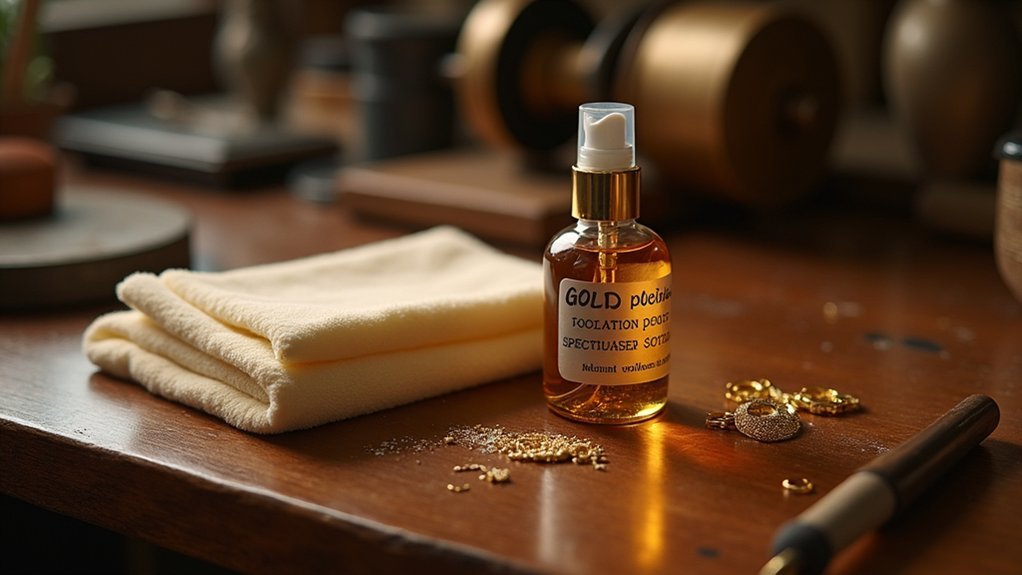
Before you can achieve that coveted mirror-like finish on your gold jewelry, you’ll need to gather the right tools and materials for the job.
Start with a soft-bristled toothbrush for cleaning gold jewelry with intricate designs, paired with a specialized polishing cloth designed for jewelry care. You’ll also need mild dish soap mixed with warm water for initial cleaning, followed by non-abrasive liquid jewelry cleaners that won’t damage delicate surfaces.
For drying, use a lint-free cotton cloth to prevent residue buildup.
Advanced polishing requires specific polishing compounds like red rouge for precious metals. Regular maintenance tools such as polishing mops can greatly speed up your process and deliver professional results for ongoing jewelry care.
Surface Preparation and Filing Techniques
Surface preparation forms the foundation of professional gold polishing, determining whether you’ll achieve that flawless mirror finish or struggle with persistent imperfections.
Proper surface preparation is the difference between achieving professional mirror-like results and dealing with stubborn, visible flaws.
You’ll need to eliminate deep scratches through proper filing techniques before applying any polishing products. Focus on creating neat solder joins and careful stone settings to minimize extensive filing later in the polishing process.
Use needle files for precise filing in intricate designs and hard-to-reach areas. Select appropriate file types for specific jobs to enhance efficiency and establish groundwork for your smooth finish.
Always conduct a critical assessment after filing to verify you’ve addressed all fire stains and scratches before advancing to sanding stages. This methodical approach saves time and guarantees professional results.
Sanding Methods for Optimal Gold Finishing

Once you’ve completed your filing work, sanding becomes your pathway to achieving that coveted mirror finish on gold. Effective sanding methods require graded wet and dry sheets in specific progression.
Start with 400 grit to remove scratches and fire scale, advance to 600 grit for medium smoothing, then finish with 1200 grit before the polishing stage.
Focus on achieving a satin appearance during this process. Marks visible from various angles will become more pronounced after your final polish, so don’t rush. The quality of the final result directly correlates with your sanding effort.
Eliminate all deep marks before progressing—repeat the sanding process if necessary. Your gold piece demands patience here. With practice, you’ll recognize the proper appearance that guarantees exceptional polishing results.
Hand Polishing Vs Power Tool Applications
When you’re polishing gold, you’ll face an essential decision between hand polishing and power tools, each offering distinct advantages.
Hand polishing gives you superior control and precision, letting you focus on intricate details without risking damage to your piece.
Power tools like rotary polishers dramatically increase your speed and efficiency, making them perfect when you’re working on larger projects or multiple items.
Control and Precision Benefits
While power tools excel at efficiency, hand polishing delivers unmatched control and precision that’s vital for intricate gold jewelry work.
You’ll find that detailed work on complex pieces requires the tactile feedback only hand polishing provides, preventing over-polishing and protecting delicate areas from damage.
The control benefits of hand polishing include:
- Pressure management – You can adjust force instantly when working around intricate designs and fragile settings.
- Selective application – Target specific areas without affecting surrounding elements, perfect for finishing work.
- Compound control – Apply polishing compounds exactly where needed for superior results.
Though power tools help achieve initial high shine quickly, hand polishing remains essential for jewelry care.
You’ll develop better technique understanding while ensuring your precious pieces receive the gentle treatment they deserve.
Speed and Efficiency Comparison
How do you decide between the leisurely pace of hand polishing and the rapid results of power tools? Your choice depends on efficiency priorities and project requirements.
Power tools greatly increase speed by applying polishing compounds at higher revolutions, delivering faster results than manual methods. You’ll cover larger surfaces quickly, reducing physical effort considerably.
However, hand polishing excels in detailed work where control matters most. You’ll achieve precise results on intricate designs that power tools might damage.
The ideal approach combines both techniques: use power tools for initial polishing to remove major scratches effectively, then switch to hand polishing for final touch-ups. This hybrid method maximizes speed while maintaining the control necessary for professional-quality results on your gold pieces.
Professional Compound Selection and Usage
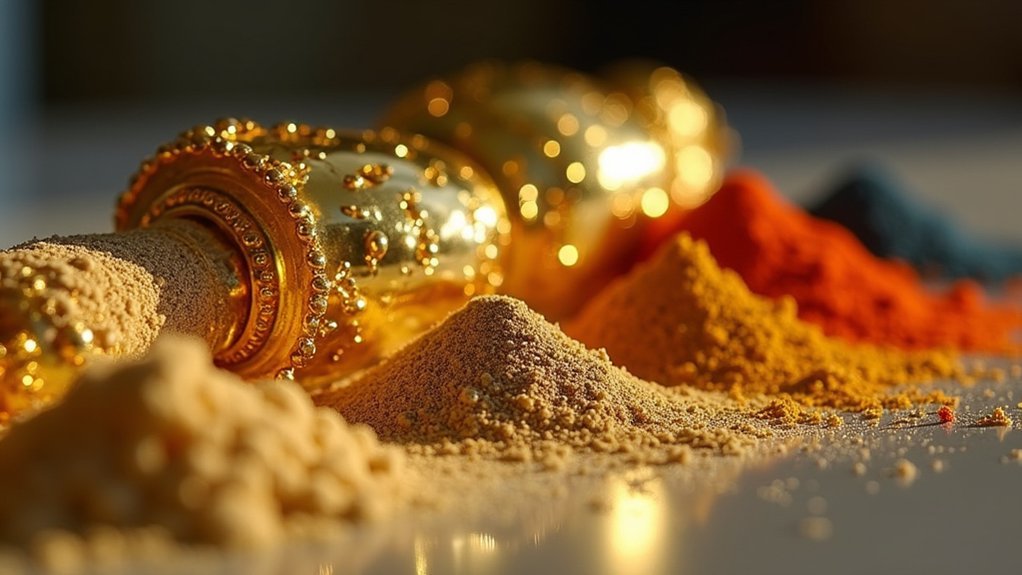
When you’re selecting professional polishing compounds for gold, you’ll need to understand the differences between Brown Tripoli for initial cutting and Red Rouge for final high-gloss finishing.
Silicon carbide points offer precise control for detailed work and hard-to-reach areas where traditional compounds can’t effectively reach.
Your application speed becomes critical—start with high-speed techniques for coarse compounds, then reduce speed as you progress to finer grades to prevent overheating and achieve that perfect mirror finish.
Tripoli Vs Rouge
The success of your gold polishing project hinges on selecting the right compound for each stage of the process.
Understanding the distinct roles of tripoli and rouge polishing compounds is vital for achieving professional results on precious metals.
Tripoli serves as your first-stage compound, aggressively removing deeper scratches and surface smoothing imperfections at high speed.
Rouge follows as your finishing compound, delivering that coveted mirror-like shine and high-gloss finish you’re after.
Here’s your sequential polishing process:
- Start with tripoli – Remove deep scratches and prepare the surface using dedicated polishing mops.
- Switch to rouge – Apply with separate tools to achieve the final mirror-like shine.
- Prevent cross-contamination – Never mix compounds or share mops between stages.
This methodical approach guarantees flawless results every time.
Silicon Carbide Points
Silicon carbide points revolutionize precision polishing work on gold jewelry, offering unmatched control for detailed finishing tasks that traditional compounds can’t handle effectively. These silicon carbide polishing points work seamlessly with rotary tools, making finishing processes on metals like gold incredibly efficient.
| Shape | Application | Grade |
|---|---|---|
| Cylinder | Detailed edges | Fine |
| Wheel | Flat surfaces | Medium |
| Cone | Tight corners | Coarse |
| Bullet | Curved areas | Extra Fine |
| Disk | Large surfaces | Ultra Fine |
Color-coded grades indicate coarseness levels, helping you select the right tool for your desired polished look. You’ll need proper speed and pressure to avoid surface damage while achieving professional results. Clean your points regularly during use to prevent contamination and guarantee a consistent finish on each jewelry piece.
Application Speed Techniques
Three critical factors determine your polishing success: compound selection, application speed, and technique execution.
When working with polishing compounds on gold, you’ll achieve ideal results by maximizing efficiency through high speeds that enhance abrasive action.
Your application speed directly impacts the effectiveness of polishing wheels and mops. Here’s how to improve your technique:
- Maintain consistent high speeds – This accelerates the abrasive action and reduces polishing time considerably.
- Use proper application techniques – Apply compounds with controlled pressure while maintaining steady wheel contact.
- Switch polishing paper direction – Change directions between compound grades for even coverage and superior control.
High speeds combined with appropriate polishing wheels create the abrasive action necessary for a professional finish.
Advanced Silicon Carbide Polishing Systems

When you’re ready to elevate your gold polishing to professional standards, advanced silicon carbide polishing systems offer the precision and efficiency you need.
These systems feature flexible silicon material embedded with carbide abrasives, perfect for high-speed use in hobby or pendant drills.
You’ll find silicon carbide polishing points and wheels in various shapes like cylinders and knife edge wheels, ideal for intricate designs.
The color-coded grades of polishing compounds make selecting the right abrasiveness level straightforward for your specific project.
Color-coded polishing compounds eliminate guesswork, letting you instantly identify the perfect abrasiveness grade for achieving your desired gold finish.
Essential mandrels guarantee your polishers fit securely in drills, maintaining stability throughout the process.
This combination delivers exceptional polishing efficiency, allowing you to achieve that coveted mirror-like finish on gold surfaces with professional-quality results.
Burnishing and Rotary Tumbler Operations
For those seeking an alternative to abrasive methods, burnishing offers a gentle yet effective approach to achieving brilliant gold surfaces through controlled pressure and smooth tool contact.
This polishing technique creates exceptional high shine without damaging softer metals, making it perfect for delicate gold pieces.
Rotary tumblers revolutionize polishing gold jewelry in professional jewelry workshops through automated efficiency.
These barrel polishers combine steel shot, water, and barrelling solution to deliver uniform results across multiple pieces simultaneously.
Key operational considerations include:
- Tool Selection: Use specialized mandrels and color-coded polishing points for precise burnishing with rotary tools
- Material Separation: Never mix gem-set pieces in tumblers as stones can dull and chains may tangle
- Time Management: Leverage these polishing techniques to save labor while maintaining consistent quality standards
Safety Protocols and Protective Equipment
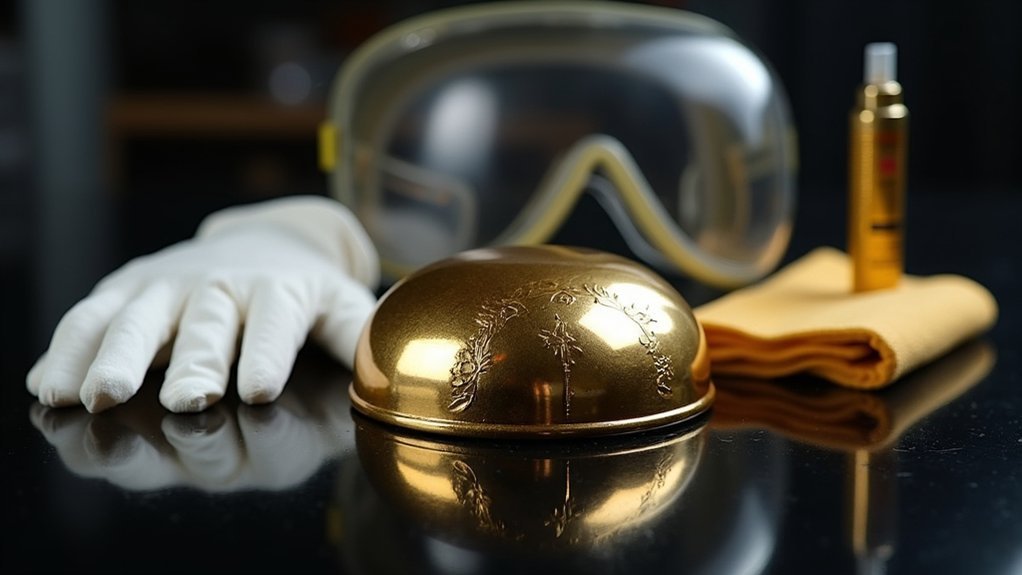
While professional polishing equipment delivers outstanding results, protecting yourself during these operations requires proper safety protocols and protective equipment.
You’ll need eye protection like anti-mist goggles with polycarbonate lenses to shield against flying debris during polishing tasks.
Implement finger protection using alligator tape or finger protectors when handling sharp tools to prevent cuts.
Establish a well-ventilated workspace to avoid inhaling dust particles generated during polishing processes.
Keep a first aid kit accessible for addressing minor injuries that may occur while working.
Regular inspection of your protective equipment guarantees it remains effective and comfortable throughout use.
These safety protocols aren’t optional—they’re essential for maintaining your health while achieving professional-quality results in gold polishing operations.
Frequently Asked Questions
What Is the Best Way to Polish Gold?
You’ll get best results by soaking gold in warm soapy water, gently scrubbing with a soft toothbrush, rinsing thoroughly, then patting dry and buffing with a jeweler’s cloth for shine.
What Is the Best Polishing Compound for Gold?
You’ll want Red Rouge or Jewelers Rouge as your go-to compound for gold. It’s the professional standard that delivers exceptional shine. For initial smoothing, start with Brown Tripoli before progressing to finer compounds.
What Should You Not Clean Gold With?
You shouldn’t clean gold with chlorine, ammonia-based cleaners, abrasive materials like baking soda, vinegar, commercial cleaners not meant for gold, or rough fabrics that’ll scratch the surface.
Can You Polish Scratches Out of 18K Gold?
You can polish minor scratches out of 18K gold using a soft polishing cloth. For deeper scratches, you’ll need professional help with specialized compounds or laser welding techniques.
In Summary
You’ve now mastered the complete gold polishing process from basic surface prep to advanced burnishing techniques. Don’t skip the safety protocols—they’ll protect you throughout every project. Remember, consistent practice with your chosen compounds and tools will elevate your results dramatically. Whether you’re hand polishing delicate pieces or using rotary tumblers for bulk work, these proven methods will help you achieve that mirror-perfect finish every professional goldsmith demands.


Leave a Reply