You’ll achieve professional gypsy settings by selecting gemstones with 8+ Mohs hardness, measuring dimensions with digital calipers, and using progressively larger burs for precise seat creation. Start with a pilot hole at half the stone’s diameter, then follow with setting burs at three-quarters and full diameter. Guarantee proper seat depth showing 1/2 to 1/3 of the crown, burnish at 45° angles progressing to 90°, and conduct rocking tests for stability. These foundational techniques will release advanced methods for flawless results.
Choose the Right Stone Hardness for Durability
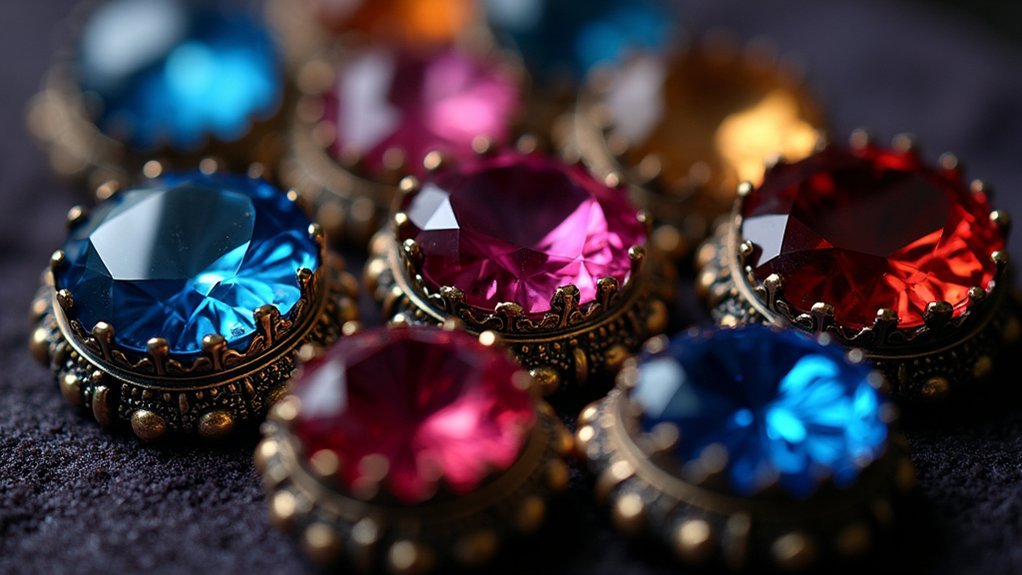
Durability stands as the cornerstone of successful gypsy settings, making stone hardness your most critical selection criterion. When you flush set a stone in this style, you’ll want gemstones with hardness ratings of 8 or above on the Mohs scale.
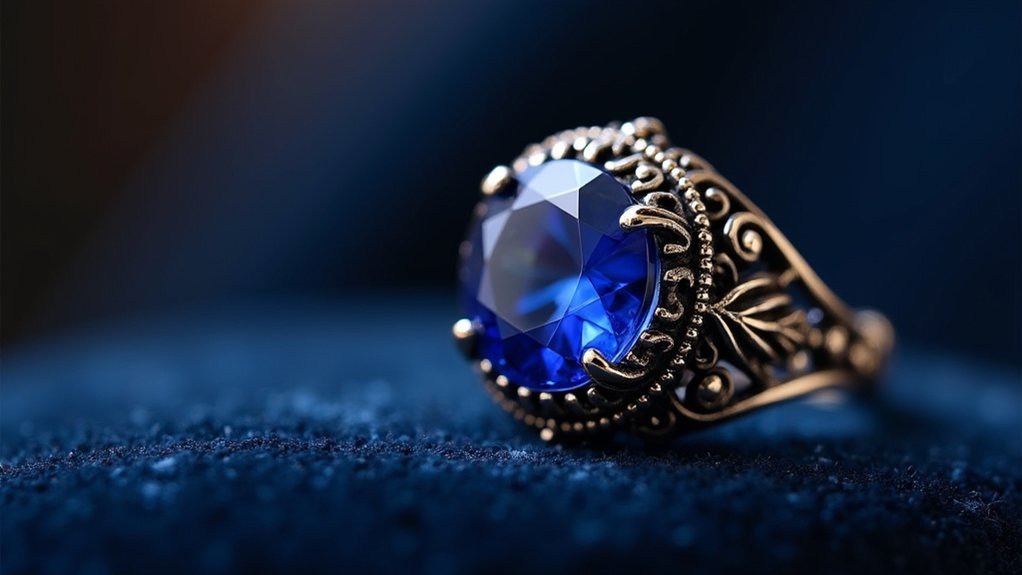
Sapphires (9) and diamonds (10) prove ideal choices for their exceptional resistance to wear and tear.
Avoid emeralds despite their 7.5 hardness rating—their brittleness makes them prone to chipping or breaking in gypsy setting applications.
Stones softer than 7.5 Mohs will scratch easily from contact with hardened tool steel during the setting process, compromising their appearance.
Consider lab-grown stones and cubic zirconium for cost-effective alternatives that maintain similar hardness levels.
Always inspect your chosen stones with a loupe beforehand, checking for cracks or inclusions that could compromise longevity.
Measure Stone Dimensions With Digital Calipers
Once you’ve selected your durable gemstone, you’ll need precise measurements to create a perfect gypsy setting. Use digital calipers to measure the diameter of the stone accurately, guaranteeing precision within 0.01 mm for ideal results.
Take multiple readings around different points since stones often have slight irregularities that affect stone settings. Measure the depth from crown to culet tip, as this determines your bearing cut depth in the metal.
The diameter measurement directly influences the bur size you’ll need for drilling the hole in your flush setting. Don’t rely on single measurements—check various points to account for any shape variations.
Record all measurements carefully for reference during the setting process, as accurate dimensions guarantee your gemstone sits securely and perfectly flush.
Select Proper Bur Sizes for Precise Seat Creation
After gathering your stone’s precise measurements, selecting the correct bur sizes becomes critical for creating a seat that holds your gemstone securely.
Start with a pilot hole bur that’s half your stone diameter to establish accurate initial placement without skittering across the metal surface. Next, use a setting bur that’s three-quarters of the stone diameter to create a deeper groove for better security.
Complete the process with a straight-sided setting burr matching the full stone diameter for ideal seating. This gradual size progression prevents errors and guarantees precision throughout seat creation.
Always check depth with a loupe to confirm uniformity and verify the stone sits level or slightly below the metal surface to confirm the stone won’t protrude awkwardly from your finished piece.
Determine Correct Seat Depth for Stone Security
You’ll need to measure your stone’s total depth and crown height to establish the correct seat depth that keeps 1/2 to 1/3 of the crown visible above the metal surface.
Your bearing cut should extend no more than 75% of the stone’s diameter while providing adequate support for the culet at the bottom.
Test your seat’s stability by gently placing the stone and checking that it sits level without rocking or tilting in any direction.
Measuring Stone Depth Accurately
When setting round gemstones in gypsy mountings, precise depth measurements form the foundation of secure stone placement. You’ll need digital calipers to measure from the crown to the culet tip accurately. This guarantees your center stone sits properly within the bearing cut.
For stones exceeding 2.5 mm, position 1/2 to 1/3 of the crown above the metal surface. The stone should appear flush with the metal while maintaining security. Keep your bearing cut under 75% of the stone’s diameter for adequate seating depth.
| Stone Size | Crown Above Metal | Bearing Cut Limit | Security Level |
|---|---|---|---|
| Under 2.5mm | Minimal exposure | 70% diameter | High |
| 2.5-4mm | 1/3 crown visible | 75% diameter | Ideal |
| 4-6mm | 1/2 crown visible | 70% diameter | Maximum |
| Over 6mm | Custom measurement | 65% diameter | Professional |
Check uniformity using a 10x loupe, making gradual adjustments for perfect measuring stone depth results.
Setting Proper Bearing Cut
The bearing cut’s precision determines whether your gemstone will sit securely or become a costly casualty. When setting proper bearing cut depth, never exceed 75% of your stone’s diameter to guarantee adequate seating without compromising the metal’s integrity.
You’ll need to cut three complete passes around the hole to achieve uniform depth throughout the bearing surface.
Use a 10x power loupe to inspect your work carefully. Uneven bearing cuts cause crooked stone placement and weaken your secure setting considerably. Check that the depth remains consistent around the entire circumference before proceeding.
After completing your cuts, thoroughly remove all metal-carving residue from the bearing area. This debris interferes with proper stone setting and prevents your gemstone from achieving the snug, secure fit essential for lasting durability.
Testing Seat Stability
Before proceeding with the final stone placement, conduct a thorough stability assessment to verify your seat depth meets security standards. Use a 10x power loupe to examine the bearing cut for uniform depth around the entire circumference. Any inconsistencies will cause the stone to sit crookedly in your gypsy setting.
| Test Method | Purpose | Expected Result |
|---|---|---|
| Rocking Test | Check for high spots | No stone movement |
| Visual Inspection | Verify table alignment | Level with metal surface |
| Depth Measurement | Confirm 75% diameter | Secure stone positioning |
| Debris Check | Confirm clean fit | No metal residue present |
Perform the rocking test by gently moving the stone after placement. Any movement indicates insufficient seat depth or remaining high spots requiring adjustment. This setting technique guarantees ideal security and prevents loosening over time.
Use Gradual Drilling Techniques to Avoid Skittering
Since skittering can ruin your gypsy setting before you’ve even begun, you’ll want to start with a small pilot hole using a 1mm ball bur to establish a stable foundation. This controlled approach guarantees you’ll drill a hole precisely where needed without compromising the fit of the stone.
Follow these gradual drilling techniques:
- Create divots around your pilot hole to stabilize the bur and prevent unwanted movement.
- Progress incrementally to larger burs like setting burrs, increasing diameter step by step.
- Keep bud burrs at 1.0mm maximum to maintain precision through the metal.
- Apply consistent pressure at a slight angle to avoid off-center holes that jeopardize alignment.
Steady control throughout this process prevents skittering and guarantees professional results.
Position Stones at Optimal Height Above Metal Surface

You’ll need to measure your stone’s crown depth accurately to determine how much should sit above the metal surface.
Calculate the required metal thickness by ensuring 1/2 to 1/3 of the crown height remains exposed while keeping the table level with or slightly below the surface.
This positioning creates the perfect balance between visual appeal and practical durability for your gypsy setting.
Measuring Stone Crown Depth
Once you’ve selected your stone, measuring its crown depth becomes critical for achieving that perfect balance between security and visual appeal. The crown measurement determines how much of your stone will sit above the metal surface, directly impacting both aesthetics and durability.
Here’s your step-by-step measuring process:
- Use digital calipers to measure the crown depth from the girdle to the table for precise accuracy.
- Calculate positioning by planning to set 1/2 to 1/3 of the crown above the metal surface.
- Measure the stone’s diameter to determine appropriate bur sizes for the setting seat.
- Account for cut depth as deeper stones may need greater seat depth for secure placement.
Always double-check your measurements before proceeding, as proper crown depth guarantees ideal stone stability and visual impact.
Calculating Metal Thickness Requirements
When determining metal thickness for gypsy settings, the stone’s diameter directly dictates your material requirements. For stones over 2.5 mm in diameter, you’ll need gauge 11 metal or thicker to provide adequate support and prevent the culet from protruding through the back.
This thicker metal guarantees your setting maintains structural integrity while accommodating the stone’s full depth.
Calculate the required thickness by considering both the seat depth and the stone’s pavilion height. You want 1/2 to 1/3 of the crown visible above the metal surface for ideal appearance and security.
Insufficient metal thickness compromises the setting’s durability and can result in an unstable mounting. Always measure your stones carefully before selecting your metal gauge to guarantee proper support throughout the entire setting process.
Achieving Proper Stone Exposure
Proper stone exposure transforms your gypsy setting from amateur to professional, requiring precise positioning that balances visual appeal with practical durability. You’ll want approximately 1/2 to 1/3 of the crown height visible above the metal surface for maximum visual impact.
Follow these guidelines for perfect stone exposure:
- Measure crown-to-culet depth with digital calipers to determine visible stone portion.
- Position tables flush with metal for stones 2.5mm and under to prevent damage.
- Adjust bearing cut depth to achieve snug fit while maintaining proper exposure.
- Keep stones level or slightly lower than the metal around them for durability.
Strategic positioning guarantees the metal around your stone provides adequate protection while showcasing the gem’s brilliance. This approach will secure the stone effectively without compromising its visual appeal.
Apply Burnishing at Correct Angles for Secure Setting
After seating your round gemstone securely in its prepared recess, you’ll need to master the precise burnishing angles that lock the stone permanently in place.
Start burnishing at a 45° angle against the metal to effectively establish initial contact and stability. Once you’ve confirmed the stone is secure, adjust your burnisher to nearly 90° for final burnishing, which creates maximum holding power in your gypsy setting ring.
Work systematically in four directions—north, south, east, and west—to distribute pressure evenly around the stone’s perimeter.
Never use vertical hammer strikes during burnishing, as this can damage the stone’s table. Continuously check for excess metal pushed above the surface and remove it immediately to maintain the setting’s polished appearance.
Check Stone Stability Before Final Burnishing
Before you commit to final burnishing, you’ll need to test your stone’s movement by applying gentle pressure from multiple angles to verify it’s properly seated.
Push the stone lightly in different directions to check for any wobbling or shifting that indicates an unstable setting.
Once you’ve confirmed the stone sits snugly without movement, you can lock the stone’s position and proceed confidently with your final burnishing technique.
Test Stone Movement
Stability testing reveals whether your stone sits securely in its gypsy setting before you commit to final burnishing. Gently rock the stone to check for movement – properly set stones shouldn’t shift within their mounting.
Follow this systematic approach to test your stone’s stability:
- Apply gentle pressure from different angles to detect any rocking motion
- Check the seat for the stone to identify high spots causing instability
- Use the Seat Check method to address insufficient seat size issues
- Verify complete contact between stone and metal before proceeding
If you discover movement, don’t proceed with burnishing yet. High spots or improper seating will compromise your stone in place during wear.
Address these issues first, then retest stability. Once you’ve confirmed the stone sits firmly without shifting, you can safely proceed with final burnishing at a 90° angle to set your gemstone permanently.
Lock Stone Position
Your stone’s position becomes permanent once you begin the locking process, so verifying its stability marks the point of no return in gypsy setting.
Before final burnishing, gently rock the stone to check for movement. Any wobbling indicates high spots or insufficient seat depth requiring immediate adjustment. Use a Seat Check to identify problematic areas around the setting that prevent proper seating.
Once you’ve verified stability, perform initial burnishing in four directions—north, south, east, and west—to lock the stone in place. This technique guarantees your stone will sit securely and flush with the metal surface, similar to a bezel setting but recessed into the material.
Apply pressure gradually, starting with your finger, then fingernail, before using the burnisher for final adjustments.
Maintain Proper Metal Thickness for Larger Stones
When working with larger stones in gypsy settings, you’ll need metal that’s at least gauge 11 thick to handle the increased stress and provide reliable support. This metal thickness guarantees your larger stones won’t shift or become loose during the setting process, preventing costly damage or loss.
For stones exceeding 2.5 mm, follow these essential guidelines:
- Cut your bearing deep enough so at least 50% of the stone’s crown sits above the metal surface.
- Create a seat that allows effective burnishing to lock the stone securely.
- Maintain uniform metal around the stone to prevent uneven pressure distribution.
- Avoid thin metal that can’t adequately grip the stone.
Proper metal thickness directly impacts your setting’s longevity and the stone’s security.
Troubleshoot Common Setting Issues With Professional Tools
Even with proper metal thickness, you’ll encounter setting challenges that require specific tools and techniques to resolve.
Use a 10x loupe to examine the bearing cut depth around your ring’s hole, guaranteeing uniformity to prevent uneven stone placement. Choose a setting burr matching your stone’s diameter, but stop cutting at 75% depth for ideal fit.
When dealing with rocking stones in engagement rings, switch to a smaller round bur to adjust the seat size for stability. If burnishing creates scratches, apply cross-wise technique with your burnisher, then sand using 800-grit followed by 1000-grit paper.
Perform regular seat checks throughout the process to identify high spots and verify your stone sits flush within the metal setting.
Frequently Asked Questions
How to Flush Set Stones in Rings?
Measure your stone’s diameter, drill a pilot hole with a bud burr, enlarge it to three-quarters the stone’s width, test the fit, then use a burnisher to push metal over the stone’s edges.
What Is the Most Secure Gemstone Setting?
You’ll find the gypsy setting offers the most security for gemstones. It embeds stones deep into metal, creating a flush surface that protects against impacts and prevents loosening better than any other setting style.
How Do You Shape Raw Gemstones?
You’ll shape raw gemstones through cabochon cutting by selecting appropriate diamond wheels, grinding progressively with finer grits, and adjusting techniques based on the stone’s hardness while wearing safety protection.
How Do You Set up a Gypsy Setting?
You’ll measure the gemstone’s diameter accurately, then create a small cut using a bud burr. Deepen with a stone setting burr, test-fit regularly, and use a burnisher to push the stone securely into place.
In Summary
You’ll master gypsy settings by following these fundamental techniques. Don’t rush the process—take time to measure accurately and drill gradually. Always check your stone’s stability before final burnishing, and maintain proper metal thickness throughout. With practice, you’ll develop the precision needed for professional-quality settings. Remember that each stone’s unique, so adjust your approach accordingly. These methods will help you create secure, beautiful gypsy settings that’ll last for years.


Leave a Reply