To set oval gemstones in halos, you’ll need to measure your stone’s dimensions precisely and select an ideal length-to-width ratio between 1.33 and 1.75. Position four to six prongs at the oval’s elongated ends for maximum light exposure, then arrange smaller accent stones to follow the natural curve. Maintain consistent spacing and height while ensuring the center stone’s longest axis runs parallel to the band. These fundamentals will guide you toward creating spectacular results.
Understanding Oval Gemstone Proportions and Characteristics
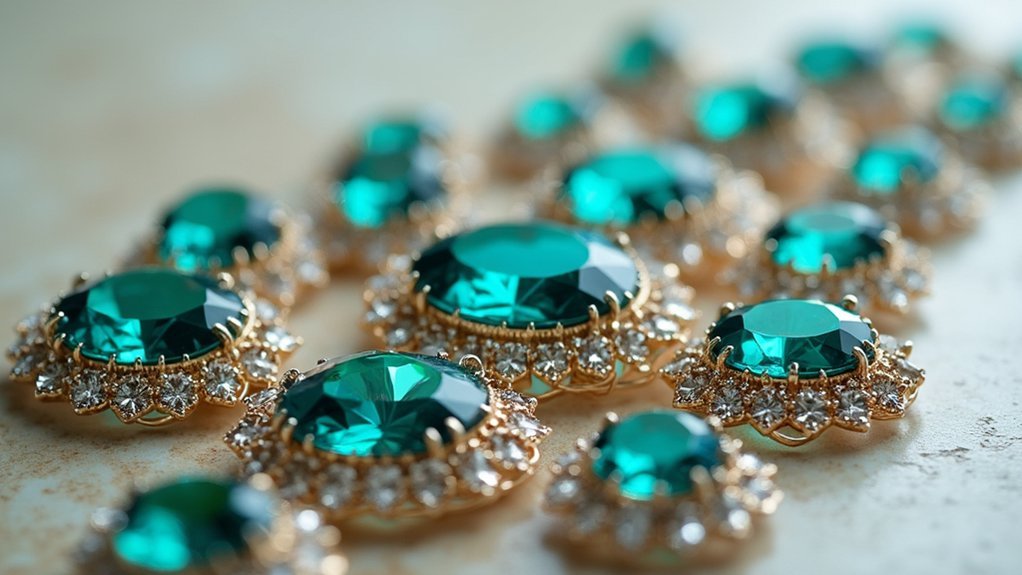
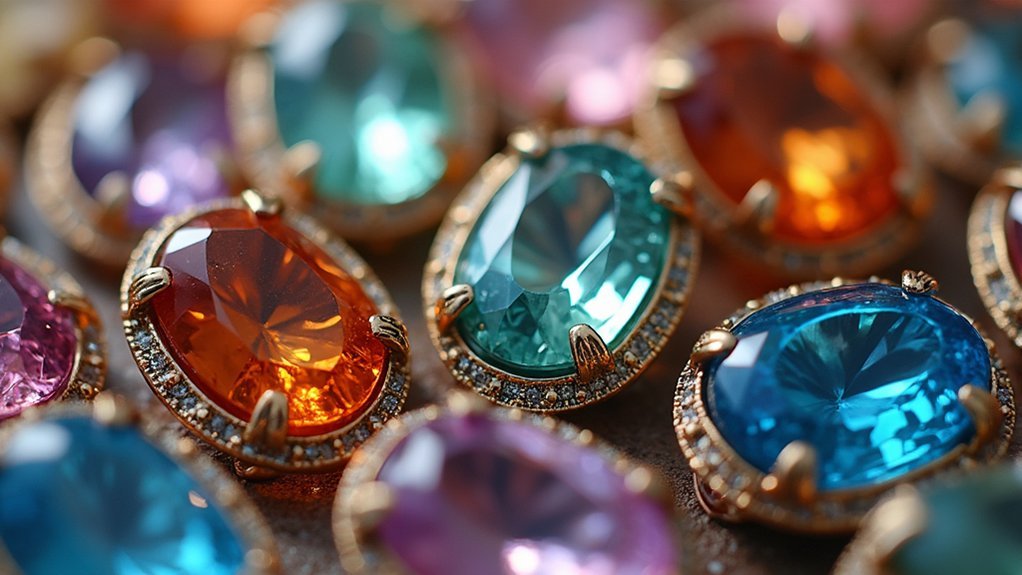
Elegance defines the oval gemstone’s appeal, making it a coveted choice for sophisticated jewelry designs.
When you’re selecting an oval stone, you’ll want to focus on achieving the ideal length-to-width ratio between 1.33 and 1.75 for the best visual balance. This proportion guarantees your gemstone maintains its classic elongated silhouette without appearing too narrow or wide.
The oval’s unique shape among gemstone shapes offers exceptional light reflection properties, creating brilliant sparkle that’s enhanced remarkably in a halo setting.
You’ll find that oval stones are particularly forgiving regarding size perception – when surrounded by accent diamonds in a halo, smaller center stones appear notably larger. This optical advantage makes oval gemstones an excellent choice when you’re working with budget constraints while still achieving impressive visual impact.
Selecting the Right Halo Style for Oval Stones
You’ll need to decide between an oval-shaped halo that mirrors your gemstone’s elongated form or alternative geometric designs that create visual contrast.
Contemporary halo styles often feature sleek, minimalist settings with clean lines, while classic designs embrace traditional elements like milgrain detailing and vintage-inspired metalwork.
Your choice between these approaches will greatly impact whether your ring feels modern and streamlined or timeless and ornate.
Oval-Shaped Halo Design
Three fundamental considerations shape your choice of halo style for oval gemstones: the halo’s size, its contour alignment, and the accent stone selection.
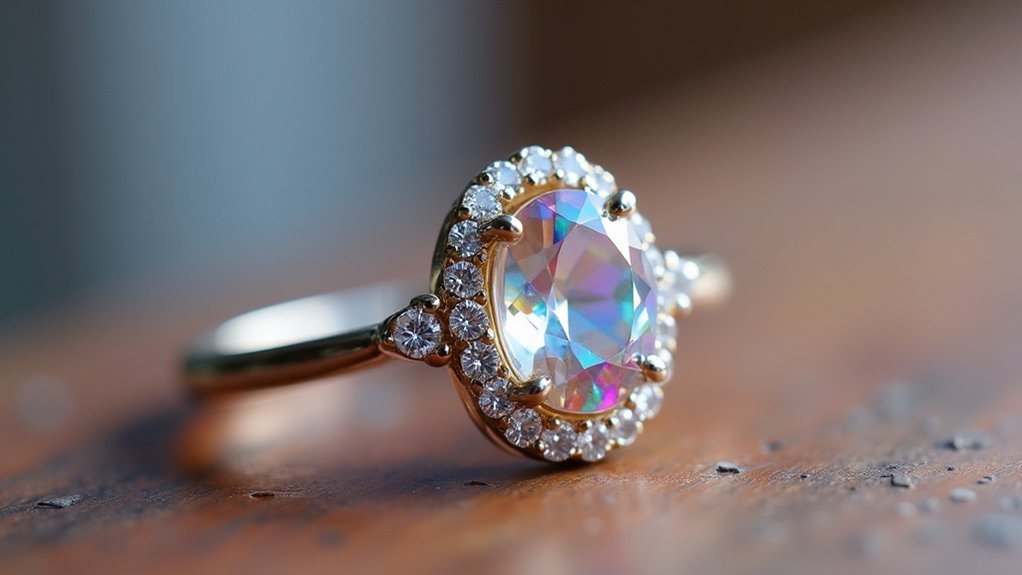
Your halo design should mirror the oval’s natural curves, creating seamless shifts without excessive metal buildup. Single halos offer classic elegance while enhancing your center stone’s apparent size. Double halos deliver dramatic impact for bolder statements.
| Halo Type | Visual Effect | Best For |
|---|---|---|
| Single Halo | Classic, refined appearance | Traditional preferences |
| Double Halo | Bold, dramatic presence | Statement pieces |
| Contoured | Seamless stone integration | Maximum brilliance |
| Micro-Pavé | Delicate sparkle enhancement | Subtle elegance |
Choose round or smaller oval accent stones to maintain harmony with your central gem. Prioritize designs allowing maximum light exposure to your oval stone, and select sleek bands that won’t compete with the halo’s visual impact.
Contemporary Vs Classic Styles
Beyond the structural elements of halo design lies a fundamental style decision that defines your ring’s character. Contemporary styles embrace sleek, minimalistic designs with fine accent stones, letting your oval gemstone command attention through modern aesthetics.
You’ll find these designs favor white or rose gold settings that emphasize clean lines and understated sophistication.
Classic and elegant approaches incorporate intricate details like milgrain work and vintage-inspired elements that complement your oval stone’s natural curves.
These timeless designs often feature yellow gold settings that evoke traditional charm.
Whether you choose a single halo for refined elegance or a double halo for maximum impact, guarantee your selected style mirrors your oval’s graceful shape to create visual harmony throughout your ring.
Measuring and Planning Your Halo Design
You’ll need to measure your oval gemstone’s exact length, width, and depth to create a halo setting that fits perfectly without gaps or excessive overhang.
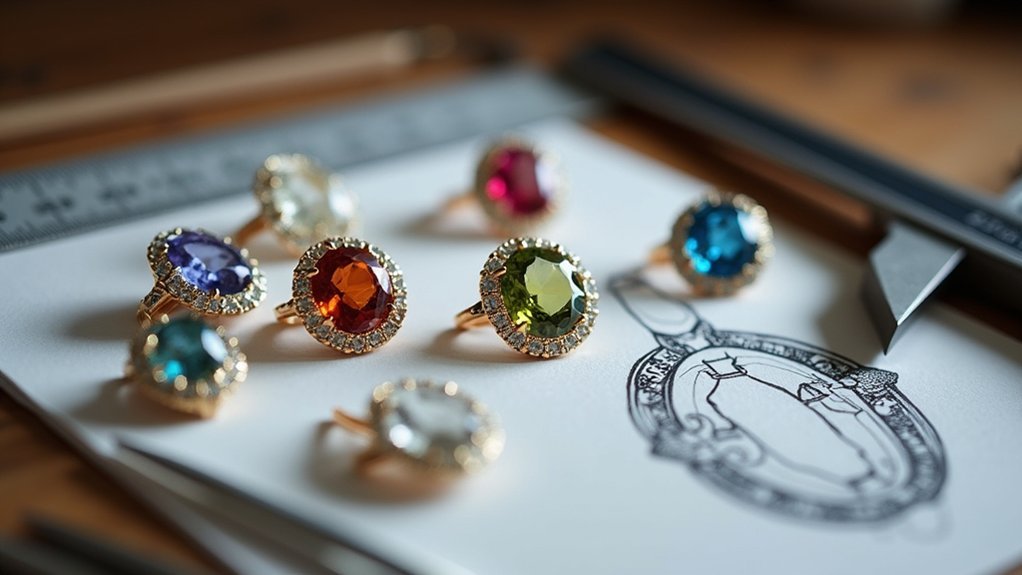
Once you’ve recorded these precise measurements, you can use CAD software to design your halo layout and visualize how the surrounding stones will complement your oval’s unique proportions.
This digital planning stage lets you adjust the halo’s diameter, stone spacing, and overall proportions before committing to the final design.
Precision Stone Measurements
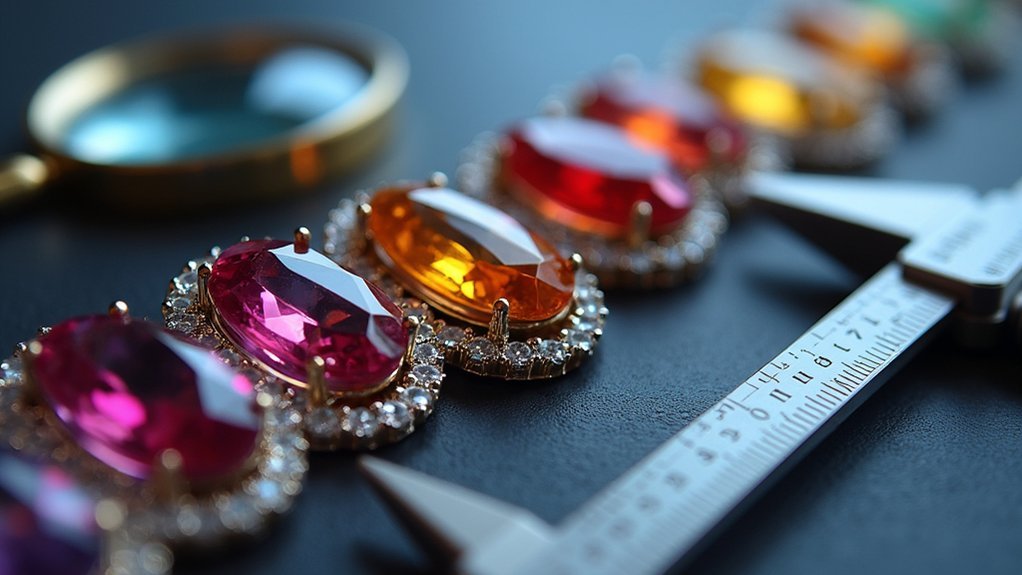
Every successful halo setting begins with meticulous measurements of your oval gemstone, as even minor discrepancies can result in poor fit or unsightly gaps between the stone and its surrounding elements.
You’ll need precision measurements using professional calipers to capture your oval gemstone’s exact width, length, and depth dimensions. Record these measurements carefully, as they’ll dictate every aspect of your halo design.
Consider your stone’s unique proportions when planning the accent stone arrangement. The oval’s length-to-width ratio directly influences how you’ll position surrounding diamonds for ideal visual appeal.
Don’t forget to factor in your desired spacing between the center stone and halo elements. This spacing guarantees proper light exposure while maintaining that seamless, professional appearance you’re after.
CAD Design Planning
Once you’ve captured your oval’s exact dimensions, CAD software transforms these measurements into a precise digital blueprint that’ll guide your entire halo construction process.
You’ll visualize exactly how your halo setting will interact with the oval before cutting any metal or placing accent stones.
Focus on accent stone placement to maximize your oval’s flash while maintaining visual balance. You don’t want excessive metal showing between stones.
Use CAD’s adjustment capabilities to fine-tune halo dimensions, guaranteeing the setting hugs your oval closely without gaps or misalignment.
Throughout the digital design phase, incorporate client feedback actively.
This collaboration guarantees your final piece matches their vision perfectly, addressing both aesthetic preferences and functional requirements before moving to physical production.
Choosing Appropriate Prong Styles and Placement
When setting oval gemstones, prong selection and placement directly impact both security and visual appeal.
You’ll want to choose prong styles that complement your halo’s overall aesthetic—sleek, minimalistic prongs work perfectly for modern designs, while ornate options enhance vintage looks.
For ideal prong placement, position them at the oval’s elongated ends to highlight the stone’s distinctive shape while maximizing light exposure.
Double claw prongs offer an elegant solution, providing a secure setting without excessive metal coverage that could overshadow your gemstone’s brilliance.
Balance is essential when determining prong quantity.
Four to six prongs typically stabilize oval stones effectively while maintaining visual delicacy.
Consider prong thickness carefully—they must offer adequate support without overwhelming your halo’s accent stones or diminishing your center gemstone’s sparkle.
Setting the Center Oval Stone With Precision
With your prong style selected and positioned, the actual setting process requires meticulous attention to detail and steady hands. Position the center diamond with its longest axis parallel to the band, ensuring the halo stones will complement its natural oval shape. Use precision measurements to maintain even spacing around the perimeter.
| Step | Focus Area | Key Measurement | Checkpoint |
|---|---|---|---|
| 1 | Alignment | Parallel to band | Visual harmony |
| 2 | Spacing | Even halo distribution | Seamless appearance |
| 3 | Support | Prong positioning | Maximum light exposure |
| 4 | Security | Final inspection | No gaps present |
Double claw prongs provide added security while maintaining sleek aesthetics. After completing the ring setting, perform thorough inspection under magnification to confirm the stone’s security and proper prong positioning without compromising brilliance.
Positioning and Securing Halo Accent Stones
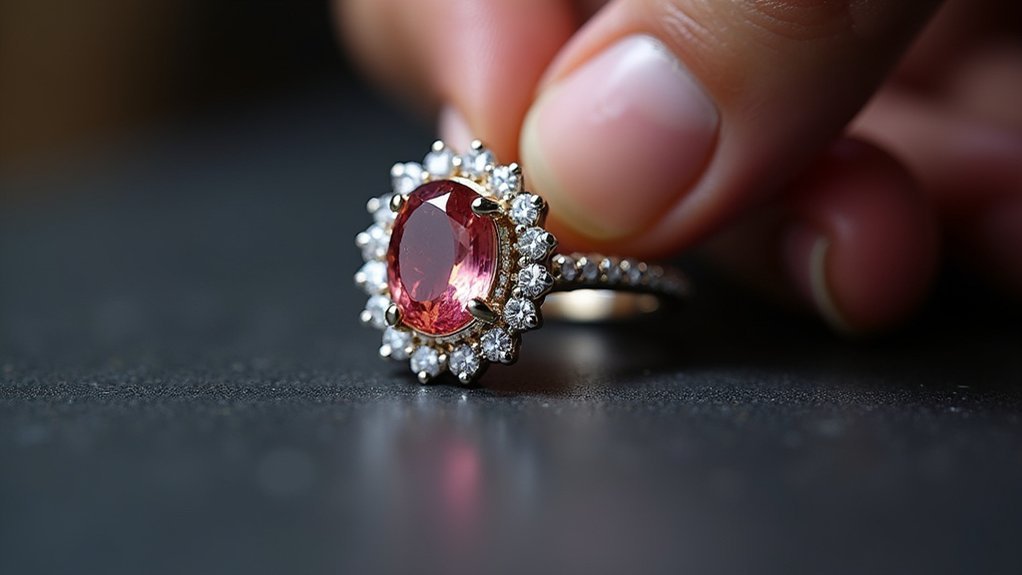
After securing your center oval stone, you’ll turn your attention to the delicate process of positioning halo accent stones that frame and amplify its natural beauty.
You’ll want to select smaller diamonds that complement your oval’s unique proportions, creating seamless balance without excessive metal visibility.
Position your halo accent stones following the oval’s natural curve to enhance brilliance and avoid awkward gaps. Use a secure setting technique like claw or bezel settings to protect stones while maximizing light exposure for enhanced sparkle.
Set each halo stone at consistent height to create uniform appearance around your center stone. This maintains design integrity while showcasing your oval prominently.
Match your accent stones meticulously in color and size to achieve visual harmony and elevate your ring’s overall aesthetic.
Achieving Proper Light Exposure and Reflection
Since light exposure determines your oval gemstone’s brilliance and fire, you’ll need to optimize every element of your setting to maximize photon interaction with the stone’s facets.
Set your halo stones low enough to allow light entry from multiple angles while maintaining stone protection. Choose a halo design with a slightly raised or floating effect to enhance brilliance by permitting light penetration underneath the stone.
Arrange accent stones uniformly and closely spaced for seamless visual flow and maximum light reflection. Select a slim or tapered band that draws attention to your center stone and improves overall light exposure.
Use a well-crafted setting technique with claw prongs that lift the stone without excessive metal, ensuring light reaches the oval gemstone’s pavilion for enhanced sparkle.
Polishing and Finishing Techniques
Because proper polishing transforms a well-set oval gemstone from merely attractive to absolutely stunning, you’ll need to master specific techniques that enhance both the center stone and surrounding halo.
Start with fine diamond polishing compounds to maximize brilliance across all stones. Clean thoroughly beneath the setting, removing any debris or fibers that could diminish the overall appearance.
Focus on creating reflective surfaces that boost light performance, making halo stones more vibrant and your center oval more prominent. Use magnified inspection during polishing to spot and correct imperfections before client presentation.
Hand-polishing techniques deliver superior finishes with greater detail attention, ensuring seamless integration between the halo and oval gemstone. These polishing techniques for halo settings guarantee professional results.
Quality Control and Final Inspection Methods
Following these polishing steps, your finished piece requires systematic quality control measures that validate both craftsmanship and visual appeal.
You’ll need to conduct magnified evaluations, checking for debris under prongs and confirming clean finishes around the setting. Inspect the center stone’s security, verifying there aren’t gaps between the halo and gemstone.
During final inspection, examine each halo diamond’s color matching and quality consistency with your center stone. Check that prongs blend seamlessly with diamond facets while maintaining proper structural support without excess bulk.
Your quality control process should include multiple polishing stages and thorough inspections at each phase. This systematic approach guarantees your craftsmanship meets high standards before client delivery, assuring both aesthetic excellence and structural integrity.
Frequently Asked Questions
What Is the Best Setting for Oval Stones?
You’ll want a well-proportioned setting that complements your oval stone’s elongated shape. Consider bezel or floating halo designs with smaller accent diamonds that enhance brilliance without overwhelming the stone’s natural beauty.
How to Make an Oval Setting?
You’ll measure the oval stone’s exact dimensions, create a CAD design for visualization, position double claw prongs strategically, then meticulously polish and inspect to eliminate gaps for perfect fit.
What Holds a Gem in Place on a Ring?
You’ll find prongs, bezels, or tension settings holding your gemstone securely in place. Prongs grip the stone’s edges, bezels wrap around it completely, while tension settings use metal pressure to cradle your gem.
What Is the Best Diamond Shape for the Halo Setting?
You’ll find round brilliant cuts work best for halo settings since they maximize sparkle and brilliance. However, you can choose cushion, oval, princess, or pear shapes depending on your style preferences and desired aesthetic.
In Summary
You’ve now mastered the essential techniques for setting oval gemstones in stunning halo designs. Remember that precision in measuring, careful prong placement, and meticulous attention to light reflection will determine your success. Don’t rush the positioning of accent stones—they’ll enhance your center gem’s brilliance when properly secured. With practice, you’ll consistently create breathtaking halo settings that showcase oval gemstones at their absolute best while ensuring lasting durability.


Leave a Reply