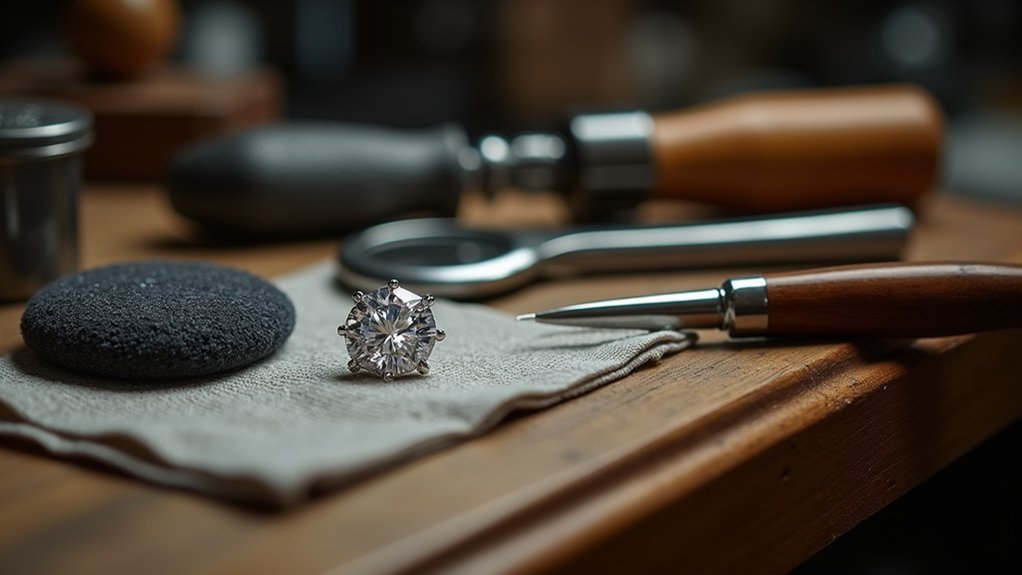
You’ll need protective hammers like rubber or leather mallets that absorb shock and distribute force evenly across gemstone surfaces. Use ring clamps with leather-lined jaws to secure your workpiece without scratching, and select gem cradles with silicone padding to prevent stone movement during impact. Choose your hammer based on stone hardness—copper tools for soft gems, steel for harder stones. Padded setting aids and bezel pushers help control pressure application. These fundamentals form the foundation for more advanced protective techniques.
Understanding Stone Hardness for Hammer Setting Protection
When you’re preparing for hammer setting, understanding the Mohs scale becomes your first line of defense against costly gem damage.
You’ll find that agates typically measure around 7 on this hardness scale, while softer materials like amber can drop as low as 2.5. This knowledge directly impacts your choice of stone-setting tools.
For softer stones, you’ll want copper tools with their hardness rating of 3, which won’t scratch delicate materials. Steel tools, measuring 6 on the Mohs scale, can easily damage anything softer.
Always inspect your stones for fractures and inclusions beforehand, as these weak points become failure zones during setting. A soft-faced mallet provides gentler impact than traditional hammers, greatly reducing your risk of chipping or cracking precious gems.
Selecting Appropriate Hammer Types for Different Gemstones
Since you’ve mastered the hardness scale fundamentals, your next crucial decision involves matching the right hammer type to each gemstone’s specific vulnerability. Your hammer selection directly impacts whether you’ll achieve a successful setting or create costly damage.
| Gemstone Type | Recommended Hammer | Key Consideration |
|---|---|---|
| Soft stones (opals, pearls) | Rawhide or plastic | Prevents marring and cracking |
| Hard stones (diamonds, sapphires) | Polished metal | Rounded edges prevent chipping |
| Medium hardness stones | Padded metal or composite | Balance between control and protection |
You’ll need to adjust your hammer’s tension and impact severity based on each stone’s fragility. For maximum protection, use wooden clamps or padded surfaces to absorb shock while hammering. Lighter tension settings with hammer handpieces provide secure settings without excessive force that damages your valuable stones.
Rubber Mallets for Gentle Stone Setting Impact
While metal hammers excel with harder gemstones, rubber mallets become your essential tool when working with delicate stones that require gentler handling.
These specialized hammers provide superior shock absorption, distributing force evenly across the setting to prevent fracturing fragile gems. You’ll appreciate how rubber mallets give you precise control over impact intensity, allowing gentle taps that secure stones without excessive force.
The non-marring rubber surface protects your metal settings from unwanted dents and scratches, ensuring clean, polished finishes around gemstones.
During stone setting procedures, you can select from various sizes and weights to match your specific requirements. This versatility makes rubber mallets indispensable for professional stone setters who prioritize both gem protection and setting quality throughout their work.
Leather Mallets to Minimize Chipping Risks
When you’re setting delicate gemstones, leather mallets offer superior protection compared to their metal counterparts by absorbing shock and distributing force more evenly across the work surface.
You’ll need to select the right mallet weight and size for your specific stone and setting type to achieve ideal results without compromising the gem’s integrity.
The softer leather surface won’t transmit the harsh vibrations that metal hammers create, giving you better control over impact force while considerably reducing chipping risks.
Leather Vs Metal Impact
Understanding the critical differences between leather and metal striking tools, you’ll find that leather mallets offer superior protection for gemstones during hammer setting procedures.
When you compare leather mallets against metal hammers, the difference becomes immediately apparent in how they transfer force to your stones.
Metal hammers deliver harsh, concentrated impacts that can easily chip or crack delicate gems, particularly those with lower hardness ratings like opals and pearls.
You’ll notice that leather mallets absorb much of the impact energy, creating a gentler, more controlled strike that preserves stone integrity.
The softer leather surface distributes force more evenly across your gemstone’s surface, preventing the shock transmission that’s common with metal tools.
This controlled approach guarantees you’ll achieve cleaner setting results while maintaining your stones’ structural integrity.
Proper Mallet Selection Techniques
Since selecting the right leather mallet can make or break your gemstone setting project, you’ll need to evaluate several critical factors before making your choice.
Proper mallet selection for hammer setting requires careful consideration of weight, head size, and surface condition to protect your delicate stones.
When choosing your leather mallet, focus on these key characteristics:
- Lighter weight – Provides better control and prevents excessive force that could chip gemstones
- Clean striking surface – Guarantees even impact distribution without creating stress points
- Larger head diameter – Spreads force across a broader area, reducing localized pressure
- Supple leather condition – Maintains shock absorption properties for gentler strikes
- Well-maintained edges – Prevents uneven contact that could damage stone settings
Your mallet’s condition directly impacts your setting success and gemstone safety.
Force Distribution Benefits
Beyond selecting the right tool, leather mallets provide measurable advantages in how they distribute striking force across your gemstone’s surface.
When you use a leather mallet, the impact spreads evenly rather than concentrating pressure at a single point. This uniform distribution prevents the localized stress that causes chipping and cracking in precious stones.
The leather’s softer composition absorbs impact energy, creating a cushioning effect that protects delicate gems during setting. You’ll maintain better control over applied force, allowing adjustments based on each stone’s specific hardness and fragility.
These tools are used particularly effectively with vulnerable stones like amber and opal. Unlike metal hammers, leather mallets won’t create dents or scratches, preserving your gem’s surface quality throughout the setting process.
Ring Clamps for Secure Workpiece Positioning
You’ll need to master three key ring clamp positioning methods to protect your gemstones during hammer setting.
Outside clamping techniques secure the ring from its exterior, while inside expansion methods hold it from within the band.
Your choice of jaw type and material directly impacts both the security of your workpiece and the protection of delicate stone surfaces.
Outside Clamping Techniques
One fundamental approach to protecting gemstones during hammer setting involves using outside clamping techniques, particularly ring clamps that secure your workpiece from the exterior.
These tools provide essential stability during setting work, minimizing movement that could damage delicate stones.
Ring clamps excel at handling sideways pressure scenarios, especially with claw settings where precision matters most.
You’ll benefit from:
- Leather-lined jaws that cradle your jewelry without scratching precious metals
- External grip positioning that keeps gemstones away from direct pressure points
- Quick-release mechanisms for efficient workflow during repetitive setting tasks
- Stable workpiece anchoring that prevents shifting during hammer strikes
- Easy access angles to mounting areas while maintaining secure hold
You can make rapid adjustments without compromising gem protection, enhancing your overall setting efficiency.
Inside Expansion Methods
While outside clamping secures jewelry from the exterior, inside expansion methods work from within the ring itself to create an even more stable foundation for hammer setting. Ring clamps represent the gold standard among setting tools for internal workpiece support.
These specialized clamps grip your ring from inside, preventing flexing and vibration that could damage delicate gems. You’ll gain unrestricted access to mounting areas while the stone remains completely protected. The free-rotating design lets you work from any angle without repositioning.
| Feature | Benefit |
|---|---|
| Internal grip | Minimizes gem damage risk |
| Even pressure distribution | Prevents stone chipping |
| Free rotation capability | Enables multi-angle access |
| Stable mounting platform | Eliminates vibration issues |
Ring clamps guarantee your hammer strikes transfer energy efficiently to the metal, not the gemstone.
Proper Jaw Selection
Selecting the right jaws for your ring clamp determines whether you’ll achieve secure positioning or risk damaging your workpiece during hammer setting. Proper jaw selection guarantees your grip remains firm yet gentle, accommodating various ring sizes while avoiding gemstone contact.
Consider these essential factors when choosing jaws for ideal protection:
- Padded leather jaws – distribute pressure evenly across delicate metal surfaces
- Rubber-lined grips – provide non-slip holding power without marring precious metals
- Smooth plastic inserts – prevent scratches on polished ring bands during clamping
- Adjustable jaw width – accommodates everything from thin stacking rings to wide statement pieces
- Curved jaw profiles – match ring contours for maximum contact and stability
Ring clamps with interchangeable jaw systems offer the most versatility, letting you customize your setup for each specific hammer setting task while maintaining consistent gemstone protection.
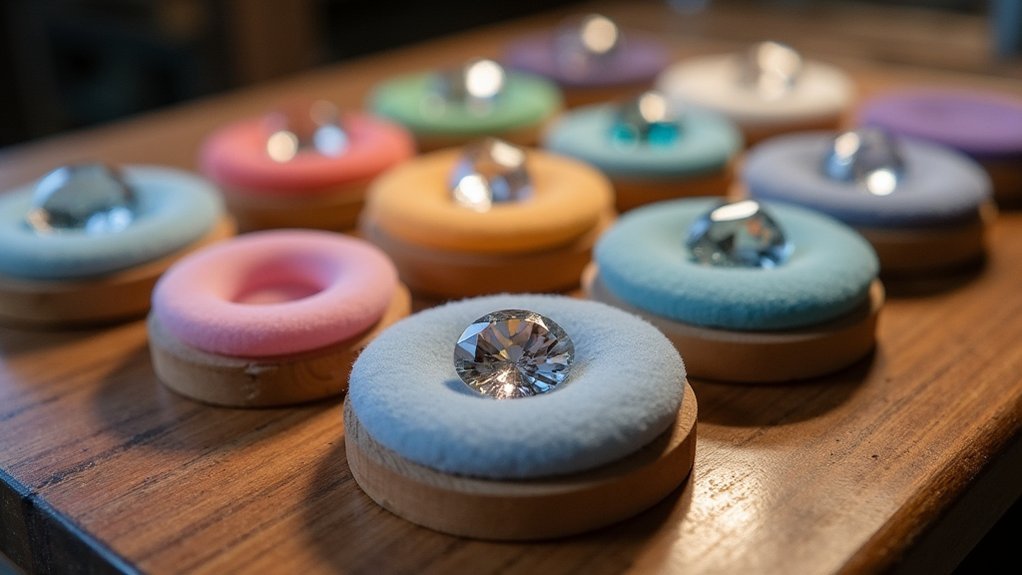
Gem Cradles and Protective Cushioning Systems
When you’re hammer setting gemstones, cradles serve as your first line of defense against costly damage.
Gem cradles are specialized tools that securely hold your stones in place, preventing dangerous movement during impact. You’ll want to choose adjustable designs that accommodate various stone shapes and sizes, ensuring a snug fit for maximum protection.
Protective cushioning systems add another vital layer of security. Soft pads, rubber mats, felt, or silicone materials absorb shock and minimize vibrations that could chip or crack delicate stones.
Place these cushioning materials under your gemstones before hammering to create a shock-absorbing barrier.
Proper alignment and securing are essential—your stone must remain stable while you work, allowing effective hammer setting techniques without compromising the gem’s integrity.
Padded Setting Aids for Stone Safety
You’ll need protective padding materials between your hammer and gemstones to prevent costly damage during setting work.
These specialized aids absorb the shock and vibration that can crack or chip vulnerable stones.
Your choice of padding material and impact absorption technique directly determines whether your gemstones survive the setting process intact.
Protective Padding Materials
While hammer setting requires precise force application, protective padding materials serve as essential safeguards that cushion your gems against potential damage.
These specialized materials distribute impact force evenly across your stone’s surface, preventing localized stress that causes fractures.
You can choose from various protective padding materials:
- Silicone pads – Flexible cushions that conform to irregular stone shapes
- Soft rubber backing – Provides controlled support during precise hammering
- Custom-fitted protectors – Tailored to match your specific gem dimensions
- Clean padding surfaces – Debris-free materials preventing scratches during impact
- Cushioned work surfaces – Stable platforms enhancing force control and accuracy
Whether you purchase ready-made options or create custom solutions, guarantee your protective padding materials remain clean and properly sized.
This approach transforms hammer setting from a risky procedure into a controlled process that secures gems while maintaining their pristine condition.
Impact Absorption Techniques
Beyond selecting appropriate padding materials, implementing strategic impact absorption techniques guarantees your gemstones survive the hammering process unscathed.
You’ll want to position rubber or silicone pads directly beneath stones during setting to absorb harmful impacts. Layer leather or felt cushions around the gem’s perimeter to distribute hammer force evenly across surfaces.
Wooden clamps with padded interiors provide excellent stabilization while preventing vibration transfer to delicate stones. You can also surround gems with soft, non-abrasive materials that act as shock absorbers during the setting process.
Don’t overlook your hammer technique—using rounded, polished tips creates gentler contact points that reduce damage risk. These impact absorption methods work together, creating multiple protective barriers between your hammer and precious gemstones.
Bezel Pushers as Hammer Setting Alternatives
When delicate gemstones require setting but traditional hammering poses too great a risk, bezel pushers offer a gentler yet effective alternative. These specialized tools excel at hammer setting by distributing force evenly across the metal, preventing the concentrated pressure that often damages precious stones.
Bezel pushers provide precise, gentle force distribution that protects vulnerable gemstones from the damaging concentrated pressure of traditional hammering techniques.
You’ll find bezel pushers particularly valuable when working with softer gemstones that can’t withstand direct impact. Their design protects your stones through several key features:
- Rounded edges that eliminate sharp contact points
- Even force distribution preventing localized stress fractures
- Smooth surfaces that won’t scratch delicate gem faces
- Controlled pressure application at ideal angles
- Indirect contact method keeping tools away from stones
Proper preparation enhances their effectiveness—sand any sharp edges to create fine teeth that grip metal without gouging your carefully selected gems.
Protective Wrapping Materials for Delicate Gems
Building on the protective principles that make bezel pushers effective, you can add another layer of security through strategic wrapping materials that shield your gems from any remaining impact forces.
Soft cloth wraps or leather pouches cushion delicate stones during hammer setting, preventing scratches while minimizing damage. You’ll find thermoplastic materials particularly useful since they mold around your gem’s shape, creating a custom fit that prevents direct tool contact.
Adhesive putty or wax applied to the gem’s surface creates an effective barrier that absorbs vibrations and impacts.
For additional protection, position foam or rubber padding beneath your work as a shock-absorbing base. These protective wrapping materials work together to safeguard against marring or fracturing while maintaining precision in your hammer setting technique.
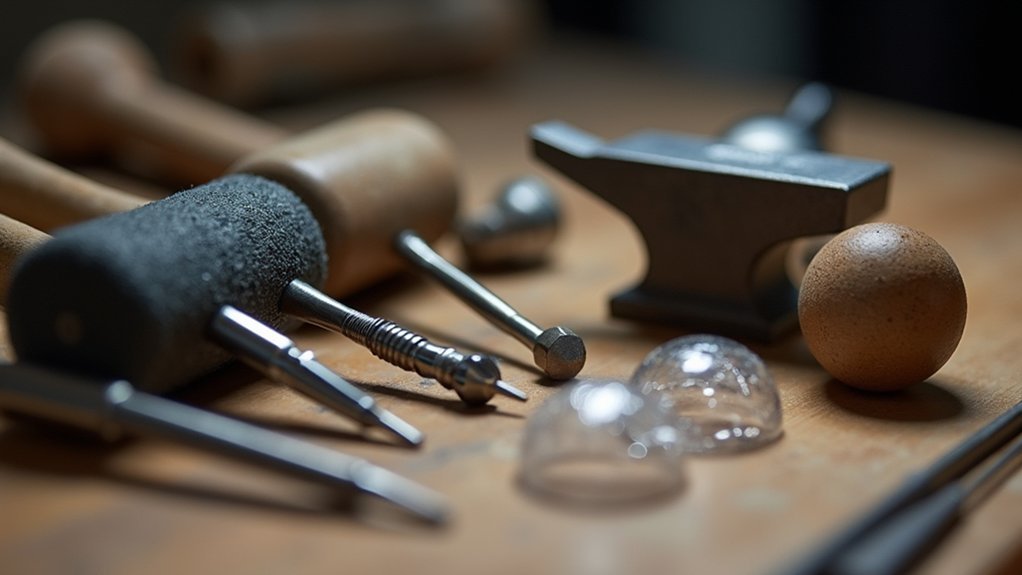
Anvil Selection and Surface Preparation
When you’re hammer setting gems, your anvil’s material properties directly impact whether you’ll protect or damage your stones.
You’ll want to choose an anvil with appropriate hardness that won’t create excessive force transfer while maintaining enough rigidity for precise work.
Before you begin setting, you must prepare the anvil’s surface through thorough cleaning and proper conditioning to eliminate any imperfections that could mar your gemstones.
Anvil Material Properties
Since the anvil serves as your primary work surface during hammer setting, its material composition directly impacts both the quality of your work and the safety of your gemstones.
Understanding anvil material properties helps you choose the right surface for different stones and settings.
Consider these material characteristics when selecting your anvil:
- Steel anvils provide exceptional durability and won’t deform under repeated impacts, creating a stable foundation for precise work.
- Brass surfaces absorb impact energy, protecting fragile stones but wearing down faster with heavy use.
- Smooth, polished surfaces prevent unintended marks and scratches on your precious gemstones during hammer setting.
- Hard materials maintain their shape longer, ensuring consistent results across multiple projects.
- Soft metal options offer cushioning for delicate stones but require frequent replacement.
Your choice depends on balancing protection against longevity for your specific projects.
Surface Hardness Preparation
Once you’ve identified the right anvil material for your project, preparing its surface becomes your next priority. You’ll need to guarantee the anvil surface is completely smooth and free from any nicks or scratches that could transfer to your gemstone. These imperfections can cause chips or fractures during impact.
| Surface Check | Action Required |
|---|---|
| Smooth surface | Ready for use |
| Minor scratches | Polish and resurface |
| Deep nicks | Replace or repair |
Adding a protective layer between your gem and the anvil provides vital cushioning. Use thin cloth or rubber to absorb shock while maintaining visibility. Place a leather pad beneath the stone for additional protection. Regular maintenance of your anvil surface guarantees consistent results and prevents costly gem damage.
Force Distribution Techniques During Hammering

Although hammer setting requires precise force application, you can greatly reduce gemstone damage by implementing proper force distribution techniques.
These methods help spread impact across larger surface areas, preventing concentrated stress points that could crack or chip your stones.
Essential force distribution techniques during hammer setting include:
- Wooden clamps – Distribute force evenly across the gemstone’s surface while protecting it from direct hammer contact
- Adjustable impact severity – Control hammer handpiece settings for lighter, more controlled strikes
- Ring mandrel support – Provide stable backing that absorbs force while supporting the metal setting
- Softer hammer tips – Use rubber or nylon tips to cushion impact and reduce shock transmission
- Angled positioning – Direct force away from the stone’s most vulnerable points
These techniques transform aggressive hammering into controlled, protective setting processes.
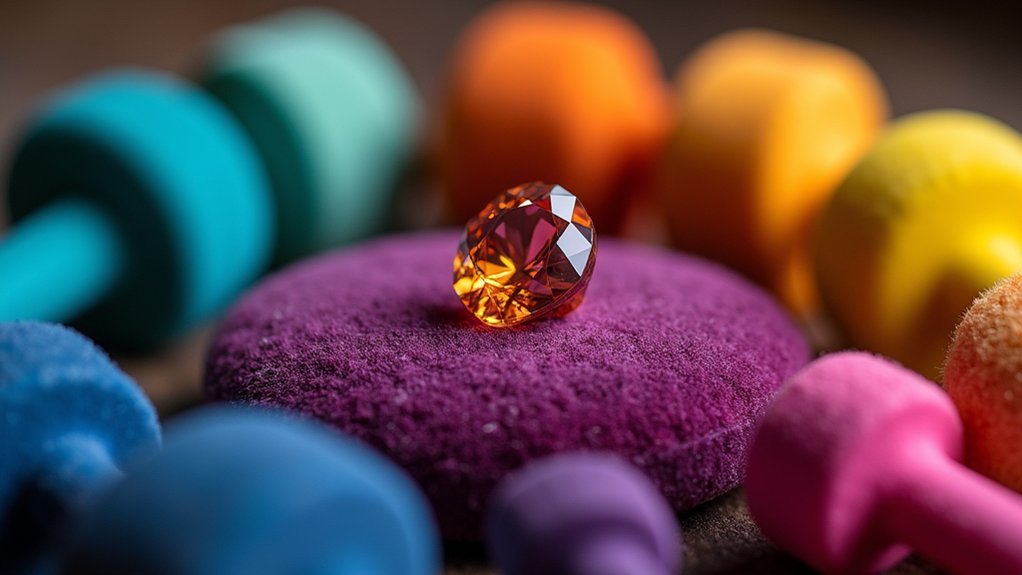
Setting Block Materials to Absorb Impact
Beyond controlling hammer force, your choice of setting block material plays an essential role in protecting gemstones from impact damage. Softer materials like rubber or felt effectively absorb shock during hammer setting, preventing chips and cracks in delicate stones.
Wooden setting blocks provide cushioned surfaces that minimize vibrations while you work. For enhanced protection, consider thermoplastic setting blocks that you can mold to match your gem’s specific shape. This customized support distributes impact more evenly across the stone’s surface.
Padded or felt-lined blocks offer additional benefits by improving grip, preventing gems from shifting during the hammering process. The combination of stable support and impact-absorbing materials in your setting block allows controlled force application, ensuring your gemstones remain intact throughout the setting procedure.
Hand Position and Control Methods
Three fundamental hand positions determine your success in hammer setting: grip stability, impact control, and tool orientation. Proper hand positioning during hammer setting allows you to control impact force precisely, reducing gem damage risk. Your steady grip prevents unwanted jewelry movement that causes misalignment or stone marring.
- Dominant hand wraps firmly around hammer handle, fingers positioned for maximum control over striking force.
- Supporting hand cradles the jewelry piece, thumb and forefinger creating a stable anchor point.
- Wrists remain straight and relaxed, allowing natural hammer movement without tension.
- Hammer blade corners target specific prong areas, concentrating force away from the vulnerable stone.
- Lighter tension settings protect gem integrity while maintaining secure placement.
Practice your hand-eye coordination regularly to refine hammering technique, ensuring you’ll apply appropriate pressure without compromising stone safety during each setting.
Tool Maintenance for Consistent Protection
While your hand positioning establishes control, your tools’ condition determines whether you’ll consistently protect gems during hammer setting. Regular tool maintenance keeps your hammer tips performing at their best throughout every project.
Inspect your hammer tips frequently for smoothness and polish them to eliminate sharp edges that could dent gemstones. Use a graver sharpener to maintain tip effectiveness and prevent unintentional damage. Keep rounded, polished edges on all tips since they’re less likely to slip and mar stones when striking.
Clean your tools thoroughly after each use, removing all debris that could scratch delicate gems. Adjust your handpiece to lighter tension settings, minimizing impact force on fragile stones.
Proper maintenance guarantees consistent performance and protects your valuable gemstones from unnecessary damage during the setting process.
Frequently Asked Questions
What Do Jewelers Use to Set Stones?
You’ll use specialized setting burs like round or Hart burs to create precise stone seats, hammer handpieces for controlled impact, and protective materials like wooden clamps, soft pads, beeswax, or thermoplastic for cushioning.
What Holds Gems in Place?
You’ll use gravers and bezel pushers to manipulate metal around stones, plus beeswax for temporary positioning. Ring mandrels provide stability while BenchMate holders keep pieces secure during setting work.
How to Secure a Stone in a Ring?
You’ll secure a stone using bezel or prong settings, ensuring proper seating first. Shape metal gently around the gem with controlled pressure, avoiding damage. Check regularly for cracks or loose settings throughout the process.
How to Set Gems in Silver?
You’ll secure gems using thermoplastic wax, then gently hammer with polished-edge tools while using wooden clamps for protection. Always check for pre-existing damage and apply light pressure to prevent cracking during setting.
In Summary
You’ll protect your gems during hammer setting by understanding stone hardness and selecting appropriate tools. Use rubber or leather mallets instead of steel hammers to minimize impact damage. Secure your workpiece with ring clamps and employ proper force distribution techniques. Choose setting blocks that absorb impact effectively, maintain correct hand positioning for control, and keep your tools well-maintained. These combined approaches guarantee you’ll achieve professional results while preserving your precious gemstones throughout the setting process.


Leave a Reply