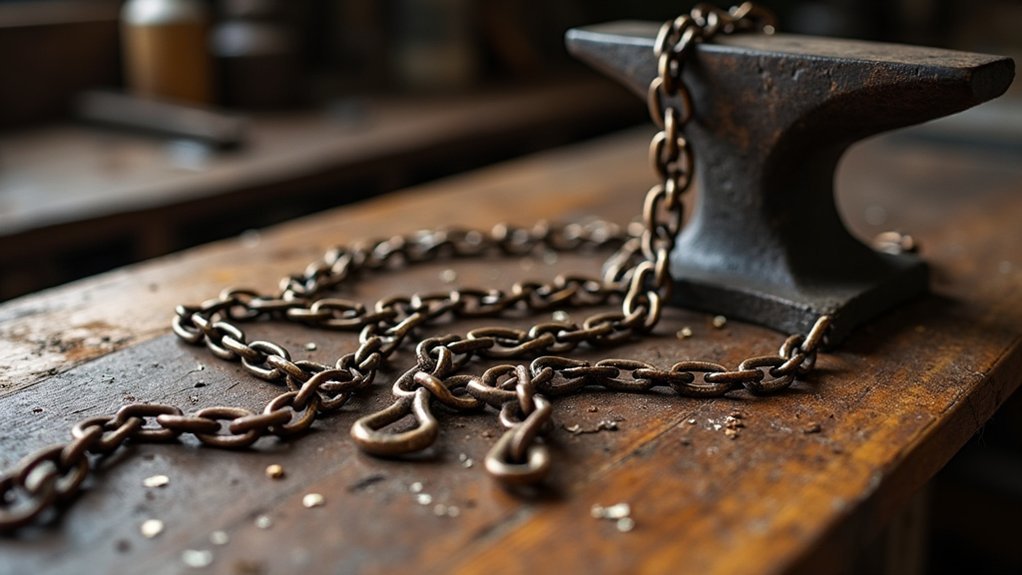
You’ll discover that ancient chain making methods, refined over 4,000 years across civilizations from Mesopotamia to Rome, relied on surprisingly sophisticated techniques that modern jewelers still use today. Master craftsmen employed the loop-in-loop technique, developing interconnected wire loops through precise twisting and soldering for maximum flexibility and strength. They controlled metal hardness through careful heating and cooling cycles, used specialized tools like mandrels and draw plates, and maintained rigorous quality control through visual inspections and strength testing. These time-tested approaches reveal secrets that’ll transform your metalworking craft.
Origins and Development of Chain Making in Ancient Civilizations
When you examine the earliest evidence of chain making, you’ll discover that this intricate craft emerged in Mesopotamia approximately 4,000 years ago, where skilled artisans first fashioned gold into interconnected links for personal adornment and decorative purposes.
The History of Jewelry reveals that Minoan civilization revolutionized these techniques by developing gold granulation and repoussé methods, creating sophisticated link designs that set new standards for craftsmanship.
Minoan artisans revolutionized ancient jewelry making through innovative gold granulation and repoussé techniques that established new craftsmanship standards.
Etruscan artisans later mastered complex chain necklaces, showcasing exceptional goldsmithing skills that influenced Mediterranean jewelry design. Greek craftsmen during the Hellenistic period refined these methods further, incorporating gemstones and geometric forms that reflected their cultural aesthetics.
You’ll find that Roman innovations like opus interrasile produced lightweight, intricate gold jewelry that became symbols of elite status throughout the empire.
Essential Tools and Materials for Traditional Chain Construction
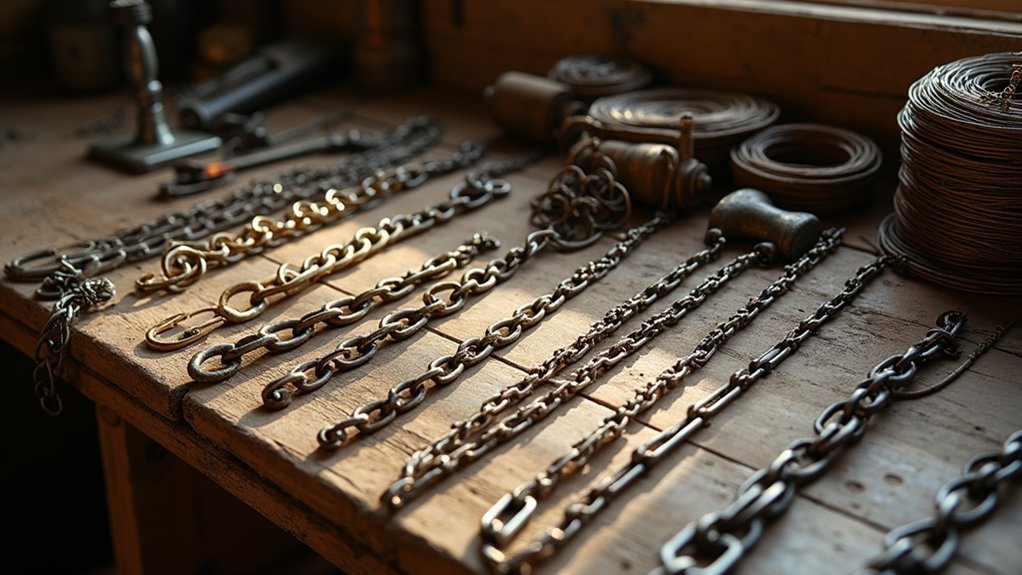
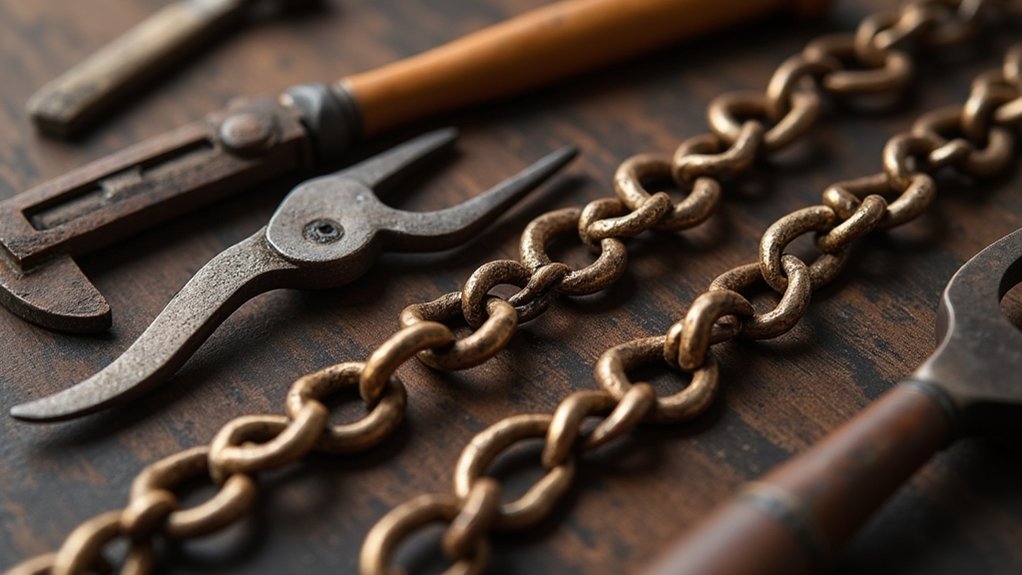
The sophisticated techniques developed across ancient civilizations required specific tools and materials that formed the foundation of traditional chain construction.
You’ll need essential equipment including pliers, wire cutters, and mandrels to shape and connect metal links with precision. These tools guarantee both durability and aesthetic appeal in your finished jewelry pieces.
When selecting materials, you’ll work with precious metals like gold, silver, and copper, choosing based on desired strength, malleability, and corrosion resistance properties.
Round wire gauges from 18 to 24 provide ideal thickness for various chain styles. Master jewelry techniques including soldering, forging, and cold connecting to join links effectively.
Through manipulating link shapes and arrangements, you’ll create traditional styles like cable, curb, and rope chains using these time-tested methods.
Loop-in-Loop Technique: The Foundation of Ancient Chain Making
You’ll find that the loop-in-loop technique traces back to ancient Greek and Roman civilizations, where skilled goldsmiths developed this foundational method to create both decorative and functional chains.
The process involves forming interconnected metal wire loops that you then twist and solder together, resulting in chains known for their remarkable flexibility and strength.
Understanding these historical origins and mastering the step-by-step construction process will give you insight into one of antiquity’s most enduring jewelry-making innovations.
Historical Loop Origins
Although modern jewelry makers have countless tools at their disposal, ancient craftsmen achieved remarkable sophistication using the loop-in-loop technique—a method that’s remained virtually unchanged for over two millennia.
You’ll discover this technique originated during the Hellenistic period (323-31 BC), when ancient jewelers mastered the art of interlinking metal loops. They primarily worked with gold and silver, creating chains that combined exceptional flexibility with remarkable strength.
Archaeological evidence reveals how widespread this method became:
- Greek artisans incorporated decorative elements and gemstones into their loop-in-loop chains.
- Roman craftsmen refined the technique for various jewelry applications.
- Ancient necklaces and bracelets showcase intricate designs still admired today.
- The method influenced modern chain-making processes across cultures.
You’ll appreciate how these historical loop origins established foundational principles that contemporary jewelers continue using.
Step-by-Step Construction Process
Five essential steps comprised the ancient loop-in-loop construction process that transformed simple wire into sophisticated chains.
First, you’ll cut your wire into sections measuring 1 to 2 inches, creating uniform pieces for consistent loop formation.
Next, you’ll heat each wire section to make it malleable and easier to shape. Using pliers or specialized tools, you’ll carefully bend each heated wire into individual loops, maintaining consistent size and shape throughout.
The fourth step involves threading each new loop through the previously completed one, creating the interconnected chain structure that defines the loop-in-loop technique.
Finally, you’ll solder each loop shut, securing the connections permanently.
This methodical chain making approach enabled ancient craftsmen to produce flexible, durable jewelry that satisfied both aesthetic and functional requirements across various civilizations.
Wire Drawing and Metal Preparation Methods
You’ll find that ancient artisans developed sophisticated wire drawing techniques long before modern machinery, using draw plates made from hardened bronze or iron to pull heated metal rods through progressively smaller holes.
They’d carefully control metal hardness through precise heating and cooling cycles, understanding that proper temperature management was essential for preventing wire breakage during the drawing process.
Before forming chains, you’d need to prepare the wire surface through meticulous cleaning and burnishing, removing any oxidation or impurities that could weaken the final product.
Ancient Wire Drawing Techniques
When ancient metalworkers needed fine wire for their chain-making endeavors, they developed sophisticated drawing techniques that transformed crude metal rods into precise, workable strands.
You’d begin by heating your metal—whether gold, silver, or copper—to make it malleable before the wire drawing process. Once cooled, you’d pull the rod through progressively smaller holes in a draw plate, achieving the exact diameter needed for your jewelry work.
These techniques, practiced since 3000 BC, gave craftsmen incredible control over wire thickness and flexibility:
- Heat treatment made metals pliable for easier manipulation
- Progressive sizing through smaller holes facilitated consistent diameter
- Material selection between gold, silver, and copper determined final properties
- Cooling processes maintained strength while preserving workability
Metal Hardness Control Methods
Achieving the right wire diameter was only half the battle—controlling metal hardness determined whether your finished chains would bend gracefully or snap under stress.
You’d master this balance through careful manipulation of your wire drawing process. Higher reduction ratios during drawing increased tensile strength through work hardening, but pushed too far, your wire became brittle.
Annealing provided your salvation when metal grew too hard to work. You’d heat your wire to specific temperatures, then cool it slowly to relieve internal stresses and restore workability. The key was timing—knowing when to anneal between drawing passes.
Your choice of metal alloy mattered equally. Copper offered excellent ductility but work-hardened quickly, requiring frequent annealing cycles to maintain ideal metal hardness for chain fabrication.
Surface Preparation Before Forming
Before your wire could pass through drawing plates, surface contamination posed a constant threat to chain quality.
You’d need meticulous surface preparation to remove oxides, dirt, and other impurities that could ruin your final product.
Your metal preparation process required several critical steps:
- Pickling treatments – You’d immerse metals in acidic solutions to strip away stubborn oxidation layers.
- Pre-annealing work – You’d soften the metal through controlled heating, preventing cracks during stretching.
- Lubrication application – You’d apply oils or fats to reduce friction and protect surfaces during wire drawing.
- Final inspection – You’d examine every surface for remaining contaminants before forming.
This thorough approach guaranteed your chains wouldn’t suffer from corrosion or premature wear, maintaining both beauty and structural integrity.
Soldering and Joint Construction in Historical Contexts
While ancient metalworkers lacked modern equipment, they developed sophisticated soldering and joint construction techniques that formed the backbone of durable chain making.
You’ll find that these soldering techniques in ancient jewelry varied considerably across cultures, with craftsmen using lead or gold as effective bonding materials under controlled heat application.
Egyptian artisans mastered filigree and granulation methods in their joint construction processes, creating intricate patterns that strengthened connections.
The Etruscans excelled at fusion welding, producing seamless chain links through advanced soldering practices.
During the Hellenistic period, you’d observe jewelers incorporating gemstones using refined soldering methods.
Roman craftsmen enhanced joint durability by utilizing niello techniques, ensuring their chains withstood daily wear while maintaining structural integrity.
Regional Variations: Egyptian, Greek, and Roman Chain Styles
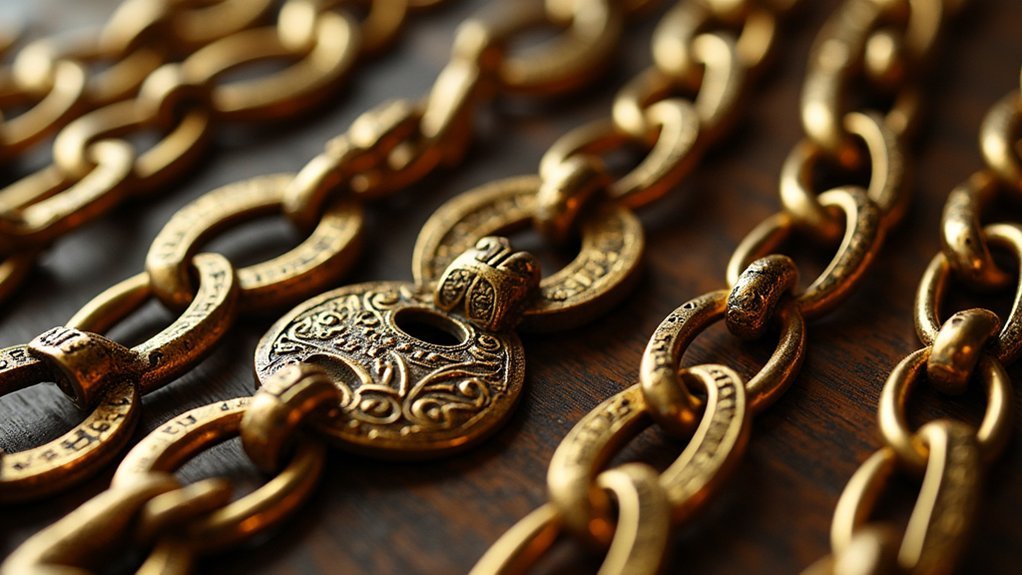
These sophisticated metalworking techniques manifested differently across the ancient Mediterranean, where distinct regional preferences shaped characteristic chain styles that reflected each civilization’s artistic values and technical capabilities.
Egyptian artisans perfected broad collar necklaces using vertically strung beads and gold, incorporating religious motifs essential for both daily wear and burial rituals.
The Minoan civilization pioneered granulation and repoussé techniques, creating intricate gold necklace links that demonstrated exceptional craftsmanship.
Greek jewelers adapted Etruscan methods during the Hellenistic period, developing geometric forms enhanced with colored gemstones from conquered territories.
Romans elevated these traditions through opus interrasile, crafting complex patterns adorned with polished cabochon stones.
- Egyptian collars featured vertical bead arrangements with sacred symbols
- Minoan goldsmiths excelled in granulation and decorative metalwork techniques
- Greek designs emphasized geometric forms with territorial gemstone influences
- Roman chains showcased intricate openwork patterns with colored stone embellishments
Quality Control and Strength Testing in Ancient Workshops
Although ancient metalworkers lacked modern testing equipment, they developed rigorous quality control systems that assured their chains met exacting standards for both aesthetic appeal and functional durability.
You’d find craftsmen performing visual inspections to check size and shape consistency, while tactile assessments evaluated smoothness and strength. Manual bending and twisting tests identified weaknesses before assembly.
| Testing Method | Purpose | Materials Used |
|---|---|---|
| Visual Inspection | Size/shape consistency | Standardized measuring tools |
| Tactile Assessment | Smoothness evaluation | Hands/fingertips |
| Strength Testing | Weakness identification | Manual force application |
| Heat Treatment | Tensile enhancement | Controlled alloys/furnaces |
Standardized tools assured uniform links, while proper alloy composition and heating techniques prevented brittleness. Workshop documentation recorded materials and testing methods, demonstrating how seriously ancient jewelry making approached quality control and strength testing protocols.
Preservation and Documentation of Traditional Chain Making Knowledge
Since ancient chain making knowledge faces extinction without deliberate preservation efforts, master craftsmen and cultural institutions have developed extensive documentation systems to safeguard these invaluable techniques.
You’ll find that generations of jewelers have created thorough records through written accounts, detailed illustrations, and modern video recordings. These preservation methods guarantee traditional soldering, weaving, and linking techniques survive for future artisans.
Documentation efforts include:
- Written instructional manuals passed down through apprenticeship programs
- Detailed technical drawings showing precise measurements and tool configurations
- Video recordings capturing hand movements and timing sequences
- Digital archives maintained by metalworking organizations and museums
You can access these resources through specialized workshops and cultural institutions that collaborate with historians.
They’re actively building communities where skilled artisans share knowledge, ensuring chain making’s cultural significance endures.
Frequently Asked Questions
What Was the Typical Training Period for Ancient Chain Making Apprentices?
You’d typically serve seven years learning chain making techniques. You’d start with basic forging skills, then advance to link shaping and joining methods. You’d master different chain styles before becoming a fully qualified craftsman.
How Much Did Handmade Chains Cost Compared to Other Luxury Items?
You’d find handmade chains extremely expensive, often costing as much as fine jewelry or weapons. They’re luxury items you’d trade for livestock, land, or precious metals in ancient markets.
What Happened to Broken Chains – Were They Repaired or Melted Down?
You’d typically repair broken chains if they were valuable enough to justify the cost. However, you’d melt down severely damaged or cheaper chains, recycling the metal into new jewelry or other items.
Did Ancient Chain Makers Use Any Secret Techniques or Guild Knowledge?
You’d find that medieval chain makers closely guarded their tempering secrets and alloy formulations. Guild masters wouldn’t share techniques with outsiders, passing specialized knowledge only to trusted apprentices through years of careful training.
How Long Did It Take to Complete a Single Chain Piece?
You’d spend hours forging a single chain link, depending on size and complexity. Simple links took thirty minutes, while ornate pieces required full days. You’d repeat this process hundreds of times for one complete chain.
In Summary
You’ve now explored the intricate world of ancient chain making, from mastering the loop-in-loop technique to understanding regional variations across civilizations. You can’t replicate these timeless methods without proper metal preparation and soldering skills. Don’t overlook the importance of quality testing that ancient craftsmen perfected over centuries. By studying these traditional techniques, you’re preserving invaluable knowledge that connects modern artisans to their historical predecessors and guarantees these skills won’t be lost.


Leave a Reply