
You’ll achieve hollow form casting success by using closed silicone molds with consistent rims for proper alignment. Mix resin components in equal parts by weight for at least thirty seconds, then pour thin, unfilled mixtures to avoid air bubbles. Apply release agents to prevent seepage and rotate molds during pouring to eliminate trapped air. Monitor curing indicators like surface ripples and color changes, waiting at least one hour before demolding. Clean seam lines with precision tools for professional results that’ll elevate your casting expertise further.
Select the Right Mold Design for Your Hollow Forms
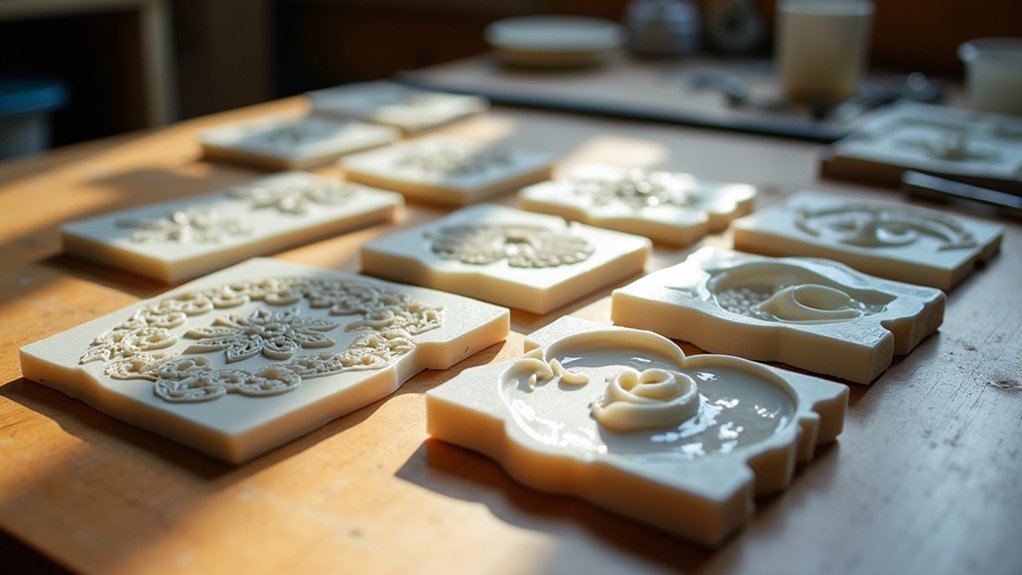
When creating hollow forms, you’ll need closed molds that eliminate pouring holes while enabling more intricate designs than traditional open casting methods.
This casting approach requires careful mold design considerations to achieve professional results.
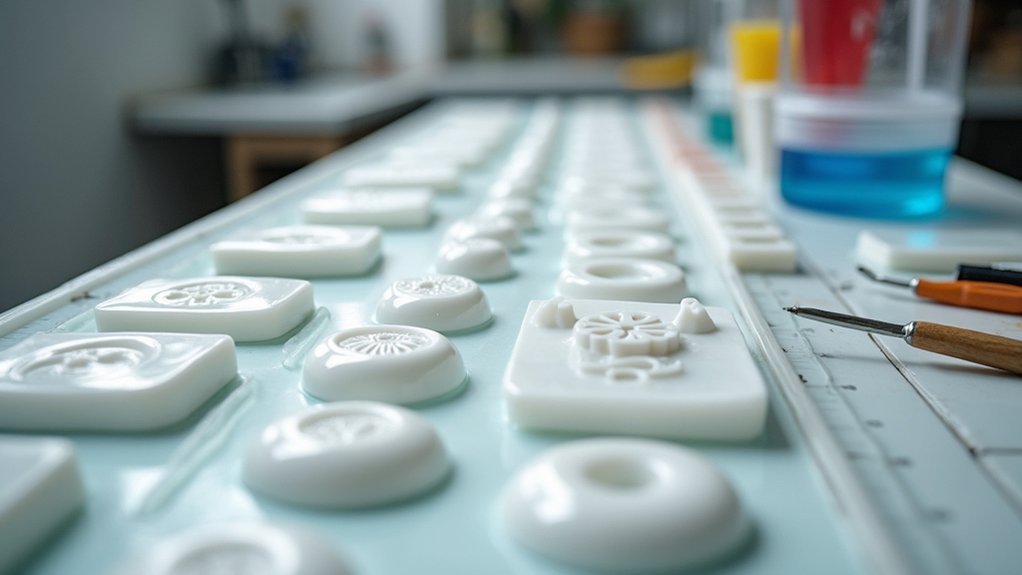
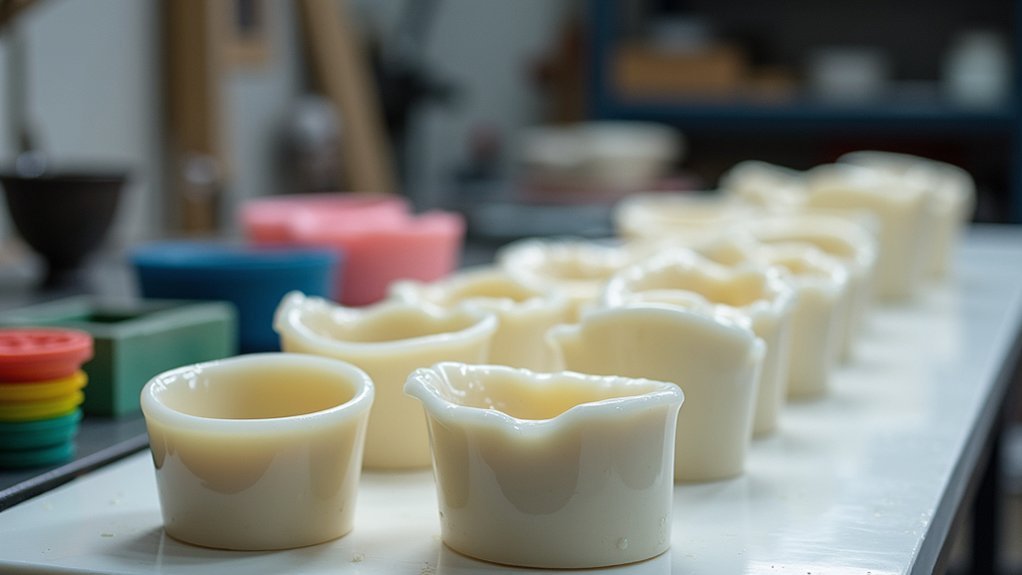
Choose silicone for your mold material since it captures fine details while remaining flexible enough to release complex hollow forms without damage.
Silicone molds offer superior detail capture and flexibility, making them essential for releasing intricate hollow forms without compromising delicate features or causing damage.
You’ll want consistent rims on both mold halves to guarantee proper alignment during assembly – misaligned halves create imperfect seams and structural weaknesses.
When working with resin, apply thick layers to both mold sections to create a sturdy structure that withstands handling.
Select thin, unfilled resin mixtures that flow easily into intricate shapes without trapping air bubbles that compromise your finished piece’s integrity.
Master Proper Resin Mixing Ratios and Timing
Success with hollow form casting depends heavily on achieving precise resin mixing ratios and understanding your working timeframe.
When working with polyurethane resin, you’ll need equal parts by weight of both components for proper curing and maximum strength. Use disposable plastic cups to maintain accurate ratios and prevent contamination during resin casting projects.
Thoroughly mix your components for at least thirty seconds to achieve uniform consistency throughout the mixture. Inadequate mixing creates soft spots that compromise your final piece.
Pay close attention to pot life since the resin sets quickly once combined. Plan your pouring sequence before mixing to avoid premature hardening.
If you’re incorporating fillers like Fillite, maintain a 1:2 ratio with the resin to enhance workability and carving properties.
Apply Even Coating Techniques for Wall Thickness Control
Achieving consistent wall thickness requires strategic pouring and distribution techniques that guarantee your hollow casting maintains structural integrity throughout. Start by pouring most of your resin mixture into one mold half, letting it naturally coat the surfaces before adding more if needed. Use a thinner resin mixture for better flow into detailed areas, ensuring even coverage.
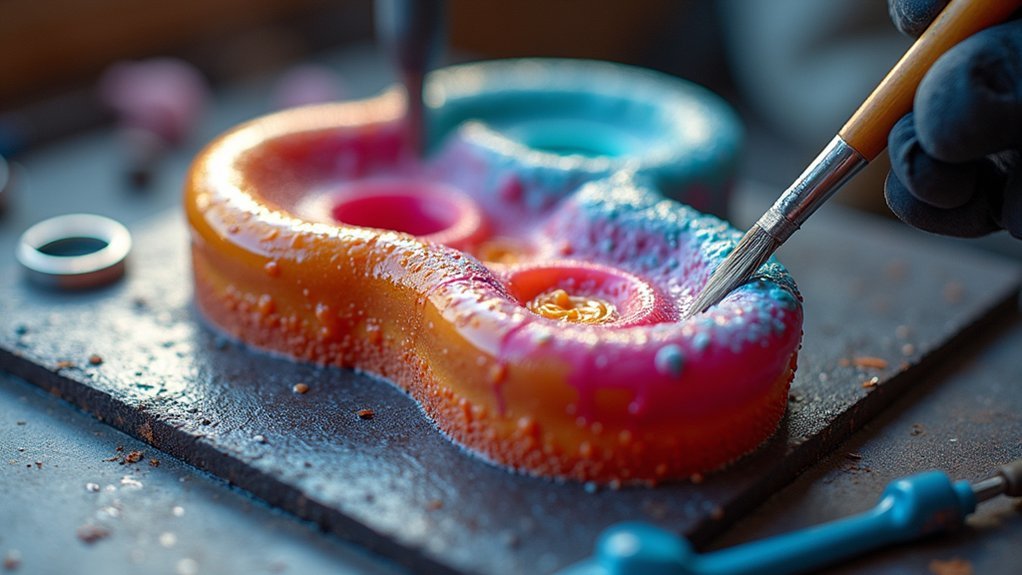
During the gel stage, work with a soft brush to distribute the coating evenly along all mold surfaces. This prevents separation and maintains proper adhesion.
| Technique | Purpose |
|---|---|
| Strategic pouring | Creates natural wall coverage |
| Regular rotation | Concentrates resin in seam areas |
| Brush distribution | Eliminates air pockets |
| Gap inspection | Prevents thickness inconsistencies |
Remember to rotate your mold regularly and inspect for gaps before joining halves.
Manage Air Bubble Prevention and Removal
Air bubbles pose one of the greatest challenges in hollow form casting, but proper preparation and technique can eliminate most issues before they occur.
Start with a thin, unfilled resin mixture that flows easily into detailed mold areas. Use a vacuum chamber before pouring to remove trapped air from your resin mixture, greatly improving cast quality. Apply release agent to mold surfaces for smoother resin flow and reduced bubble formation.
When you pour, add most mixture to one mold half, then gently rotate to coat sides while pushing bubbles toward the surface. Jiggle your mold or use cocktail sticks to dislodge stubborn air pockets during and after filling.
These prevention strategies guarantee professional casting results with minimal defects.
Perfect Your Mold Assembly and Seaming Process
Once you’ve mastered bubble prevention, proper mold assembly becomes your next priority for flawless hollow castings.
Consistent rims on your mold halves guarantee accurate alignment and prevent resin seepage that creates weak seams. Before joining halves, test fit them together to identify gaps that could compromise your casting.
Your assembly process benefits from these preparation steps:
- Apply a thin Vaseline layer to seam faces, visualizing a protective barrier that prevents leaks while maintaining perfect alignment.
- Pour resin into one half only, using a soft brush to paint material evenly along the mold’s interior walls.
- Mark a clear cutting line on your silicone skin, creating an easy-to-follow guide for clean demoulding.
These techniques eliminate guesswork and deliver professional results every time.
Monitor Curing Times and Temperature Control
You’ll need to watch for specific resin movement indicators that signal when your hollow form is ready for demolding, as rushing this step can ruin hours of work.
Temperature directly affects how quickly your resin cures, so you can’t ignore environmental factors if you want consistent results.
Learning proper heat acceleration techniques will help you speed up the process safely without creating bubbles or warping your cast.
Resin Movement Indicators
Watching your resin’s behavior during curing provides critical insights into the casting process and helps you determine prime demolding times.
You’ll notice visible changes in resin movement as it shifts from liquid state to solid, typically within the first hour after pouring. This alteration helps you gauge ideal curing progress.
Monitor these key indicators:
- Surface ripples diminishing – The resin’s surface becomes increasingly still as molecular chains cross-link
- Leftover mixing cup hardness – Use this as your hardness gauge to determine when it’s safe to demould
- Color deepening gradually – Many resins darken slightly as they cure completely
Maintain consistent temperature control throughout this phase.
While a heat gun can accelerate curing, avoid overheating. Lower temperatures risk incomplete hardening, compromising your hollow form’s structural integrity.
Heat Acceleration Techniques
Beyond observing natural curing progression, you can strategically apply heat to accelerate your resin’s hardening process while maintaining quality results. A heat gun becomes an invaluable tool for speeding up polyurethane resins, but you’ll need careful temperature control to avoid damaging your hollow cast. Monitor your working environment closely, maintaining 70°F to 80°F for ideal conditions.
| Temperature Range | Application Method | Monitoring Signs |
|---|---|---|
| 70°F-80°F | Ambient control | Steady progression |
| 80°F-90°F | Gentle heat gun | Light bubbling |
| Above 90°F | Avoid this range | Excessive bubbling |
Use a thermometer to track both your resin mixture and ambient temperature. When bubbling appears, reduce heat application immediately. Most polyurethane resins achieve hardness within one hour, but your successful cast depends on consistent temperature management throughout the curing process.
Execute Safe Demolding and Finishing Procedures
You’ll need to wait for complete curing before attempting to remove your hollow cast from the mold—typically one hour after pouring when the resin feels hard to the touch.
Gently wiggle or rotate the cast during removal to avoid applying excessive force that could cause breakage.
Once demolded, use a scalpel or fine tool to carefully clean seam lines and edges for proper assembly and finishing.
Timing Demold Safely
When demoulding hollow form castings, timing becomes your most critical factor for avoiding damage and achieving professional results.
You’ll want to wait at least one hour after pouring before attempting demoulding. Monitor the resin in your mixing cup as your guide—if it’s still liquid, your cast isn’t ready.
Here’s what you should watch for:
- Touch test: The remaining resin should feel firm and no longer tacky
- Visual check: No visible movement when you gently tap the cup
- Heat assistance: Use a heat gun sparingly if needed, avoiding overheating
Once you’ve safely removed your hollow casts, focus on finishing work.
Clean seam lines with a scalpel for proper mould alignment. Confirm any additional resin used for reinforcement has fully cured to maintain structural integrity throughout your piece.
Clean Seam Lines
After successfully demolding your hollow cast, cleaning seam lines becomes essential for achieving a professional finish.
You’ll want to apply release agent like Vaseline to seam faces before sealing mould halves, preventing resin seepage and facilitating easier demolding. Monitor curing closely throughout the process, ensuring proper timing for safe removal.
Once demolded, use a scalpel or fine tool to refine edges where seam lines meet. This creates smoother connections and eliminates unsightly gaps that could compromise your hollow cast’s integrity.
Clean seam lines properly by ensuring they’re aligned before demolding begins.
Consider reinforcement during subsequent stages to enhance durability while maintaining clean, defined seam lines. This attention to detail during the curing process results in a polished final appearance that showcases your craftsmanship.
Frequently Asked Questions
How to Prepare a Hollow Component in Casting Process?
You’ll prepare your hollow component by ensuring clean, consistent mould rims for tight assembly. Mix polyurethane resin thoroughly, brush it evenly along mould sides, eliminate air bubbles, and monitor curing before demoulding.
Why Are Hollow Casts Preferred to Solid Casts in Sculpture?
You’ll prefer hollow casts because they’re considerably lighter, use less material, cost less, and offer better handling. You can strengthen them with glassfibre while maintaining flexibility for weight adjustments and design modifications.
How to Cast a Hollow Object?
You’ll use closed moulds to eliminate pouring holes. Mix equal parts polyurethane resin, pour into one mould half, brush sides evenly, then close moulds and demould after one hour.
What Is the Lost-Wax Process of Solid Casting as Well as Hollow Casting?
You create a wax model, encase it in investment material, then melt out the wax. For solid casting, you’ll pour metal into the cavity. For hollow casting, you’ll coat the wax thicker.
In Summary
You’ve now got the essential techniques to create flawless hollow form castings. Don’t rush through any step—each one builds on the last. Practice your coating technique until it’s second nature, and always double-check your mold assembly before pouring. Remember that patience during curing pays off with stronger, cleaner results. With these seven tips mastered, you’ll consistently produce professional-quality hollow castings that meet your project’s exact specifications.


Leave a Reply