You’ll achieve professional necklace flat lay photos by using a macro lens with 1:1 magnification, setting your aperture between f/8-f/11, and maintaining ISO at 100-200. Clean your jewelry with cotton gloves and microfiber cloths, then arrange it on neutral backgrounds like white acrylic. Use diffused lighting from softboxes to minimize reflections, and employ focus stacking with 5-10 progressive shots for complete sharpness. Master these fundamentals and you’ll discover advanced techniques that elevate your jewelry photography to the next level.
Essential Equipment for Flat Necklace Photography
When you’re setting up for flat necklace photography, your equipment choices will make or break your final images.
You’ll need a macro lens with at least 1:1 magnification ratio to capture intricate jewelry details with sharp, high-resolution clarity. A fixed tripod is essential for maintaining stability and consistency across multiple shots, especially when using focus stacking techniques.
For your lighting setup, invest in diffused sources like softbox lights or light tents to minimize reflections on shiny surfaces.
A tabletop V-flat serves double duty as both light modifier and backdrop, bouncing light into shadows while creating clean presentations.
Complete your product photography kit with clear acrylic or textured surfaces as bases, providing visually appealing contrast that enhances your necklace’s overall presentation and professional appearance.
Background Selection and Preparation Techniques
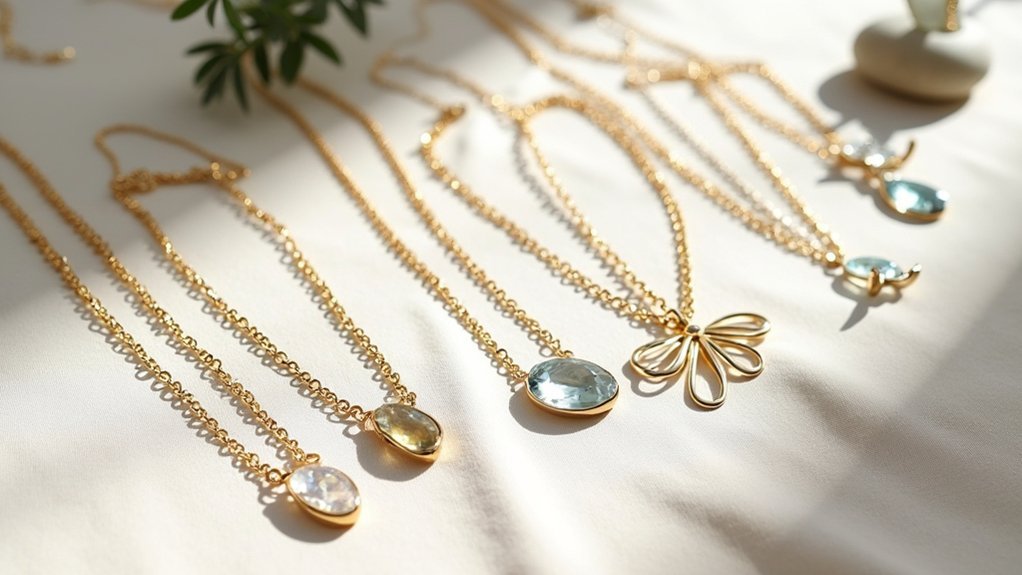
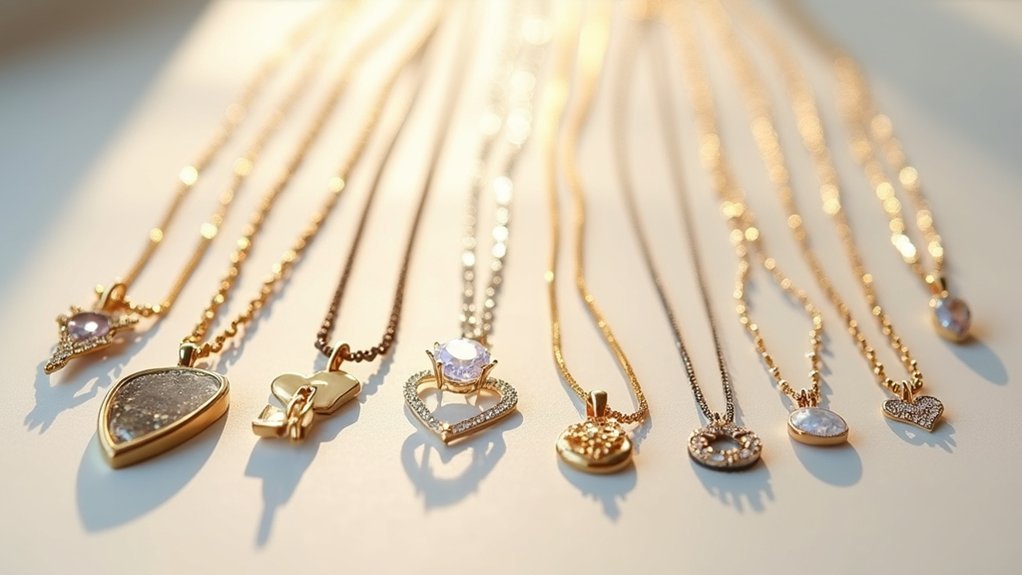
Your background choice sets the visual foundation that either elevates or undermines your necklace photography. For ideal background selection, choose neutral colors like white or light gray to keep focus on your jewelry’s details without distractions.
Neutral backgrounds like white or light gray create the perfect canvas to showcase your necklace’s intricate details without visual distractions.
Smooth surfaces such as acrylic or matte paper minimize unwanted reflections while enhancing your necklace’s appearance.
Before shooting, proper cleaning jewelry is essential. Handle pieces with cotton gloves and polish thoroughly with microfiber cloths to eliminate dust and fingerprints.
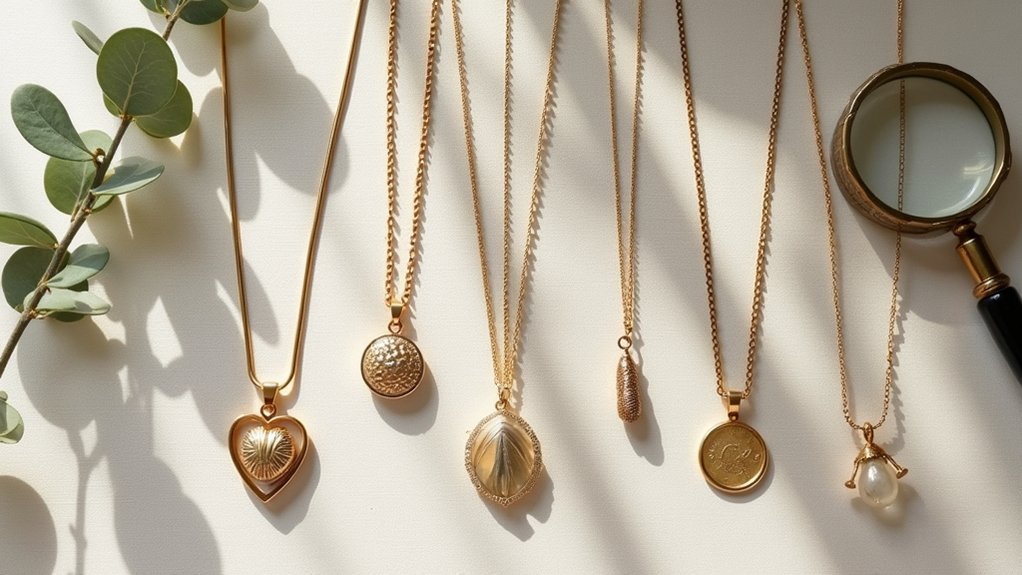
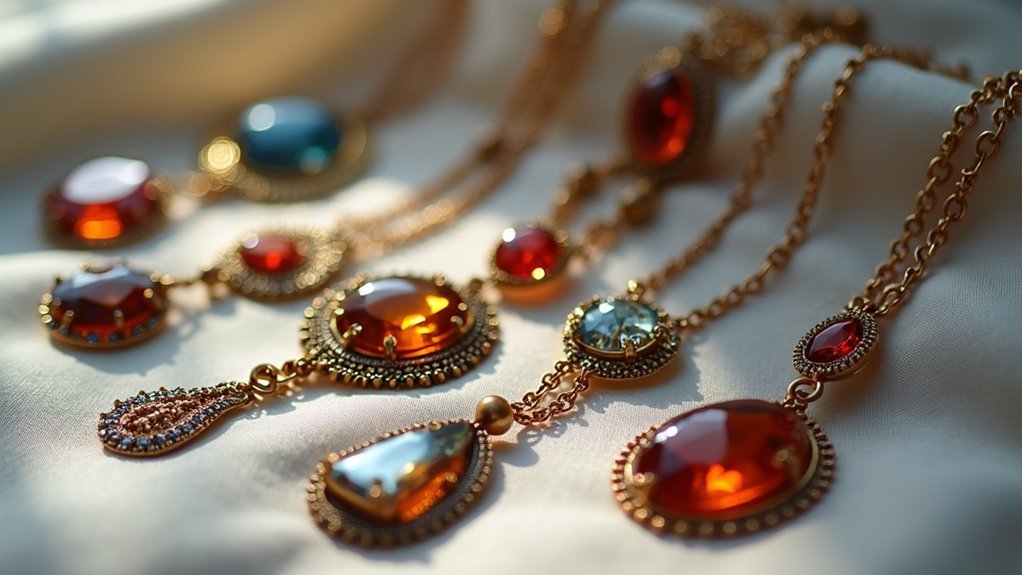
For added visual interest, experiment with textured backgrounds like fabric or wood to create depth and contrast.
Consistent lighting tips include using uniform illumination across your setup to prevent harsh shadows or overexposed areas that could obscure important features.
Proper Necklace Cleaning and Setup
Before positioning your necklace for photography, meticulous cleaning guarantees every detail captures beautifully in your final images.
Proper necklace cleaning starts with wearing cotton gloves to prevent fingerprints and oils from transferring onto the jewelry. Clean thoroughly with appropriate jewelry cleaning solutions, following product specifications to remove tarnish and grime. Polish with a microfiber cloth to enhance shine and visual appeal, minimizing extensive post-production editing needs.
Use compressed air to blow away dust and debris that could detract from your photograph jewelry results.
For ideal setup, place the necklace flat on a smooth, non-reflective surface. This prevents unwanted shadows and reflections, allowing for even, clear shots that showcase every intricate detail professionally.
Camera Settings for Sharp Flat Lay Images
Since achieving razor-sharp focus across your entire necklace requires precise camera settings, you’ll need to adjust three critical parameters: aperture, ISO, and shutter speed.
Set your aperture between f/8 and f/11 to maximize depth of field, ensuring every detail stays crisp from edge to edge.
Keep your ISO at 100 or 200 to minimize noise and maintain exceptional image clarity in well-lit conditions.
Use a shutter speed of at least 1/200 seconds to eliminate motion blur when shooting handheld.
Essential equipment for ideal results:
- Tripod – Maintains stability and consistent framing across multiple shots
- Focus stacking technique – Combines images at different focus points for complete sharpness
- Manual focus mode – Provides precise control over your focal point
These camera settings form the foundation for professional-quality necklace photography.
Lighting Strategies for Even Illumination
Perfect camera settings won’t deliver professional results without proper lighting to showcase your necklace’s intricate details.
Effective lighting strategies require diffused sources like softboxes or light tents to minimize harsh shadows and create even illumination across your jewelry. Position multiple lights at different angles to eliminate reflections while ensuring all necklace parts receive balanced exposure.
Experiment with light distance—closer sources provide intense illumination, while farther placement creates gentler effects. Incorporate white reflectors or V-flats around your setup to bounce light back, filling shadows for uniform coverage. This technique is essential for professional jewelry photography results.
Avoid mixing lighting sources like daylight with incandescent bulbs, as inconsistent color temperatures will negatively impact your necklace’s appearance and overall image quality.
Positioning and Arranging Necklaces Effectively
You’ll achieve the most compelling flat lay shots by positioning your necklace in a gentle curve that mimics its natural drape while maintaining complete contact with your background surface.
Start by carefully laying out each section to prevent any twisted links or tangled chains that can create visual distractions and unprofessional-looking results.
Use small weights or clear tape at strategic points to secure the necklace’s position and guarantee it maintains its intended shape throughout your shooting session.
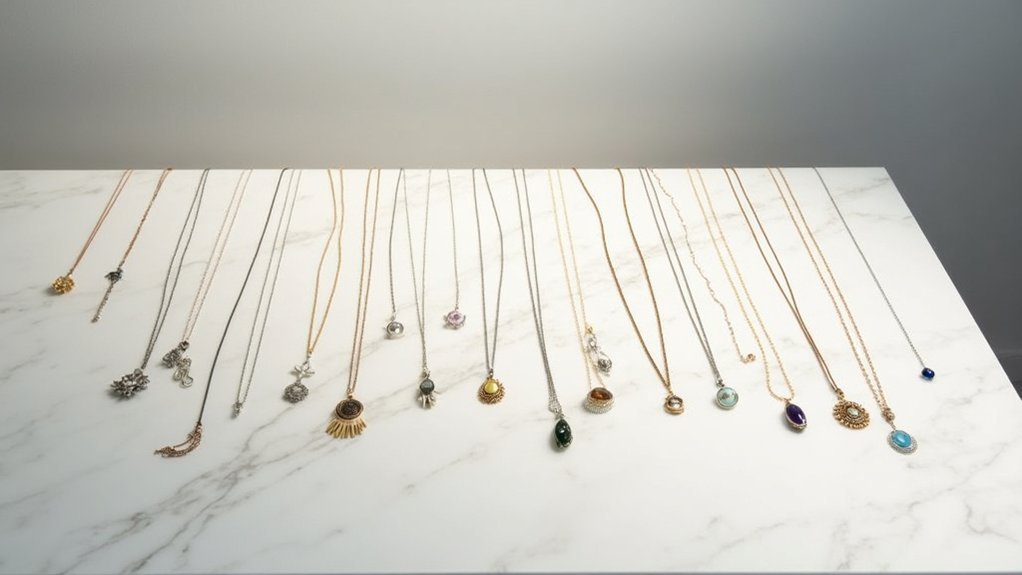
Optimal Flat Lay Arrangement
When arranging necklaces for flat lay photography, you’ll want to position each piece strategically to showcase its distinctive characteristics while creating a harmonious composition.
Product photographers understand that utilizing curves and negative space prevents visual clutter while maintaining focus on your jewelry’s unique features.
Contrasting backgrounds—whether textured or solid colors—enhance visibility without overwhelming the pieces. Layer different necklace lengths thoughtfully to create depth, ensuring shorter pieces don’t overshadow longer ones.
Essential flat lay arrangement techniques include:
- Clean preparation: Keep necklaces untangled and dust-free to minimize post-production work
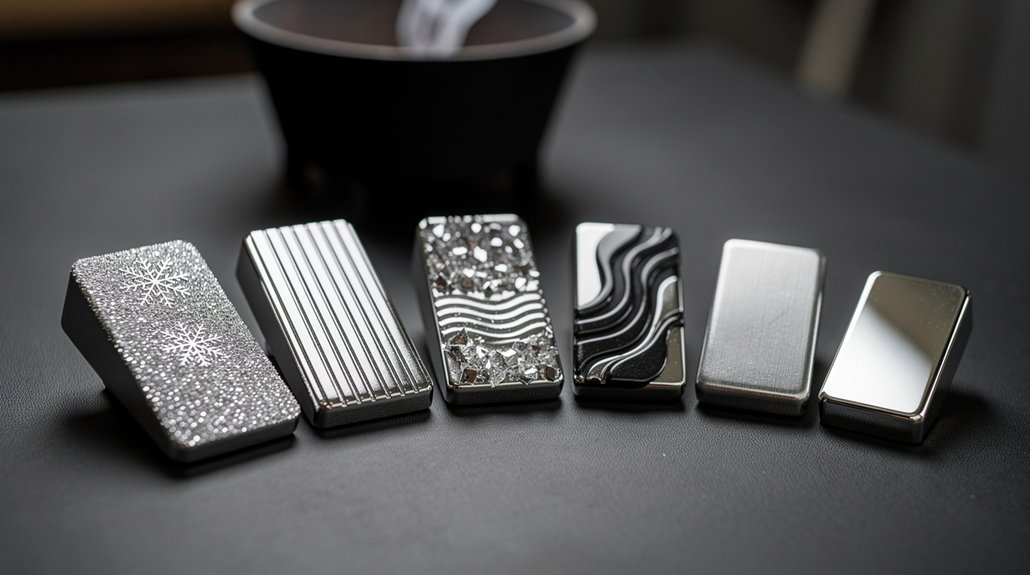
- Strategic props: Add small geometric shapes or natural elements for context without distraction
- Visual interest: Use curves and negative space to create dynamic compositions that draw the eye
This approach creates professional photography results that highlight each necklace’s beauty.
Preventing Chain Tangling Issues
Chain tangling can instantly ruin an otherwise perfect flat lay shot, but strategic positioning techniques will keep your necklaces pristine throughout the entire photography process.
Start by laying chains flat on smooth, non-static surfaces while avoiding any overlapping that creates knots. Use jewelry stands or props that let chains hang freely without contact points causing twists.
Employ small clips or weights to secure necklace ends and minimize movement during positioning. A transparent acrylic or glass sheet provides an ideal clean surface while maintaining visibility of potential tangles. These preventing chain tangling methods guarantee professional results when you shoot jewelry.
Don’t forget to regularly check and adjust positioning throughout your session. These photography tips help maintain proper chain alignment, especially when making lighting or angle adjustments.
Focus Stacking for Complete Sharpness
You’ll achieve maximum sharpness across your entire necklace by capturing multiple images at different focus points throughout the piece.
Start by focusing on the nearest element, then gradually shift focus to the middle sections, and finally to the farthest parts of the jewelry.
Once you’ve captured all necessary shots, you’ll combine them in post-processing software to create one perfectly sharp final image.
Multiple Focus Point Capture
Although necklaces contain intricate details that span multiple focal planes, focus stacking guarantees you’ll capture every element in razor-sharp detail. This jewelry photography technique requires methodical capture at different focus points to achieve complete sharpness across your entire piece.
Start by securing your camera on a tripod to prevent movement between shots. You’ll then systematically shift focus from the nearest element to the farthest point of your necklace, creating overlapping focal zones.
- Set your aperture to f/11-f/13 for ideal balance between depth and clarity
- Capture 5-10 images with progressive focus shifts across the necklace’s depth
- Use manual focus to maintain precise control over each focal point
This methodical approach ensures you’ve got sharp coverage of every gemstone, chain link, and decorative element for seamless blending during post-processing.
Post-Processing Image Stacking
Once you’ve captured your series of focused images, the real magic happens in post-processing where specialized software transforms your multiple shots into a single, thoroughly sharp photograph.
Adobe Photoshop excels at focus stacking through its “Load Files into Stack” feature, which automatically aligns your images. After loading, select all layers and choose “Auto Blend Layers” with the “Stack Images” option selected. The software intelligently combines the sharpest portions of each shot into one seamless composite.
Your earlier attention to proper lighting pays dividends here, as consistent exposure across frames guarantees smoother blending. Well-lit images with minimal reflections require fewer manual corrections during post-processing.
The final result showcases every intricate detail of your necklace with professional-grade sharpness throughout the entire piece.
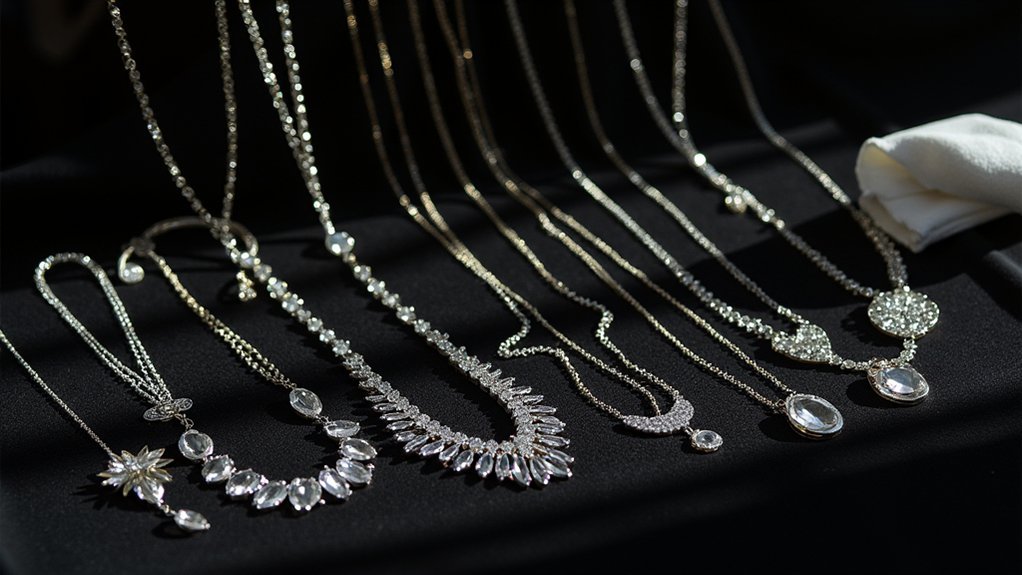
Managing Reflections on Metal Surfaces
When photographing necklaces with metal surfaces, reflections can quickly turn into your biggest challenge, creating distracting glare that obscures the jewelry’s intricate details and craftsmanship.
Managing reflections requires strategic control of your light sources and camera positioning to highlight the beauty of shiny surfaces without overwhelming them.
Strategic lighting control and precise camera positioning transform challenging reflective surfaces into stunning showcases of metallic beauty and craftsmanship.
Here’s how to tackle this challenge:
- Use diffused lighting sources like softboxes or light tents to create even illumination and soften harsh reflections.
- Experiment with camera angles to find the best position that minimizes unwanted glare while showcasing the necklace’s features.
- Apply a polarizing filter to your camera lens to cut down reflections and reveal clearer, more detailed images.
Consider incorporating matte backgrounds that reflect light subtly, reducing direct glare while preserving the metal’s natural shine and texture.
Post-Production Enhancement Techniques
While proper lighting and camera techniques form the foundation of excellent necklace photography, the real magic often happens after you’ve captured your shots.
Post-production enhancement techniques transform good photos of jewelry into stunning marketing assets.
Start with focus stacking using Adobe Photoshop to align multiple images with different focus points, creating sharp detail throughout your necklace.
Adjust brightness and contrast to enhance visibility without sacrificing authenticity.
Use Clone Stamp or Healing Brush tools to remove dust and scratches for that polished appearance.
Apply color correction to represent true colors accurately—avoid oversaturation that misleads buyers.
Consider adding a subtle light cone vignette effect to draw attention naturally to your necklace while maintaining product focus.
Common Mistakes to Avoid When Shooting Flat
Even with perfect post-production skills, poor flat lay technique can sabotage your necklace photography before you ever reach the editing stage.
These critical errors will undermine your jewelry images and waste valuable shooting time.
Be certain you’re not falling into these common traps that plague small product photography:
- Using cluttered or busy backgrounds – Your necklace should be the star, not competing with distracting patterns or colors that pull viewers’ attention away from the jewelry details.
- Creating harsh shadows with direct lighting – Unflattering reflections and stark contrasts will make your pieces look cheap and unprofessional instead of luxurious.
- Allowing twisted chains or overlapping elements – Tangled or messy arrangements immediately signal poor craftsmanship and attention to detail.
Avoiding these mistakes guarantees your flat lay foundation supports stunning final results.
Frequently Asked Questions
How Do You Take Professional Pictures of Necklaces?
You’ll need diffused lighting, a clean neutral background, and a macro lens at f/11. Position your necklace flat, dust-free, and use a tripod for stability while experimenting with angles.
What Camera Settings Are Best for Jewelry Photography?
You’ll want f/11-f/13 aperture for sharp detail, ISO 100-200 for minimal noise, and use a tripod with shutter speeds above 200. Keep ISO low and consider focus stacking for maximum sharpness throughout.
How to Photograph Jewelry Without Glare?
Use diffused lighting with softboxes to eliminate harsh reflections. Position your jewelry at slight angles, employ matte backgrounds, and add reflectors to control light direction. You’ll minimize glare while highlighting intricate details effectively.
How Do Photo Projection Necklaces Work?
Your photo projection necklace contains a tiny LED light and microfilm image inside its pendant. When you activate the light, it shines through the image, projecting your photo onto nearby surfaces.
In Summary
You’ve now mastered the fundamentals of flat necklace photography. Don’t rush the setup process—take time to clean each piece thoroughly and arrange your lighting carefully. Remember that practice makes perfect, so experiment with different backgrounds and angles. Keep your camera steady, use focus stacking when needed, and you’ll consistently capture stunning flat lay images that showcase every detail of your jewelry with professional quality.
Leave a Reply