Master your jeweler’s saw by first ensuring proper blade tension—you’ll hear a high-pitched ping when it’s tight. Position your bench pin at chest height and maintain a relaxed grip on the frame. Apply lubricant frequently to reduce friction and blade wear. Focus on controlled vertical strokes while rotating the metal instead of the saw for curves. Keep your posture aligned and let the blade do the work rather than forcing cuts. These fundamentals will transform your cutting precision and efficiency.
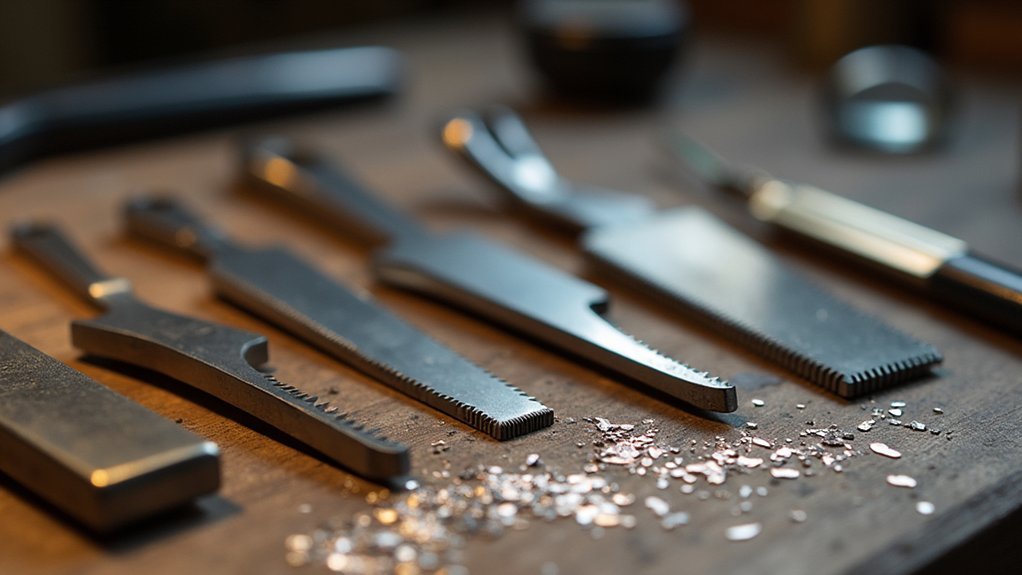
Check Blade Tightness and Proper Installation
Before you make your first cut, you’ll need to verify that your saw blade is properly installed and adequately tensioned.
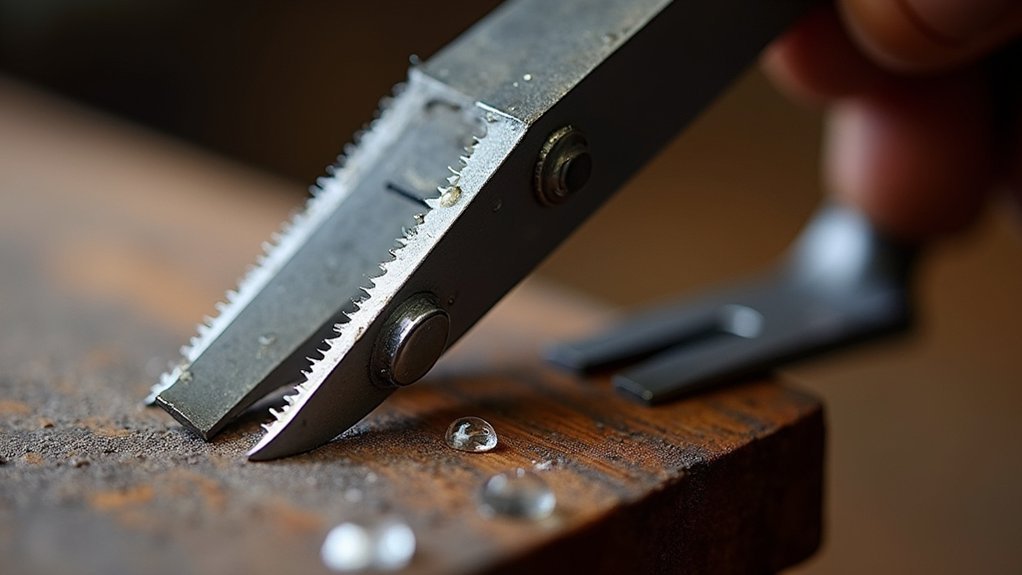
Always check blade tightness by listening for the telltale sound—a properly secured blade produces a high-pitched ping when plucked, while a loose blade creates a dull thud. Install saw blades with teeth facing out and down for effective cutting action against your bench pin.
If your blade feels loose, adjust the throat of your saw frame for better grip or lightly sand the inside frame plates to enhance holding power.
Check blade tightness regularly before starting work, as proper tension prevents breakage and improves cutting efficiency. During extended sawing sessions, re-tighten periodically since vibrations can loosen the blade tension over time.
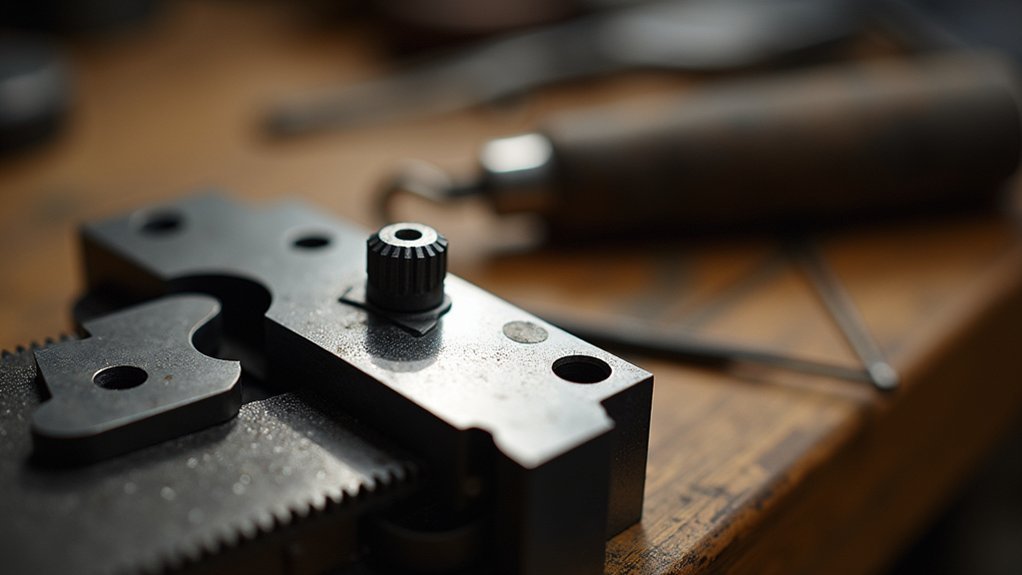
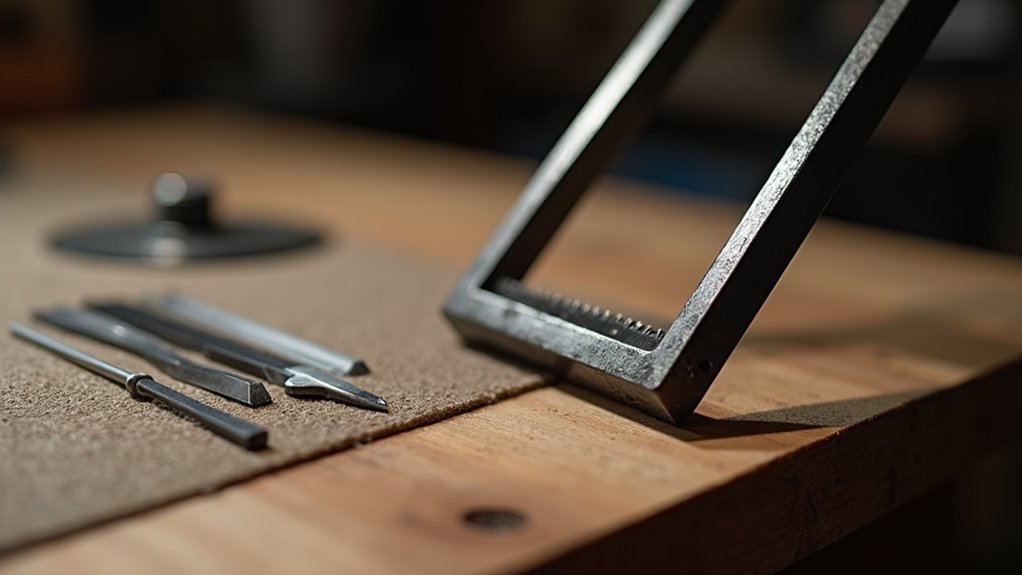
Position Your Bench Pin at the Right Height
Since your sawing posture directly impacts both comfort and precision, you’ll want to position your bench pin at chest height to keep your arms in their most effective working position.
Proper bench pin height at chest level maximizes arm efficiency and significantly improves both sawing comfort and cutting precision.
This height reduces strain and greatly improves your cutting efficiency while giving you better saw control.
Don’t settle for your usual table-and-chair setup if it forces you to hunch over. Instead, experiment with different combinations that might feel slightly awkward at first but encourage proper posture.
Consider non-traditional seating options like an overturned garbage can to achieve the ideal height for your specific needs.
Adjust your bench pin setup regularly as your projects change or your body position shifts throughout extended working sessions, ensuring continued ergonomic support.
Maintain a Relaxed Grip on the Saw Frame

One of the most common mistakes beginners make is gripping their jeweler’s saw frame like they’re wrestling it into submission. In jewelry making, you’ll achieve better results by maintaining a light, relaxed grip. Imagine the handle’s made of glass to prevent squeezing too hard.
This relaxed approach helps you keep things smooth and controlled while reducing fatigue during extended sawing sessions.
Focus on gentle, consistent up and down strokes rather than forcing the saw forward when you need to cut through metal. Let the blade do the work. Regularly check your grip to guarantee it stays loose throughout your project.
A relaxed body contributes to smoother sawing and better results. With practice, this gentle technique will become muscle memory, making your sawing more intuitive and enjoyable.
Rotate the Metal Instead of the Saw
When steering tight curves and intricate cuts, you’ll achieve better control by keeping your saw frame stationary and rotating the metal piece instead.
This technique maintains proper blade alignment and reduces the risk of breaking delicate blades under unnecessary stress.
You’ll find that moving the workpiece rather than the saw creates smoother, more precise cuts while allowing you to maintain consistent forward pressure.
Stationary Saw Technique
Although it may feel counterintuitive at first, mastering the jeweler’s saw requires you to keep the frame completely stationary while moving only the metal piece itself. This technique transforms your cutting approach from blade manipulation to workpiece control, creating smoother, more precise cuts.
Focus on these essential elements for effective stationary saw technique:
- Vertical movements only – Move the saw straight up and down without angling or twisting the blade.
- Rotate the metal piece – Turn your workpiece to navigate corners and curves instead of adjusting blade position.
- Maintain relaxed grip – Hold the metal loosely to allow smooth movement and prevent hand fatigue.
- Keep saw pointed forward – Consistent blade orientation simplifies the learning process.
Regular practice develops muscle memory, making this technique second nature.
Be sure to check your form frequently while building these fundamental skills.
Metal Rotation Benefits
By rotating the metal piece rather than maneuvering the saw frame, you’ll discover that steering tight corners and intricate curves becomes considerably easier. This technique eliminates awkward blade angles that often lead to breakage or imprecise cuts.
When you keep your saw frame stationary and move the metal instead, you’ll maintain better control and achieve cleaner results with less effort.
Hold the metal with a relaxed grip to reduce hand fatigue and allow fluid motion throughout the cutting process. Always verify your saw points forward while rotating the workpiece—this maintains proper blade alignment and prevents costly blade damage.
With consistent practice, this rotating technique develops muscle memory that makes even the most intricate cuts feel intuitive and natural.
Apply Lubrication to Reduce Friction
You’ll dramatically improve your sawing experience by applying the right lubricant to your blade before and during cutting.
Several effective options include specialized saw lubricants, ordinary bar soap, or even candle wax—each offering unique advantages for different cutting situations.
Master the proper application technique and timing of reapplication to maintain smooth cuts while extending your blade’s lifespan.
Types of Saw Lubricants
Friction becomes your enemy when cutting through metal with a jeweler’s saw, but the right lubricant transforms each stroke from a struggle into smooth progress.
You’ve got several effective options to choose from, ranging from specialized products to common household items.
- Specialized saw lubricants – Purpose-built for jeweler’s saws, these offer superior friction reduction and cutting efficiency.
- Bar soap – Rub directly on the blade for an accessible, cost-effective lubrication solution.
- Candle wax – Another household alternative that provides excellent lubrication properties.
- Beeswax – Natural option that adheres well to blades and offers long-lasting protection.
Apply your chosen lubricant after securing the blade in the frame, and reapply throughout your work session to maintain ideal cutting performance and extend blade life.
Proper Application Techniques
Once you’ve selected your lubricant, the timing and method of application determine how effectively it’ll reduce friction during your cuts.
Apply lubricant immediately after loading your blade into the frame, coating both the blade’s teeth and cutting edge. During sawing, reapply lubrication frequently—don’t wait until you notice increased resistance or binding.
For soap or candles, gently rub them directly along the blade’s cutting surface. With liquid lubricants, use a small brush or cloth for even distribution.
You’ll notice smoother cuts with less effort when properly lubricated. This consistent application extends your blade’s life by reducing wear and tear, while producing cleaner cuts that require minimal finishing work.
Reapplication During Use
When resistance begins to build during extended cuts, it’s time to pause and reapply lubricant to maintain ideal performance.
Don’t wait until cutting becomes laborious – proactive reapplication keeps your blade moving smoothly and prevents unnecessary wear.
Pay attention to these signs that indicate you need more lubrication:
- Increased physical effort required to push or pull the blade
- Blade begins to bind or catch in the kerf
- Cutting motion feels jerky rather than smooth
- You notice the blade heating up from friction
Reapply your chosen lubricant – whether specialized saw lube, soap, or candle wax – directly to the blade while it’s still mounted in the frame.
This simple maintenance step greatly improves cutting efficiency and extends blade life considerably.
Use Proper Body Posture and Ergonomics
Proper body posture forms the foundation of effective jeweler’s sawing, directly impacting both your comfort and cutting precision. Position your bench pin at chest height so your arms align comfortably while sawing, promoting better posture and reducing strain.
Set up your table or chair to feel slightly awkward initially—this encourages an efficient sawing stance and prevents hunching over.
Don’t grip the saw frame too tightly; maintain a relaxed grip for better control and cutting accuracy. Instead of moving the saw around curves, rotate the metal you’re cutting. This creates more natural motion and reduces wrist strain during intricate cuts.
Regularly adjust your workspace and seating throughout your work session to maintain ergonomic comfort, which enhances both your sawing technique and overall efficiency.
Master the Vertical Cutting Motion
The vertical cutting motion serves as the cornerstone of precision sawing, requiring you to focus exclusively on controlled up-and-down strokes rather than pushing the blade forward through the metal. This technique transforms your cutting efficiency and accuracy when properly executed.
Master precision sawing through disciplined vertical strokes—controlled up-and-down motion eliminates forward pushing for dramatically improved cutting efficiency and accuracy.
Key principles for mastering vertical motion include:
- Rotate the workpiece, not the saw – Navigate tight corners by turning the metal while keeping your saw blade stationary.
- Maintain frame stability – Use only vertical blade movement to guide cuts, preventing unwanted deviations.
- Keep a relaxed grip – Lighter pressure enables smoother movements and reduces hand fatigue during extended sessions.
- Practice consistently – Regular repetition develops muscle memory for improved accuracy and cutting speed.
This disciplined approach guarantees cleaner cuts and extends blade life considerably.
Frequently Asked Questions
Which Way Does a Jewelers Saw Blade Go?
You’ll install the jeweler’s saw blade with teeth facing outwards and downwards. This orientation guarantees you’re cutting effectively on the downward stroke. Make sure it’s tight enough to produce a high-pitched ping when plucked.
What Makes Blades Cut Easier in Jewelry?
You’ll find proper blade tension and lubrication make cutting considerably easier. Choose thinner blades for intricate work, higher TPI for smooth cuts, and quality materials like high-speed steel for better sharpness retention.
How Do I Know if My Saw Blade Is Tight Enough for Jewelry?
Strike your saw blade with a fingernail or small tool. You’ll hear a high-pitched ping sound when it’s properly tightened. A loose blade produces a dull thud instead of that crisp, clear ping.
How Do You Install a Jewelers Saw Blade?
Loosen your saw frame’s thumb screws and insert the blade with teeth facing outward and downward. Tighten the screws securely until you hear a high-pitched ping, indicating proper tension.
In Summary
You’ll master jeweler’s saw techniques by following these seven essential tips. Remember, proper blade installation and tension are your foundation. Keep your bench pin at the right height, maintain a relaxed grip, and let the metal do the moving instead of forcing the saw. Don’t forget lubrication for smoother cuts. Focus on your posture and perfect that vertical cutting motion. With consistent practice, you’ll achieve precise, professional results every time.


Leave a Reply