You can fix most jewelry clasp problems at home using needle-nose pliers to repair bent lobster clasps, clean spring ring mechanisms with a soft cloth, and carefully open damaged jump rings with a twisting motion. Replace broken components by sourcing parts from jewelry stores, strengthen weakened springs through gentle reshaping, and adjust misaligned clasps with minimal force. Always test repairs by pulling clasps in opposite directions and check for gaps. Master these techniques and you’ll discover advanced methods for maintaining your jewelry’s security.
Repairing Lobster Clasps With Basic Tools
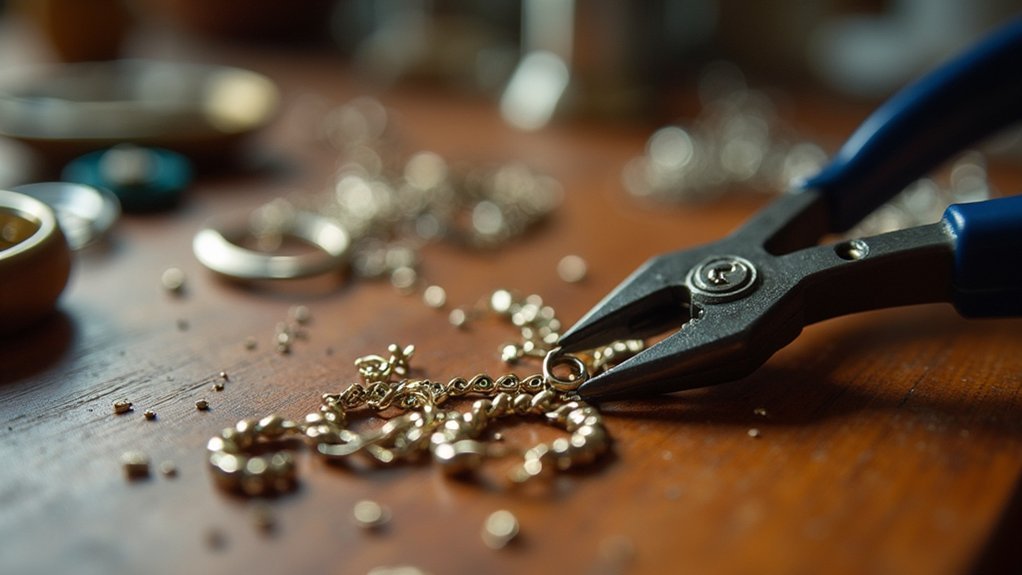
When your favorite necklace or bracelet won’t stay closed, the lobster clasp is likely the culprit. First, examine the clasp for visible damage like bent metal or broken springs. If it’s beyond repair, you’ll need a complete replacement.
To fix a functioning but problematic lobster clasp, use needle-nose pliers to carefully open the jump ring connecting it to your chain. Don’t overbend the metal during this process.
Check if the spring mechanism feels weak or stuck—cleaning with a soft cloth often helps remove debris that blocks proper function.
When you attach a new clasp, slide it onto the open jump ring and twist it closed securely, ensuring no gaps remain.
Test your repair by gently pulling the clasp in opposite directions before wearing.
Fixing Spring Ring Mechanisms at Home
Spring ring clasps present different challenges than lobster clasps but follow similar repair principles. When fixing spring ring mechanisms, you’ll first need to inspect the spring for wear and tear that weakens its tension. A broken necklace clasp often stems from debris blocking the spring’s movement or complete spring failure.
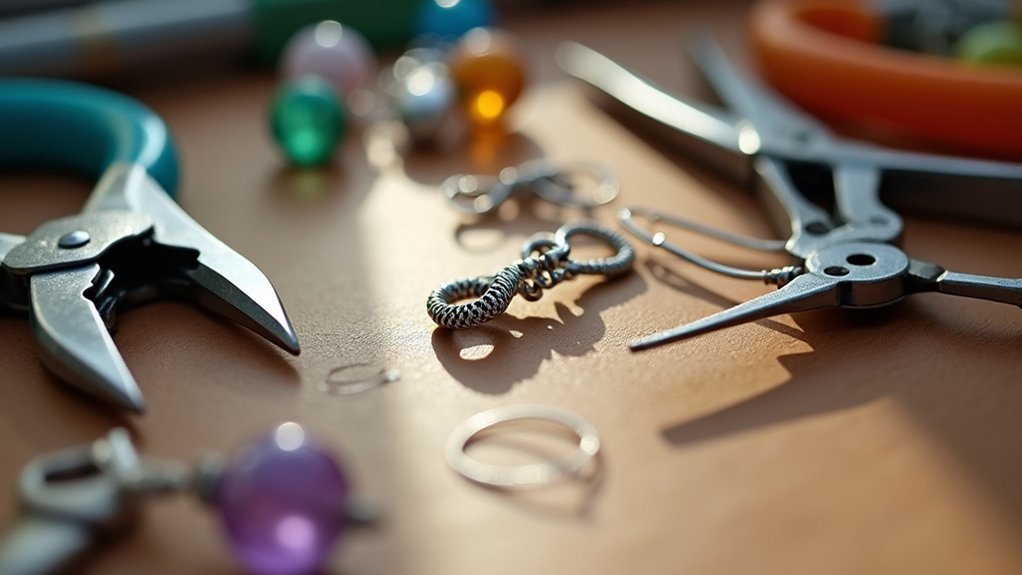
The tools you need include needle-nose pliers for gentle manipulation and tweezers for spring removal. Clean any obstructions first, then test the mechanism’s function. If the spring is damaged beyond cleaning, carefully extract it using a small flathead screwdriver and replace it with an identical size spring.
These jewelry repair techniques require patience and precision. After reassembly, test the clasp multiple times to guarantee smooth operation. If repair attempts fail, replace it entirely to prevent losing valuable pieces.
Restoring Jump Ring Connections
You’ll often find that jump rings become loose, twisted, or completely separated from your necklace clasp over time.
When you spot damage, don’t panic—you can safely open these small metal rings using flat-nose pliers with a gentle twisting motion.
The key is ensuring you close them properly afterward to create a secure, gap-free connection that won’t fail during wear.
Identifying Jump Ring Damage
Jump rings serve as the critical connection points in most jewelry pieces, yet they’re often the first components to fail under regular wear. You’ll need to examine these small metal loops carefully to spot potential problems before they cause your clasp to detach completely.
Look for visible signs of deformation, particularly when the jump ring appears oval-shaped instead of perfectly circular. This bending indicates metal fatigue that compromises the secure connection between your chain and clasp.
Check for gaps where the ring’s ends no longer meet properly. Regular inspection prevents costly jewelry loss. When you notice wear and tear, use needle-nose pliers for gentle manipulation.
Remember these repair tips: avoid overbending during adjustment, and always crimp the ring tightly after repositioning to eliminate dangerous gaps.
Opening Rings Safely
Once you’ve identified a damaged jump ring, the restoration process begins with proper opening technique that preserves the metal’s integrity.
Grab flat-nose pliers and position them at the jump ring’s slit. Instead of pulling the ends apart, twist the ends apart gently to avoid deforming the metal. Hold the ring securely while twisting to maintain its original shape, as overbending weakens the metal structure.
When repairing jewelry, slide your clasp or chain onto the opened jump ring before closing.
Twist the ring back to its original position, ensuring no gaps remain. Use your pliers to squeeze the edges together for a secure connection. This opening and closing technique prevents wear or bending while maintaining ideal clasp security for long-lasting repairs.
Securing Proper Closure
After attaching your clasp to the open jump ring, achieving a secure closure requires precise alignment and complete elimination of gaps.
Using flat-nose pliers, twist the jump ring back into position until it clicks shut, confirming the attachment is properly aligned without any openings that could compromise your clasp repair.
Follow these essential steps for secure closure:
- Close completely – Twist the jump ring until edges meet perfectly with no visible gaps
- Test the connection – Gently tug the clasp and chain in opposite directions to verify strength
- Inspect regularly – Check for wear signs or deformation that could weaken the connection
This testing connection method confirms your jewelry remains secure.
Regular inspection prevents potential loss by identifying compromised jump rings before they fail during wear.
Replacing Broken Clasp Components
When your clasp is beyond repair, you’ll need to replace the entire component with new hardware.
Start by identifying what type of clasp you’re working with—whether it’s a lobster claw, spring ring, or toggle—so you can source an appropriate replacement that matches your jewelry’s style and weight.
Once you’ve obtained the new clasp, you’ll install it by carefully removing the old hardware and securing the replacement using proper techniques to guarantee a lasting repair.
Identifying Damaged Clasp Parts
A damaged clasp reveals itself through several telltale signs that you’ll need to recognize before attempting any repairs.
When you inspect the clasp, look for obvious damage indicators that signal replacement needs.
Key signs of clasp damage include:
- Visual deterioration – Bending, cracking, or deformation in the metal structure
- Functional problems – Closing arms that don’t secure properly or stick during operation
- Structural weakness – Components that feel loose or unstable when manipulated
Once you’ve identified broken components, use pliers gently to remove damaged parts without overbending surrounding metal.
When you replace clasp elements, verify they’re matching size and material specifications.
After installation, securely crimp all connection points and focus on testing durability through gentle tugging before wearing the jewelry again.
Sourcing Replacement Components
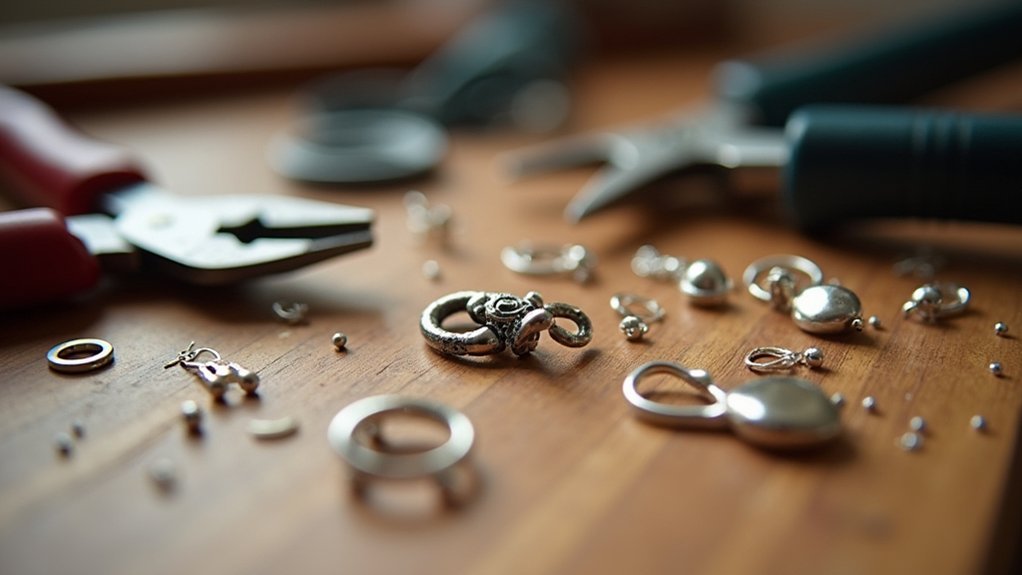
Several reliable sources exist for finding the exact clasp components you’ll need to complete your jewelry repair. Accessory and jewelry stores carry various styles including lobster clasps, spring ring clasps, and toggle clasps that match your original design.
Online marketplaces like Etsy and Amazon offer extensive jewelry supplies with helpful customer reviews. When selecting replacement clasps, consider your necklace’s weight and style to guarantee compatibility—lightweight chains need lighter clasps while heavier pieces require sturdier options.
Always match the material (sterling silver, gold, or stainless steel) for a cohesive appearance. Many craft stores feature jewelry repair sections with individual components and specialized kits for DIY jewelry repairs.
Installing New Clasp Hardware
Replace broken clasp components by first examining your jewelry to identify the exact type of hardware needed—whether it’s a lobster clasp, spring ring, or toggle mechanism.
Make certain your new clasp matches the original’s size and style for a secure fit.
Follow these installation steps:
- Open the connection – Use needle-nose pliers to carefully twist the jump ring sideways, avoiding pulling apart to prevent damage.
- Install the replacement – Slide your new clasp onto the open jump ring, then twist it closed making sure no gaps remain.
- Test the repair – Verify attachment by gently tugging on both the clasp and chain to confirm proper function.
Finish by buffing the area with a microfiber cloth to remove fingerprints and restore shine.
Your jewelry fixed properly will provide reliable wear for years.
Adjusting Bent or Misaligned Clasps
When your jewelry clasp becomes bent or misaligned, you can often restore its functionality with careful manipulation and the right tools.
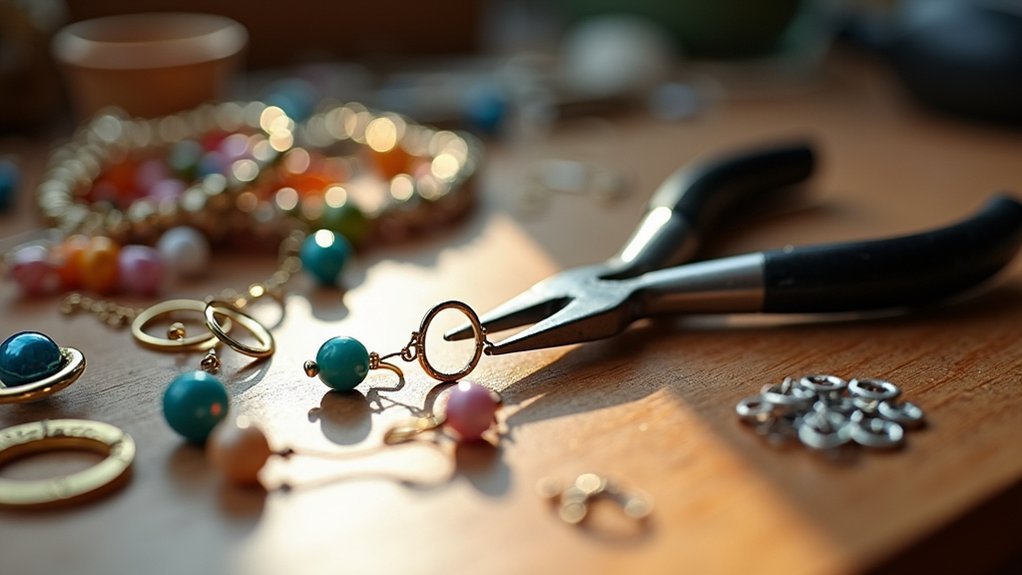
Start by examining the clasp closely to identify the specific area needing adjustment. Use needle-nose pliers to grip the bent section, applying gentle pressure to reshape it back into its original form without overbending.
For misaligned clasps, hold firmly with one hand while manipulating the connection points with the other, making sure the clasp opens and closes smoothly.
If you’re working with softer metals, exercise extra caution since they deform easily. Consider using cloth to cushion the pliers for protection.
After adjusting, test the clasp multiple times to confirm proper functionality and security.
Strengthening Weakened Clasp Springs
Although clasp springs may lose their tension over time through regular wear, you can often restore their strength with careful adjustments and proper maintenance.
First, inspect the spring mechanism for signs of wear to determine if it’s providing adequate tension for secure closure. Cleaning the spring with a soft cloth removes debris that may impede smooth operation and strength.
For repair work, follow these essential steps:
- Reshape carefully – Use needle-nose pliers as your primary tools, applying minimal force to avoid breaking the spring while enhancing tension.
- Test functionality – Open and close the clasp several times to verify it holds securely without slipping.
- Consider replacement – If the spring remains weak despite adjustments, replace it with a new one of identical size and material.
Regular maintenance prevents future clasp failures.
Testing and Securing Your Repaired Clasps
After completing your clasp repairs, thorough testing guarantees the mechanism functions reliably under normal conditions.
Begin by gently pulling the clasp in opposite directions to verify it holds secure under tension. Attach it to your jewelry piece and perform gentle tugs that simulate regular wear patterns.
Test clasp security by gently pulling in opposite directions and performing tugs that mimic everyday jewelry wear patterns.
Inspect the repaired clasp visually for gaps or misalignments that could compromise functionality. Look for any areas where the mechanism doesn’t align properly or appears unstable.
Conduct a practical wear test by putting on the jewelry for a short period. This reveals potential issues during actual use and helps assess comfort levels. Pay attention to how the clasp feels and operates.
Remember to recheck your repairs regularly, especially with frequently worn pieces, ensuring long-term security and ideal performance.
Frequently Asked Questions
How to Fix a Broken Clasp on a Necklace?
You’ll need to examine the clasp for damage, use needle-nose pliers to open the jump ring, replace the broken clasp with a new one, close the ring securely, and test it.
Can Jewelers Fix a Broken Clasp?
Yes, jewelers can expertly fix broken clasps using specialized tools and techniques. They’ll often provide warranties on repairs and can replace severely damaged clasps entirely, ensuring your jewelry remains secure and functional.
What Is the Most Secure Type of Clasp?
You’ll find lobster clasps are the most secure option due to their spring-loaded mechanism that firmly locks when closed. They’re less likely to open accidentally compared to magnetic or other clasp types.
How to Fix Spring Ring Clasp?
You’ll need to inspect your spring ring clasp for damage, then use needle-nose pliers to carefully adjust the mechanism. Clean away debris, replace the spring if necessary, and test thoroughly.
In Summary
You’ve now mastered seven essential techniques for fixing jewelry clasps at home. Don’t let broken clasps force you to retire your favorite pieces or spend money on professional repairs. With these DIY methods, you’ll save time and money while extending your jewelry’s lifespan. Remember to work slowly, use proper tools, and test each repair thoroughly. Your restored clasps will function like new, keeping your treasured accessories secure and wearable for years to come.


Leave a Reply