
Start with small hemispheres under 3/8 inch and choose the right indentation size for your project depth needs. Always anneal your metal until it glows dull red, then cool slowly for maximum malleability. Use a rawhide mallet with light, circular motions, working from edges inward to prevent wrinkling. Store your tools in airtight containers with desiccants to prevent rust. If you’re experiencing buckling issues, you’ll discover specific troubleshooting techniques that transform your metalworking results.
Start Small and Work Your Way Up to Larger Shapes
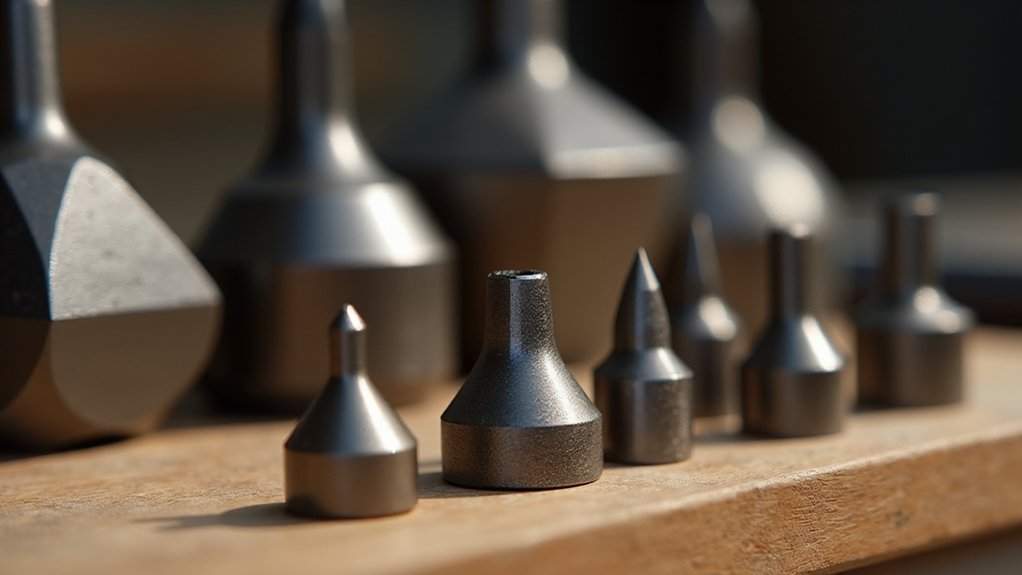
When you’re starting with dapping blocks and punches, begin with smaller hemispheres that don’t exceed 3/8 inch in diameter to build your foundational skills.
These small diameters let you create neat, smooth dome formations with minimal effort, establishing a strong foundation for more complex jewelry making projects.
Use light taps with your dapping tool to achieve desired shapes without damaging the material, especially when working with thinner metals.
As you gradually increase size, you’ll develop better control and technique since larger diameters introduce challenges like wrinkling and buckling.
Don’t forget to anneal your metal before and during the dapping process.
This guarantees flexibility and ease of shaping, particularly essential as you attempt larger forms in your jewelry making endeavors.
Select the Right Dapping Block Indentation for Your Project
How do you determine which dapping block indentation will produce the perfect dome for your jewelry piece? Choose a dapping block with indentation sizes ranging from 1/8 inch to 1 inch diameter to accommodate various project needs. Start with the smallest indentation that suits your design to create controlled, neat domes, then progress to larger sizes as needed.
| Indentation Size | Best For | Dome Depth |
|---|---|---|
| 1/8″ – 1/4″ | Small earrings, delicate details | Shallow |
| 3/8″ – 5/8″ | Medium pendants, bracelets | Moderate |
| 3/4″ – 1″ | Large statement pieces | Deep |
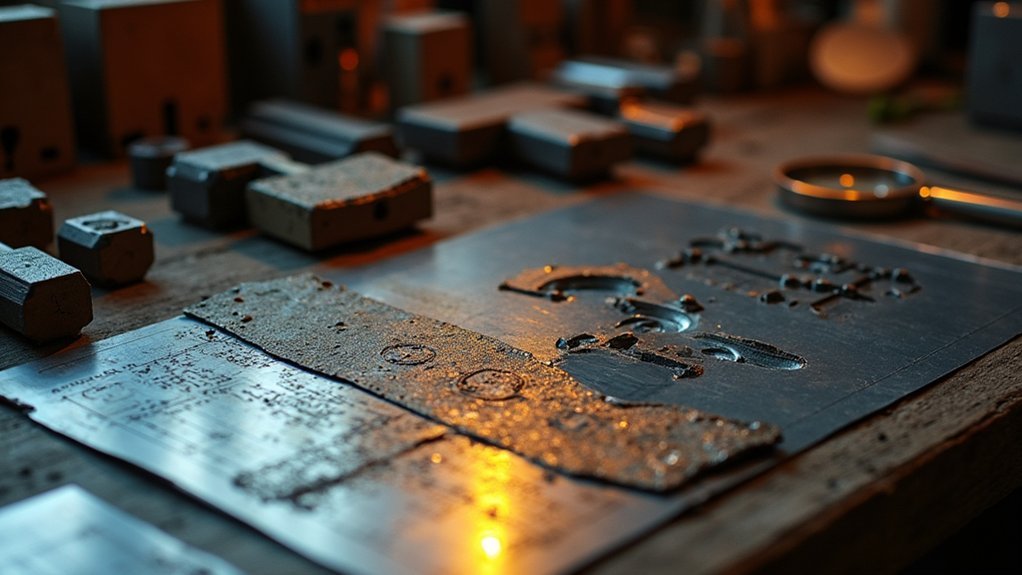
Before using your dapping block, verify the metal sheet is adequately annealed to improve malleability and reduce wrinkling. Use a clamping ring around the recess to secure metal in place, preventing movement and verifying consistent results while shaping your piece.
Anneal Your Metal Before and During the Dapping Process
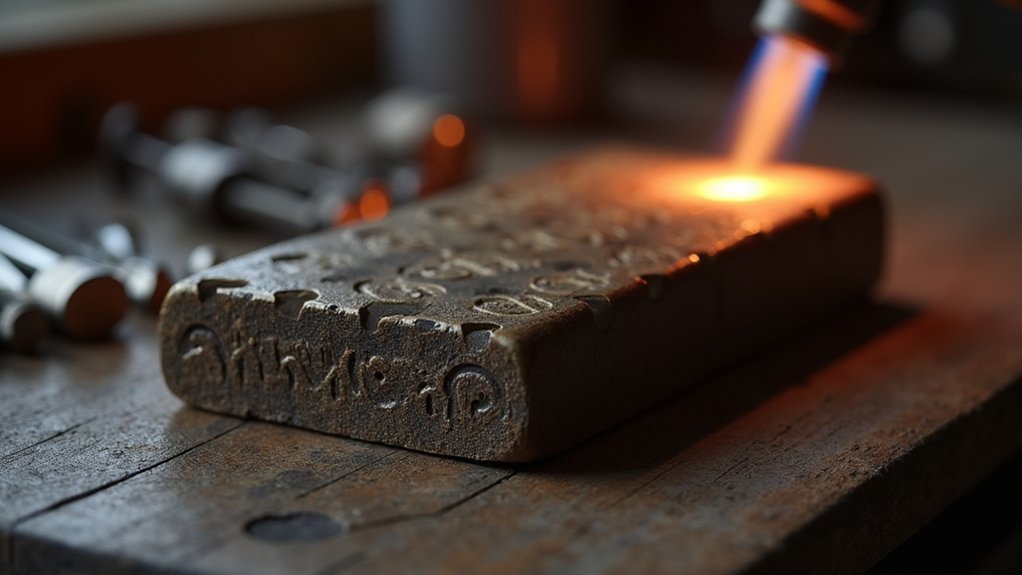
You’ll need to anneal your metal before dapping to soften it and make shaping much easier without cracking or buckling.
Heat the metal with a torch until it glows dull red, then let it cool slowly to achieve maximum malleability.
Don’t expect one heating cycle to be enough—you’ll likely need to re-anneal multiple times during the dapping process, especially when creating larger or deeper forms.
Why Annealing Matters
Although many metalworkers rush straight into dapping, annealing your metal beforehand makes the difference between smooth, professional domes and frustrating failures.
Understanding why annealing matters transforms your dapping results dramatically.
Annealing delivers four critical benefits:
- Prevents structural damage – Softened metal resists wrinkling and buckling, especially in larger pieces.
- Reduces work hardening – Metal hardens with each hammer strike, requiring multiple annealing sessions during complex projects.
- Relieves internal stress – Eliminates tensions that cause irregular dome shapes and unpredictable metal behavior.
- Improves malleability – Heated metal flows smoothly into dome shapes without fighting back.
Always pickle your annealed metal thoroughly before dapping.
Oxidation residue interferes with clean forming and can create surface imperfections in your finished domes.
Multiple Heating Cycles
While single annealing sessions work for simple projects, complex dapping requires multiple heating cycles to maintain workability throughout the forming process.
You’ll need to reheat your metal several times, especially when creating larger diameters that resist shaping and tend to wrinkle or buckle under pressure.
Plan your heating schedule strategically. After every few hammer strikes, assess your metal’s stiffness. When it becomes resistant to further shaping, heat it again until it glows red, then let it cool slowly.
This whole thing becomes even more critical with thicker materials that naturally resist deformation.
Monitor temperatures carefully during each cycle. Overheating causes oxidation, which affects both appearance and workability.
Frequent annealing sessions guarantee consistent malleability, preventing cracks and achieving smoother, more professional results throughout your entire dapping project.
Use Proper Striking Techniques With Your Dapping Punch
Since the quality of your domed metal depends heavily on your striking technique, you’ll need to master the proper approach with your dapping punch.
The tools you need include a rawhide mallet or hammer, which minimizes damage to both your punch and the metal you’re shaping. Hold your punch at an angle and use circular motions while striking for controlled, even dome formation.
Follow these essential striking techniques:
- Start with light taps to create the initial form, then gradually increase force to deepen the dome without buckling.
- Alternate between soft and hard blows during shaping to maintain control and reduce wrinkling risk.
- Focus on smaller sections for larger diameters rather than attempting to form the entire piece at once.
- Maintain consistent circular motions throughout the process for smooth, professional results.
Work From the Edges Inward for Smooth Results
When you’re ready to shape your metal, position it securely in the dapping block with the edges firmly held to prevent shifting during the forming process.
Start with gentle taps at the metal’s perimeter using your dapping punch to create initial indentations. This edge-first approach establishes the dome’s foundation before you progress inward.
Gradually increase your striking intensity as you work toward the center, alternating between soft and hard blows for ideal control. This technique guarantees even pressure distribution, preventing wrinkles and buckles that commonly occur with improper forming methods.
Check your progress frequently and use different sized punches as needed for various curvatures.
Remember that patience and multiple passes create smoother, more professional results than rushing through the shaping process.
Store Your Dapping Tools to Prevent Rust and Damage
You’ll need to protect your dapping tools from rust and damage by implementing proper storage methods.
Start with sealed storage solutions like airtight containers or tightly sealed clear shoeboxes that keep moisture and dirt away from your metal punches.
Control humidity levels in your storage area to create an environment that prevents corrosion and extends your tools’ lifespan.
Sealed Storage Solutions
Although dapping tools are built to withstand heavy use, they’re vulnerable to rust and damage when improperly stored. Sealed storage solutions protect your investment and maintain tool performance for years to come.
A tightly sealed clear shoebox provides excellent protection while allowing you to see your tools at a glance.
Here’s how to create effective sealed storage solutions:
- Line with protective materials – Add felt and leather pieces inside the shoebox to prevent scratching and provide cushioning during handling.
- Control humidity levels – Store your sealed container in a humidity-controlled environment like a laundry room to minimize moisture exposure.
- Organize systematically – Arrange punches by size to eliminate searching and enhance project efficiency.
- Schedule regular inspections – Check tools periodically for early rust detection and damage prevention.
Humidity Control Methods
Beyond creating a sealed environment, controlling humidity becomes your primary defense against rust formation on dapping tools. Several effective humidity control methods can protect your investment.
Include felt and leather pieces inside your storage container—these materials naturally absorb excess moisture while cushioning your tools. Silica gel packets provide additional humidity absorption, creating an extra layer of protection against rust and corrosion.
Position your storage container in a controlled environment like a laundry room where you can manage humidity levels effectively. Regularly monitor the storage area for moisture signs and adjust conditions accordingly.
These humidity control methods work together to maintain ideal storage conditions. By combining moisture-absorbing materials with environmental monitoring, you’ll guarantee your dapping tools remain rust-free and ready for precise metalworking projects.
Troubleshoot Common Wrinkling and Buckling Issues
When metal wrinkles or buckles during dapping, the underlying cause often stems from inadequate preparation or poor technique control.
You’ll need to address these issues systematically to achieve smooth, professional results.
Here’s how to troubleshoot these common problems:
- Anneal your metal thoroughly before starting and repeat the process multiple times during forming to maintain workability.
- Use light, alternating taps between soft and hard blows when creating larger diameters to maintain precise control.
- Install a clamping ring around the dapping block’s recess to stabilize the metal and prevent unwanted movement.
- Start small and progress gradually to larger hemisphere sizes for better material control.
I can’t recommend skipping proper preparation—it’s essential for preventing distortion and achieving quality results in your metalworking projects.
Frequently Asked Questions
How to Use a Dapping Punch?
You’ll select an appropriate punch size, position your metal disc in the dapping block, then gently strike the punch with a mallet while moving circularly to create a smooth dome shape.
What Is a Dapping Block Used For?
You’ll use a dapping block to shape metal into concave, dome-like forms in jewelry making. It’s essential for creating curved designs, small brass hemispheres, and various three-dimensional shapes from flat metal pieces.
What Do You Use a Doming Block For?
You’ll use a doming block to shape flat metal sheets into curved, three-dimensional forms like jewelry discs and hollow beads. You’ll create professional-looking domes by striking punches placed in the block’s various-sized indentations.
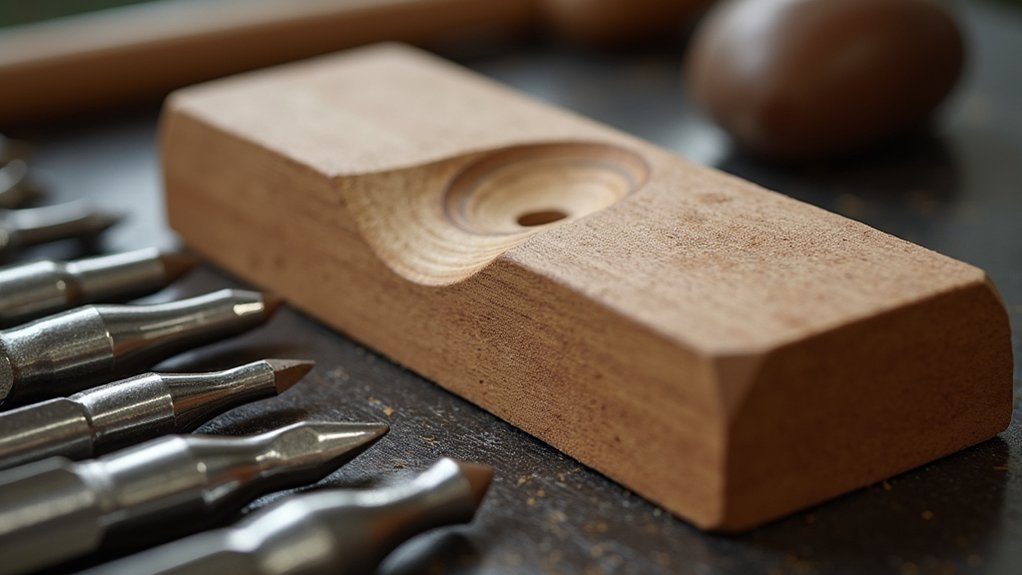
How to Use a Wood Dapping Block?
You’ll select the right-sized well, place your metal textured-side down, then gently tap with a soft mallet using consistent pressure. Start small and work up to larger diameters for better control.
In Summary
You’ll master dapping techniques by following these seven essential tips. Start with smaller projects and gradually build your skills with larger, more complex shapes. Remember to anneal your metal regularly and use proper striking techniques to avoid damage. Store your tools properly to maintain their condition, and don’t get discouraged by initial wrinkling issues – they’re part of the learning process. Practice consistently, and you’ll create beautiful domed metalwork pieces.
Leave a Reply