
You can restore engraved pieces using seven superior techniques: chemical etching with specialized reagents like Fry’s solution for metal surfaces, professional polishing to remove surface damage, precision re-engraving with laser or computerized tools, thorough surface cleaning protocols, metallographic reagent applications for deep restoration work, cutting-edge laser technology for contemporary revival, and protective finishing methods for long-term preservation. These methods work on various materials and can recover marks erased to depths of 0.04mm, ensuring your pieces regain their original beauty and clarity through proper restoration techniques.
Chemical Etching Methods for Metal Surface Recovery
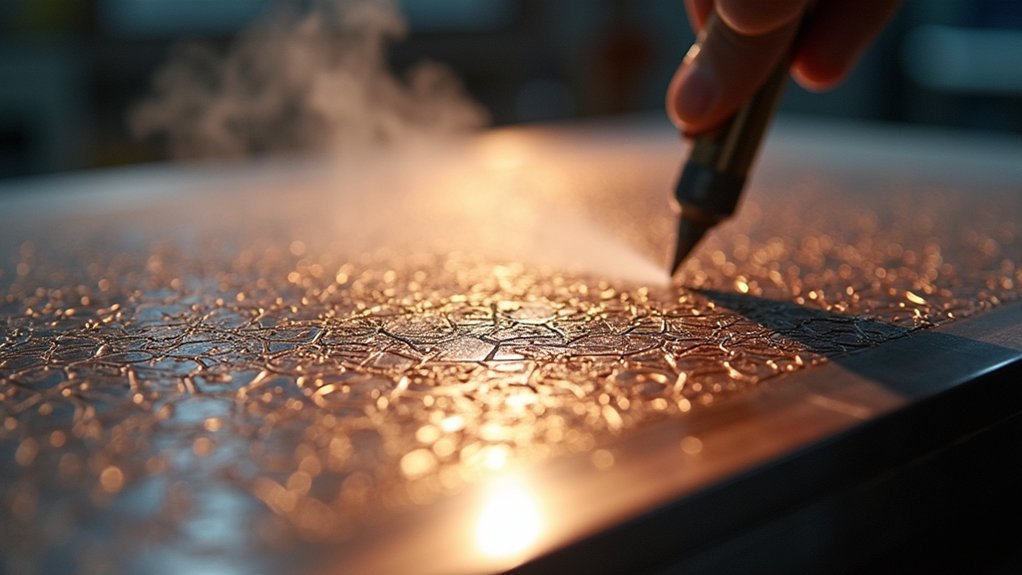
Chemical etching emerges as one of the most powerful techniques in forensic science for recovering obliterated engraved marks on metal surfaces.
You’ll find this restoration method particularly effective when dealing with altered serial numbers on firearms and vehicles. The process involves applying specific etching reagents tailored to different metal types – for instance, you’d use Fry’s reagent when working with medium carbon steel to reveal strain lines beneath damaged surfaces.
You can achieve remarkable results with a proven mixture containing copper sulfate, water, ammonium hydroxide, and hydrochloric acid, which successfully restores marks erased to depths of 0.04 mm.
These non-destructive techniques enable serial number recovery while preserving evidence integrity. Chemical etching’s effectiveness varies based on the metal’s carbon content, making reagent selection essential for ideal restoration outcomes.
Professional Polishing and Buffing Techniques
While chemical etching focuses on recovering obliterated marks, professional polishing and buffing techniques concentrate on enhancing and preserving existing engravings through careful surface refinement.
You’ll need specialized compounds and pads tailored to your engraved piece’s material. Use a variable-speed buffer to control intensity and prevent overheating damage.
For metal engravings, apply fine grit polishing compound like jeweler’s rouge to enhance shine while preserving integrity.
Wood pieces require non-abrasive cloths and natural waxes to maintain luster without scratching.
Professional techniques demand precision—you can’t rush the process. Regular maintenance through proper polishing prevents corrosion and wear, keeping engraved details clearly visible.
Master these buffing methods, and you’ll extend your pieces’ lifespan considerably while maintaining their original beauty and craftsmanship.
Re-Engraving Faded Areas With Precision Tools

When polishing techniques can’t restore severely faded engravings, you’ll need to re-engrave those areas using precision tools. A computerized engraving machine or laser engraving machine allows you to replicate alphanumeric characters with exceptional accuracy throughout the restoration process.
You’ll want to control engraving depth between 0.03-0.04 mm to match original specifications and maintain material integrity. These precision tools enable you to re-engrave faded areas while preserving surrounding details.
After completing the work, apply metallographic reagents to enhance visibility and contrast of newly engraved marks. Don’t forget that regular calibration and maintenance of your equipment are essential for achieving precise results, especially when working with intricate designs that demand absolute accuracy.
Surface Cleaning and Preparation Protocols
Before you begin any restoration work, you’ll need to conduct a thorough pre-treatment surface assessment to identify the type and extent of contamination affecting your engraved piece.
This evaluation helps you determine which contaminant removal methods will be most effective without damaging the underlying material.
You’ll want to test any cleaning solutions on a hidden area first, then proceed with gentle techniques using soft-bristled brushes and appropriate chemical solutions based on your surface material.
Pre-Treatment Surface Assessment
Success in restoring engraved pieces hinges on a thorough pre-treatment surface assessment that reveals the true condition of your artifact. This critical evaluation determines your restoration efforts’ direction and helps you select appropriate cleaning solutions while identifying potential challenges.
During assessment, examine these key factors:
- Surface condition – Document debris accumulation, oxidation patterns, and structural damage
- Material compatibility – Verify metal surfaces can withstand planned treatments without corrosion
- Testing requirements – Plan spot test locations on hidden areas before full application
- Moisture concerns – Identify areas prone to moisture retention that could compromise the engraved surface
Use soft-bristled brushes and microfiber cloths for initial debris removal during inspection. This methodical approach prevents damage while establishing baseline conditions for your restoration strategy.
Contaminant Removal Methods
Effective contaminant removal forms the foundation of any successful engraved piece restoration, requiring you to match specific cleaning methods to both the contamination type and base material. Start with surface cleaning using a soft-bristled brush to remove debris without scratching the engraved area. Follow with a microfiber cloth for drying and polishing.
| Material | Contaminants | Cleaning Techniques |
|---|---|---|
| Wood | Dust, soot | White vinegar solution |
| Synthetic | Tough stains | Diluted rubbing alcohol |
| Wood | Deep residues | Light sanding |
Always test solutions on hidden areas first. For wood surfaces, white vinegar effectively dissolves minor soot, while light sanding eliminates deeper burn marks. These proper cleaning techniques guarantee preserving integrity throughout your restoration process.
Metallographic Reagent Applications for Deep Restoration
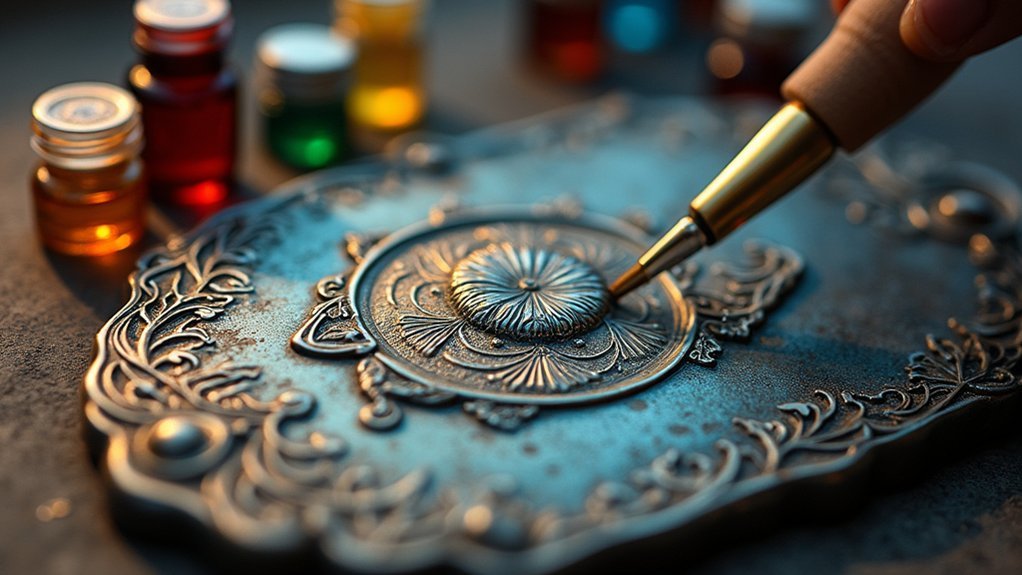
You’ll find copper sulfate-based reagents particularly effective for deep restoration work, especially when you’re dealing with erasures up to 0.04 mm in depth.
Your reagent selection should consider both the metal type and erasure depth, as different formulations yield varying restoration success rates.
You must understand that depth restoration limits exist for each reagent, requiring systematic testing to determine which agent works best for your specific piece.
Copper Sulfate Effectiveness
When dealing with deeply erased engravings on steel surfaces, copper sulfate emerges as the most reliable metallographic reagent for restoration work.
You’ll find its effectiveness surpasses other metallographic reagents, successfully revealing engraved marks erased to depths of 0.04 mm. This superior performance makes it invaluable for forensic practitioners conducting serial number recovery operations.
The ideal chemical solutions require precise formulation:
- 5 g copper sulfate
- 60 ml water
- 30 ml ammonium hydroxide
- 60 ml hydrochloric acid
You’ll achieve remarkable depth of restoration using these etching techniques.
The reagent’s effectiveness depends on tailoring chemical solutions to specific metal types and engraving depths. Ongoing research continues enhancing these forensic methodologies, improving your chances of successful restoration across various applications requiring precise metallographic analysis.
Reagent Selection Criteria
Although copper sulfate demonstrates exceptional effectiveness for steel restoration, selecting the ideal metallographic reagent requires careful consideration of multiple factors beyond initial performance metrics.
Your reagent selection criteria must account for the specific metal composition you’re working with. Fry’s reagent excels with medium carbon steel, while alternative formulations better suit low carbon steel applications.
You’ll need to evaluate sensitivity and effectiveness through empirical evaluation on systematically prepared test plates. The depth of engraving notably impacts restoration success, as shallow engravings present unique challenges due to minimal plastic deformation.
Understanding chemical interactions and etching capabilities helps optimize your metallographic reagents for forensic applications. This thorough approach guarantees you’ll successfully recover original identification marks during restoration of engraved marks investigations.
Depth Restoration Limits
Understanding the physical limits of metallographic restoration becomes critical when working with deeply erased engravings.
You’ll achieve ideal restoration success when engraved marks haven’t been erased beyond 0.04 mm depth. The deeper the erasure, the more you’ll compromise the material’s crystalline structure, making serial number recovery increasingly difficult.
Your restoration effectiveness depends on these key depth factors:
- Shallow depths below 0.01 mm yield the highest success rates
- Maximum reliable restoration occurs at 0.04 mm depth limits
- Deeper erasures cause extensive crystalline structure damage
- Some metallographic reagent formulations can’t restore marks beyond specific thresholds
As forensic practitioners, you must recognize that while certain reagents work on depths exceeding 0.01 mm, pushing beyond 0.04 mm greatly reduces your chances of successful restoration.
Laser Technology for Contemporary Engraving Revival
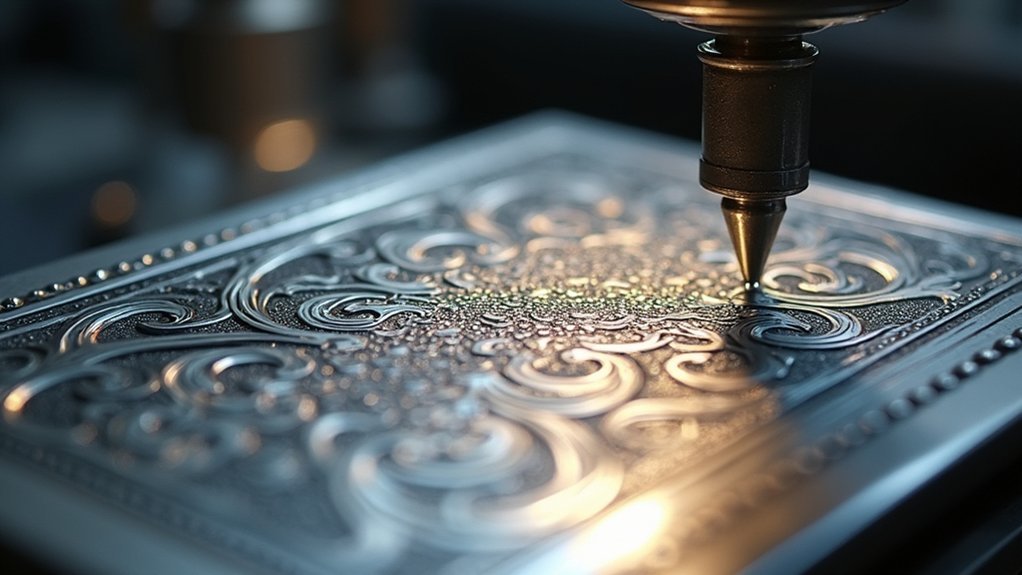
Since traditional engraving methods can’t always match the precision demands of modern restoration projects, laser technology has emerged as a game-changing solution for reviving historical and damaged engraved pieces.
You’ll find that programmable laser engravers deliver unmatched accuracy when restoring complex designs on metal surfaces, maintaining consistent quality across multiple pieces.
Advanced laser systems excel at processing various materials from aluminum to titanium without creating significant heat-affected zones. This preserves your piece’s structural integrity while enabling intricate details restoration.
You can even recover obliterated serial numbers using laser engraving techniques, making this technology invaluable for forensic applications.
The precision achievable with modern laser technology allows you to restore engraved marks that would’ve been impossible to recreate using conventional methods, opening new possibilities for extensive restoration projects.
Protective Finishing and Long-term Preservation Methods
After successfully restoring your engraved pieces with laser technology, you’ll need to implement protective measures that safeguard your investment for years to come.
Proper preservation of engraved surfaces requires strategic application of protective coating systems and environmental controls.
Essential long-term preservation strategies include:
- Surface Protection: Apply polyurethane finish to wood engravings and specialized metal polish to create moisture barriers that prevent environmental damage.
- Regular Maintenance: Use appropriate cleaning solutions like mild soap for wood or leather cleaners to maintain visibility and prevent buildup.
- Environmental Controls: Store pieces in controlled environments away from direct sunlight and humidity to reduce fading risks.
- Display Standards: Utilize archival-quality materials for framing to shield engravings from harmful elements and guarantee ideal preservation conditions.
Frequently Asked Questions
How to Buff Out Engraving?
You’ll start with soft cloth and metal polish, rubbing in circular motions. For deeper engravings, use fine-grit sandpaper, then polish again. Test on small areas first, clean residue, and apply protective coating.
How to Clean Wood After Engraving?
You’ll want to mix white vinegar with water to dissolve dust and soot from engraved wood. Use a soft-bristled brush for debris removal, then apply waterless orange hand cleaner for stubborn grime without damaging the wood’s finish.
How Do You Smooth Metal After Engraving?
You’ll smooth metal after engraving by using fine-grit sandpaper to remove burrs, then applying polishing compound with a soft cloth. Use a rotary tool for larger areas and needle files for intricate details.
How to Fix an Engraving Mistake?
You’ll need to assess the mistake’s depth first. For shallow errors, re-engrave over the original design. For deeper mistakes, use chemical etching with copper sulfate to restore the surface before re-engraving.
In Summary
You’ve now got seven proven methods to breathe new life into your damaged engravings. Whether you’re dealing with light surface wear or deep corrosion, you can select the right technique for your specific piece. Don’t rush the process—proper preparation and patience will determine your success. Start with the gentlest method first, then progress to more aggressive techniques if needed. Your restored engravings will showcase their original beauty for years to come.


Leave a Reply