You’ll need precision measuring tools like digital calipers and micrometers for accurate dimensional work, plus a quality vise with protective jaws as your workholding foundation. Essential clamps, bench dogs, and hold fasts create versatile clamping systems across your workspace. Organize everything with tool trays, pegboards, and labeled storage to maintain efficiency. Don’t forget finishing supplies like ultrasonic cleaners and polishing cloths for professional results. The right combination of these tools transforms your bench into a precision workspace that’ll elevate every project you tackle.
Precision Tools for Detail Work and Measurement
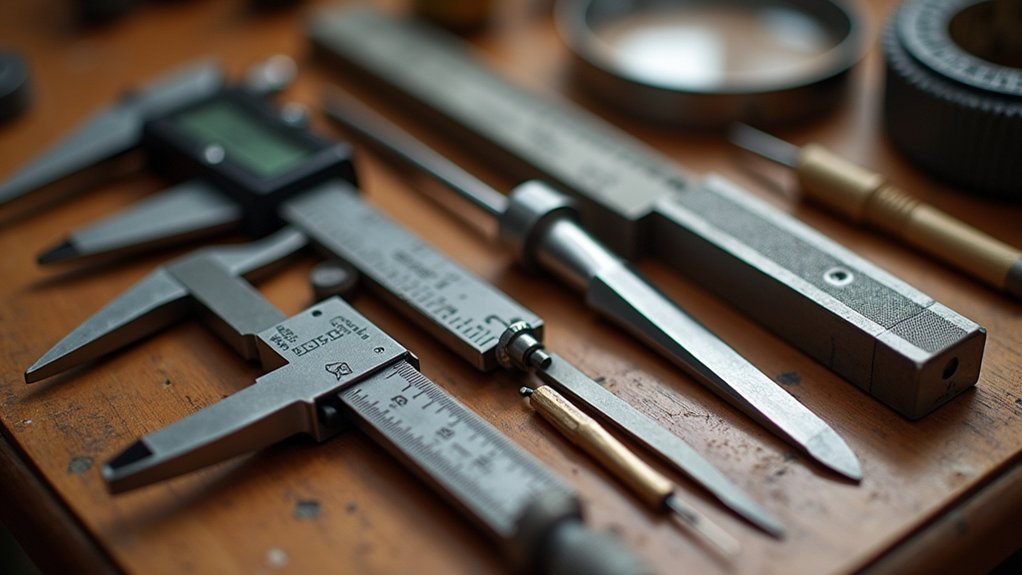
When you’re working on intricate projects that demand exacting standards, precision measuring tools become your most trusted allies. Digital and dial calipers deliver accurate dimensional readings essential for achieving precise fits and tolerances in your detail work.
Micrometers provide even finer measurements when you need absolute precision.
For measurements requiring exceptional accuracy, micrometers deliver the finest precision capabilities that standard measuring tools simply cannot achieve.
A magnifying lamp with 2x to 5x magnification transforms your visibility, letting you inspect intricate designs with clarity that’s impossible with naked eyes. You’ll catch details and imperfections that would otherwise compromise your work quality.
The jeweler’s saw, equipped with ultra-fine blades, cuts through various materials with surgical precision, enabling complex shapes and delicate curves.
I’m going to emphasize that maintaining a spotless workspace is equally critical—debris interferes with measurements and undermines precision work quality.
Workholding Solutions and Vise Systems
You’ll need reliable workholding solutions to secure your projects while you work on them. A quality vise serves as the foundation of your workholding system, but you’ll also want to contemplate supplementary clamps and adjustable dog systems for maximum versatility.
The right combination of these tools transforms your workbench into a secure platform that adapts to projects of varying sizes and shapes.
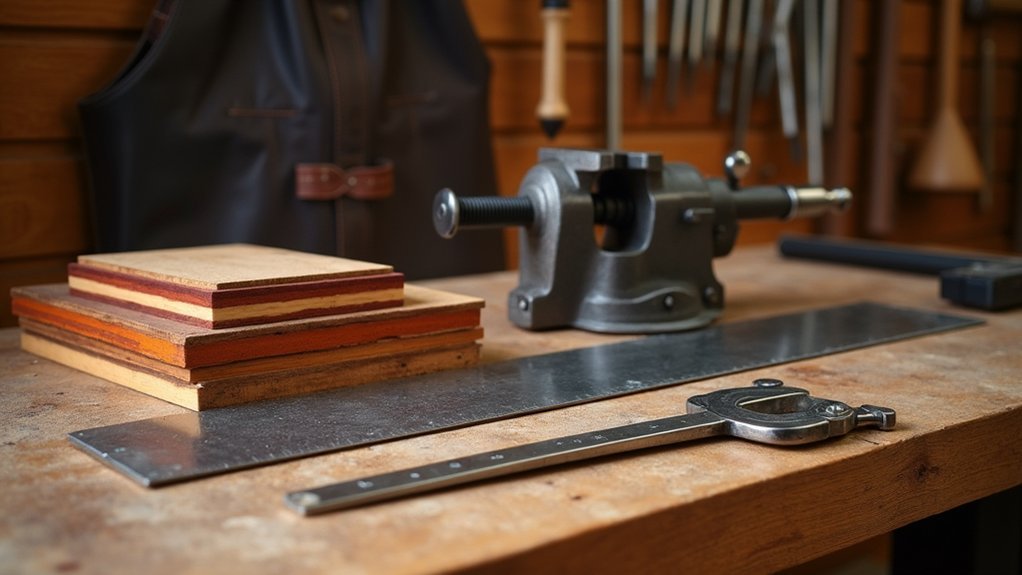
Vise Selection and Installation
Selecting the right vise transforms your workbench from a simple surface into a powerful workholding system.
You’ll want to contemplate the Pony Jorgensen model, which delivers exceptional quality at approximately 12 pounds with a 9-inch opening and protective wood jaws. It’ll attach securely to workbenches up to 2 3/8 inches thick.
Look for vises with guide bars that prevent racking and feature Acme threads for smooth operation. You can mount your vise on either the face or end of your bench, depending on your workflow needs.
Don’t forget to integrate quick-adjust vertical clamps into strategically placed dog holes—position them three inches from the edge and four inches apart. This setup creates two-point contact for securing boards effectively.
Clamps and Dog Systems
While your vise handles the primary workholding duties, a well-designed dog system extends your bench’s clamping capabilities across its entire surface.
Quick adjust vertical workbench clamps fit directly into dog holes, creating effective two-point contact for securing boards during various tasks. Position these holes three inches from your bench edge and space them four inches apart for ideal functionality without overcrowding.
Bench dogs made from brass or aluminum materials provide adjustable, stable workholding when fitted snugly into your strategically placed holes.
For workbenches with tops at least two inches thick, hold fasts offer versatile clamping solutions with quick adjustment capabilities.
This combination of clamps, dogs, and hold fasts transforms your entire bench surface into an extensive workholding system that adapts to different project requirements.
Clamps and Support Accessories
You’ll find that vintage iron clamps deliver unmatched clamping pressure through their Acme-thread screws and movable pads, making them essential for tight glue-ups despite their scarcity.
When installing workbench clamps, you can drill holes to accommodate quick-adjust models that provide two-point contact stability and work with bench tops of any thickness.
Your dog hole placement strategy should consider both serrated-tongue clamps for thin surfaces and adjustable brass or aluminum dogs that maintain a low profile during planing operations.
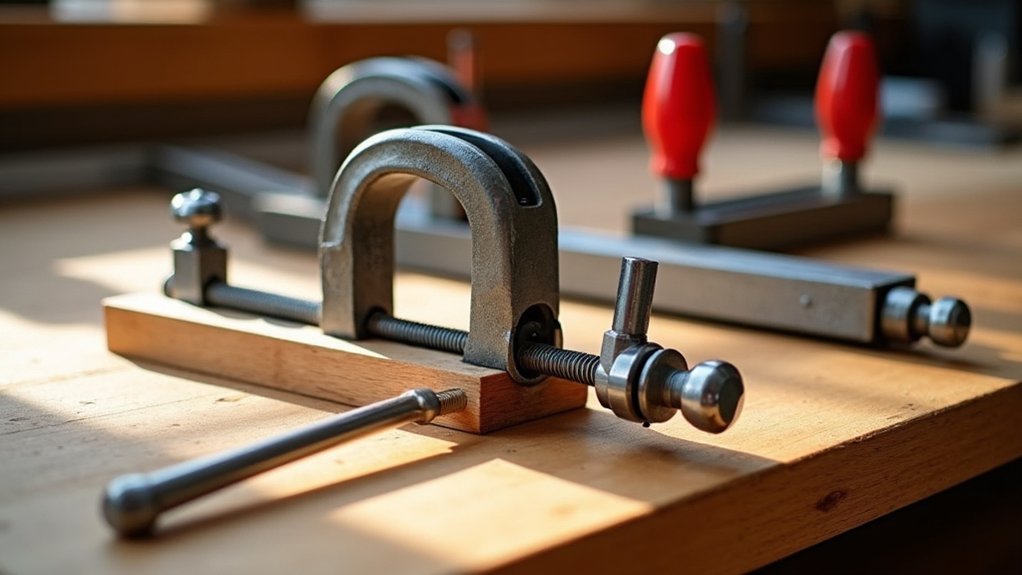
Vintage Iron Clamp Benefits
Vintage iron clamps deliver unmatched clamping power through their heavy Acme-thread screws, which generate tremendous force for creating rock-solid glue joints in your woodworking projects.
You’ll appreciate their movable pads that protect your workpiece surfaces while providing versatile positioning options for different materials and shapes. The offset crank handles give you enhanced leverage, making it easier to apply consistent pressure without straining your hands or wrists.
Investing in around 10 vintage iron clamps will transform your woodworking capabilities, enabling you to tackle complex assemblies with confidence.
While they’re sometimes difficult to locate depending on your region, their exceptional durability and superior performance justify the search effort. These clamps represent a worthwhile investment that’ll serve your workshop for decades.
Workbench Clamp Installation Methods
Once you’ve acquired quality clamps like vintage iron models, you’ll need to install them properly on your workbench to maximize their effectiveness.
Quick adjust vertical workbench clamps require drilling holes into your bench surface, where their serrated tongues fit into dog holes for enhanced stability during tasks.
Consider your bench thickness when selecting clamps. Hold fasts need at least two inches of thickness to function effectively, while quick adjust clamps work on tops as thin as three-quarters of an inch.
Adjustable bench dogs simplify installation through their spring mechanism, maintaining a low profile while securing boards.
For ideal workholding, strategically drill dog holes three inches from edges and four inches apart along the front, back, and sides of your bench.
Dog Hole Placement Strategy
While determining dog hole locations might seem straightforward, strategic placement transforms your workbench from a simple surface into a versatile workholding system. You’ll want to position dog holes three inches from your bench’s edge and space them four inches apart. This creates ideal functionality without overcrowding your workspace.
Focus on drilling essential rows along the front, back, and side edges rather than covering your entire surface. This selective approach maximizes versatility while preserving valuable workspace.
| Location | Distance from Edge | Spacing | Purpose |
|---|---|---|---|
| Front Edge | 3 inches | 4 inches apart | Primary workholding |
| Back Edge | 3 inches | 4 inches apart | Support clamping |
| Side Edge | 3 inches | 4 inches apart | Cross-grain support |
| Center | As needed | 4 inches apart | Specialized tasks |
Adjustable bench dogs provide secure, low-profile holding for four-quarter stock during planing, while quick-adjust vertical clamps create stable two-point contact for demanding tasks.
Organization and Storage Systems
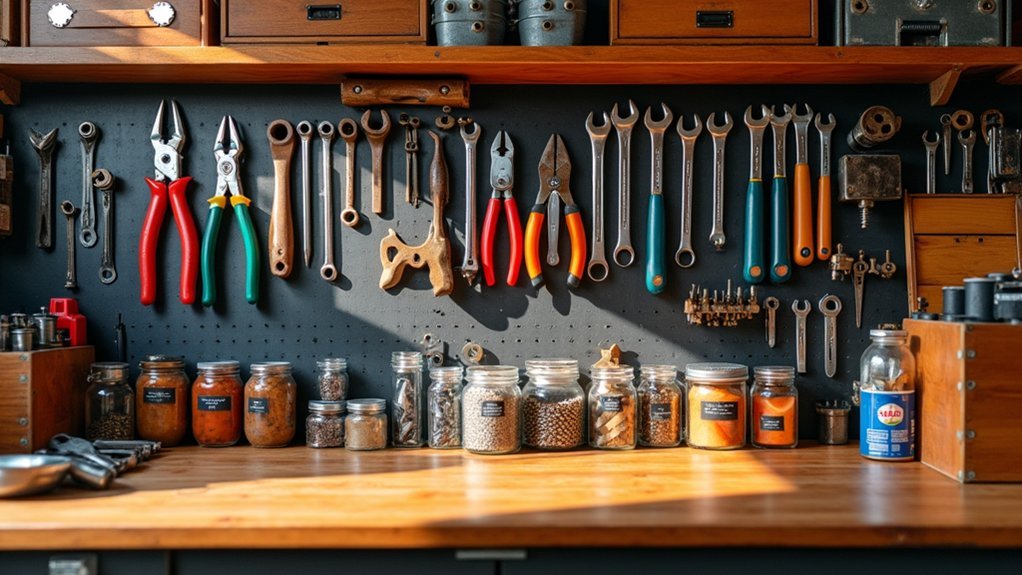
Since an organized workspace directly impacts your productivity and project quality, establishing effective storage systems becomes essential for any serious maker.
Effective storage systems form the backbone of every productive workshop, directly influencing both output quality and efficiency.
You’ll want to implement tool trays and storage bins for organizing small components, preventing workspace clutter while enhancing accessibility to frequently used items.
Maximize your overhead space with vertical storage solutions like pegboards or wall-mounted racks. These keep tools visible and work surfaces clear.
Label all storage containers and drawers clearly—this facilitates quick identification and streamlines your workflow during projects.
Consider investing in mobile storage carts that move around your workshop easily, providing flexible organization while keeping tools within reach.
Designate specific zones for different tool types: cutting, measuring, and assembly. This creates an efficient layout that minimizes time spent searching for needed items.
Finishing and Cleaning Equipment
After completing your project’s construction phase, you’ll need specialized finishing and cleaning equipment to transform raw work into polished, professional results.
An ultrasonic cleaner uses high-frequency sound waves to remove debris and tarnish from intricate pieces, reaching areas that manual cleaning can’t access effectively.
Invest in quality polishing cloths made from microfiber or specialized materials—they’ll give you a brilliant shine without scratching metal surfaces.
For mirror-like finishes, pair buffing wheels with appropriate polishing compounds to enhance your work’s overall aesthetic.
Don’t overlook maintenance of your cleaning supplies and tools. Regular upkeep guarantees longevity and consistently high-quality results.
Establish an organized cleaning routine and maintain proper equipment to improve workspace hygiene, which directly impacts your work’s quality and professionalism.
Ergonomic Setup and Comfort Features
Because long hours at your workbench can take a toll on your body, creating an ergonomic workspace isn’t just a luxury—it’s essential for maintaining productivity and preventing injury.
Start with an anti-fatigue mat to reduce strain on your feet and legs during extended standing periods. Invest in an adjustable chair that provides customizable height and support for proper posture when seated.
Arrange your workspace to keep frequently used tools within easy reach, minimizing unnecessary stretching and strain. Choose tools with ergonomic grips and shapes to prevent repetitive strain injuries during prolonged use.
Don’t overlook proper lighting and organized tool storage—these elements reduce eye fatigue and create an efficient environment that keeps you focused and comfortable throughout your projects.
Frequently Asked Questions
What Are the Essential Tools for Woodworking?
You’ll need a precision bench vise, quality saw frame, digital calipers, combination squares, reliable clamps, tapered reamer, well-equipped workbench with plane stop, adjustable bench dogs, and high-quality drill bits for successful woodworking projects.
What Should I Make My Workbench Top Out Of?
You’ll want laminated hardwood like maple or beech for durability, though plywood’s economical if layered thick. Make it at least 2 inches thick for stability and minimal flexing under heavy loads.
Is 40 Inches Too Tall for a Workbench?
You’ll likely find 40 inches too tall for most woodworking tasks. It’s above the standard 32-36 inch range and can cause shoulder strain. Consider your height and primary work before committing to that dimension.
What Are the Pegs for on a Workbench?
You’ll use workbench pegs, called bench dogs, to secure your workpieces during planing or sanding. They fit into dog holes and prevent material from moving, giving you better stability and precision while you’re working.
In Summary
You’ll transform your workspace into a precision-driven environment with these essential bench tools. Don’t underestimate how proper organization and ergonomic features impact your productivity and comfort during long projects. Start with quality measurement tools and reliable workholding solutions, then build your setup gradually. Remember, you’re investing in tools that’ll serve you for years, so choose wisely and prioritize versatility. Your future self will thank you for creating this well-equipped foundation.


Leave a Reply