You’ll create stunning metal fusion patterns by heating compatible metals like sterling silver and brass to a red-orange glow, then controlling the flame in circular motions to achieve shimmering edges that indicate successful bonding. Use photoetching with photosensitive resist for precise designs, apply generous flux to prevent oxidation, and experiment with rolling mills for wood grain effects or repoussé techniques for textured depth. Master these fundamental techniques to reveal endless creative possibilities in your jewelry-making journey.
Understanding Metal Fusion Fundamentals
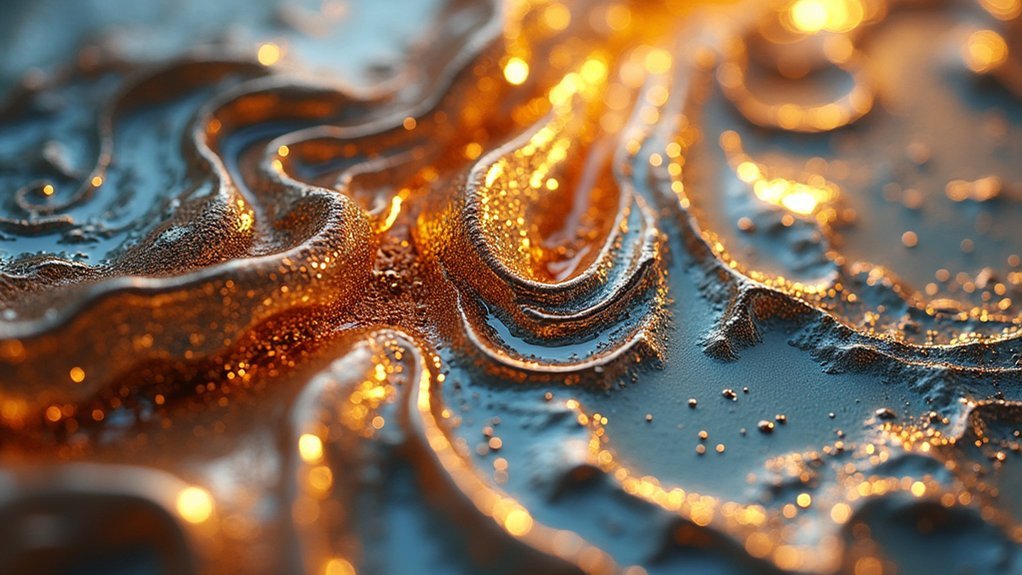
Metal fusion transforms jewelry making by joining metals through controlled melting, creating one-of-a-kind pieces that celebrate the unpredictable nature of working with molten materials.
You’ll need to select compatible metals with similar melting points, like sterling silver and brass, to achieve successful metal fusing without destroying your components.
Proper preparation sets the foundation for exceptional jewelry design. You must guarantee direct contact between metal pieces since alignment simplifies the process and improves final quality.
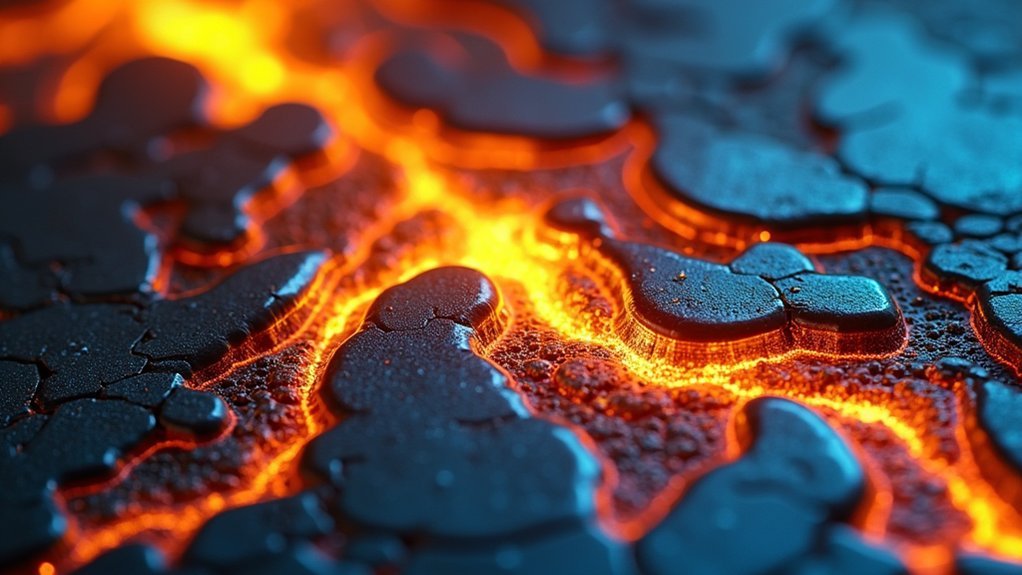
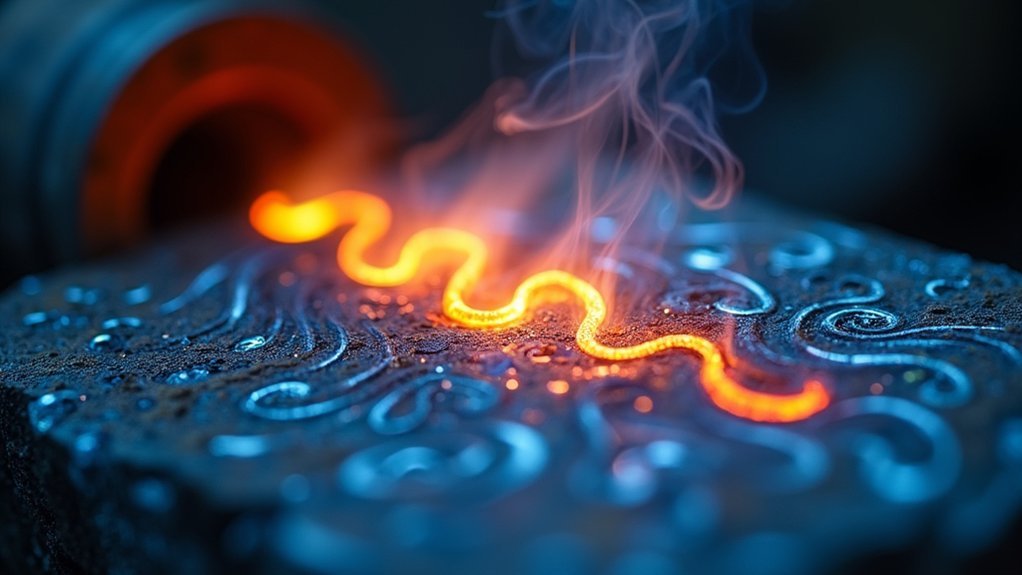
During heating, you’ll want the entire piece to reach a red-orange color before focusing on specific areas. This technique guarantees even heating and proper bonding.
Don’t fear mistakes during experimentation. They’ll create unexpected textures and patterns that enhance your jewelry’s uniqueness and artistry.
Essential Tools and Materials for Pattern Creation
Three fundamental categories of equipment will determine your success in metal fusion pattern creation: heating tools, surface preparation materials, and finishing implements.
Your heating setup requires a natural gas/oxygen torch for precise temperature control during fusion. You’ll need a photoetching setup with ammonium persulphate as your etching mordant to create clear, well-defined patterns on brass surfaces.
| Category | Essential Tools | Purpose |
|---|---|---|
| Heating | Natural gas/oxygen torch | Precise temperature control |
| Surface Prep | Photoetching setup + ammonium persulphate | Pattern creation on brass |
| Finishing | Abrasive materials, hammers, pliers, rolling mill | Post-fusion cleaning and shaping |
Select silver gauges from 16 to 22 for compatibility with brass metal sheets. Proper surface cleaning and alignment prevent unusable scraps while ensuring intricate pattern success.
Preparing Metals for Fusion Processes
Successful fusion depends entirely on how well you’ve prepared your metal surfaces before applying heat. Start by thoroughly cleaning both brass and silver pieces to eliminate all oxides and contaminants that could prevent proper adhesion.
For brass plates, use photoetching processes with ammonium persulphate after coating, exposing, and developing your desired patterns. This creates clean, precise edges essential for fusing. Select silver gauges between 16 and 22 that complement your brass thickness without compromising either metal’s integrity.
Apply flux generously to both surfaces before heating. This prevents oxidation and promotes strong bonding during the fusion process.
Watch carefully for edge shimmering during heating—this indicates successful fusion is occurring. Avoid overheating, which causes material loss and deformation in your metal jewelry pieces.
Photoetching Techniques for Detailed Patterns
Four essential steps transform your brass plates into intricate pattern foundations through photoetching.
First, you’ll meticulously clean your brass plate, removing all oxides to guarantee proper photoresist adhesion.
Next, coat the metal surface with photosensitive resist and expose it to light through your transparency design. The resist develops to reveal your detailed patterns exactly where you want them.
During etching, use ammonium persulphate as your mordant for achieving exceptionally clear, precise images. Cover the plate’s back to prevent unwanted etching while maintaining clear observation of your progress.
Once etching completes, you’ll need thorough post-processing: clean the surface completely, anneal the metal, pickle away oxidation, and pumice for smooth finishing.
These steps guarantee your photoetching creates durable, visually striking detailed patterns perfect for jewelry fusion work.
Brass and Silver Fusion Methods
You’ll need to start with properly prepared photoetched brass that’s been thoroughly cleaned and fluxed before attempting fusion with silver.
Master your flame control techniques by watching for edge shimmering and maintaining consistent heat to prevent overheating that can ruin your patterns.
After fusion, you’ll often need to restore fine details through careful surface treatment since the process can obscure intricate photoetched elements.
Photoetching Brass Preparation
Before you can achieve the intricate patterns that make brass and silver fusion jewelry so striking, you’ll need to master the photoetching preparation process that transforms your brass into a precisely textured surface.
Start by thoroughly cleaning your brass plate to remove oxides and impurities that could interfere with pattern transfer. Next, coat the metal with photo-sensitive emulsion and expose it to UV light through your design transparency.
Develop the image using appropriate developer solution, then etch with ammonium persulphate for clear, precise results. Remember to cover the plate’s back for better visibility during photoetching.
Choose ideal brass thickness carefully—too thin limits welding capabilities, while thicker stock provides stability and even etching outcomes for superior metal fusion jewelry pieces.
Flame Control Techniques
Once your photoetched brass displays crisp, detailed patterns, mastering flame control becomes the critical bridge between preparation and successful metal fusion. You’ll need to achieve proper heat distribution using a natural gas/oxygen torch for ideal results.
Start by fluxing both metals thoroughly to prevent oxidation. Using heat strategically, bring your metal sheet to a red-orange color before concentrating on specific areas. Watch edges carefully for shimmering or flushing—these visual cues indicate readiness for fusion.
| Heat Stage | Visual Indicator | Action Required |
|---|---|---|
| Initial | Dull metal surface | Apply flux coating |
| Warming | Light color change | Maintain even heating |
| Ready | Red-orange glow | Focus on fusion areas |
| Active | Edge shimmering | Monitor bond formation |
| Complete | Uniform fusion | Remove heat immediately |
Post-fusion cleaning and sanding restore lost patterns effectively.
Post-Fusion Surface Treatment
After successful fusion bonding, cleaning both brass and silver surfaces becomes your immediate priority to preserve the intricate patterns you’ve worked to create.
Post-fusion treatment starts with thorough cleaning to remove residual flux and oxides that can obscure your design’s clarity.
You’ll need to anneal the fused piece next, relieving internal stresses while enhancing workability for both metals. This step makes subsequent shaping considerably easier.
Follow annealing with pickling using sodium bisulfate or citric acid solutions to eliminate any oxidation from the fusion process.
For sterling silver areas, pumicing smooths surfaces and prepares them for finishing.
Heat treatment of brass sections introduces various patinas, allowing you to achieve unique colors that enhance your jewelry’s aesthetic appeal.
Temperature Control and Flame Management
You’ll achieve the best fusion results by maintaining even heat distribution across your entire metal sheet before targeting specific areas.
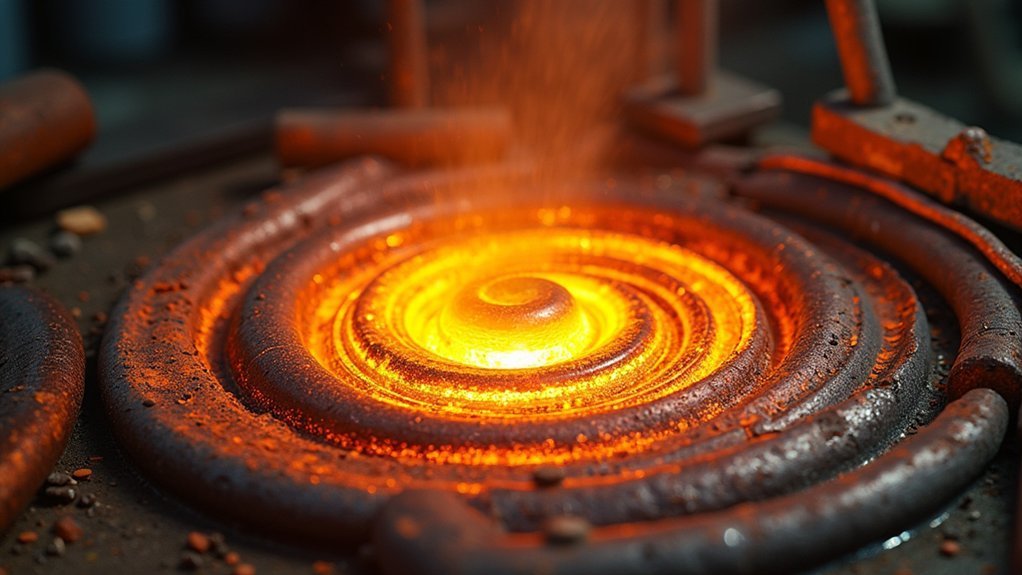
Start with a larger flame to bring the whole piece to the ideal red-to-orange temperature range, then adjust to a smaller, more focused flame for detailed work.
Watch your metals carefully for edge shimmering and immediately reduce heat intensity if you notice signs of overheating that could compromise your fusion pattern.
Optimal Heat Distribution Methods
Although metal fusion appears straightforward, achieving consistent heat distribution requires precise temperature control and methodical flame management techniques.
You’ll need to heat your entire metal sheet until it reaches a uniform red-orange color before targeting specific areas. This prevents warping and guarantees even melting throughout your piece.
Use a natural gas/oxygen torch for precise flame control, allowing you to heat targeted sections without affecting surrounding areas. This precision maintains your pattern’s integrity during metal fusion.
Move your torch gradually and patiently—rushing creates uneven heat penetration and sudden fusion problems.
Watch your metal’s edges for shimmering or flushing, which indicates ideal fusion temperature. Properly align your pieces beforehand to enhance heat distribution and guarantee direct contact between metals for stronger bonding.
Flame Size Adjustment
When adjusting flame size for metal fusion, you control the intensity and coverage of heat that determines your project’s success. Proper flame size adjustment prevents overheating while ensuring adequate metal softening for effective fusion techniques.
Here’s how to master flame control for your projects:
- Start smaller – Begin with a reduced flame to assess metal response, then gradually increase intensity as needed.
- Maintain 2-4 inch distance – Keep consistent spacing between flame and metal surface for uniform heating.
- Watch for red-orange glow – This color indicates ideal fusing temperature without full melting.
- Use circular motions – Move your flame in smooth circles to distribute heat evenly across the metal.
A neutral or slightly reducing flame works best for silver and brass projects, minimizing oxidation while achieving consistent results.
Preventing Metal Overheating
Since metal fusion requires precise heat control, preventing overheating becomes your primary challenge in creating successful jewelry patterns.
You’ll maintain a consistent red-orange glow across your entire metal sheet before targeting specific areas. Don’t rush this process—patience prevents localized overheating that can deform or ruin your piece.
Use a natural gas/oxygen torch for precise flame control, allowing gradual heating that minimizes overheating risks.
Watch your metal’s edges carefully for shimmering or flushing, indicating you’re approaching fusion temperature without crossing into dangerous territory.
Choose thicker gauge metals when possible, as they dissipate heat more evenly than thinner materials.
This characteristic reduces overheating chances during fusing metal operations, making your jewelry making process more forgiving and predictable.
Rolling, Twisting, and Repoussé Techniques
The artistry of metal fusion jewelry reaches new heights when you master rolling, twisting, and repoussé techniques that transform flat fused sheets into dynamic, sculptural pieces.
These methods reveal the full potential of your brass and silver combinations, creating multi-dimensional designs that showcase each metal’s unique characteristics.
Essential techniques for shaping fused metals:
- Rolling mill manipulation – Flatten and stretch your fused sheets while creating intricate patterns that enhance structural integrity.
- Hand or tool twisting – Generate organic, dynamic patterns that add compelling visual interest to your pieces.
- Reverse-side repoussé – Shape metal from behind to create stunning depth and texture variations.
- Strategic annealing – Heat between processes to maintain malleability and prevent cracking during changes.
Combining these techniques produces complex, sculptural jewelry that elevates fused metals beyond simple flat applications.
Creating Wood Grain and Raindrop Effects
You’ll find that wood grain and raindrop effects bring organic beauty to your metal fusion jewelry pieces.
These patterns require specific carving and punching techniques that transform flat metal surfaces into textured, nature-inspired designs.
Mastering these methods lets you create jewelry that captures the essence of natural elements while maintaining the strength and elegance of fused metals.
Wood Grain Formation
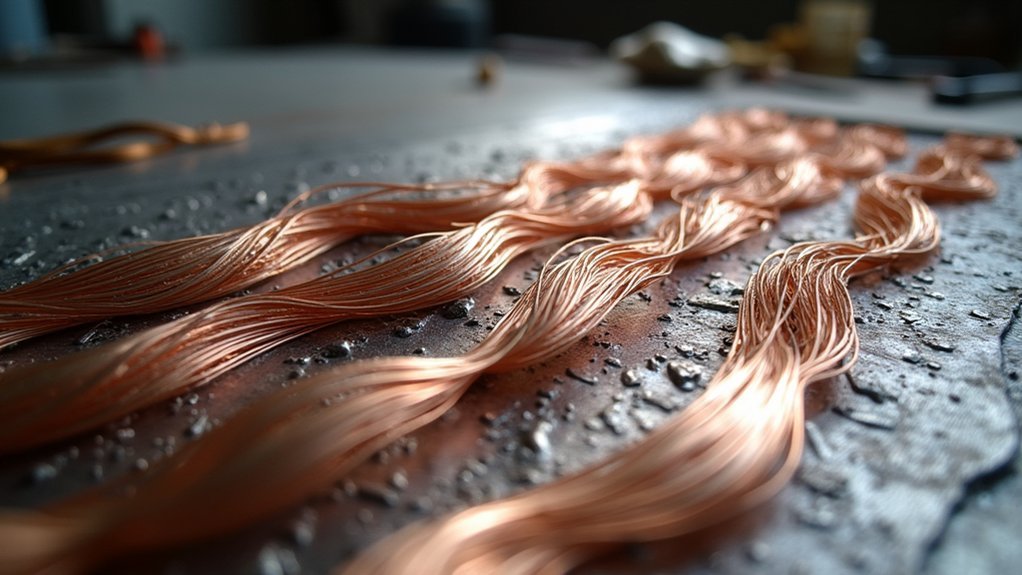
When creating wood grain patterns in metal fusion, you’ll find that copper and silver make the ideal combination due to their similar melting points, which allow for seamless fusing and precise pattern manipulation.
The wood grain effect emerges through careful carving and twisting of the fused metal surface, replicating nature’s organic curves and lines found in actual wood.
Here’s your step-by-step approach:
- Fuse your metals – Combine copper and silver at their shared melting temperature.
- Carve strategically – Create flowing lines that mimic natural wood patterns.
- Twist carefully – Manipulate the surface while maintaining structural integrity.
- Control heat – Apply temperature just below melting point during forging.
This technique produces stunning silver patterns that capture wood’s natural beauty while maintaining the durability and workability essential for jewelry creation.
Raindrop Pattern Techniques
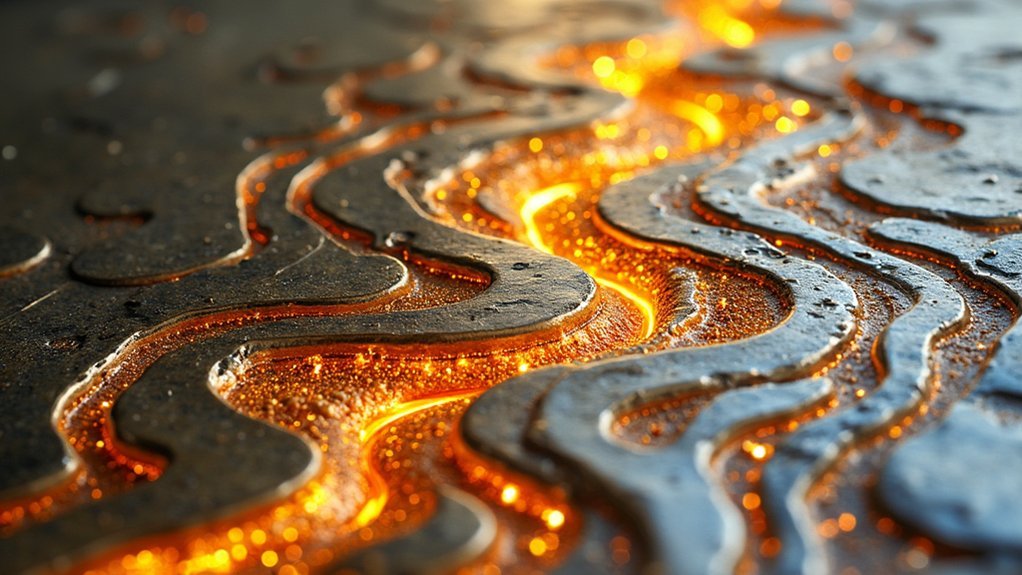
While wood grain patterns showcase flowing, organic lines, raindrop techniques offer a completely different aesthetic that mimics water’s natural cascading effect on metal surfaces.
You’ll start by stacking compatible metals like copper and silver, ensuring they’re completely clean and oxidation-free before applying flux. Use a hammer or punch to create small holes throughout the stacked metal—these’ll become your raindrop shapes during fusion.
Heat the stack just below melting point with controlled flame, watching for edge shimmering that indicates proper fusion without complete melting.
Once fused, manipulate the surface through forging, twisting, or carving to enhance your raindrop pattern’s texture. Finish with polishing and optional etching to create depth and contrast, transforming your copper and silver into a visually striking piece.
Finishing and Patina Applications
After completing the metal fusion process, transforming your raw fused pieces into polished jewelry requires systematic finishing techniques that progress from coarse to fine abrasives.
You’ll start with rougher grits to remove imperfections, then advance to finer ones for that mirror-like polish that showcases your intricate raindrop patterns.
Patina applications open exciting creative possibilities:
- Experiment with liver of sulfur on brass surfaces to achieve deep blues and purples
- Try vinegar solutions for subtle green oxidation effects that add vintage character
- Apply sealant immediately after achieving your desired patina color to lock in results
- Test different chemicals on sample pieces first, since each metal reacts uniquely
Pay careful attention during cleaning and polishing to preserve those delicate fusion details you’ve worked so hard to create.
Troubleshooting Common Fusion Challenges
Even experienced metalsmiths encounter fusion challenges that can turn promising projects into learning experiences.
When your metal gives uneven results, start by checking alignment—complete contact between pieces is essential for Contemporary Design success. If you’re seeing poor fusion, make sure you’re heating the entire piece to red-orange before targeting specific areas. This prevents distortion and maintains consistent temperature distribution.
Apply flux before heating to prevent oxidation that weakens bonds.
Watch for edge shimmering during fusion—it indicates proper temperature without overheating. If fusion still fails, consider adjusting your metal gauge. Thicker sheets often provide better stability and improved fusion quality.
Frequently Asked Questions
How Do You Make Fused Metal Jewelry?
You’ll clean and stack compatible metals like silver and brass, apply flux, then heat with a torch until edges shimmer. Monitor for proper bonding, cool slowly, then finish by sanding and polishing your fused piece.
What Metals for Mokume Gane?
You’ll want copper, silver, and gold as they’ve got similar melting points for proper fusion. Brass and bronze work too, but you’ll need to watch their different melting temperatures carefully.
What Is the Best Metal for Homemade Jewelry?
You’ll find sterling silver’s your best choice for homemade jewelry. It’s durable, malleable, and achieves excellent polish while remaining affordable. You can create intricate designs easily, and it’s widely available at jewelry supply stores.
How to Melt Metal at Home for Jewelry?
You’ll need a propane torch, graphite crucible, and proper ventilation. Clean your metal thoroughly, apply flux to prevent oxidation, then heat carefully while wearing safety gear including goggles and gloves.
In Summary
You’ve now mastered the essential techniques for creating stunning metal fusion patterns in your jewelry work. Don’t be discouraged if your first attempts aren’t perfect—fusion’s an art that improves with practice. Keep experimenting with different metal combinations, varying your heat application, and trying new pattern approaches. Remember that each piece you create teaches you something valuable about the process. Your unique fusion patterns will set your jewelry apart from mass-produced pieces.


Leave a Reply