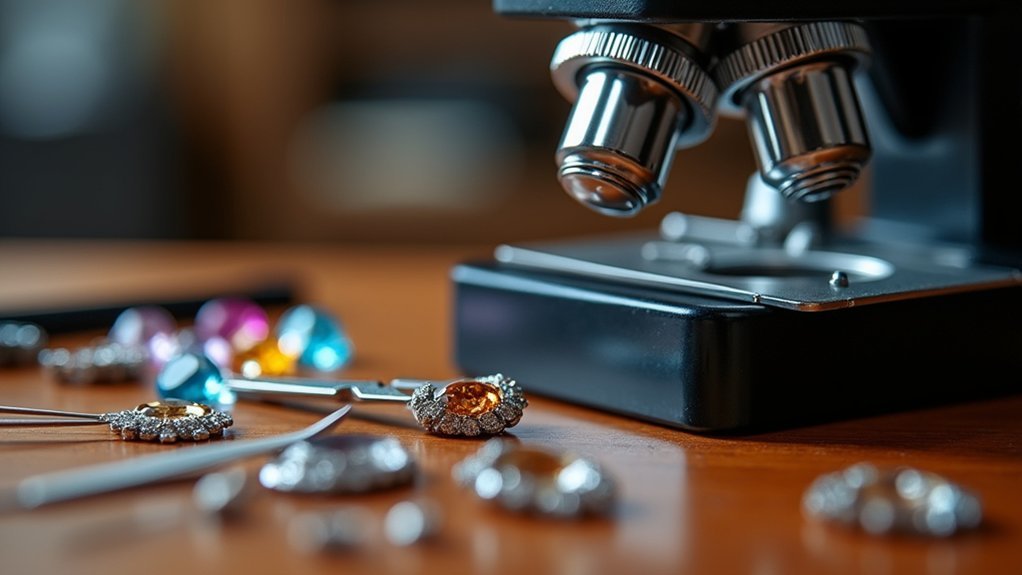
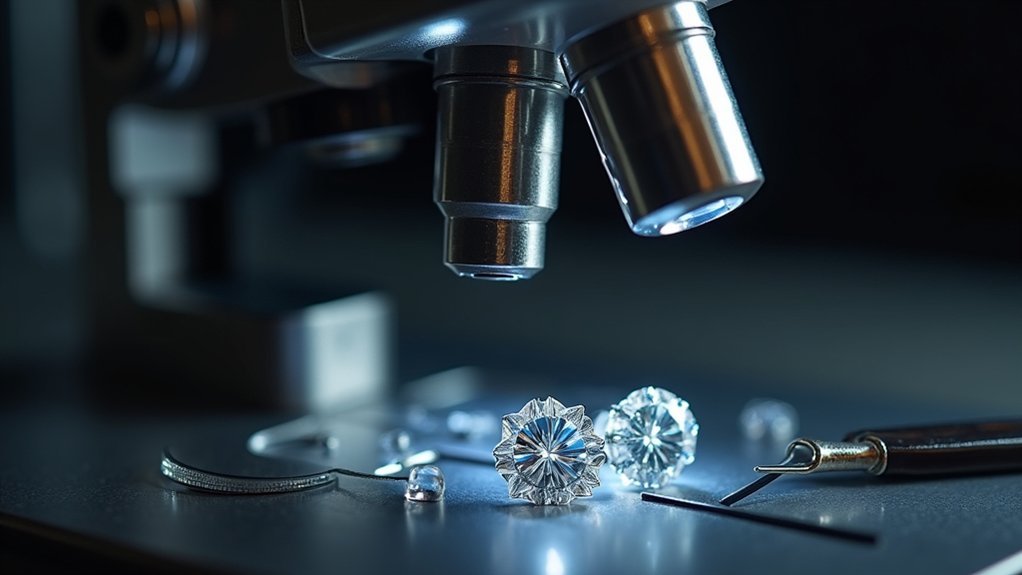
You’ll need precision screwdrivers, lens cleaning solution, and microfiber cloths to start restoring your jewelry microscope. Begin by documenting everything with photos before disassembly, then clean optical components using gentle circular motions from center outward. Inspect for damage, lubricate the focus rack sparingly, and calibrate diopter settings for both eyes. Test optical alignment and guarantee smooth zoom functionality throughout reassembly. These foundational techniques will help you achieve professional-quality results and reveal advanced restoration secrets.
Essential Tools and Materials for Microscope Restoration
Five essential categories of tools will determine your microscope restoration success.
First, you’ll need precision screwdrivers for careful disassembly and a soft brush with lens cleaning solution to clean optics without scratching.
Gentle disassembly with precision tools and proper lens cleaning techniques prevents damage during microscope restoration work.
Second, measurement tools like digital calipers guarantee accurate component sizing, while multimeters help troubleshoot electrical problems in illuminated models.
Third, safety gear including gloves and goggles protects you from chemicals and sharp parts.
Fourth, source replacement parts like eyepieces and objective lenses from reputable suppliers to maintain compatibility and optical quality.
Finally, routine maintenance tools such as compressed air and microfiber cloths prevent dust accumulation and preserve your microscope’s longevity.
These essential tools form your restoration foundation.
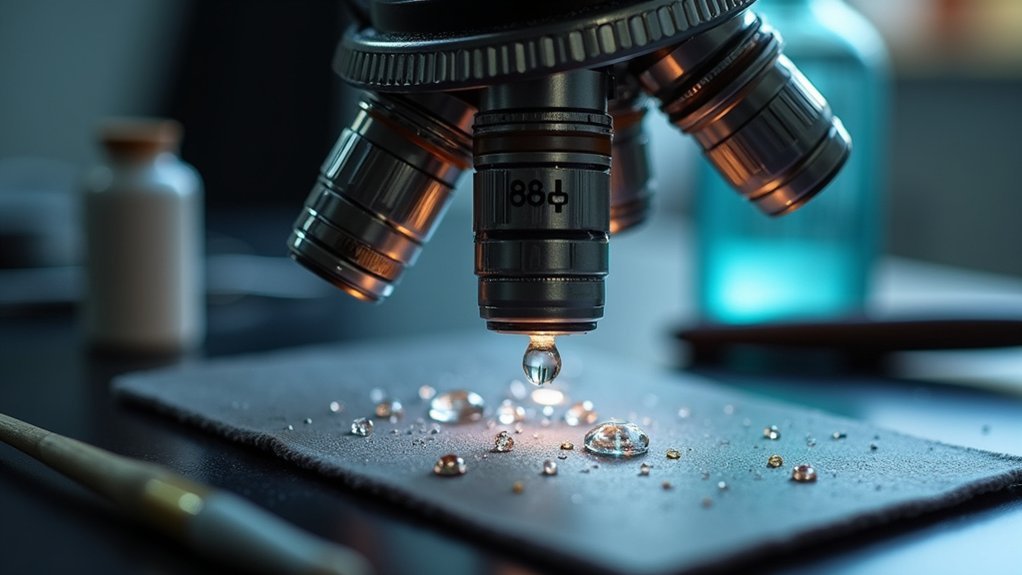
Proper Cleaning Techniques for Optical Components
You’ll need to prepare your lens surfaces carefully before applying any cleaning solutions to avoid permanent scratches or damage.
Choose cleaning solutions specifically formulated for optical components, as household cleaners can contain harsh chemicals that’ll degrade lens coatings.
Master the proper microfiber application technique by using gentle circular motions and controlled pressure to remove smudges without leaving streaks or lint behind.
Lens Surface Preparation
Three essential steps form the foundation of proper lens surface preparation: gathering the right materials, removing loose debris, and executing the cleaning process with precision.
You’ll need a microfiber cloth and appropriate optical cleaning solution before beginning any lens surface preparation. Never use regular fabric or paper towels, as these materials can scratch delicate surfaces.
Start by using a blower or brush to eliminate dust and debris that could cause scratches during cleaning.
Apply several drops of optical cleaning solution to your microfiber cloth—never directly onto the lens itself. This prevents liquid from seeping into microscope components.
Clean using gentle circular motions, starting from the center and working outward.
Finally, inspect the lens under magnification to verify you’ve removed all residues completely.
Safe Cleaning Solutions
While proper technique forms the foundation of lens care, selecting the right cleaning solutions determines whether you’ll preserve or damage your microscope’s delicate optical components.
You’ll want to use lens cleaning solutions specifically designed for optical equipment paired with microfiber cloths. These cleaning solutions won’t harm protective coatings like household cleaners would.
Avoid using ammonia-based cleaners or paper towels, as they’ll scratch glass surfaces and strip away delicate optical coatings.
For persistent smudges, lightly dampen your microfiber cloth with distilled water or dedicated lens cleaner, then wipe in circular motions to prevent streaking.
Regularly inspect your microscope’s optical components and establish a cleaning schedule based on how frequently you use your equipment to maintain ideal clarity and performance.
Microfiber Application Methods
Four essential steps define proper microfiber application when cleaning jewelry microscope lenses.
First, you’ll need a clean, dry microfiber cloth specifically designed for optical components to prevent scratching.
Second, apply several drops of lens-safe cleaning solution directly to the microfiber cloth rather than the lens itself, avoiding excess moisture damage to internal components.
Third, wipe the lens using gentle circular motions from center outward, effectively removing dust and smudges without causing harm. For persistent spots, dampen one cloth corner with cleaning solution, target the area, then follow with a dry section to eliminate residue.
Finally, maintain regular inspection and cleaning of both eyepieces and objectives, as debris considerably impacts magnification quality and overall viewing clarity during detailed jewelry examination.
Inspecting and Assessing Microscope Condition
How can you determine whether your jewelry microscope needs restoration or just minor adjustments?
You’ll need to know the original model’s specifications to make certain you’re identifying actual problems versus normal wear. Start with a systematic evaluation to assess what repairs you’ll require.
- Check for physical damage – Look for cracks in the body, lenses, or mounting components that affect structural integrity.
- Test optical alignment – Confirm zoom heads and eyepieces are properly seated and producing clear, centered images.
- Evaluate zoom functionality – Verify smooth operation and consistent magnification throughout the entire zoom range.
- Assess lighting performance – Validate LED ring lights provide even illumination without flickering or dark spots.
- Verify diopter adjustments – Test individual eyepiece focusing capability for proper vision correction.
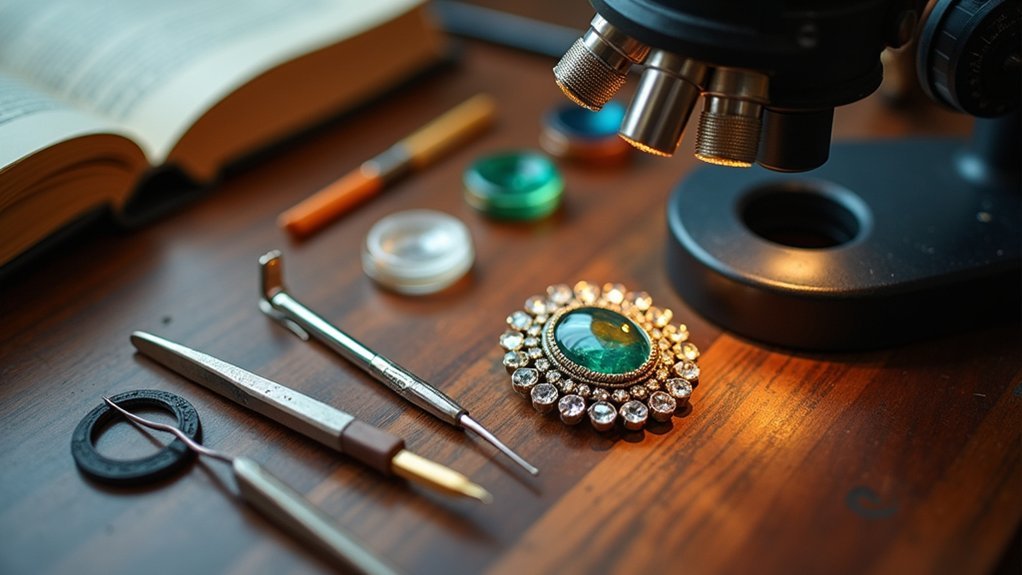
Disassembling Your Stereo Microscope Safely
Before you start taking apart your stereo microscope, you’ll need to establish proper safety protocols and gather the right tools for the job.
The sequence in which you remove components matters greatly, as removing parts in the wrong order can damage delicate mechanisms or make reassembly nearly impossible.
You’ll also want to create an organized system for tracking every screw, spring, and optical element as you work through the disassembly process.
Pre-Disassembly Safety Preparation
While stereo microscopes appear sturdy, they contain delicate optical and mechanical components that require careful handling during disassembly.
Before you begin restoration, proper preparation safeguards both you and your equipment. I’m going to emphasize that rushing through this little bit of preparation prevents costly mistakes later.
Follow these essential safety steps:
- Unplug your microscope and work in a clean, well-lit area
- Gather proper tools including small screwdrivers, tweezers, and microfiber cloth
- Document each step with detailed photos or notes for reassembly
- Wear clean gloves to prevent fingerprints on optical surfaces
- Use anti-static protection like mats or wrist straps for electronic components
Taking time for thorough preparation guarantees successful restoration while protecting sensitive parts from damage or contamination.
Component Removal Order
Now that you’ve prepared your workspace and gathered the necessary tools, you’re ready to begin the systematic disassembly process.
Start by removing the eyepieces first, as they’re the most accessible components and don’t require tools.
Next, detach the zoom head by loosening the locking screws while supporting it to prevent sudden drops that could damage internal components.
Carefully remove objective lenses by unscrewing them counterclockwise, keeping track of any washers or spacers.
Proceed to disassemble the stand by unscrewing the base and adjustable arms, organizing all screws for easier reassembly.
Finally, clean each separated component gently with appropriate materials to avoid scratching before reassembling everything in reverse order.
Parts Organization System
Three essential systems will keep you from losing critical components during microscope disassembly: labeled containers, photographic documentation, and strategic workspace layout.
You’ll need separate containers for different component types—screws, lenses, and mechanical parts. Label each container with the component’s location and removal order. Create a grid layout on your workspace where each disassembled part has a designated spot.
Essential Parts Organization Tips:
- Use small plastic containers with tight-fitting lids for screws and tiny components
- Take photos before removing each part to document exact positioning and orientation
- Create a numbered grid system on your workspace using masking tape
- Keep a written log noting which container holds parts from specific assembly steps
- Group similar components together but maintain their removal sequence order
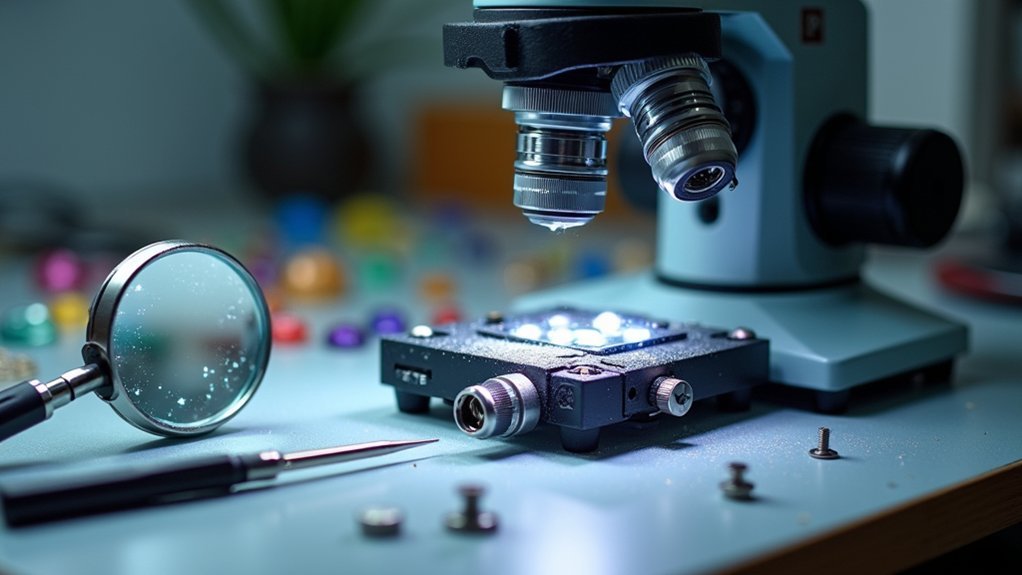
Cleaning and Maintaining the Zoom Head Assembly
Since the zoom head assembly serves as the heart of your jewelry microscope’s optical system, you’ll need to maintain it meticulously to preserve image quality and focus accuracy.
Start by regularly inspecting for dust or debris, as even tiny particles can compromise clarity and precision. Clean external surfaces using a soft, lint-free cloth with lens cleaning solution designed for optical equipment to avoid scratching.
Pay special attention to diopter adjustment rings, removing grime that could hinder smooth operation and cause eye strain. Check and tighten all screws and connections to prevent misalignment that impacts performance.
When manufacturer instructions permit, disassemble the zoom head periodically for thorough internal cleaning, ensuring peak functionality and extending your microscope’s lifespan.
Diopter Adjustment Repair and Calibration
Proper diopter adjustment directly impacts your ability to achieve sharp, comfortable viewing during jewelry examination and repair work.
When your diopter isn’t calibrated correctly, you’ll experience eye strain and reduced precision. Start by focusing on a clear object with your dominant eye, then adjust the diopter ring on the other eyepiece until the image appears equally sharp.
- Check diopter settings regularly since vision changes and prolonged use can shift calibration.
- Use resolution test charts to verify precise adjustment across different magnifications.
- Clean internal mechanisms if the diopter ring feels loose or unresponsive.
- Replace eyepieces when adjustment mechanisms fail to maintain peak performance.
- Calibrate both eyes independently to prevent strain during extended microscope sessions.
Replacing Damaged Eyepieces and Objective Lenses
You’ll need to spot the telltale signs of eyepiece damage like scratches, cracks, or cloudy spots that blur your view of jewelry details.
Once you’ve identified damaged components, you can carefully remove objective lenses by unscrewing them counterclockwise while supporting the microscope head.
Installing replacement parts requires matching thread specifications and gently threading new lenses clockwise until they’re snug but not overtightened.
Identifying Eyepiece Damage Signs
How can you tell when your jewelry microscope’s eyepieces need replacement? Recognizing damage signs early prevents further deterioration and maintains ideal viewing quality.
You’ll want to inspect your eyepieces regularly for visible defects that compromise performance.
Key damage indicators to watch for:
- Scratches or cracks on lens surfaces that create distorted or obstructed views
- Fogging or cloudiness inside the eyepiece that won’t clear with cleaning
- Malfunctioning diopter adjustment that won’t hold proper focus settings
- Loose fittings that cause wobbling or misalignment during use
- Oil or residue buildup that persists despite thorough cleaning attempts
When you notice these issues, replacement becomes necessary.
Always verify compatibility with your microscope model before purchasing new eyepieces to confirm proper fit and maintain magnification standards.
Objective Lens Removal Process
Before attempting objective lens replacement, turn off your microscope and disconnect the power cord to eliminate electrical risks.
Once you’ve verified safety, you can begin the removal process.
Locate the damaged objective lens on your microscope’s nosepiece. You’ll need to carefully unscrew it by turning counterclockwise.
Take your time during this step and avoid applying excessive force that could damage surrounding components or threading.
When the lens comes free, set it aside and examine the nosepiece threads for any debris or damage.
Clean them gently if needed before proceeding with installation.
Handle the new objective lens by its barrel, avoiding contact with the optical surfaces.
Align it properly with the nosepiece threads and turn clockwise until snug, but don’t over-tighten.
Proper Installation Techniques
While objective lens replacement follows a straightforward process, installing eyepieces requires additional attention to compatibility and alignment.
You’ll need to verify your replacement components match your microscope’s specifications before beginning installation.
Essential Installation Steps:
- Clean thoroughly – Use lint-free cloths on eyepiece and objective lens threads to prevent debris contamination.
- Verify compatibility – Confirm 10x magnification eyepieces match your stereo microscope model specifications.
- Align carefully – Position new components with mounting tubes, verifying snug fit without forcing placement.
- Adjust diopter settings – Accommodate individual eye focus requirements to prevent strain during extended use.
- Test all magnifications – Verify clear, distortion-free images across complete magnification range after installation.
Proper technique prevents damage and guarantees peak performance.
Focus Rack Maintenance and Troubleshooting
Since your jewelry microscope’s focus rack serves as the precision heart of the entire optical system, maintaining its smooth operation directly impacts your ability to examine gemstones and intricate metalwork with clarity.
You’ll need to regularly clean the moving parts with a microfiber cloth, removing dust and debris that hinders precise adjustments. Check for wobble or misalignment issues that affect focus accuracy, then apply a small amount of machine oil for smooth movement—but don’t over-lubricate as this attracts dust.
Inspect for wear and tear periodically, tightening loose screws or replacing worn components. Finally, calibrate the diopter settings regularly, especially when multiple users operate the microscope, ensuring consistent viewing quality.
Upgrading to LED Ring Light Systems
Although proper focus rack maintenance keeps your jewelry microscope mechanically sound, upgrading to an LED ring light system will dramatically transform your viewing experience when examining precious stones and intricate metalwork.
LED ring light upgrades dramatically transform jewelry microscope viewing experiences beyond what basic focus rack maintenance alone can achieve.
Modern LED systems outperform outdated fluorescent tubes with superior brightness and energy efficiency. You’ll find affordable options between 60-80 GBP that deliver exceptional value.
Key advantages of LED ring light upgrades:
- Consistent illumination – eliminates flickering issues that plague traditional lighting methods
- Shadow elimination – adjustable uniform lighting improves workpiece clarity
- Enhanced precision work – perfect for detailed engraving and stone setting tasks
- Energy efficiency – significant power savings compared to fluorescent alternatives
- Easy compatibility – works seamlessly with E-Type spigot mount systems
Consider your microscope’s compatibility when selecting the ideal LED ring light for your restoration project.
Stand and Mount Restoration Options
Once you’ve upgraded your lighting system, evaluating your microscope’s stand and mounting hardware becomes the next vital step in restoration.
You’ll want to take into account boom stands for enhanced stability and easy repositioning when working on intricate pieces. Flex arms offer excellent space-saving benefits while providing the mobility and flexibility needed for ideal microscope positioning.
Always verify compatibility with your specific microscope model, particularly E-Type spigot mounting systems, to maintain functionality and precision.
Regular inspection and cleaning of mounting components prevents wear and guarantees smooth adjustments essential for accurate positioning.
When restoring older stands, you’ll likely need to replace worn parts. Sourcing off-brand options provides a cost-effective approach to enhance your jewelry microscope’s stability and overall functionality.
Reassembling Components for Optimal Performance
When you’re ready to reassemble your jewelry microscope, proper component cleaning sets the foundation for excellent performance.
Begin with a soft, lint-free cloth to remove dust and fingerprints from all parts. This guarantees optimal visibility once everything’s back together.
Next, focus on critical alignment and functionality checks. Your zoom head and eyepieces need secure attachment and proper alignment to prevent distorted images and eye strain.
Test your focus rack’s movement—it should glide smoothly and lock without resistance for precise jewelry work adjustments.
- Clean all components with lint-free cloth before reassembly
- Verify zoom head and eyepiece secure attachment and alignment
- Test focus rack for smooth movement and proper locking
- Calibrate diopter adjustment for individual eye differences
- Position LED ring lights for even illumination without shadows
Testing and Fine-Tuning Your Restored Microscope
After completing your microscope reassembly, thorough testing reveals whether your restoration efforts have succeeded. Start by checking optical component alignment, guaranteeing your zoom head and eyepieces are correctly positioned to prevent image quality issues.
Next, test each eyepiece’s diopter adjustment to achieve sharp focus for both eyes, preventing eye strain during extended use.
Proper diopter adjustment eliminates eye strain and ensures crisp, comfortable viewing during lengthy microscope sessions.
Evaluate working distance by placing a test object at the focal point, confirming it stays clear across the entire magnification range—typically 100 to 120 mm for jewelry microscopes.
Assess lighting by using an LED ring light to illuminate workpieces evenly, minimizing shadows and glare that obscure small details.
Finally, conduct a stability test by gently shaking the stand to verify steadiness, as vibrations severely impact clarity at higher magnifications.
Frequently Asked Questions
What Kind of Microscopes Do Jewelers Use?
You’ll use stereo microscopes with 7x to 55x magnification for jewelry work. They provide dual focal paths for better depth perception during engraving and stone setting, with LED ring lighting for excellent visibility.
How to Use a Microscope for Beginners?
Start by adjusting the diopter settings for each eye to prevent strain. Set magnification between 7-55x, maintain 4-5 inch working distance, use LED ring lighting, and employ a focus rack for stability.
Which Microscope Is Used in Jewellery?
You’ll use a stereo microscope for jewelry work since it provides essential depth perception through dual optical paths. It’s perfect for stone setting and engraving with 7-55x magnification ranges and proper working distance.
What Are the Best Practices for Microscope Maintenance?
You’ll want to clean lenses regularly with microfiber cloths, adjust diopters periodically, store in dust-free environments, calibrate settings before use, and replace dimming lights to maintain peak microscope performance.
In Summary
You’ve now mastered the essential techniques for restoring your jewelry microscope from start to finish. Don’t rush the process—take your time with each component to guarantee the best results. Regular maintenance will extend your microscope’s lifespan and keep it performing at its best. Remember to document your work and keep spare parts handy for future repairs. With practice, you’ll become confident in maintaining professional-grade optics for all your jewelry work.


Leave a Reply