You’ll transform your Etsy sales by mastering jewelry photography that connects emotionally with buyers. Use natural north-facing window light or a softbox setup with your DSLR and macro lens on a sturdy tripod. Choose neutral backgrounds like white or textured wood, then apply the rule of thirds for compelling composition. Maintain consistent lighting, colors, and props across all listings to build your visual brand identity. Format images at 3000×2250 pixels for professional presentation that converts browsers into customers and reveals advanced techniques ahead.
Understanding the Psychology Behind Jewelry Photography That Converts
Why do some jewelry photos instantly capture your attention while others leave you scrolling past without a second glance? The psychology behind successful jewelry product photography runs deeper than you might think.
When 90% of Etsy shoppers prioritize high-quality images in their purchasing decisions, understanding visual psychology becomes essential for conversions.
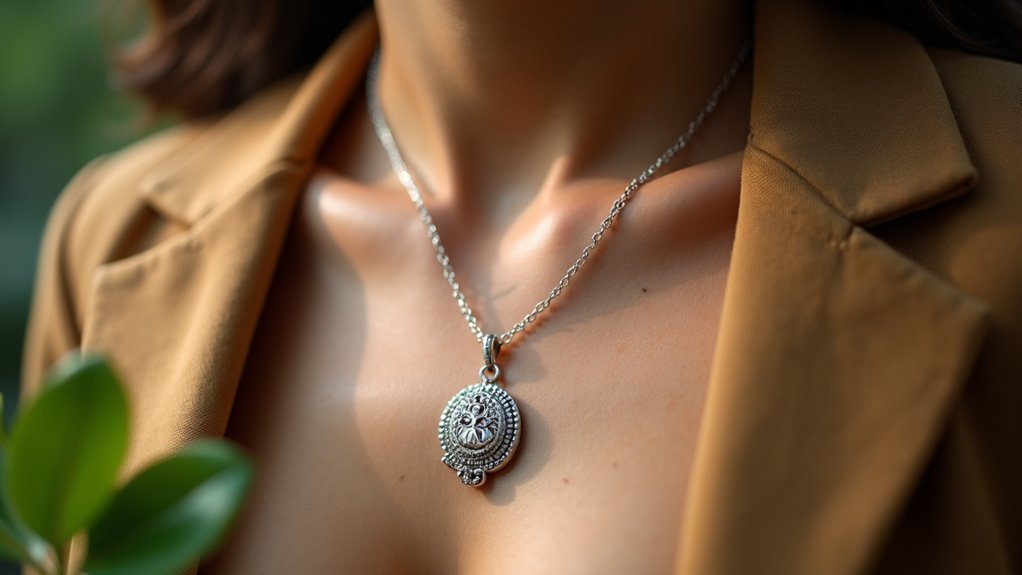
Your customers form emotional connections through lifestyle shots that help them envision wearing your pieces daily. Detail shots highlighting unique craftsmanship enhance perceived value, drawing buyers to intricate designs and quality materials.
Emotional lifestyle photography helps customers visualize themselves wearing your jewelry, while detailed craftsmanship shots significantly boost perceived value and desirability.
Color psychology also influences purchasing behavior—warm tones evoke luxury and desirability. By incorporating complementary props and backgrounds, you’re creating storytelling elements that convey your brand identity and engage customers on a deeper psychological level, transforming casual browsers into committed buyers.
Essential Equipment for Professional-Looking Jewelry Photos at Home
You don’t need expensive studio equipment to capture stunning jewelry photos that drive sales on Etsy.
The right camera setup, proper lighting tools, and thoughtful props can transform your home workspace into a professional photography studio.
Let’s explore the essential equipment that’ll elevate your jewelry photography without breaking your budget.
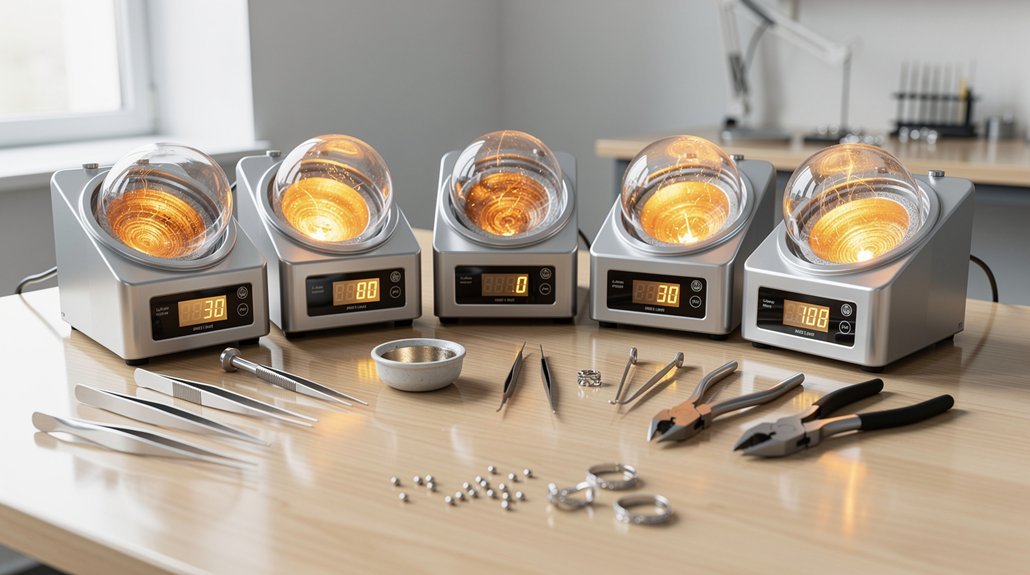
Camera and Lens Setup
Three essential pieces of equipment form the foundation of professional jewelry photography: a quality camera, the right lens, and proper stabilization. Your camera and lens setup determines whether your product photos capture those intricate details that make buyers click “add to cart.” A DSLR or mirrorless camera paired with a 100mm macro lens delivers the sharp, high-resolution images your jewelry deserves.
Mount your camera on a sturdy tripod to eliminate blur, especially when shooting reflective surfaces that require longer exposures. Use a remote shutter release or your camera’s timer function to prevent shake during the shot.
This stabilization guarantees every facet, texture, and sparkle appears crisp in your final images, giving your Etsy listings that professional edge customers trust.
Lighting Equipment Essentials
Proper lighting transforms amateur jewelry photos into professional-quality images that drive sales on Etsy.
You’ll need specific lighting equipment essentials to create stunning listing photos that showcase your jewelry’s true beauty.
Core Lighting Equipment You Need:
- Softbox or LED Ring Light – Provides even, diffused lighting that eliminates harsh shadows while highlighting intricate details in your jewelry pieces.
- Light Tent with Diffusion Fabric – Creates a controlled environment that softens light and enhances reflective surfaces, giving your jewelry a professional appearance.
- Reflectors and Adjustable Tripods – Reflectors bounce light into darker areas while tripods guarantee sharp, consistent framing throughout your shoot.
Experiment with 45-degree lighting angles to achieve that coveted professional look that makes buyers click “purchase.”
Props and Backgrounds
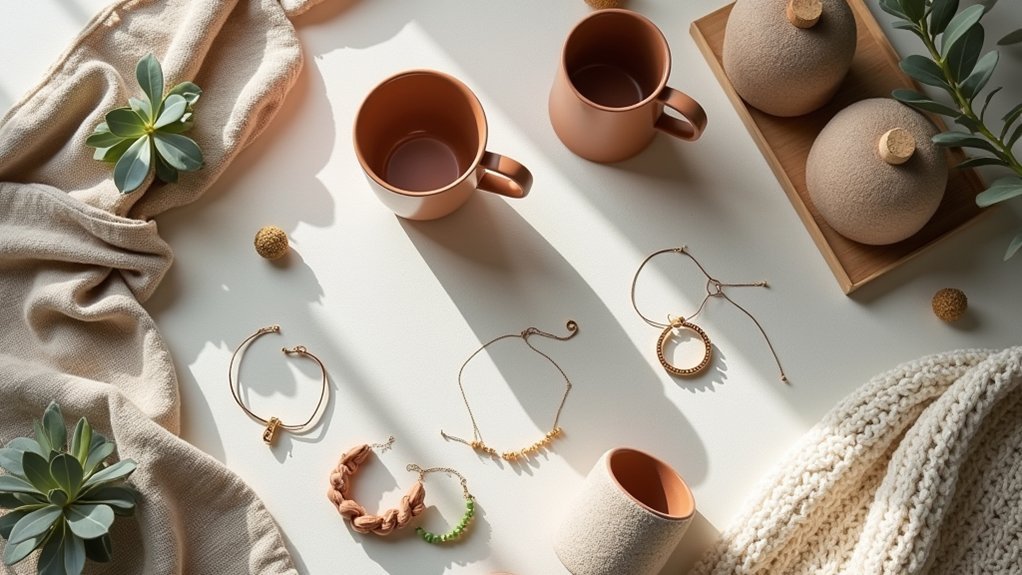
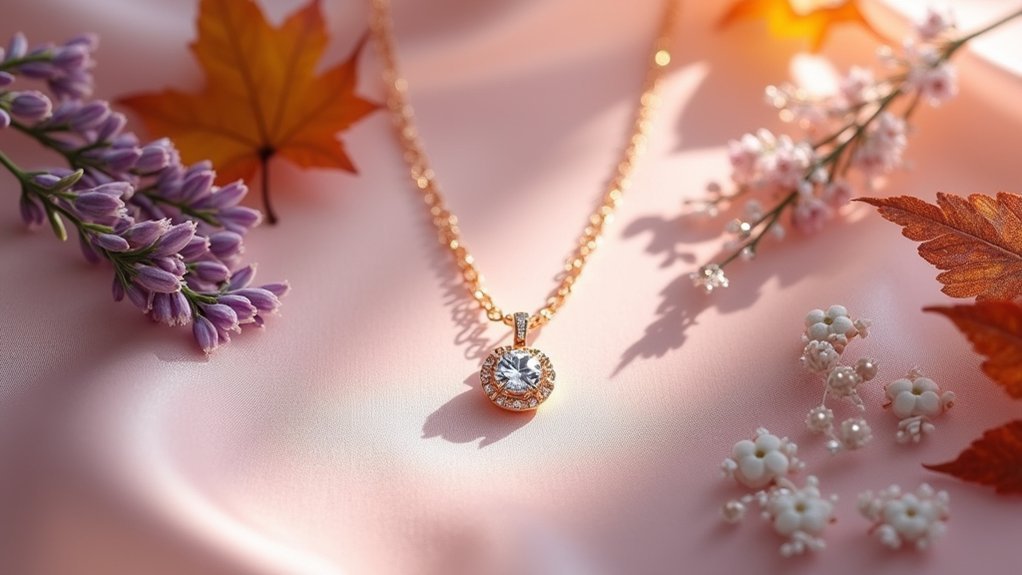
While lighting sets the foundation for professional jewelry photography, strategic props and backgrounds elevate your images from simple product shots to compelling visual stories that captivate Etsy buyers. You’ll want to choose props that enhance your jewelry’s features—natural elements like stones or flowers create appealing aesthetics that resonate with customers.
Your background color should contrast well with your pieces, using neutral tones or textured materials to keep focus on the product. Incorporate reflective surfaces like mirrors or glass to add depth and dimension, making photos visually engaging.
| Background Type | Best For | Effect |
|---|---|---|
| Neutral colors | All jewelry | Clean focus |
| Textured materials | Statement pieces | Added interest |
| Reflective surfaces | Delicate items | Enhanced dimension |
Experiment with different layouts to showcase each piece’s unique qualities.
Mastering Natural Light for Stunning Jewelry Photography
You’ll achieve the most flattering jewelry photos by timing your shoots during the golden hour—shortly after sunrise or before sunset—when natural light is soft and warm.
Position yourself near a window on overcast days or use sheer curtains to diffuse harsh sunlight that creates unwanted glare and reflections.
Your window’s direction matters too, since north-facing windows provide consistent, gentle light throughout the day while east and west windows offer that coveted golden hour glow.
Best Lighting Times
Here are the ideal lighting windows for jewelry photography:
- Golden Hour Magic – Shoot shortly after sunrise or just before sunset for soft, warm light that enhances your jewelry’s natural beauty and eliminates harsh shadows.
- North-Facing Window Strategy – Position your setup near north-facing windows for consistent, diffused light throughout the day without direct sunlight interference.
- Midday Avoidance – Skip harsh midday sunlight that creates unflattering shadows and blown-out highlights that obscure your jewelry’s intricate details.
Always test your lighting setup beforehand to confirm every sparkle and texture shines through perfectly.
Window Position Techniques
Now that you’ve identified the perfect lighting windows, the strategic placement of your jewelry near windows becomes your next power move for capturing professional-quality shots.
Position your pieces close enough to harness natural light’s brilliance, but experiment with distance to control intensity. Move your setup closer for dramatic illumination or farther back for softer effects.
Use sheer curtains to transform harsh sunlight into diffused, even lighting that eliminates unwanted glare. These window position techniques dramatically improve your photography shot quality by creating balanced exposures.
Add white foam boards or mirrors as reflectors to bounce light onto shadowed areas, revealing intricate details.
Keep backgrounds neutral so natural light enhances rather than competes with your jewelry’s features.
Choosing the Perfect Background Colors and Textures for Your Jewelry
Although your jewelry might be stunning on its own, the wrong background can make even the most beautiful pieces fade into obscurity.
You’ll need strategic background colors and textured backgrounds to showcase your products effectively.
Start with neutral foundations like white or light gray—they let your jewelry’s colors and details shine without competition.
For visual interest, incorporate textured backgrounds such as wood or linen that add depth while maintaining focus on your pieces.
Here’s your color strategy:
- Match complementary tones – warm colors enhance gold and amber, while cool tones highlight silver and blue stones
- Experiment with layered surfaces – combine smooth and textured elements for dynamic appeal
- Embrace earth tones – they create natural, organic feels that resonate with customers seeking artisanal pieces
Strategic Product Placement and Composition Techniques
You’ll transform your Etsy photos by mastering three essential composition techniques that control how viewers’ eyes move through your images.
Strategic placement using the rule of thirds creates natural focal points, while leading lines guide attention to your products and establish visual flow.
Balancing negative space around your items prevents clutter and lets each product command the attention it deserves.
Rule of Thirds Placement
When you divide your photo frame into a 3×3 grid and place your product along these lines or at their intersections, you’ll create a more balanced and engaging composition that naturally draws the viewer’s eye.
This off-center positioning leaves space for storytelling elements while enhancing visual interest compared to centered compositions. Your product listing photos will appear more professional and appealing to potential buyers.
Key techniques for Rule of Thirds placement:
- Position your main product at intersection points where grid lines meet for maximum visual impact.
- Experiment with different quadrants to find angles that highlight your product’s best features and unique qualities.
- Balance negative space strategically to create context without overwhelming your focal point.
This technique aligns with common visual preferences, making your photos more compelling and increasing your chances of converting browsers into buyers.
Leading Lines Creation
Three powerful composition techniques can transform your Etsy product photos from static displays into dynamic visual journeys that captivate potential buyers. Leading lines creation directs viewers’ eyes precisely where you want them to look, establishing your product as the undeniable focal point.
| Technique | Application | Effect |
|---|---|---|
| Natural Lines | Use table edges, textile patterns | Guides eye toward product |
| Diagonal Placement | Arrange products along angled lines | Creates dynamic composition |
| Converging Lines | Point multiple lines at product | Establishes clear focal point |
| Foreground Layering | Lead from front elements to product | Adds depth and interest |
| Rule of Thirds | Position lines at intersection points | Enhances visual appeal |
Your studio shot becomes more engaging when you experiment with curved arrangements and layered compositions that naturally draw customers deeper into your visual story.
Negative Space Balance
Breathing room transforms cluttered product photos into compelling visual statements that sell.
Negative space isn’t just empty area—it’s a powerful tool that directs buyers’ eyes straight to your product while creating sophisticated, professional imagery.
Strategic placement off-center creates dynamic energy that keeps viewers engaged. When you position your product using the rule of thirds, dividing your frame into a 3×3 grid, you’ll achieve naturally pleasing compositions that feel balanced yet interesting.
Here’s how to master negative space balance:
- Leave 40-60% of your frame empty around your main product
- Add complementary props sparingly within the negative space to tell your story
- Maintain consistent spacing ratios across all listings for cohesive branding
This approach creates visual hierarchy that guides purchasing decisions.
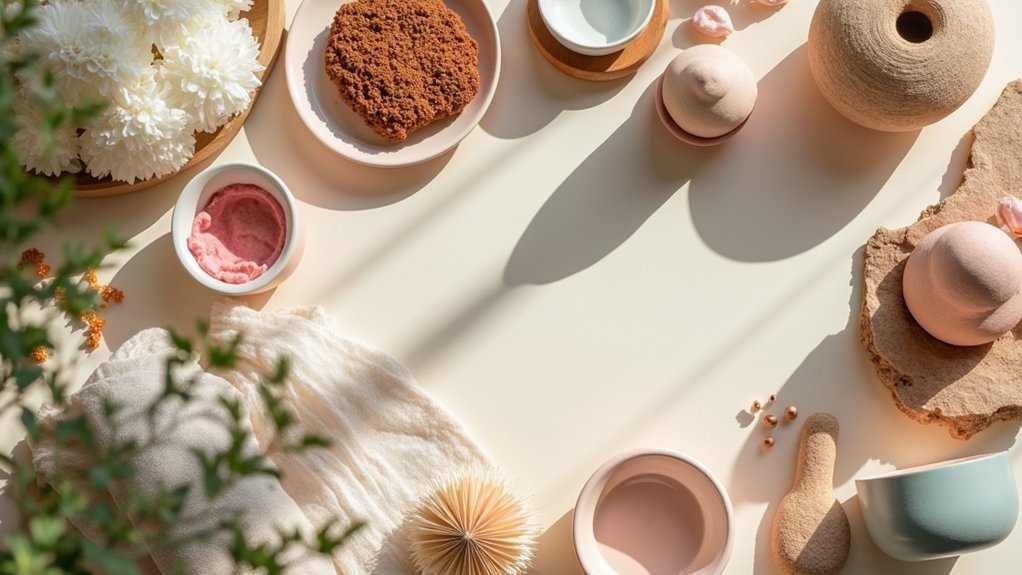
Creating Effective Flat Lay Arrangements for Jewelry Collections
Although jewelry pieces are inherently beautiful, they won’t sell themselves without compelling visual presentation that showcases their unique appeal. Creating effective flat lay arrangements can transform your Etsy listings from ordinary to extraordinary.
Start by selecting a hero item—your most stunning piece—as the focal point that’ll draw viewers’ eyes immediately. Surround your hero piece with complementary props like natural wood, smooth stones, or soft fabrics that enhance texture without overwhelming your jewelry.
Every stunning flat lay needs a star—choose your most captivating piece and let complementary textures tell its story.
Use stable surfaces with excellent natural lighting to capture every intricate detail and sparkle without harsh shadows. Experiment with layering smaller pieces around your main item, varying heights to create visual depth.
Maintain a consistent color palette that reflects your brand identity, ensuring your flat lay looks cohesive and professionally curated for potential buyers.
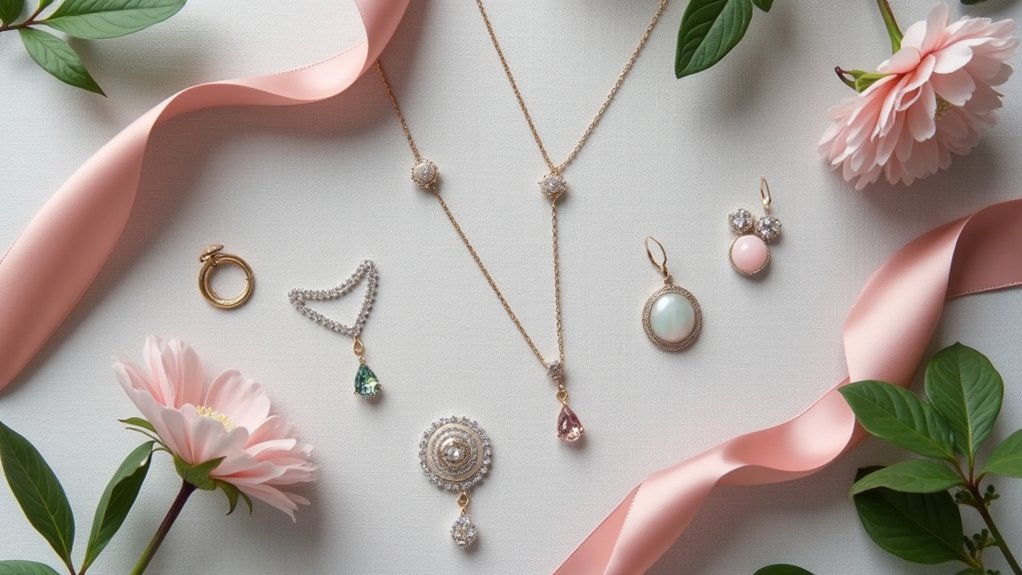
Using Props to Tell Your Jewelry’s Story Without Overwhelming
Props become powerful storytelling tools when they enhance your jewelry’s narrative rather than compete for attention.
You’ll create emotional connections with buyers when your props reflect your jewelry’s style and intended use – like positioning beach-themed pieces against sand and shells.
Keep your storytelling subtle yet effective with these strategies:
- Choose complementary elements – Select soft fabrics, flowers, or natural materials that support your jewelry without creating visual chaos.
- Maintain color harmony – Use a limited palette that directs focus to your pieces while supporting the overall aesthetic.
- Layer with purpose – Add depth through careful arrangement, ensuring each prop serves the composition.
Showcase your craftsmanship by incorporating relevant tools or materials used in creation, communicating authenticity while maintaining clean, uncluttered compositions.
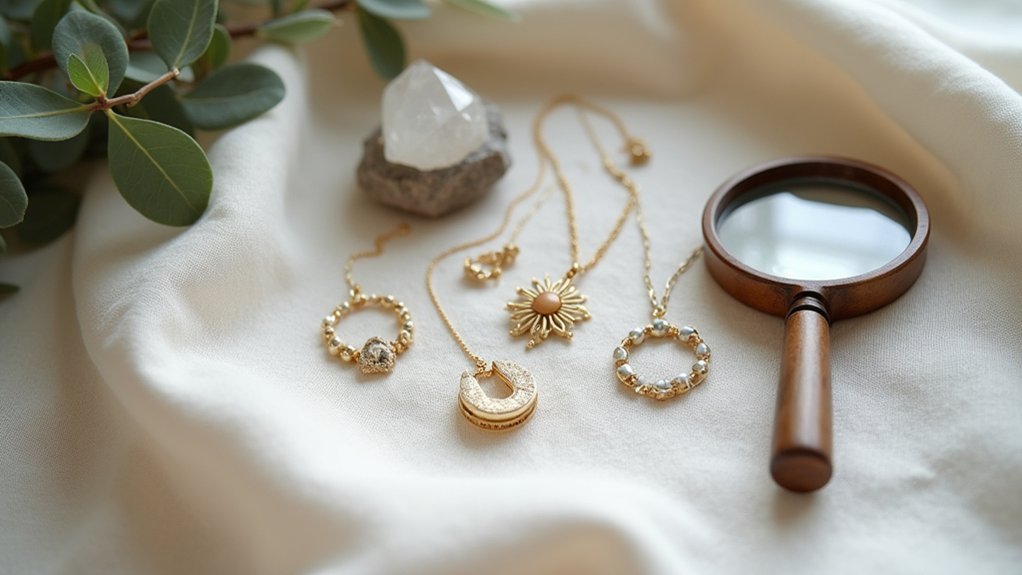
Capturing Multiple Angles and Detail Shots That Build Trust
When customers can’t physically touch your jewelry, detailed photography becomes their primary tool for evaluating quality and craftsmanship. You’ll want to capture multiple angles of each piece, showing front, back, and side views. Include at least 5-6 photos per listing to give customers a complete picture.
Focus on detail shots that highlight specific elements like clasps, stone settings, and metal finishes. These close-ups demonstrate your craftsmanship and build trust by showing transparency about quality. Include scale shots with common objects or models to help customers understand size and proportions.
Maintain consistency across all your listings using similar lighting and backgrounds. This creates a cohesive brand identity that encourages repeat purchases.
Remember to update your detail shots whenever you modify product designs to guarantee accuracy.
Styling Jewelry for Different Target Markets and Occasions
Your target market determines every styling decision you’ll make, from background choices to prop selection. When creating your Etsy listing photos, match your styling approach to your audience’s lifestyle and preferences.
For casual jewelry buyers, use natural lighting with minimal props to showcase everyday wearability. Formal pieces require luxe backgrounds like velvet or silk to emphasize sophistication. A lifestyle shot depicting different occasions—like date nights or weddings—demonstrates versatility and attracts broader audiences.
Key styling strategies include:
- Seasonal themes – Incorporate autumn leaves or holiday decorations for gift-seeking shoppers.
- Scale shots – Show jewelry being worn to help buyers visualize size and fit.
- Setting variety – Display pieces in multiple environments to highlight their adaptability.
This targeted approach increases buyer confidence and conversion rates.
Post-Processing Tips to Enhance Your Jewelry Photos
After capturing your perfectly styled jewelry shots, post-processing transforms good photos into extraordinary ones that sell. You’ll want to adjust brightness and contrast first, guaranteeing your jewelry’s details pop with vibrant, accurate colors. Apply sharpening filters selectively to highlight intricate textures that make pieces irresistible to buyers.
Crop out distracting background elements to focus attention solely on your jewelry. Even your packaging shot benefits from strategic cropping. Experiment with complementary background colors during editing to make pieces stand out while maintaining brand consistency.
| Post-Processing Step | Emotional Impact |
|---|---|
| Brightness/Contrast | Creates desire through vivid colors |
| Selective Sharpening | Builds trust in quality craftsmanship |
| Background Removal | Eliminates purchase hesitation |
| Imperfection Retouching | Increases buyer confidence |
These Best Practices guarantee professional presentation that converts browsers into customers.
Building a Consistent Visual Brand Across All Your Listings
Because your Etsy shop’s visual identity directly influences buying decisions, building a consistent brand across all listings becomes essential for converting casual browsers into loyal customers.
Visual identity drives purchasing decisions, making brand consistency across your Etsy listings crucial for transforming browsers into repeat customers.
As an Etsy seller, you’ll strengthen your visual brand by implementing these cohesive elements:
- Maintain uniform aesthetics – Use the same color palette, font style, and background across all photos to create immediate brand recognition.
- Apply consistent styling elements – Incorporate specific props, textures, or arrangements that reinforce your unique identity.
- Standardize technical specifications – Keep lighting techniques uniform and format all images to Etsy’s recommended 3000×2250 pixels for professional appearance.
Regularly review your visual brand strategy to stay current with trends while maintaining consistency that builds customer trust and recognition.
Frequently Asked Questions
How to Make Etsy Pictures Look Professional?
You’ll achieve professional Etsy photos by investing in quality equipment, using natural lighting, maintaining consistent backgrounds and color schemes, editing images to 1000px width, and incorporating varied shot types including detail and lifestyle shots.
What Kind of Photos Sell Best on Etsy?
You’ll sell best with high-quality studio shots showing clear product details, lifestyle photos demonstrating real-world use, scale references for size clarity, and close-ups highlighting craftsmanship that builds buyer confidence.
Is Selling Photo Prints on Etsy Profitable?
Yes, you can profit selling photo prints on Etsy. With 90 million buyers and prints averaging $10-50, you’ll earn well after Etsy’s fees if you optimize SEO and target niche markets effectively.
How to Take Good Etsy Product Photos?
Use natural light and shoot multiple angles including detail shots. Keep backgrounds simple and uncluttered. Maintain consistent editing style across listings. Guarantee photos are at least 1000 pixels wide for crisp quality.
In Summary
You’ve got the tools to transform your jewelry photography and boost your Etsy sales. Remember, great photos aren’t just about the jewelry—they’re about telling a story that resonates with your customers. Start with one technique, master it, then build on your skills. Your photos should reflect your brand’s personality while showcasing your jewelry’s beauty. Consistency across all listings will help customers recognize and trust your shop. Now go create photos that sell.
Leave a Reply