You’ll transform dull jewelry shots by using soft LED lighting systems with adjustable color temperatures (2700K-6500K) that minimize harsh shadows while maximizing gemstone sparkle. Combine polarizing filters to eliminate unwanted reflections on polished surfaces, and position lights at varying angles to reveal hidden details in faceted stones. Ring lights provide uniform 360-degree illumination, while softboxes create gentle diffusion that enhances metal textures. Master these techniques to discover advanced methods for achieving professional-quality results.
Understanding Light Quality and Direction for Jewelry Photography
When you’re photographing jewelry, light quality and direction become your most powerful tools for revealing each piece’s unique character.
Soft light creates even distribution that minimizes shadows and maximizes sparkle, while hard light accentuates textures on rougher surfaces. The direction of light determines your shot’s impact—front lighting reduces shadows, side lighting adds depth, and backlighting creates stunning halo effects.
Color temperature dramatically affects perception. Warmer light around 3000K enhances gold’s richness, while cooler 6000K light emphasizes silver and diamond clarity.
Managing reflections and glare requires strategic use of light modifiers like softboxes and diffusers on polished surfaces.
Experimentation with different qualities and directions lets you showcase each piece’s craftsmanship effectively, transforming ordinary jewelry shots into enchanting images.
Natural Light Vs Artificial Light Sources for Product Shoots
Although natural light offers an appealing, cost-effective solution for jewelry photography, it presents significant challenges that can compromise your results.
Weather changes and varying times of day create unpredictable conditions, leading to inconsistent image quality that doesn’t meet professional standards.
Artificial light sources, particularly LED lights, solve these problems by providing consistent color temperature and complete control over your lighting environment.
LED lights deliver consistent color temperature and complete control, eliminating the unpredictable lighting challenges that compromise jewelry photography results.
You can adjust brightness and color temperature precisely, highlighting gemstone details and metal textures without unwanted glare or reflections.
This control guarantees high-quality images every time.
For ideal results, combine both approaches.
Natural light adds warmth and softness, while artificial lighting ensures consistency and detail capture, giving you the best of both worlds.
LED Lighting Systems and Color Temperature Control
LED lighting systems revolutionize jewelry photography by offering precise color temperature control that alters how you capture precious metals and gemstones. You’ll achieve natural appearance with adjustable brightness settings ranging from 2700K warm tones to 6500K cool temperatures, ensuring accurate color representation for every piece.
| Color Temperature | Best For | Result |
|---|---|---|
| 2700K-3200K | Gold jewelry, warm metals | Enhanced golden tones |
| 4000K-5000K | Silver, platinum pieces | Neutral, true colors |
| 5500K-6500K | Diamonds, clear gems | Brilliant clarity |
LED lights produce minimal heat, protecting delicate pieces during extended shoots. The bi-color feature enables seamless shifts between temperatures without changing fixtures. You’ll reduce post-processing time considerably since consistent LED output captures true colors directly in-camera, eliminating extensive color corrections later.
Essential Light Modifiers for Jewelry Photography
You’ll need the right light modifiers to transform harsh lighting into the soft, controlled illumination that makes jewelry sparkle without unwanted glare.
Softboxes become your primary tool for diffusing direct light sources, while strategically placed reflectors help you fill in shadow areas that could hide important details.
Don’t overlook polarizing filters—they’re essential for cutting through reflections on polished metals and gemstones that would otherwise obscure your subject’s true beauty.
Softboxes Diffuse Harsh Light
When photographing jewelry, harsh lighting can create unwanted glare and distracting reflections that obscure the piece’s true beauty. Softboxes solve this problem by diffusing hard light sources into gentle, even illumination that eliminates problematic shadows and reflections on shiny surfaces.
You’ll want to select your softbox size based on your jewelry piece. Larger softboxes work perfectly for necklaces, while smaller ones suit rings better. This targeted approach lets you highlight intricate details and craftsmanship without introducing distracting glare that can ruin your shot.
Softboxes also maintain consistent color temperatures, ensuring accurate representation of various metals and gemstones.
When you incorporate softboxes into your jewelry photography setup, you’ll enhance image quality dramatically, creating luxurious, appealing photos that attract potential customers.
Reflectors Fill Shadow Areas
While softboxes excel at creating even illumination, reflectors serve as your secret weapon for eliminating stubborn shadows that can hide a jewelry piece’s finest details. You’ll use reflectors to fill those dark areas where your primary light can’t reach, creating balanced shadows and highlights throughout your composition.
Strategic positioning gives you complete control over the lighting, allowing you to soften and spread light precisely where needed. Different reflector surfaces produce distinct effects that enhance your jewelry’s appeal.
| Reflector Type | Light Quality | Best For |
|---|---|---|
| White | Soft, neutral fill | Diamond settings, silver pieces |
| Silver | Bright, crisp highlights | Adding sparkle, contrast |
| Gold | Warm, luxurious glow | Gold jewelry, vintage pieces |
This careful light management guarantees professional-quality photographs that showcase every facet and detail.
Polarizing Filters Reduce Glare
Glare and unwanted reflections can instantly ruin an otherwise perfect jewelry shot, but polarizing filters eliminate these distracting elements with precision.
These filters work by blocking specific light waves that create reflections on gemstones and metal surfaces, revealing intricate details you couldn’t see before.
You’ll notice immediate improvements in clarity and contrast when you rotate the circular polarizing filter to find the ideal angle.
This technique transforms ordinary shots into professional-looking product images that captivate potential customers.
Here’s what polarizing filters accomplish:
- Reduce glare from shiny metal surfaces and gemstone facets
- Enhance color saturation making jewelry appear more vibrant
- Improve visibility of fine craftsmanship and surface textures
- Create cleaner, more appealing product photography
Master this essential tool to elevate your jewelry photography instantly.
Softboxes and Diffusers for Eliminating Harsh Reflections
Two critical lighting modifiers can transform harsh, unflattering light into the soft, even illumination that jewelry photography demands: softboxes and diffusers.
These tools eliminate harsh reflections while creating even lighting that enhances your jewelry’s visual appeal and gives you complete control over light intensity.
You’ll want to match softbox size to your jewelry piece—smaller ones work perfectly for rings and earrings, while larger softboxes guarantee necklaces and bracelets receive uniform coverage.
Diffusers like white fabric or tracing paper soften direct light, reducing glare on polished surfaces so intricate details shine through.
When positioned correctly, this setup emphasizes texture and craftsmanship without overwhelming shine, delivering professional-quality images that showcase your jewelry’s true beauty.
Ring Lights and Specialty Equipment for Detail Enhancement
Ring lights revolutionize jewelry photography by delivering 360-degree uniform illumination that eliminates harsh shadows and makes gemstones sparkle with exceptional clarity.
Ring lights deliver flawless 360-degree illumination, eliminating shadows while making every gemstone sparkle with professional clarity and exceptional brilliance.
You’ll find this specialty equipment essential for detail enhancement when capturing intricate jewelry pieces.
Beyond ring lights, you’ll need additional tools to maximize your results:
- Polarizing filters – Reduce glare and reflections on metal surfaces for vibrant, clear images
- LED lights with adjustable color temperatures – Fine-tune lighting to accurately represent gold’s warm tones or silver’s cooler hues
- Softboxes – Diffuse harsh light while preserving texture and craftsmanship details
- Backlighting setups – Create stunning halo effects around transparent gemstones for enhanced depth
This specialty equipment transforms your jewelry photography from amateur snapshots into professional-quality images that showcase every precious detail.
Lighting Setup Techniques for Different Jewelry Types
Each jewelry type demands its own lighting strategy to capture its unique characteristics and maximize visual appeal.
You’ll need focused light sources for rings that highlight gemstones and metal surfaces without causing overexposure, ensuring the sparkle shines through clearly.
For necklaces, you should establish even illumination using a two-light setup that emphasizes both length and pendant details while eliminating unwanted shadows.
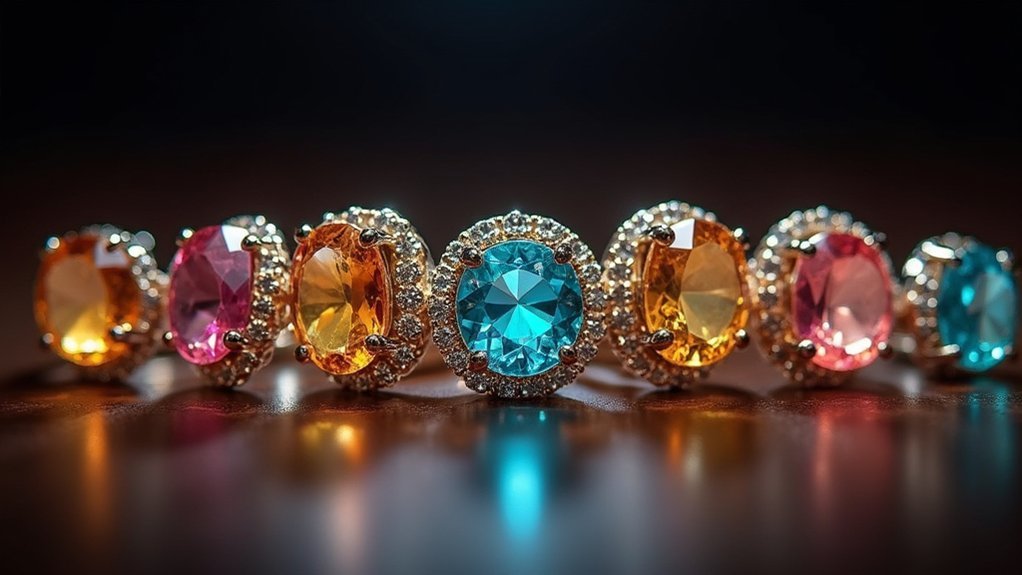
Ring Illumination Methods
Five essential lighting techniques can transform your ring photography from ordinary to extraordinary.
These ring illumination methods will help you capture stunning images that showcase every detail and sparkle.
- Ring lights and 45-degree positioning – Create depth and dimension while enhancing gemstone sparkle and minimizing unwanted shadows on intricate details.
- Polarizing filter application – Eliminate glare and reflections from polished metal surfaces, revealing the ring’s true design and craftsmanship clearly.
- Softboxes for even lighting – Produce consistent, gentle illumination that prevents harsh shadows on complex finishes and delicate features.
- Backlighting techniques – Generate an ethereal halo effect that makes your ring stand out dramatically against any background.
You’ll achieve professional-quality results by mastering these fundamental ring illumination methods and understanding how each technique enhances specific aspects of your jewelry photography.
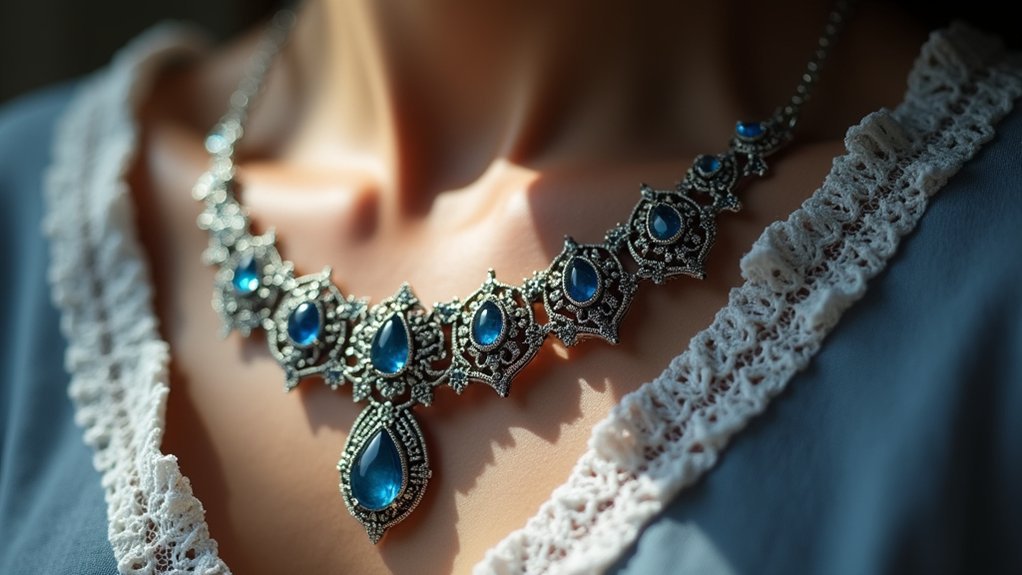
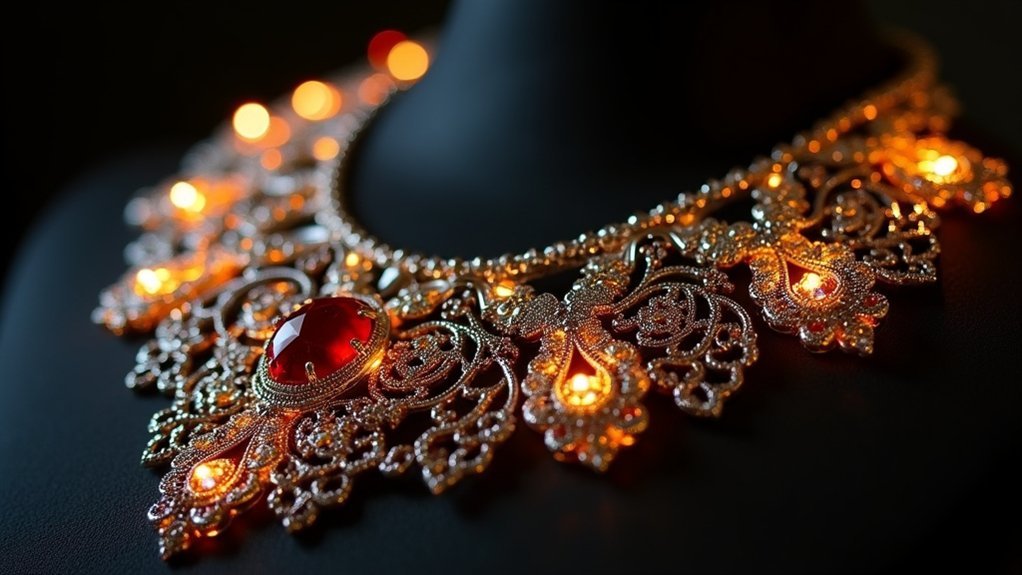
Necklace Lighting Arrangements
Why do necklaces present unique lighting challenges that require specialized techniques? Their elongated shape and varying textures demand a three-point lighting setup to capture every detail effectively.
Position your key light at a 45-degree angle to accentuate the necklace’s form while using a softbox to diffuse the light evenly. Your fill light reduces harsh shadows, guaranteeing balanced illumination across the piece.
Backlight creates a stunning halo effect, especially for pendants, enhancing sparkle and drawing focus to focal points. Place reflectors beneath the necklace to bounce light onto shadowed areas without creating overwhelming glare.
You’ll want to experiment with light source distances—closer lights intensify highlights, while farther positioning softens them. This customized approach guarantees your necklace photography showcases intricate details and materials with professional quality.
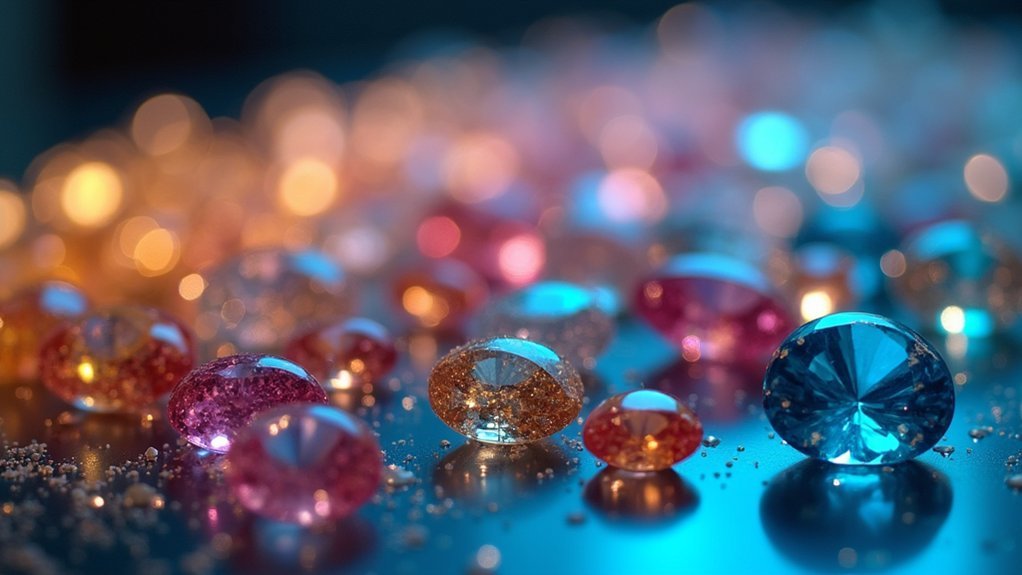
Capturing Sparkle and Brilliance in Gemstones
How can you transform a dull gemstone into an enchanting centerpiece that radiates brilliance?
You’ll need strategic lighting setups that work with your gemstone’s natural properties. Focused light sources create reflective highlights that showcase sparkle, while softboxes minimize harsh shadows and allow light to bounce perfectly off faceted surfaces.
Essential techniques for maximum sparkle:
Master these fundamental lighting approaches to unlock your gemstone’s maximum potential and create captivating images that showcase every facet’s brilliance.
- Set your color temperature between 5500K-6500K for diamonds and clear stones
- Use backlighting to create stunning halo effects around gemstone edges
- Position multiple light sources at varying angles to reveal hidden details
- Employ diffusers to maintain clarity while enhancing brilliance
Experimenting with different angles helps you capture each gemstone’s unique characteristics.
You’ll discover that proper lighting transforms ordinary jewelry shots into mesmerizing images that truly represent the stone’s inherent beauty and fire.
Managing Reflections and Glare on Polished Surfaces
When photographing polished jewelry surfaces, unwanted reflections and glare become your biggest obstacles to capturing crisp, detailed images. You’ll need polarizing filters to minimize these distractions effectively.
Position your light source at a 45-degree angle to manage shadows and highlights while reducing glare. Diffusers like softboxes or white fabric soften harsh lighting that creates problematic reflections on shiny surfaces.
Multiple light sources or reflectors help balance illumination without adding unwanted reflections. This approach fills in shadows naturally while maintaining the jewelry’s three-dimensional appearance.
For extremely reflective pieces, you can apply dulling spray to greatly reduce glare and achieve clearer detailed shots. These techniques guarantee your jewelry’s intricate features remain visible without the interference of distracting reflections that obscure important design elements.
Creating Depth and Dimension Through Shadow Control
Shadow control transforms flat jewelry images into compelling three-dimensional displays that showcase every curve and facet.
You’ll enhance the three-dimensional appearance by strategically directing light to create depth rather than eliminating shadows entirely.
Effective shadow techniques include:
- Side lighting – Position lights at angles to accentuate contours and textures without overpowering delicate details.
- Multiple light sources – Balance illumination by creating a more balanced distribution that reduces harsh contrasts.
- Soft light diffusers – Maintain detail while evening out shadows and creating gentle shifts.
- Angle experimentation – Adjust positioning to highlight specific features like gemstones or intricate metalwork.
You’re balancing soft and hard lighting effects, using shadows and creating dimension that brings your jewelry to life.
The goal isn’t shadow elimination but controlled shadow placement that adds visual interest.
Polarizing Filters and Glare Reduction Methods
While shadows add dimension to your jewelry photography, reflections and glare can destroy even the most carefully composed shots. Polarizing filters eliminate distracting reflections on metals and gemstones by filtering specific light waves. You’ll reveal intricate details and enhance color saturation that glare typically obscures.
| Challenge | Solution |
|---|---|
| Metal reflections masking details | Tiffen 58mm Multi-Coated Circular Polarizer |
| Washed-out gemstone colors | Strategic light positioning with diffusers |
| Inconsistent results across lighting conditions | Combined polarizing and glare reduction methods |
The Tiffen 58mm Multi-Coated Circular Polarizer delivers reliable performance across various lighting conditions. Complement your polarizing filters with strategic light placement and diffusers for ideal glare reduction. This combination transforms your jewelry photography by revealing textures and vibrant colors that separate professional shots from amateur attempts.
Color Accuracy and White Balance Optimization
You’ll need to master white balance settings to capture jewelry’s true colors without unwanted color casts that can mislead potential buyers.
Setting a custom white balance based on your specific lighting conditions guarantees accurate color representation across all your shots.
Control your camera’s color temperature manually rather than relying on auto settings, which often struggle with reflective jewelry surfaces and mixed lighting scenarios.
White Balance Settings
What determines whether your stunning diamond ring appears brilliantly white or carries an unwanted yellow tint in your final image? Your white balance settings control accurate color representation by eliminating color casts that distort jewelry’s true appearance.
You’ll achieve ideal results by implementing these essential techniques:
- Set custom white balance using a grey card for neutral reference points
- Shoot in RAW format to capture maximum color information for flexible post-processing adjustments
- Maintain consistent lighting conditions throughout your entire shooting session
- Regularly calibrate your monitor to guarantee displayed colors match reality
Custom white balance eliminates the guesswork that automatic settings often create.
When you’re shooting in RAW format, you’re capturing considerably more color data than JPEG files provide. This extra information becomes invaluable during post-processing when fine-tuning white balance without quality degradation.
Color Temperature Control
Color temperature directly impacts how your jewelry’s metals and gemstones appear in photographs. Measured in Kelvins, warmer light enhances gold tones while cooler temperatures favor silver and diamonds.
You’ll achieve better color accuracy by setting custom white balance instead of relying on auto settings that compensate for your specific lighting conditions.
Use a grey card as your neutral reference point during shoots to eliminate unwanted color casts. This simple tool helps you correct colors precisely in post-processing.
Always shoot in RAW format since it captures broader color information, giving you more control over final adjustments.
Maintain consistent lighting conditions throughout your sessions. This consistency prevents color variations that can confuse buyers and guarantees reliable results across your entire jewelry portfolio.
Budget-Friendly DIY Lighting Solutions
While professional lighting equipment can cost hundreds of dollars, you can achieve stunning jewelry photography results with simple household items and inexpensive alternatives.
You don’t need expensive gear to capture professional-quality jewelry photos with brilliant lighting and crystal-clear detail.
Position your setup near a window to harness natural light source for beautifully diffused illumination. Create budget-friendly solutions that rival expensive gear:
- DIY diffusers – White bedsheets, shower curtains, or tracing paper soften harsh shadows and eliminate glare on metallic surfaces.
- Reflective materials – White poster board or aluminum foil bounce light effectively to fill in shadows and highlight intricate details.
- Tabletop tripods – Stabilize your camera for sharp images while experimenting with different angles.
- LED work lights – Inexpensive desk lamps provide adjustable brightness and consistent soft light for professional-looking results.
These accessible tools transform ordinary setups into professional photography studios.
Post-Processing Lighting Adjustments for Professional Results
While capturing great lighting is essential, you’ll need post-processing adjustments to achieve truly professional jewelry photography results.
Your editing workflow should focus on three critical areas: controlling exposure and brightness to showcase intricate details, balancing highlights and shadows for ideal contrast, and correcting color temperature to maintain accurate representation.
These targeted adjustments transform good jewelry photos into compelling marketing images that drive sales.
Exposure and Brightness Control
Although capturing jewelry with proper lighting is essential, you’ll often need to refine exposure and brightness during post-processing to achieve truly professional results.
Adjusting exposure helps prevent overexposure that washes out polished metals and gemstones, while fine-tuning brightness levels guarantees all details remain visible.
Key post-processing techniques include:
- Histogram analysis – Identify and correct exposure issues for balanced highlights and shadows
- Selective brightness adjustments – Emphasize specific features like gemstone sparkle or metal shine
- Exposure and white balance corrections – Maintain accurate color representation throughout the piece
- Professional editing tools – Use Photoshop or Lightroom sliders for precise brightness levels control
These selective brightness adjustments transform ordinary shots into professional-quality images with enhanced visual appeal and accurate color representation.
Highlight and Shadow Balance
Mastering highlight and shadow balance transforms your jewelry photography from good to exceptional through strategic post-processing adjustments.
You’ll enhance intricate details by fine-tuning highlights to capture the sparkle of gemstones without overexposure, guaranteeing their brilliance shines through effectively. Deepening shadows during editing adds contrast and depth, creating a three-dimensional appearance that showcases the jewelry’s craftsmanship.
Your post-processing workflow should include selective sharpening to enhance clarity of specific features like gemstone cuts and facets without distorting the overall image.
Consistent color balance adjustments guarantee true colors are accurately represented, preventing misinterpretations of materials like gold and silver. These targeted edits make your jewelry pieces more pronounced and visually appealing while maintaining authenticity.
Color Temperature Correction
Three critical adjustments in color temperature correction can make or break your jewelry photography’s professional appearance.
You’ll need precise white balance control to guarantee gold appears warm while silver maintains its cool characteristics, preventing material misrepresentation that damages credibility.
Essential steps for accurate color representation include:
- Use a grey card reference during shoots for reliable post-processing adjustments
- Maintain consistent lighting conditions to minimize color discrepancies and editing time
- Calibrate your monitor regularly to guarantee true color accuracy during editing
- Adjust white balance between 5000K-6500K using Adobe Lightroom or Photoshop
Your post-processing adjustments become considerably easier when you’ve established controlled lighting conditions from the start.
Proper monitor calibration guarantees you’re seeing authentic colors, making color temperature correction more effective and delivering professional results that accurately showcase each piece’s true beauty.
Frequently Asked Questions
What Is the Best Lighting for Jewelry Photos?
You’ll achieve stunning results with soft, diffused LED lighting. Use softboxes and diffusers to eliminate harsh shadows while combining backlighting and side lighting techniques to create depth and enhance your jewelry’s reflective surfaces perfectly.
What Camera Setting Is Best for Jewelry Photography?
You’ll want to shoot in RAW format with manual exposure settings. Use a smaller aperture like f/8-f/11 for sharp focus, keep ISO low at 100-200, and set custom white balance for accurate colors.
How to Photograph Jewelry Without Glare?
Use a polarizing filter and position your light source at 45 degrees. Employ soft lighting with diffusers, apply dulling spray to reflective surfaces, and experiment with multiple light sources to eliminate glare effectively.
How Do You Make Jewelry Shine in Pictures?
You’ll make jewelry shine by using focused LED lights at 45-degree angles, adding diffusers to soften harsh reflections, and maintaining consistent color temperature to capture the metal’s true brilliance and sparkle.
In Summary
You’ve got the tools to transform your jewelry photography from dull to dazzling. Whether you’re using natural light with diffusers, investing in LED systems, or creating DIY setups, proper lighting’s your key to success. Don’t forget to control reflections with polarizers and nail your white balance for accurate colors. With these techniques and some post-processing finesse, you’ll capture stunning shots that make every piece shine brilliantly.


Leave a Reply