You’ll master stunning wax carving by using carbon paper for precise design transfer, then employ heat tools at low temperatures for controlled shaping and flame polishing. Create depth through layered carving with V-gouges for sharp lines and rounded gouges for softer effects. Add visual impact with strategic textures and patterns while planning three-dimensional forms from multiple angles. Perfect your pieces using soft brushes and fine cloths for polishing, then inspect under bright lighting with magnifying glasses for professional results that guarantee casting-ready models.
Master the Art of Design Transfer and Outline Carving
Before you can bring your vision to life in wax, you’ll need to master the fundamental process of transferring your design accurately from paper to your carving medium.
Start by sketching your design on paper to visualize proportions before transferring design details onto wax using carbon paper or a sharpie for precise placement.
Paper sketches establish proper proportions before carbon paper or sharpie transfers ensure accurate design placement on wax.
Once transferred, use a jeweler’s saw to roughly shape along your outlined design, removing excess material efficiently.
Refine your outline carving with wax files, smoothing edges while maintaining integrity of your original concept.
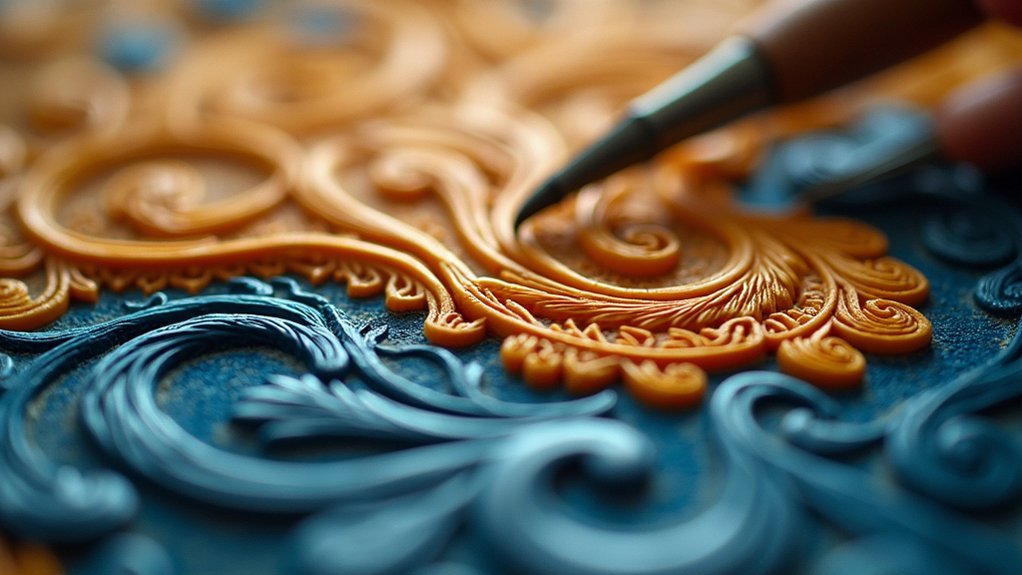
For final touches, employ precision tools like needle files or wax pens to add fine details.
This systematic approach guarantees clean, well-defined outlines that form the foundation for your stunning wax sculpture.
Harness Heat Tools for Precise Shaping and Smoothing
Heat tools transform your wax carving experience by offering unmatched control over shaping and smoothing processes. These essential instruments, including wax pens and heat guns, soften wax for precise shaping of intricate designs without compromising detail.
Start with low temperature settings and gradually increase to prevent melting or distortion. Safety’s vital—keep heat tools away from flammable materials and never leave them unattended.
These wax carving techniques enable seamless smoothing of complex surfaces while maintaining crisp edges. Master flame polishing for exceptional results. Briefly pass your model through flames to achieve a glossy finish on smooth, detail-free areas.
This technique elevates the quality of wax carvings greatly. Heat tools enhance your ability to create sophisticated textures and patterns, delivering professional-grade precision that separates amateur work from masterful artistry.
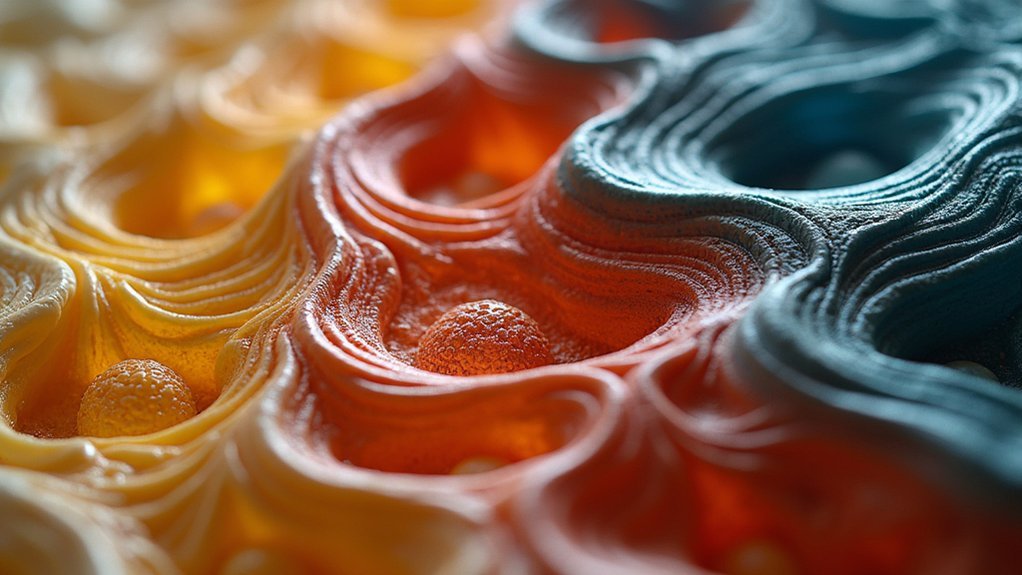
Create Depth Through Layered Carving Techniques
While heat tools excel at surface refinement, layered carving techniques reveal true dimensional artistry by building depth through successive wax removal.
You’ll create intricate designs featuring high and low relief by systematically carving layers, starting with rough shapes before adding finer details.
Planning the design on paper guarantees your layers work harmoniously together. Use V-gouges for deep grooves and rounded gouges for softer lines to achieve varied textures throughout each level.
As you remove wax in controlled stages, you’ll develop dynamic shadows and highlights that enhance dimensionality.
Take time to refine each layer completely before progressing. This patience prevents mistakes and produces a smoother finish.
The varying depths you create will transform flat wax into visually striking jewelry with professional-quality results.
Incorporate Textures and Patterns for Visual Impact
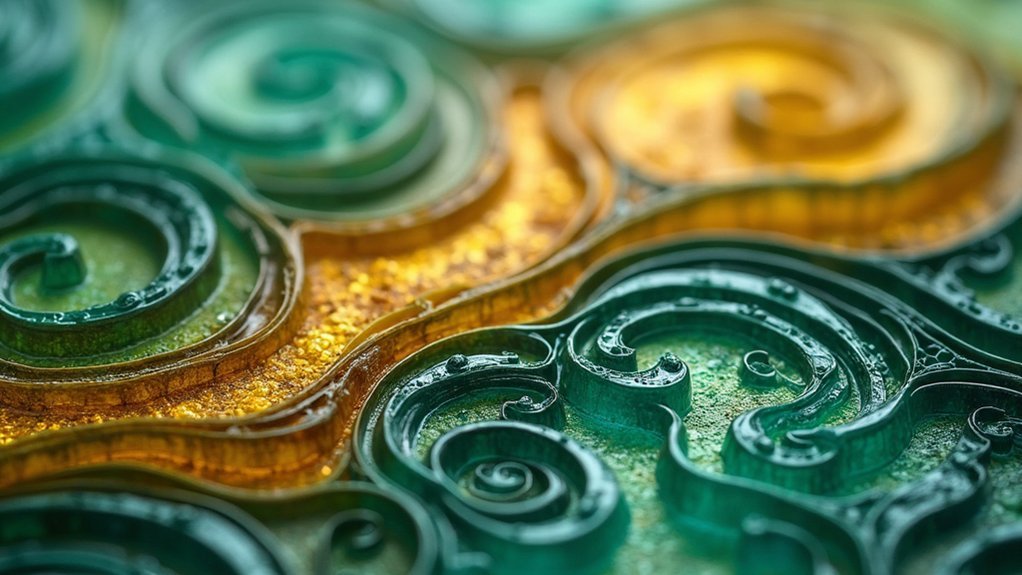
Once you’ve mastered layered carving, texture and pattern work transforms your wax models into visually enchanting pieces that catch light and create stunning focal points.
Planning patterns on paper beforehand prevents mistakes and helps balance design elements effectively. Your wax carving skills improve dramatically when you sketch three-dimensional designs from multiple angles before beginning.
Sketch your three-dimensional designs from multiple angles before carving to dramatically improve your wax sculpting skills and prevent costly mistakes.
Different carving tools create distinct effects—V-gouges produce deep grooves while rounded gouges form flowing lines with softer edges.
Start with general shapes, then progress to intricate details using layering techniques. This gradual approach lets you enhance complexity without overwhelming your design.
Textures and patterns don’t just boost visual appeal; they add depth and uniqueness to your final piece, making each creation truly distinctive.
Develop Three-Dimensional Forms With Strategic Planning
Building on your texture and pattern expertise, creating compelling three-dimensional forms requires strategic planning that transforms flat sketches into sculptural masterpieces. You’ll need to sketch your design from multiple angles before touching wax, visualizing how each element contributes to the overall 3D form.
Your clear design plan should incorporate layering techniques during the carving process. Start with general shapes, then progressively add details using appropriate carving tools. Mark guidelines on your wax block to maintain symmetry and proportion throughout development.
| Planning Stage | Tools Needed | Focus Area |
|---|---|---|
| Initial Sketching | Pencil, Paper | Overall 3D form |
| Rough Carving | Large gouges | Basic depth and structure |
| Detail Work | V-gouges, Small tools | Precision and accuracy |
| Refinement | Fine tools | Surface quality |
| Final Touches | Polishing tools | Stunning three-dimensional finish |
Perfect Surface Finishing With Professional Polishing Methods
You’ll transform your wax carving from rough form to professional masterpiece through systematic polishing that requires the right tools and techniques.
Start by selecting essential polishing implements like soft-bristled brushes and fine cloths, then progress through increasingly finer grits to eliminate imperfections and create smooth surfaces.
Complete your finishing process with specialized buffing methods that’ll give your piece the lustrous, gallery-quality appearance that distinguishes amateur work from professional craftsmanship.
Essential Polishing Tool Selection
Three fundamental categories of polishing tools separate amateur work from professional-quality wax carvings: brushes, heat sources, and chemical refiners.
You’ll need soft-bristle polishing brushes to achieve smooth finishes without scratching delicate surfaces. An alcohol lamp provides controlled flame polishing that enhances surface gloss dramatically.
Essential tools include:
- Soft-bristle brushes – Prevent scratches while creating mirror-like finishes
- Alcohol lamp – Delivers precise heat for professional flame polishing
- Bestine solvent – Erases file marks and surface imperfections effectively
Your polishing techniques should combine gentle pressure with rotary tools for superior results.
Regular inspection under bright light reveals hidden imperfections before final polishing. This systematic approach guarantees your wax carvings achieve a high-quality finish that rivals professional standards.
Progressive Grit Smoothing Techniques
Achieving mirror-like surfaces on your wax carvings requires a systematic progression through increasingly fine abrasives. Start your progressive grit smoothing with coarse grit sandpaper around 80-120 grit to remove imperfections from your carved surfaces.
You’ll then advance through medium grits before finishing with fine-grit sandpaper up to 1000 grit.
Employ wet sanding techniques using water to reduce dust and enhance smoothness during the polishing process. Apply polishing brushes with tripoli or rouge compounds using a rotary tool to achieve that coveted high-gloss finish.
Make inspecting the surface under bright lighting a regular practice to guarantee uniform polish across your entire piece.
Complete your finishing process with flame polishing using an alcohol lamp, which effectively eliminates minor scratches for professional results.
Final Buffing Methods
Four essential buffing techniques will transform your wax carving from good to exceptional.
After sanding with fine-grit sandpaper, you’ll achieve remarkable results through strategic final buffing approaches.
- Polishing brushes with soft bristles – Apply gentle pressure using circular motions to avoid scratches while creating smooth surfaces.
- Flame polishing with alcohol lamp – Carefully pass flames over smooth areas to achieve glossy finishes and minimize imperfections.
- Bestine solvent application – Use this powerful solution to erase file marks and create a clean polished look.
Always finish by inspecting your wax model under bright light with a magnifying glass to identify remaining flaws.
These combined polishing techniques will dramatically enhance the appearance of your carving, ensuring professional-quality results before casting.
Achieve Casting-Ready Models Through Precision Detailing
When precision detailing becomes your focus, you’ll transform rough wax models into casting-ready masterpieces that capture every intended nuance.
Your success depends on selecting proper tools for fine detailing – needle files and wax pens deliver the control needed for intricate designs while creating smooth surfaces.
Implement layering techniques to manage complex patterns without compromising accuracy. You’ll build details gradually, maintaining complete control over each element.
Regular inspection under bright lighting reveals imperfections that could undermine your final piece. Use magnifying glasses for thorough inspecting flaws before proceeding.
Complete your wax model with final polishing techniques. Flame polishing using an alcohol lamp eliminates surface irregularities and elevates overall quality.
These meticulous steps guarantee your casting-ready model meets professional standards.
Frequently Asked Questions
What Are the Different Types of Wax Carving?
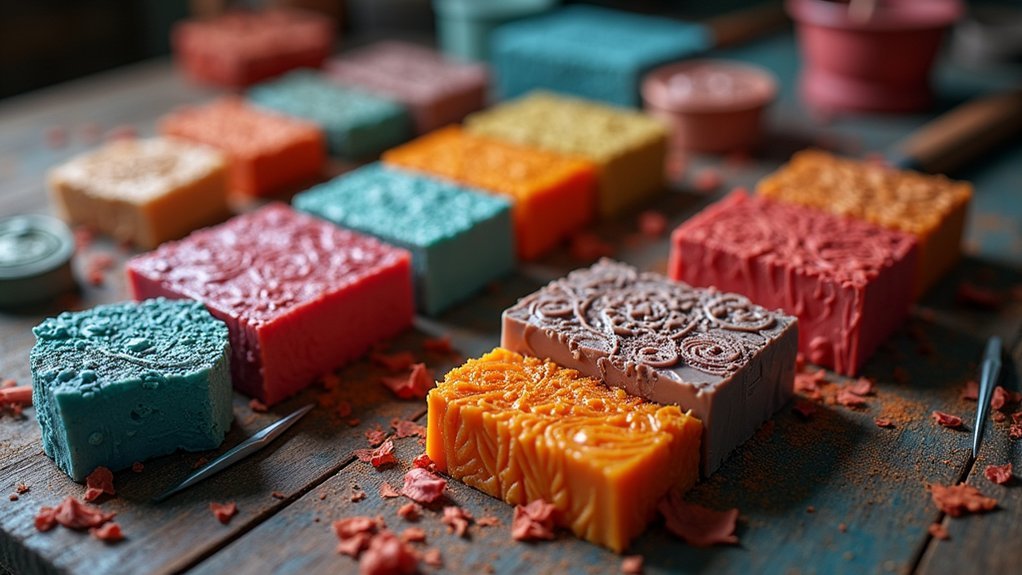
You’ll find several wax carving types including file-a-wax, green wax for intricate details, blue wax for flexibility, purple wax for general use, and turquoise wax for exceptional finishes.
What Is the Lost Wax Carving Method?
You’ll sculpt a detailed model in wax, then encase it in plaster. After heating melts the wax away, you’ll pour molten metal into the remaining cavity, creating an exact replica.
How to Smooth Carving Wax?
You’ll smooth carving wax using fine-grit sandpaper or scrapers, applying gentle heat with a wax pen, then using precision tools for details. Finish with flame polishing for a glossy appearance.
What Is the Best Wax for Sculpting?
You’ll find blue wax works best for beginners since it’s forgiving and easy to carve. If you’re experienced, choose green wax for sharp details, or combine different types for complex designs.
In Summary
You’ve now got seven powerful techniques to transform ordinary wax into extraordinary designs. Don’t let these skills sit idle—start with simple projects and gradually tackle more complex pieces. Remember, each carving session builds your muscle memory and artistic confidence. Whether you’re creating jewelry prototypes or sculptural masterpieces, these methods will elevate your craftsmanship. Pick up your tools, choose your wax, and let your creativity flow into stunning three-dimensional reality.


Leave a Reply