You can effectively clean jewelry solder joints using pickling solutions with citric or sulfuric acid to remove stubborn oxidation and flux residues. Follow with baking soda neutralization, then gently polish using brass brushes or fine steel wool. Acetone degreasing removes oils and fingerprints, while ultrasonic baths provide deep cleaning for intricate pieces. Steam cleaning works well for delicate joints, and professional polishing compounds restore shine. Prevent contamination by cleaning surfaces before soldering and maintaining proper tool hygiene. These thorough methods will transform your jewelry’s appearance.
Using Pickling Solution for Deep Cleaning
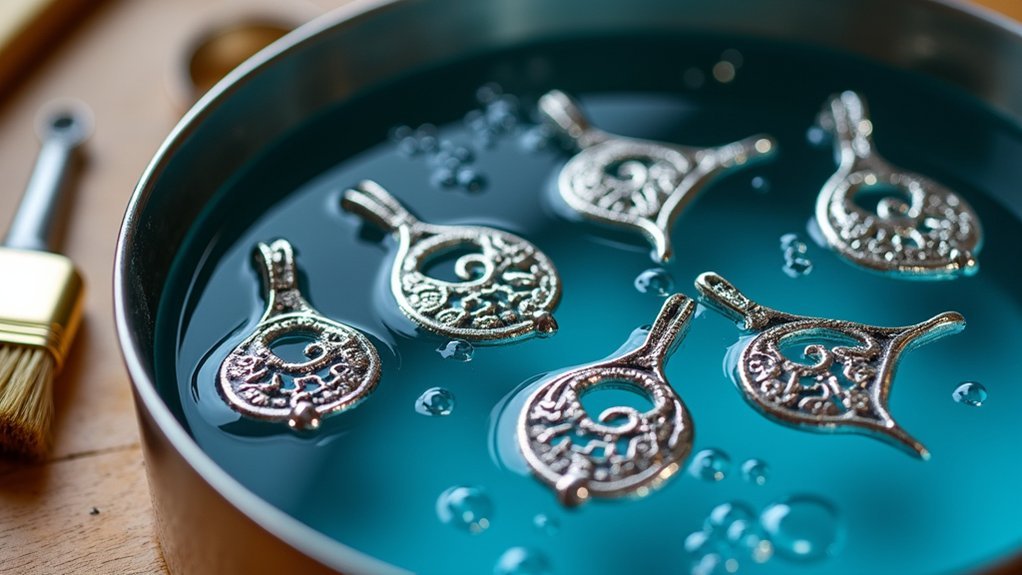
When your jewelry develops stubborn oxidation, fire scale, or flux residues that regular cleaning can’t remove, pickling solution offers a powerful deep-cleaning method. This acidic solution, typically composed of citric, sulfuric, or boric acid, effectively restores your solder joints’ shine and cleanliness.
You’ll need to submerge your jewelry in warm pickling solution using steel tongs for safety. After thorough cleaning, immediately neutralize the acid by immersing the piece in a baking soda solution to prevent further corrosion.
Then rinse under fresh water to eliminate any residual acids and maintain your metal’s integrity. For best results, replace your pickling solution regularly. This prevents contaminant buildup that could impair performance and guarantees consistently effective cleaning of your jewelry’s solder joints.
Baking Soda Neutralization Technique
After completing the pickling process, you’ll need to immediately neutralize the acidic residues to protect your jewelry from ongoing corrosion.
Baking soda serves as an excellent neutralizing agent that effectively counteracts acids while preventing metal damage.
To implement this technique properly:
- Mix the solution – Combine baking soda and water in a 1:1 ratio to create your neutralizing mixture.
- Soak the jewelry – Immerse your pieces for several minutes, allowing the baking soda to neutralize acids and remove flux residues.
- Rinse thoroughly – Wash everything under fresh water to eliminate any remaining baking soda particles.
This process guarantees a completely clean surface ready for finishing work.
Remember to dispose of your baking soda solution according to local chemical disposal guidelines for environmental safety.
Brass Brush Polishing Method
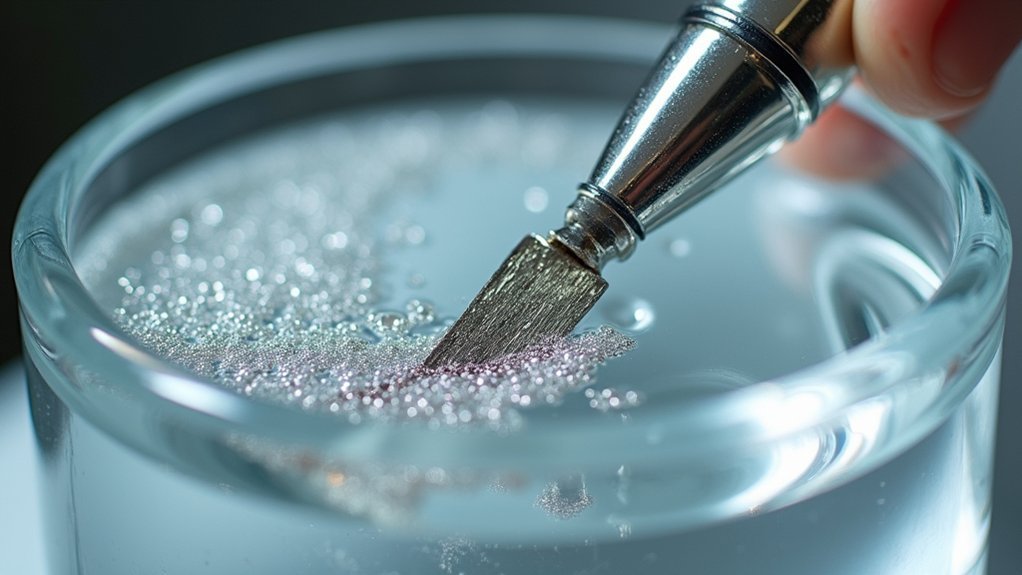
The brass brush polishing method provides an excellent solution for cleaning solder joints without damaging your jewelry’s delicate surfaces. This gentle technique effectively removes oxidation and flux residues while preserving the underlying metal’s integrity.
When using your brass brush, apply light pressure to avoid scratching delicate surfaces while ensuring thorough cleaning. Use a dedicated brush for solder cleaning to prevent cross-contamination with other materials. This maintains both effectiveness and safety.
Regular maintenance keeps your brass brush performing at its best. Remove built-up debris after each use and replace the brush when bristles become worn or damaged.
After polishing, rinse your jewelry piece thoroughly in clean water. This removes loose particles and debris, ensuring a pristine finish that showcases your solder joints’ professional appearance.
Fine Steel Wool Gentle Scrubbing
Fine steel wool offers another effective approach for cleaning solder joints when you need slightly more abrasive power than a brass brush can provide.
This gentle scrubbing method removes oxidation and dirt without scratching your metal surface, making it perfect for delicate jewelry work.
When using fine steel wool on solder joints, follow these essential steps:
- Choose the right grade – Select fine steel wool that’s gentle enough for your jewelry while still providing thorough cleaning power.
- Combine with pickling solution – Use fine steel wool alongside pickling solutions to eliminate flux residues and enhance shine.
- Rinse thoroughly afterward – Remove all steel wool fibers from the surface to prevent unwanted residues.
Regular use maintains your solder joints’ professional appearance throughout your jewelry projects.
Acetone Degreasing Process
You’ll find acetone particularly effective for degreasing jewelry solder joints since it evaporates quickly without leaving residue.
Apply pure acetone using a lint-free cloth or cotton swab, gently wiping the metal surfaces to remove oils and fingerprints that could interfere with soldering.
Always guarantee you’re working in a well-ventilated area and wear protective gloves to prevent skin irritation from the solvent.
Acetone Application Techniques
When degreasing jewelry solder joints, acetone stands out as the professional’s go-to solvent due to its exceptional ability to dissolve oils and stubborn grease buildup.
You’ll find acetone delivers superior cleaning results when applied correctly.
Follow these essential application techniques:
- Direct application – Apply pure acetone using a cotton swab or cloth, ensuring complete saturation around the solder joint without leaving residues.
- Ventilation requirements – Work in a well-ventilated area to avoid inhaling harmful fumes, as acetone can be volatile and irritating.
- Storage practices – Store acetone in tightly sealed containers to prevent contamination and evaporation.
You’ll appreciate that acetone evaporates quickly, eliminating rinsing requirements and speeding up your cleaning process while maintaining effectiveness for future use.
Safety and Ventilation
Although acetone effectively removes oils and grease from jewelry solder joints, it poses significant health and safety risks that require careful precautions.
You must guarantee proper ventilation in your workspace since acetone fumes can be harmful when inhaled over extended periods. Always wear protective gloves and safety goggles to shield your skin and eyes from direct contact with the solvent.
Keep acetone away from heat sources, as it’s highly flammable and creates serious fire hazards. Use only pure acetone without additives to prevent unwanted residues that could compromise your soldering work.
Store acetone in tightly sealed containers within cool, dry locations to minimize evaporation and maintain effectiveness. These safety measures protect both your health and workspace integrity.
Warm Soapy Water Soaking
Before you reach for expensive commercial cleaners, consider that warm soapy water often provides the most effective and gentle method for cleaning jewelry solder joints.
This simple approach dissolves grease and oils while protecting your precious metals from harsh chemicals.
When cleaning jewelry using this method, follow these essential steps:
- Soak for 10-15 minutes – Allow mild dish soap to penetrate and loosen contaminants without damaging the metal.
- Gently scrub joints – Use a soft brush or cloth to remove remaining grime without scratching delicate surfaces.
- Rinse thoroughly – Eliminate all soap residue under fresh water before proceeding with additional work.
You’ll find this technique prepares your solder joints perfectly for polishing or further soldering while maintaining the integrity of your jewelry pieces.
Steam Cleaning for Delicate Joints
Steam cleaning takes jewelry maintenance to the next level, offering a powerful yet gentle approach for preserving delicate solder joints. This method uses high-temperature steam to dissolve oils and contaminants without abrasive action, protecting your metal’s integrity.
| Step | Temperature | Action |
|---|---|---|
| 1 | Room temp | Prepare steam cleaner |
| 2 | 212°F (100°C) | Direct concentrated jet |
| 3 | High heat | Dissolve flux residues |
| 4 | Maintain temp | Remove stubborn grime |
| 5 | Cool down | Allow complete drying |
You’ll direct the concentrated steam jet onto solder joints, which loosens and removes flux residues effectively. Verify your steam cleaner reaches at least 212°F for best results. Always let jewelry cool and dry completely afterward to prevent moisture issues. Regular steam cleaning maintains appearance while minimizing aggressive methods that could damage delicate designs.
Ultrasonic Cleaning Bath Treatment
You’ll find ultrasonic cleaning baths exceptionally effective for removing stubborn residues from intricate jewelry solder joints through high-frequency sound wave technology.
Setting up your ultrasonic bath requires selecting the right cleaning solution—typically water mixed with mild detergent or specialized ultrasonic fluid—to achieve ideal results on metal surfaces.
After your 3-10 minute cleaning cycle, you’ll need to follow proper post-treatment care steps to maintain the enhanced appearance and quality of your freshly cleaned joints.
Ultrasonic Bath Setup
When you’re ready to achieve professional-level cleaning results, an ultrasonic bath harnesses high-frequency sound waves to create microscopic bubbles that penetrate deep into solder joints and intricate settings where traditional cleaning methods can’t reach.
Setting up your ultrasonic cleaning system requires attention to three critical elements:
- Frequency Selection – Choose 20-40 kHz frequencies, with higher frequencies providing gentler cleaning for delicate pieces.
- Solution Preparation – Fill with mild detergent or specialized ultrasonic cleaning solutions designed for metals and gemstones.
- Jewelry Placement – Use a basket to prevent direct contact with the tank bottom, avoiding scratches and damage.
Always follow manufacturer guidelines for cleaning times and temperatures. Excessive exposure can damage certain materials or finishes, so monitor your jewelry throughout the ultrasonic cleaning process.
Cleaning Solution Selection
Although distilled water alone can provide basic cleaning power, selecting the right cleaning solution transforms your ultrasonic cleaner into a precision instrument that tackles specific contaminants while protecting your jewelry’s delicate materials.
Your cleaning solution selection directly impacts results. Specialized jewelry cleaning solutions excel at dissolving flux residues and oxidation around solder joints without damaging precious metals or gemstones.
You can also create effective mixtures using distilled water with mild detergent, but guarantee compatibility with your jewelry’s materials. Different metals require different approaches—what works for gold might harm silver or cause discoloration.
Always follow manufacturer guidelines for solution concentration ratios. Testing solutions on inconspicuous areas first prevents costly mistakes and guarantees your valuable pieces remain pristine.
Post-Treatment Care Steps
Once your ultrasonic cleaning cycle completes, proper post-treatment care determines whether your jewelry emerges spotless or develops new problems. Your solder joint requires careful handling to maintain its newly cleaned condition.
Follow these essential post-treatment steps:
- Rinse thoroughly – Remove all jewelry pieces and rinse them completely in clean water to eliminate any remaining cleaning solution residue from the solder joint.
- Dry immediately – Use a soft, lint-free cloth to gently pat each piece dry, preventing water spots that can mar the finish.
- Inspect carefully – Examine each solder joint for cleanliness and structural integrity before storage.
You’ll prevent recontamination by handling pieces minimally during this process.
Store your cleaned jewelry in a dry environment to maintain the ultrasonic treatment’s effectiveness.
Professional Polishing Compound Application
Professional polishing compounds can transform dull, tarnished jewelry into brilliant pieces when you apply them correctly. Choose a polishing compound specifically formulated for your jewelry’s metal type, as different metals require varying abrasiveness levels.
Apply the compound using circular motions with a soft cloth or buffing wheel for even distribution and scratch prevention. This technique effectively removes tarnish and oxidation from solder joints while enhancing overall shine.
| Metal Type | Compound Abrasiveness |
|---|---|
| Gold | Low to Medium |
| Silver | Medium |
| Platinum | Low |
| Copper | Medium to High |
| Brass | High |
Regularly clean your buffing wheel or cloth to prevent dirt transfer. After polishing, rinse the jewelry under warm water and dry thoroughly to remove compound residues that could affect the solder joints’ appearance.
Preventive Cleaning During Soldering Process

You’ll achieve stronger, cleaner solder joints by properly preparing your metal surfaces before heating begins.
Start by removing any oils, oxidation, or debris from connection points using a Scotch-Brite pad or appropriate cleaning solution.
Apply flux strategically to clean areas only, as excess flux on dirty surfaces won’t compensate for inadequate pre-cleaning and can actually trap contaminants.
Pre-Cleaning Metal Surfaces
Before you begin any soldering work on jewelry, proper surface preparation becomes critical for achieving strong, clean joints. Contaminated metal surfaces prevent solder from flowing properly and create weak bonds that’ll compromise your finished piece.
Follow these essential pre-cleaning steps:
- Handle with clean gloves – Always wear gloves to prevent transferring oils and grease from your skin onto metal surfaces.
- Clean with acetone – Use acetone or similar solvent to remove existing dirt, oils, and oxidation from areas you’ll solder.
- Scrub gently – Use fine steel wool or brass brush to scrub the soldering areas, ensuring ideal surface preparation.
After initial cleaning, apply a pickling solution to eliminate any remaining oxidation or flux residues.
Minimize handling throughout the process to maintain cleanliness.
Managing Flux Application
Three strategic approaches to flux application will dramatically reduce cleaning time and improve your soldering results.
First, apply flux sparingly to minimize residue accumulation on joints. You’ll achieve cleaner finishes while reducing post-soldering cleanup requirements.
Second, choose liquid flux that leaves minimal residue to maintain joint cleanliness and prevent contamination as you solder onto metal surfaces.
Third, maintain consistent heat application during soldering to improve solder flow and reduce flux requirements, resulting in cleaner joints with less residue buildup.
Remove flux residue immediately after soldering using fine steel wool or brass brushes for a polished finish.
Establish a routine of cleaning your soldering area and tools regularly to prevent cross-contamination from flux and oils, ensuring consistently cleaner solder joints throughout your jewelry work.
Frequently Asked Questions
How to Clean Jewelry After Soldering?
You’ll want to immerse your jewelry in pickling solution using steel tongs, then neutralize in baking soda solution before rinsing. For stubborn residues, use acetone and gently polish with fine steel wool.
How Do You Clean Solder Joints?
You’ll submerge your jewelry in pickling solution to remove oxidation and flux residues from solder joints. Then neutralize with baking soda, rinse thoroughly, and gently scrub with a brass brush if needed.
What Is the White Stuff on My Solder Joints?
The white stuff you’re seeing is likely flux residue or oxidation from the soldering process. It’s a chalky film that forms when solder cools and can weaken your joints if you don’t clean it off properly.
How to Clean Sterling Silver After Soldering?
You should immerse your sterling silver in heated citric acid solution to remove oxidation. Rinse with baking soda solution, then fresh water. Gently polish solder joints with brass brush, avoiding bare hand contact.
In Summary
You’ve now got nine proven methods to keep your solder joints spotless and professional-looking. Don’t wait until flux residue builds up—clean as you work for best results. Start with gentler techniques like baking soda neutralization before moving to stronger solutions. Remember, you’ll achieve better outcomes when you match your cleaning method to your specific jewelry material. With consistent practice, you’ll develop the perfect cleaning routine that works for your projects.


Leave a Reply