You’ll need to select your stones first, then calculate proper dimensions by leaving 1-1.5mm spacing around each setting area with minimum 1-1.5mm depth to conceal the stone’s belly. Mark placement points with permanent marker dots, then notch prongs and carve precise grooves in your wax model. Gently press stones into the notched prongs while accounting for shrinkage during casting. Follow these prep fundamentals to explore advanced burnout procedures that protect your embedded gemstones.
Understanding Gemstone Setting Types and Requirements

When you’re preparing to set gemstones in wax, you’ll need to understand the three main flush setting types that determine your approach.
Invisible settings position stones within the metal surface for a seamless look.
Invisible settings create a flush appearance by positioning gemstones level with the metal surface for seamless integration.
Star settings utilize a star-shaped base to secure the gemstone firmly.
Row settings offer the newest style, enabling creative ring design possibilities with multiple stones arranged in patterns.
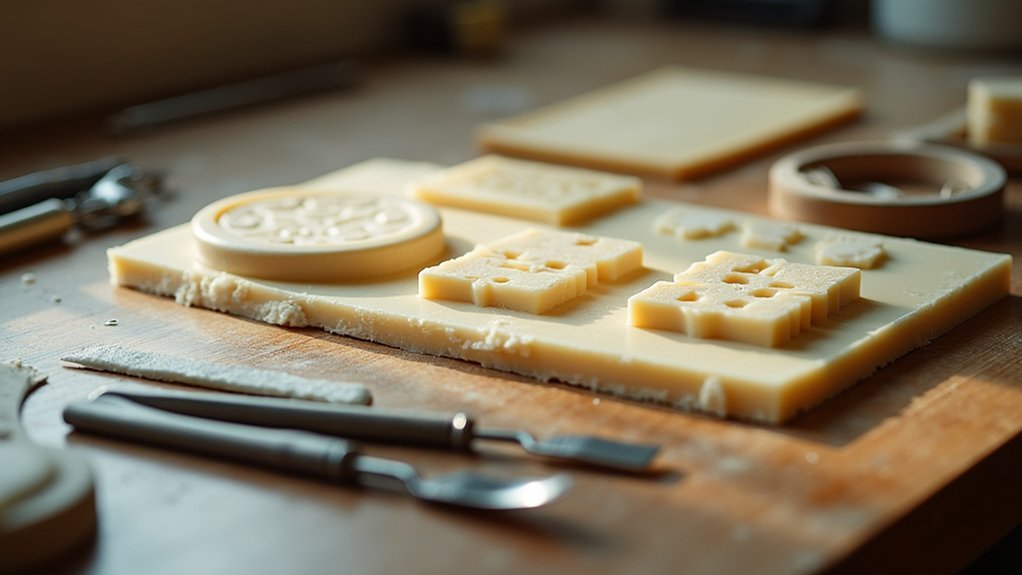
Your wax carving process requires careful planning around stone dimensions.
Leave 1-1.5mm spacing around each 2mm stone to guarantee proper fit.
The setting area needs minimum 1-1.5mm depth to conceal the stone’s belly securely.
Mark placement points with permanent marker dots, then check width and depth measurements.
Maintain adequate band thickness throughout your design to support both settings and stones comfortably.
Selecting Stones and Calculating Dimensions for Wax Models
Your stone selection directly impacts every aspect of your wax model design, making it the foundation step before you begin carving. Choose your gemstone first, then reference the gemstone menu for precise measurements to guarantee accuracy in your wax model dimensions.
For a 2mm stone, you’ll need to leave 1-1.5mm of space around the setting area for secure placement. Make your ring design at least 1-1.5mm deep to properly conceal the stone’s belly and create stability.
When you’re ready to carve, mark the stone placement with a permanent marker dot as your guide. This dot helps you check both width and depth measurements around the setting area, ensuring your wax model will accommodate the stone perfectly during casting.
Model Preparation Techniques for Secure Stone Placement

After calculating your stone dimensions and marking placement points, you’ll need to prepare your wax model with specific techniques that guarantee stones remain secure throughout the casting process.
Begin by notching prongs appropriately on your wax ring to create secure holds that prevent stone movement during casting. For channel settings, carve precise grooves that accommodate shrinkage while maintaining a snug fit.
When performing stone setting in wax, apply gentle pressure during insertion, leaving adequate space for the casting shrinkage that’ll occur. This prevents breakage and ascertains proper final positioning.
Account for shrinkage calculations from your rubber molds—ideally using 0% shrinkage liquid rubber for mold-making accuracy.
Before proceeding to tree setup, thoroughly inspect your wax patterns for imperfections or misalignments that could compromise quality and precision.
Wax Setting Process and Stone Alignment Methods
With your wax model properly prepared, the actual stone setting process requires methodical alignment techniques to achieve professional results.
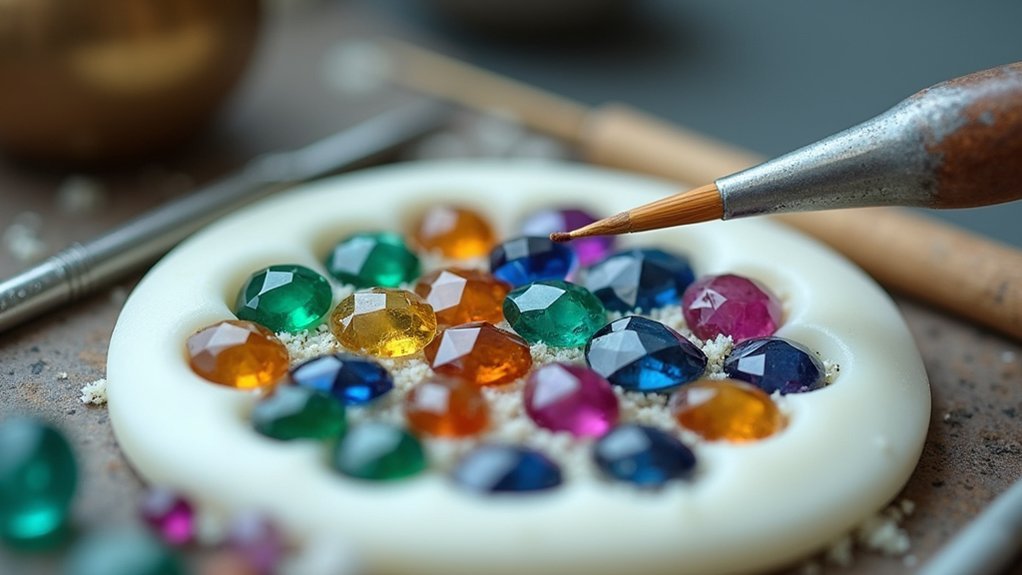
You’ll need to gently press each stone into the notched prongs, creating a snug fit while accounting for shrinkage during lost wax casting. Leave adequate space around stones since wax contracts as it heats.
Use a heated wax tool to adjust stone heights, guaranteeing perfect stone alignment across your design. All stones must sit evenly to prevent casting defects. Press firmly but carefully to avoid cracking the wax or damaging delicate stones.
After positioning, clean excess wax from stone surfaces immediately. This prevents residue from affecting your final cast piece’s appearance and guarantees crisp, professional results.
Burnout Procedures and Quality Control for Stone-in-Place Casting

Once you’ve completed the stone setting process, the burnout phase becomes critical for preserving your embedded stones while eliminating all wax residue.
After investing, let your flasks rest on a vibration-free table for one hour to guarantee complete setting.
Allow flasks to rest undisturbed on a stable surface for sixty minutes to ensure proper investment setting.
Use Solitaire investment (#Z14-303-BX) specifically designed for stone protection during burnout procedures.
Follow precise temperature settings to optimize wax removal without damaging stones.
Cool flasks to comfortable handling temperatures before removing investment, using a strainer to catch any loose stones.
Implement thorough quality control checks on cast pieces post-casting.
Examine each stone carefully to identify any that’ve loosened during the process.
Tighten loose stones immediately to maintain the final product’s integrity.
These systematic quality control measures guarantee your stone-in-place castings meet professional standards.
Frequently Asked Questions
How Do You Set Stones in Wax for Casting?
You’ll carefully insert stones into notched prongs using gentle pressure, leaving space for casting shrinkage. Heat wax tools to adjust stone heights, ensuring they’re level and secure before investing the pattern.
What Temperature Should Wax Be for Investment Casting?
You should maintain your wax temperature between 70°F to 90°F for investment casting. This range guarantees ideal flow and detail retention while preventing brittleness or excessive softness that’d affect your final results.
What Are the Six Steps of the Lost Wax Method of Casting?
You’ll create your wax model, add sprues, coat with investment plaster, burn out the wax, pour molten metal into the cavity, then break away investment to reveal your finished cast piece.
How Do You Smooth Wax for Casting?
You’ll smooth wax using sanding tools, files, and gentle heat application. Sand systematically to eliminate imperfections, warm the surface slightly for minor adjustments, and check under good lighting for consistency.
In Summary
You’ve now mastered the essential techniques for stone-in-place casting with wax models. Remember that proper stone selection, precise measurements, and careful wax work directly impact your final piece’s quality. Don’t rush the burnout process—it’s vital for maintaining stone integrity. Practice these alignment methods consistently, and you’ll develop the confidence to tackle complex multi-stone settings. Your attention to detail during preparation will pay off in professional-quality castings every time.


Leave a Reply