Jewelry wax carving videos offer you visual learning that transforms abstract concepts into clear, actionable steps you can follow. You’ll see expert tool selection and handling techniques, watch real-time problem-solving as masters identify design flaws, and learn the complete lost-wax casting process step-by-step. These videos provide cost-effective skill development, letting you practice with inexpensive materials while learning from global artisans. You’ll discover the secrets behind professional carving techniques and material selection that’ll elevate your craftsmanship.
Visual Learning Makes Complex Techniques Accessible
When you’re learning jewelry wax carving, videos transform abstract concepts into clear, actionable steps you can follow.
Visual learning helps you understand complex processes like mold preparation and lost-wax casting that can seem overwhelming when described in text alone. You’ll see exactly how tools like flex shafts and carving knives work in real-time, making it easier to grasp proper handling techniques and understand how different wax types respond to manipulation.
Step-by-step demonstrations let you follow along with the carving process, showing you precisely how to maintain dimensions and symmetry.
When you’re carving wax, these visual guides become invaluable references you can revisit whenever you need clarification on specific techniques or methods.
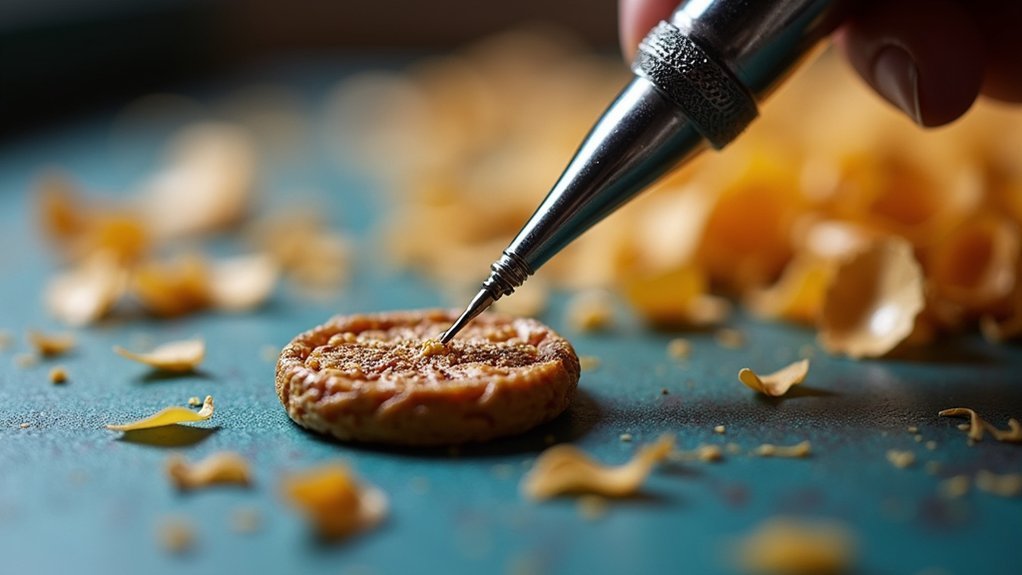
Expert Tool Selection and Usage Demonstrations
While reading about tool selection can provide basic knowledge, expert-led videos show you exactly how professionals choose and handle their carving instruments for maximum efficiency.
You’ll see demonstrations of essential tools used in jewelry making, including Dremel tools, dental instruments, and scalpel blades in action. These videos reveal proper techniques for using coarse and fine burs to carve wax effectively, showing you how to tackle larger areas and refine intricate details.
You’ll learn vital tool maintenance practices and selection criteria based on your carving style and project needs.
Expert demonstrations include portable wax pen usage and modified tool techniques for enhanced precision. Many videos also introduce budget-friendly alternatives and homemade tools, making professional-quality carving accessible without major financial investment.
Step-by-Step Process Breakdown for Lost Wax Casting
You’ll start by creating your detailed wax model and attaching it to a sprue system that’ll guide the molten metal flow.
Next, you’ll encase the wax in investment plaster, burn out the wax to create a precise cavity, then pour molten metal into that space.
After the metal cools and you’ve broken away the investment, you’ll need to cut your piece from the metal tree and apply finishing techniques to achieve your final polished jewelry.
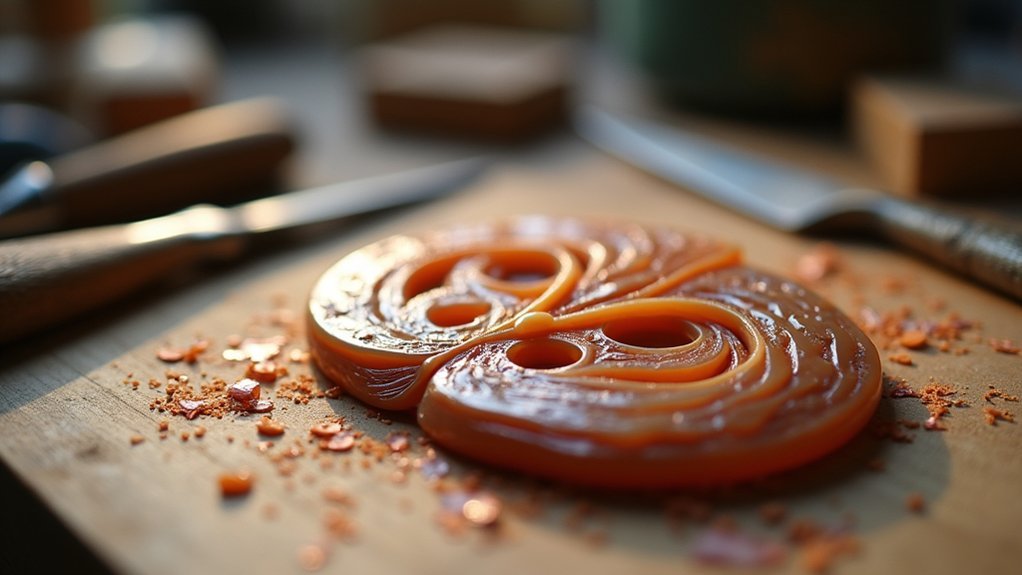
Wax Model Preparation
Five critical steps form the foundation of successful wax model preparation, starting with selecting the right wax type for your jewelry design.
You’ll want blue wax for beginners since it offers the perfect balance of hardness and flexibility for creating your wax ring.
Next, prepare your wax blank by confirming it’s square, centered, and smooth—eliminating surface imperfections that could compromise your casting process.
Use dividers and a machinist’s square to maintain accurate angles and symmetry throughout carving. Keep your center lines visible until final shaping.
Carve your model oversized with at least 1.2 millimeters thickness, maintaining over 1.0 millimeters minimum for ideal results.
Finally, calculate your wax model’s weight using conversion charts to guarantee accurate metal casting calculations.
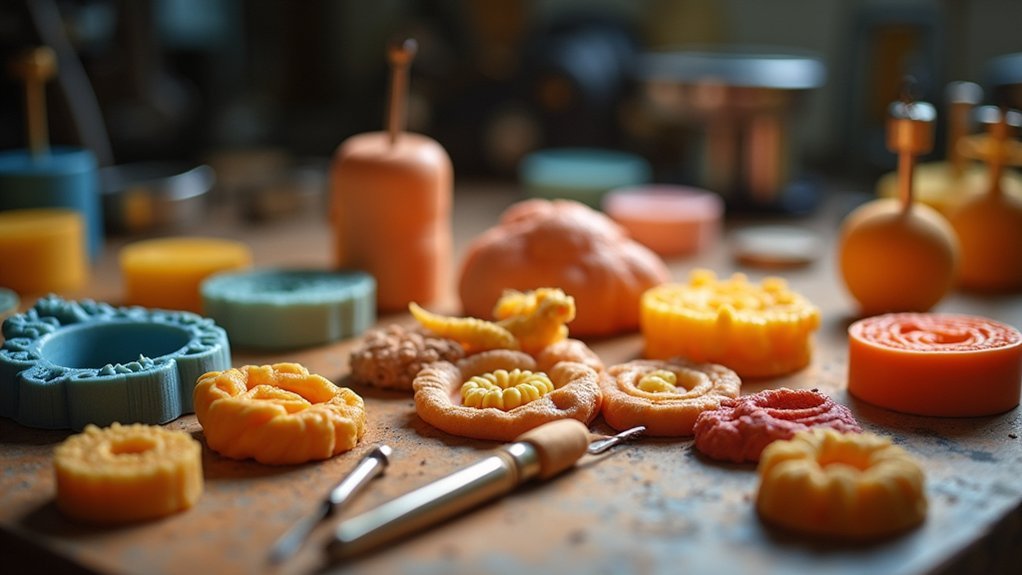
Investment Casting Steps
Once your wax model reaches perfection, the investment casting process transforms it into solid metal through five sequential steps.
First, you’ll attach a sprue to your wax model, creating a channel for molten metal flow.
Next, you’ll encase the wax and sprue in investment plaster to make a mold that captures every detail as it hardens.
Third, you’ll heat the cured investment to burn out the wax, leaving behind a precise cavity.
Fourth, you’ll pour molten metal into this cavity, where it’ll cool and solidify into your jewelry’s shape.
Finally, you’ll remove the metal from the investment and trim off sprue remnants, completing the lost wax casting process.
Metal Finishing Techniques
After you’ve successfully cast your metal piece, the finishing process becomes critical for transforming your raw casting into polished jewelry.
Once the metal is poured and cooled, you’ll need to thoroughly clean your piece to remove investment residue that could interfere with your final results.
Start your polishing and finishing work with coarse abrasives, then progress systematically to finer grits. This eliminates scratches and surface imperfections that detract from your piece’s quality.
You’ll find that using a flex shaft with specialized polishing wheels dramatically improves your efficiency and allows precise detailing work.
Apply metal polish or buffing compound for that coveted high-gloss finish.
Always inspect your completed piece under proper lighting to identify any areas needing additional attention.
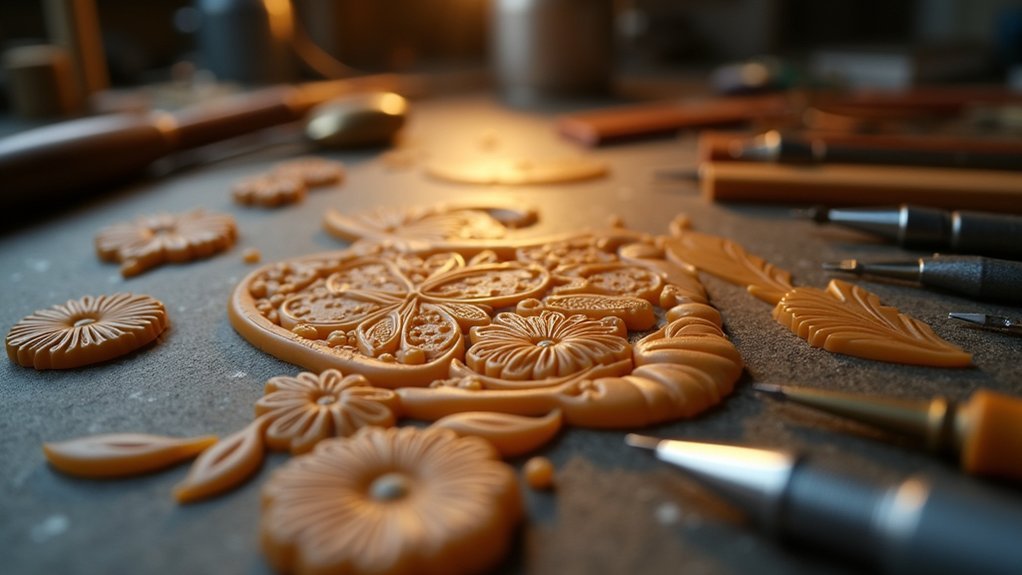
Design Problem-Solving in Real Time
You’ll witness master carvers identify structural weaknesses in their designs as they work, revealing critical moments where wall thickness becomes too thin or support elements prove inadequate.
These videos capture authentic problem-solving as artisans recognize potential failure points and immediately adjust their carving techniques to strengthen compromised areas.
You can observe how experienced jewelers assess thickness distribution throughout their models, making real-time corrections that prevent casting disasters and guarantee structural integrity in the final piece.
Structural Issue Identification
When structural problems emerge during wax carving, you’ll witness how experienced jewelers identify and address these challenges in real time through instructional videos.
You’ll observe the immediate recognition of structural issues as they develop, learning to spot design flaws before they compromise your final piece. These videos demonstrate critical thickness requirements for different jewelry elements, showing you how inconsistencies can lead to casting failures.
You’ll see professionals assess balance and symmetry issues visually, understanding how these factors affect both durability and aesthetics.
The real-time identification process teaches you to evaluate your work continuously rather than discovering problems after completion. Through detailed visual explanations, you’ll develop the analytical skills necessary to recognize potential structural weaknesses early in your carving process.
Thickness Problem Solutions
Since thickness irregularities threaten your design’s integrity, professional carvers demonstrate immediate corrective techniques that salvage problematic areas without starting over.
You’ll observe how experienced artisans identify thin sections measuring below 1.2 mm and apply lower melting point wax to build up weak areas. These thickness problem solutions prevent you from discarding your entire block of wax when issues arise.
Watch how carvers regularly measure wall thickness throughout their process, maintaining that vital 1-2 mm range for ideal casting results.
You’ll learn to start with oversized dimensions, allowing room for adjustments as you refine your design.
Professional videos showcase real-time problem-solving techniques, demonstrating how to strengthen compromised areas while preserving your original artistic vision and preventing structural failures in the final cast piece.
Cost-Effective Skill Development Through Video Resources
Although traditional jewelry-making classes can cost hundreds or even thousands of dollars, jewelry wax carving videos offer an accessible alternative that won’t break your budget.
You’ll discover that wax carving becomes an affordable technique to learn when you can practice with inexpensive materials while watching expert demonstrations. These video resources provide step-by-step guidance that helps you master complex processes without expensive instructor fees.
Here’s what makes video learning so valuable for your wallet:
- Freedom to learn at your own pace – No rushing to keep up with costly class schedules
- Unlimited replay access – Master difficult techniques without paying for additional sessions
- Community wisdom at no extra cost – Tap into shared knowledge from experienced artisans worldwide
- Smart material selection guidance – Avoid expensive mistakes when choosing wax types
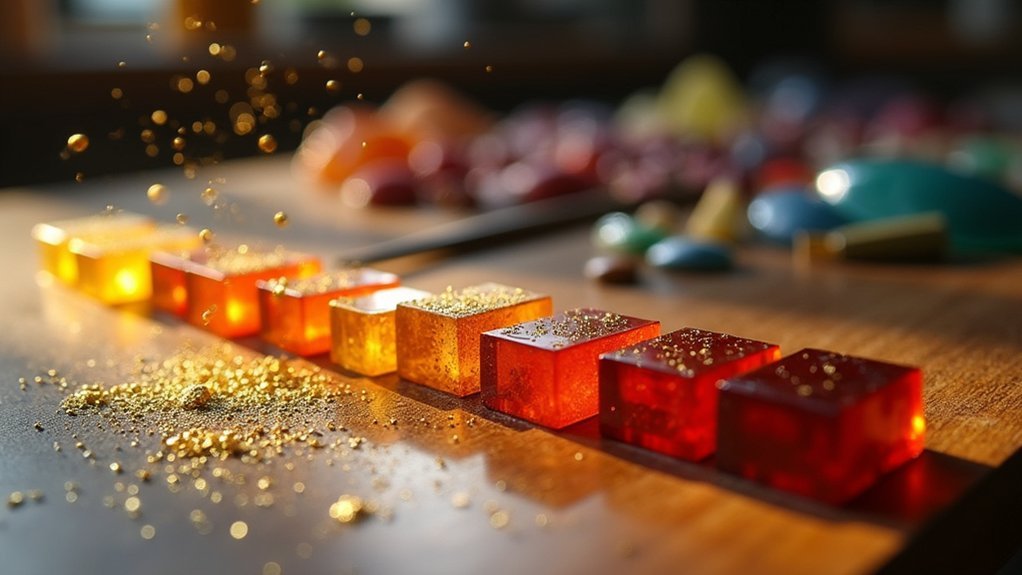
Understanding Different Wax Types and Their Applications
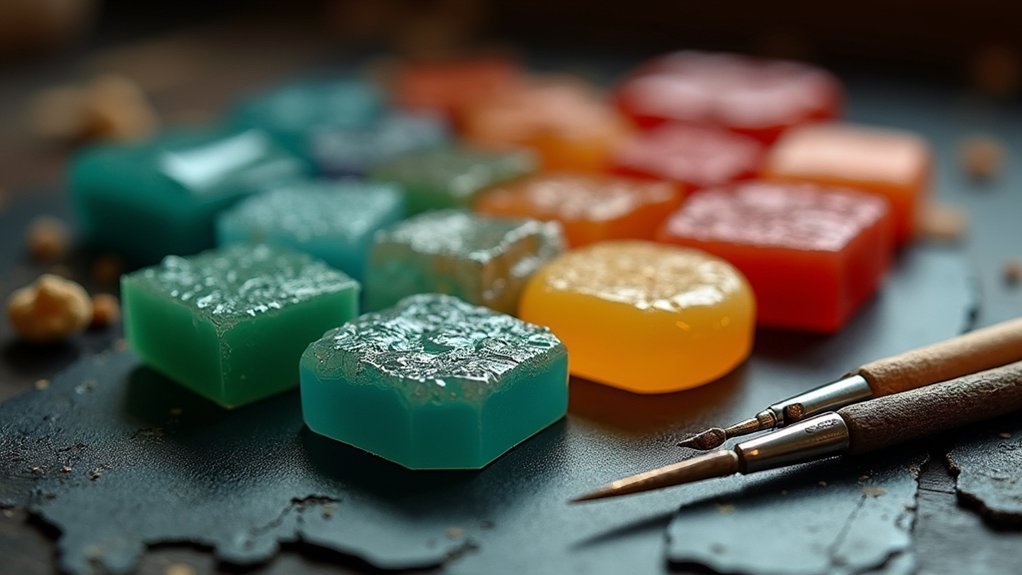
As you explore wax carving through video tutorials, selecting the right wax type becomes essential for your project’s success.
File-a-wax varieties like Ferris offer distinct characteristics for different applications. Green wax’s exceptional hardness delivers sharp edges and intricate carvings, while purple wax balances hardness with flexibility for versatile designs.
When you’re working on rounded surfaces or less complex patterns, blue wax’s softer, more flexible nature proves ideal, especially for beginners.
Turquoise wax stands out with superior surface finish, strength, and flexibility, making it perfect for high-quality detailed work.
Quality videos demonstrate wax using techniques specific to each type, helping you understand which material suits your design requirements and skill level best.
Professional Tips for Avoiding Common Carving Mistakes
When you’re watching jewelry wax carving videos, you’ll notice that experienced artisans consistently emphasize maintaining proper wax thickness throughout their projects. They’ll maintain 1.0 to 1.5 millimeters to prevent casting issues and guarantee your final piece’s structural integrity.
You’ll see them start with oversized models, knowing they’ll remove material during refinement.
Professional carvers demonstrate precision using basic tools like dental tool sets and X-acto knives rather than expensive equipment. They’ll keep center lines visible until the final moments, guaranteeing perfect symmetry whether creating a signet ring or intricate pendant.
Simple tools like dental picks and X-acto knives deliver professional precision when center lines guide your symmetrical carving technique.
- Watch masters transform mistakes into learning opportunities that strengthen their technique
- Feel the satisfaction of achieving professional results with simple, accessible tools
- Experience the confidence that comes from maintaining perfect symmetry throughout your design
- Discover the peace of mind knowing your thickness measurements will prevent costly casting failures
Building Confidence Before Investing in Equipment
Before you spend hundreds of dollars on professional carving tools, jewelry wax carving videos offer an invaluable opportunity to develop your skills and confidence with minimal financial risk. These learning resources demonstrate how effective carving starts with basic, affordable tools, allowing you to practice techniques without breaking the bank.
| Investment Level | Tools Needed | Confidence Building |
|---|---|---|
| Beginner | Basic carving knife, files | Watch 5-10 videos |
| Intermediate | Additional scrapers, burins | Practice simple designs |
| Advanced | Professional tool set | Master complex techniques |
| Expert | Specialized equipment | Teach others |
| Professional | Complete workshop setup | Commercial production |
Videos showcase various wax types and techniques, helping you make informed decisions about future purchases while building essential skills through observation and practice.
Frequently Asked Questions
What Is the Difference Between Blue and Green Jewelers Wax?
You’ll find blue wax is softer and more flexible, perfect for beginners and rounded surfaces. Green wax is harder and more brittle, but it’s ideal when you’re creating sharp edges and intricate details.
Is Wax Carving Difficult?
Wax carving can be challenging initially since you’ll need precision and practice to master techniques. However, you’ll find wax forgiving—mistakes are fixable, and tutorials help greatly ease your learning curve.
What Is the Lost Wax Method of Jewelry Making?
You’ll create a detailed wax model, encase it in mold material, then melt out the wax leaving a cavity. You’ll pour molten metal into this void, transferring your wax design’s intricate details to the final jewelry piece.
What Is the Melting Point of Jewelry Wax?
You’ll find jewelry wax melting points vary by type: green wax melts around 70°C, blue wax at 80°C, and turquoise wax at 85-90°C for detailed work requiring durability.
In Summary
You’ll discover that jewelry wax carving videos transform complex techniques into manageable skills you can master. They’ll save you money on expensive classes while showing you exactly which tools to buy and how to use them properly. You won’t waste time making costly mistakes when you’ve learned from experts’ demonstrations. Whether you’re exploring design possibilities or preparing for lost wax casting, these videos build your confidence before you invest in equipment and materials.


Leave a Reply