
You’ll master Limoges enamel artistry through seven essential techniques: perfect surface preparation with thorough cleaning and flux application, control color layering using transparent enamels over opaque bases, maintain precise firing temperatures between 1400°F-1650°F, develop advanced brush skills with fine-pointed tools, create depth through grisaille underpainting methods, integrate modern programmable kilns with lead-free enamels, and blend classical French traditions with contemporary digital design tools. These foundational methods will transform your work from amateur pieces into museum-quality artistry that showcases the timeless beauty of this 15th-century craft.
Understanding Traditional Limoges Painted Enamel Foundations
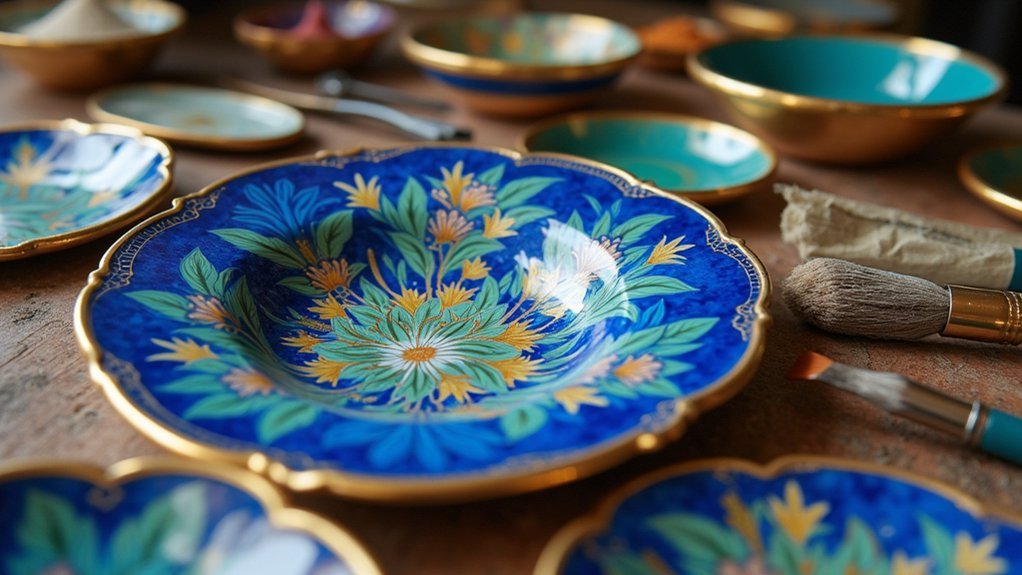
Mastery of Limoges painted enamel begins with understanding its distinctive foundation technique that sets it apart from other enameling methods.
You’ll apply finely ground enamel powder directly onto copper surfaces, creating a painterly approach rather than traditional wire-separated designs. This Limoges technique doesn’t require metal outlines like cloisonné or champlevé, allowing you to achieve a seamless effect that flows naturally across your work surface.
You’ll build layers through multiple firings at high temperatures, developing depth and color richness that makes vibrant images possible.
Each firing bonds the enamel more securely while maintaining the smooth, continuous surface that characterizes authentic Limoges work. This foundation enables you to create sophisticated decorative pieces with the fine detail and artistic freedom that’s made this 15th-century French technique legendary.
Mastering Color Layering and Transparency Effects
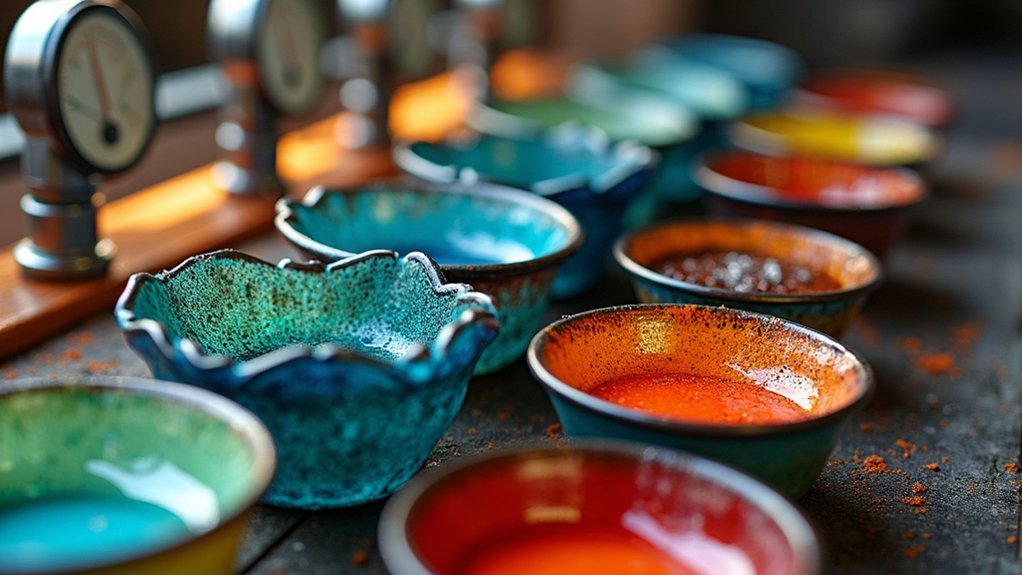
Although the foundation technique provides your canvas, achieving stunning visual depth in Limoges enamel depends on how skillfully you layer transparent colors over your base. Your application technique determines whether you’ll create luminous effects or muddy results.
Here’s your essential approach to mastering color layering:
- Layer strategically – Apply multiple thin coats of transparent enamels over opaque enamels to build dimensional depth.
- Control firing durations – Use lower temperatures and shorter firing times to maintain enamel clarity.
- Choose compatible metal bases – Consider how copper’s reflective properties will influence your transparent colors.
Use fine brushes or sifters for controlled application, ensuring each layer remains distinct.
Remember that transparent enamels interact with underlying colors and metal bases, so test combinations before committing to your final piece.
Perfecting Temperature Control and Firing Sequences
You’ll discover that precise temperature control forms the backbone of successful Limoges enameling, with firing temperatures typically ranging from 1400°F to 1650°F depending on your enamel composition.
Your firing sequence directly impacts color depth and vibrancy, starting with a stable base coat before building subsequent layers.
Each layer must cool completely between firings to guarantee proper fusion and prevent defects like bubbling or cracking.
Optimal Firing Temperatures
When you fire Limoges enamel, temperature control becomes the cornerstone of your artistic success. Ideal firing temperatures between 1400°F and 1650°F determine whether your enamel bonds properly to the metal surface or fails catastrophically.
Understanding thermal expansion coefficients prevents cracking during the fusing glass process.
Your firing strategy should follow these essential steps:
- Initial firing at 1400°F – guarantees the first enamel layer bonds securely to your metal substrate
- Sequential firings at higher temperatures – builds depth and vibrancy through multiple firings
- Gradual temperature ramping – prevents thermal shock and maintains structural integrity
Each time enamel is fired, you’re creating a molecular bond between glass and metal.
Experimentation with duration and ramp rates will reveal how temperature variations affect your final finish and color saturation.
Sequential Layer Applications
Building upon your mastery of firing temperatures, sequential layer applications transform your Limoges enamel work from simple surface decoration into luminous, multi-dimensional art.
You’ll apply multiple thin enamel layers, guaranteeing each fully fuses at precise firing temperatures between 1400°F and 1650°F before adding the next. This methodical approach in enamel painting techniques enhances color depth and vibrancy dramatically.
Start your color application with opaque layers, then finish with transparent ones for rich dimensional effects. Time each firing sequence carefully to prevent overheating, which alters color properties.
You must consistently monitor kiln conditions, watching for temperature fluctuations and atmospheric changes. Experimentation with application order is fundamental—each layer builds complexity.
Maintaining strict temperature control and proper timing guarantees ideal results in your sequential layering process.
Advanced Brush Techniques for Fine Detail Work
Precision transforms ordinary enamel work into extraordinary art when you master advanced brush techniques for fine detail work.
Using finely pointed brushes gives you precise control for intricate details on metal surfaces. You’ll create depth through layering methods, applying multiple thin coats of transparent or opaque enamel that require careful firing to prevent bubbling.
Your brush arsenal should include:
- Fine brushes for delicate lines and minute details
- Medium brushes for controlled fills and shifts
- Broad brushes for background coverage and bold strokes
Experiment with brush pressure and angle to achieve soft blends or sharp outlines.
These advanced brush techniques expand your artistic possibilities, allowing you to mimic fine painting styles within the enamel medium and create unique finishes.
Creating Depth Through Grisaille Underpainting Methods
You’ll build depth in your Limoges enamel work by mastering grisaille underpainting, which uses monochromatic layers to establish your piece’s foundation.
Start by applying gray enamel over your dark background in carefully controlled layers, creating the basic forms before adding color.
This technique lets you manipulate light and shadow effects systematically, giving you precise control over the three-dimensional appearance of your final artwork.
Monochromatic Layer Application
When you master the grisaille technique, you’ll discover how monochromatic enamel layers transform flat surfaces into compelling works of art with remarkable depth and dimension.
This time-honored method in Limoges enameling requires strategic application of transparent or opaque enamels over dark backgrounds, building complexity through careful layering.
Your success depends on following these critical steps:
- Apply base layers systematically – Start with darker tones and gradually build lighter values.
- Control firing temperatures – Maintain 1400°F to 1650°F for proper adhesion and color development.
- Plan multiple firings – Each layer requires separate firing to achieve desired depth.
Through monochromatic enamel layers, you’ll create detailed images that showcase subtle tonal variations.
This Renaissance-rooted technique elevates your artistry, allowing sophisticated patterns that wouldn’t be possible with single-layer applications.
Light Shadow Effects
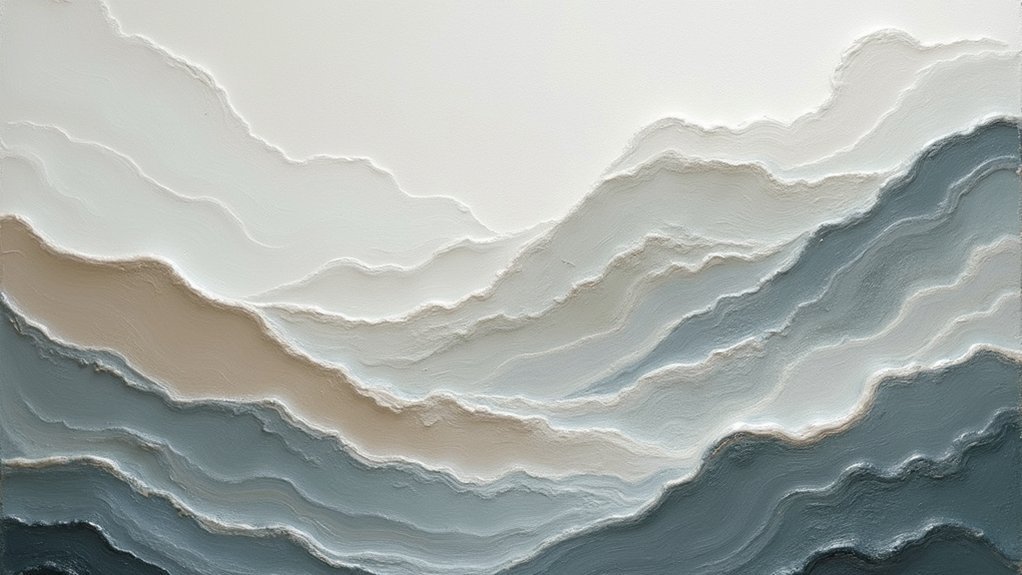
Building on these foundational layering principles, grisaille underpainting transforms your enamel work into luminous compositions that capture authentic light and shadow.
This monochromatic technique uses gray-scale opaque enamel layers applied over dark backgrounds, creating dramatic dimensional effects through strategic contrast manipulation.
You’ll build depth by applying successive layers, with opaque white enamel serving as highlights while the darker base enhances shadow perception.
Multiple firings develop the necessary opacity and texture for ideal light interaction.
Skilled artisans combine transparent and opaque enamels to add complexity, allowing the underlying metal to contribute richness to your design.
These techniques proved essential during the Renaissance, when artisans created intricate religious and decorative pieces.
Master this historic method to achieve sophisticated dimensional effects in your contemporary work.
Achieving Professional Surface Preparation and Metal Treatment
Although many artisans underestimate its importance, achieving flawless surface preparation forms the foundation of every successful Limoges enamel piece.
Perfect surface preparation separates amateur enameling attempts from masterpiece-quality Limoges work that stands the test of time.
You’ll need to thoroughly clean and polish your metal substrate, removing any oxidation that could cause defects during firing.
Here’s your essential preparation sequence:
- Clean thoroughly – Remove all oils, dirt, and oxidation using appropriate cleaning agents.
- Polish to perfection – Use fine grit sandpaper or polishing cloth to achieve a mirror-like finish.
- Apply flux layer – Add a thin flux coating to improve enamel adhesion.
Experimenting with different metal treatments, such as priming coats or specialized cleaning solutions, can dramatically impact your final results.
Don’t rush this vital step—proper surface preparation guarantees your enamel bonds securely and creates stunning, durable pieces.
Combining Modern Tools With Classical Limoges Approaches
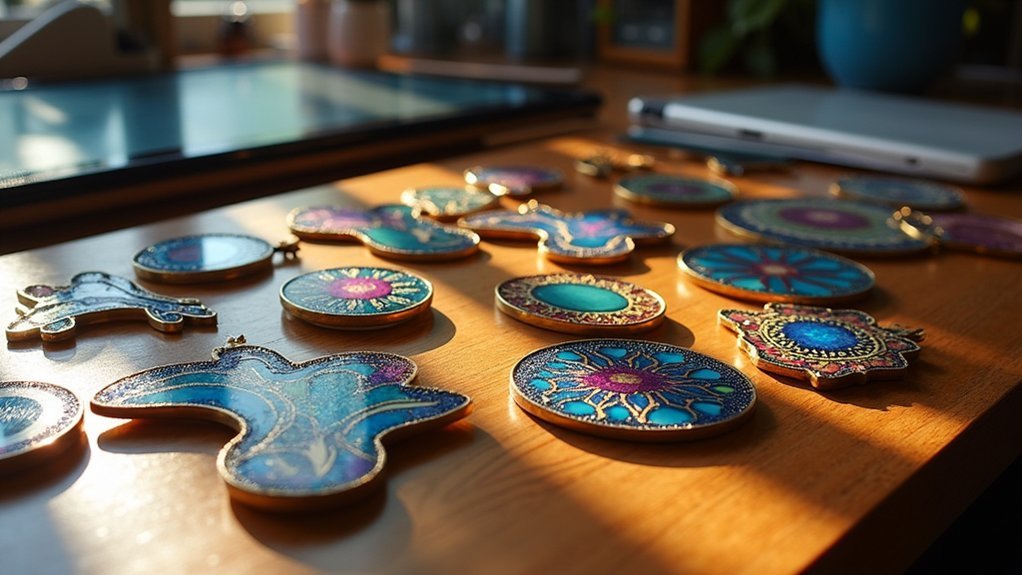
While classical Limoges techniques have remained largely unchanged for centuries, you can dramatically enhance your results by integrating carefully selected modern tools into your workflow.
Digital design software gives you precision in layout planning and color selection for your enamel work. Programmable high-temperature kilns guarantee consistent firings across multiple layers.
You’ll find lead-free enamels offer vibrant color options that rival traditional materials while meeting contemporary safety standards.
Advanced application methods like airbrush techniques provide superior control over delicate layer application, creating refined painterly effects.
Modern tools such as precision squeegees and silicone brushes let you experiment with unique textures that complement classical Limoges techniques, expanding your creative possibilities without compromising traditional aesthetics.
Frequently Asked Questions
What Is the Limoges Enamel Technique?
You’ll use a 15th-century painting approach where you grind enamel into powder, mix it with medium, then paint detailed designs directly onto metal surfaces. You’ll fire multiple times at high temperatures for vibrant, glossy results.
Which of the Enameling Techniques Is the Most Difficult?
You’ll find Plique-à-jour the most challenging technique because you’re working without metal backing, requiring multiple precise firings while maintaining structural integrity throughout the delicate, translucent stained-glass-like process.
What Is the Difference Between Guilloche and Basse Taille?
You’ll find guilloché creates repeating geometric patterns engraved before enameling, while basse-taille uses sculptural relief designs. Guilloché gives you structured, linear effects; basse-taille produces softer, more organic appearances with subtle color variations.
What Is the Champleve Technique?
You’ll carve depressions into metal surfaces, then fill them with enamel to create raised designs. This technique doesn’t use wires like cloisonné, relying instead on your carved patterns to contain the colorful enamel.
In Summary
You’ve now explored the essential techniques that’ll transform your Limoges enamel work from amateur to professional quality. Don’t rush the learning process—each method requires patience and practice to master. Start with traditional foundations, then gradually incorporate advanced techniques like grisaille and modern tools. Remember, temperature control and proper surface preparation can make or break your pieces. You’ll develop your own artistic voice by consistently applying these time-tested methods.
Leave a Reply