Lost wax casting is a 6,000-year-old metalworking technique where you’ll create a wax model of your desired object, encase it in investment material, then melt out the wax to form a cavity for molten metal. You’ll need microcrystalline wax, refractory materials, a crucible, and safety equipment to get started. This versatile process works with gold, silver, bronze, and other metals, making it perfect for creating intricate jewelry and sculptures. Mastering this ancient art opens endless creative possibilities.
What Is Lost Wax Casting and How Does It Work?
Lost wax casting transforms your creative vision into solid metal through an ancient yet precise process.
You’ll start by crafting an original wax model of your desired object, capturing every detail you want in the finished piece. Next, you’ll attach sprues to create pathways for metal flow, then encase your model in investment casting material like plaster or silica.
Once the investment hardens, you’ll heat it in a kiln to melt out the wax, leaving behind a precise cavity. This lost wax process creates the perfect negative space for your design.
You’ll then pour molten metal into the void, filling every contour. After cooling, you’ll break away the investment material, revealing your metal creation.
This technique excels at reproducing intricate designs with exceptional detail and accuracy.
The Ancient History and Origins of Lost Wax Casting
While you’re learning this technique today, artisans have been perfecting lost wax casting for over 6,000 years. This ancient technique, known as “cire perdue,” represents one of humanity’s most enduring historical metalworking practices.
You’ll find fascinating examples of this lost-wax casting technique across civilizations:
- Bulgaria’s Varna Necropolis – Features the world’s oldest cast gold objects from 4500-4000 BC
- Indus Valley civilization – Created intricate copper amulets around 4000 BC using this method
- Bronze Age Mediterranean – Produced countless bronze statues during Classical Greece
- Ancient Indian texts – The Shilpa Shastras documented detailed lost-wax processes
- West Africa and South Asia – Continued perfecting the technique even after Europe’s 18th-century decline
This cire perdue method connected ancient cultures worldwide through shared metalworking innovation.
Essential Materials and Tools for Lost Wax Casting
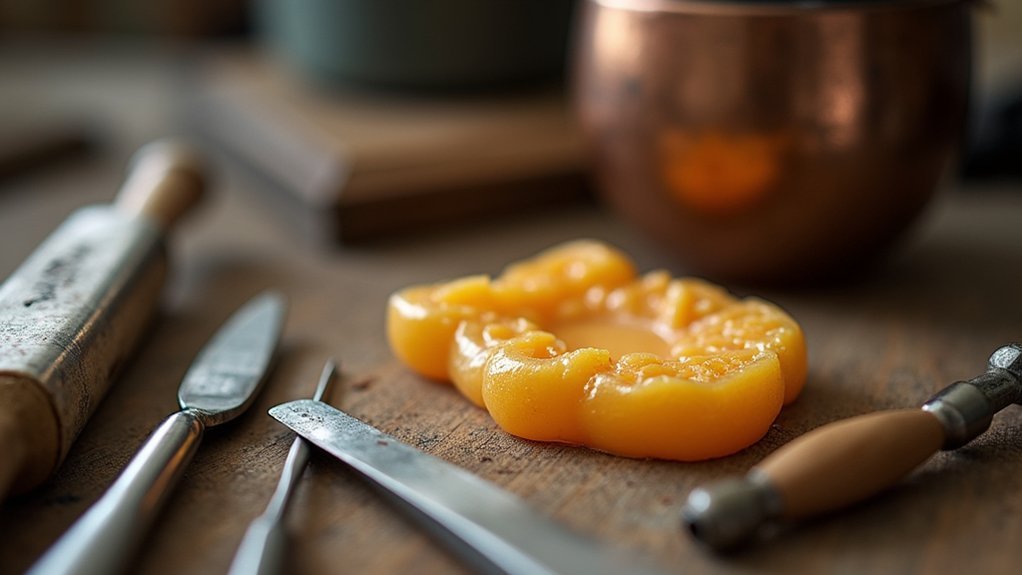
Before you can begin your first lost wax casting project, you’ll need to gather three categories of essential materials: wax for modeling, refractory materials for mold-making, and metal for casting.
| Materials | Tools | Safety Equipment |
|---|---|---|
| Microcrystalline wax | Wax carving tools | Heat-resistant gloves |
| Plaster and silica | Crucible | Safety goggles |
| Gold, silver, or bronze | Flask for molds | Ventilated workspace |
| Investment material | Casting machine | Fire extinguisher |
You’ll use microcrystalline wax for creating your model, then surround it with refractory materials like plaster-based investment. The crucible melts your chosen metal alloy, while a sprue connects your wax model to allow proper metal flow. Don’t forget safety equipment—this process involves extreme heat and potentially hazardous fumes. Start with basic supplies and expand your toolkit as your skills develop.
The Complete Lost Wax Casting Process Step-by-Step
Once you’ve gathered your materials and tools, you’re ready to transform your creative vision into metal through the fascinating lost wax casting process.
The lost wax casting journey unfolds in distinct stages:
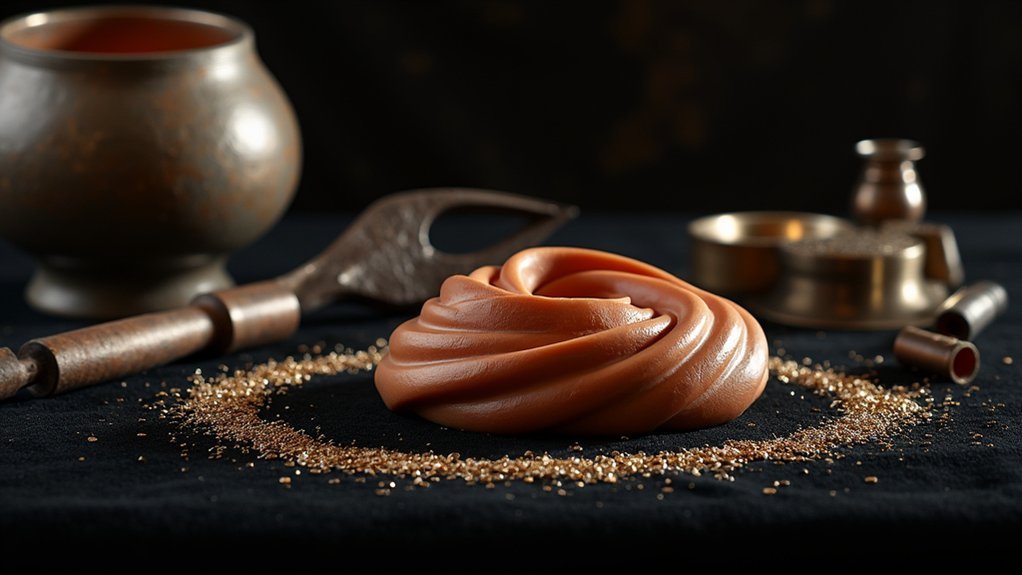
- Create your wax model – Shape your design in wax, adding sprues for metal flow and accounting for shrinkage.
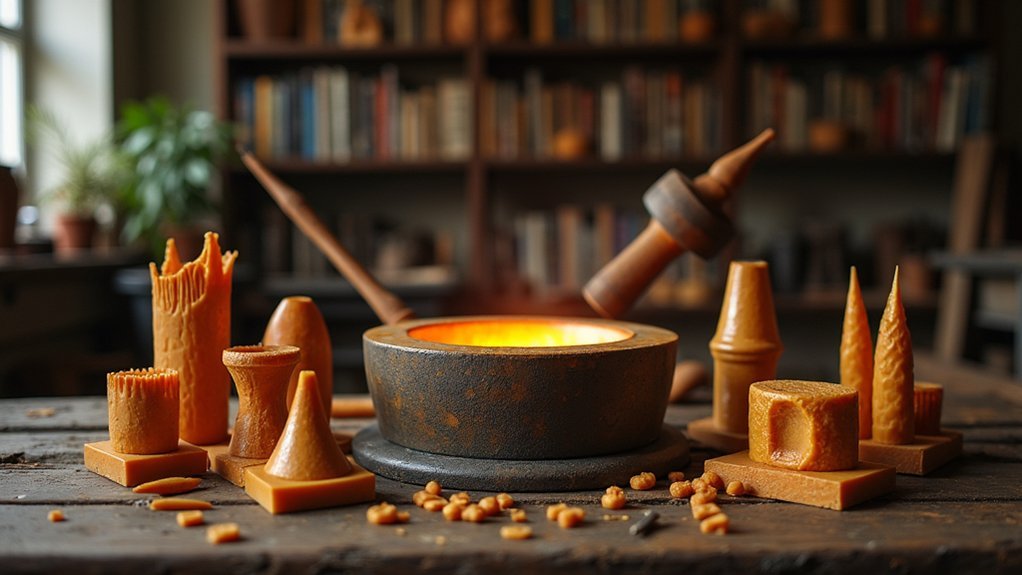
- Build the mold – Coat your wax piece with refractory material, then heat to melt away the wax.
- Melt and pour – Heat your chosen metal alloy until molten, then carefully pour the metal into your preheated mold.
- Cool and remove – Allow complete solidification before breaking away the mold to reveal your rough casting.
- Apply finishing touches – Clean, grind, file, and add patina to achieve your desired aesthetic.
Each step requires patience and precision for successful results.
Best Metals and Alloys for Lost Wax Casting Projects
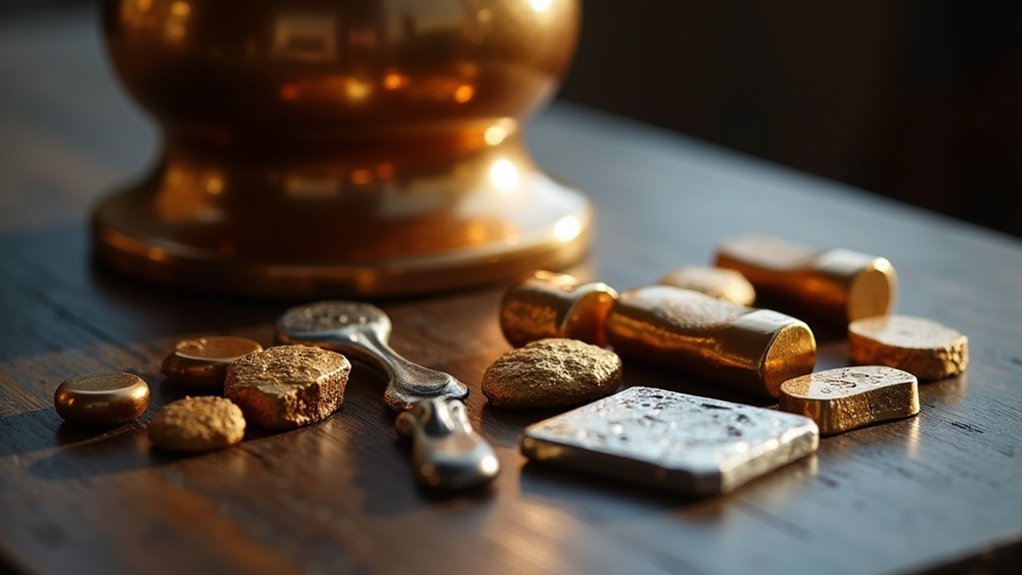
You’ll encounter several metal options for your lost wax casting projects, with gold, silver, bronze, brass, and aluminum being the most popular choices among beginners.
Each metal’s unique properties—like melting point, durability, and workability—directly impact your casting success and final piece quality.
Your project’s intended use should guide your metal selection, whether you’re creating delicate jewelry that needs malleability or sturdy sculptures requiring corrosion resistance.
Popular Metal Choices
While the lost wax casting process remains consistent across different materials, selecting the right metal greatly impacts your project’s success, cost, and final appearance.
Understanding each material’s properties helps you make informed decisions for your metal casting projects.
Here are the most popular choices for lost-wax casting process:
- Gold – Perfect for fine jewelry due to its malleability and tarnish resistance
- Silver – Affordable option with excellent casting properties for intricate designs
- Bronze – Ideal for sculptures and decorative pieces, developing attractive patina over time
- Aluminum – Lightweight and cost-effective for larger castings, though requires careful handling
- Brass – Copper-zinc alloy offering bright finish and durability for decorative objects
Each metal offers unique advantages, so consider your project’s purpose, budget, and desired aesthetic when choosing your casting material.
Alloy Properties Matter
Beyond simply selecting your preferred metal, the specific alloy properties determine how successfully your casting will turn out.
You’ll need to understand how melting points affect your casting method – aluminum’s 660°C makes it incredibly beginner-friendly, while silver at 961°C requires more skill.
When choosing your metal for casting, don’t overlook mechanical properties like tensile strength and ductility. These characteristics directly impact your finished piece’s durability and workability.
18k gold offers excellent ductility with 75% gold content, making intricate jewelry designs achievable.
Brass provides superior flow characteristics and tensile strength, perfect for detailed work.
Bronze’s balanced properties make it versatile for various projects.
Understanding these alloy properties guarantees you’ll select the right metal that matches your skill level and project requirements.
Project-Specific Metal Selection
Matching your project’s purpose with the right metal transforms your lost wax casting from amateur attempt to professional result.
When metal is melted and poured into your mold created from different types of wax, selecting the appropriate alloy determines your casting’s success.
Project-specific metal selection requires understanding each material’s unique characteristics and mechanical properties.
Consider these metal choices for your lost-wax castings:
- Gold and silver – Perfect for jewelry requiring corrosion resistance and fine finishing
- Bronze casting – Ideal for sculptures needing durability and intricate detail capture
- Brass – Cost-effective option for beginners learning casting fundamentals
- Aluminum – Lightweight choice for prototypes and simple designs
- Specialty alloys – Sterling silver and dental alloys for specific strength requirements
Lost Wax Casting Vs Other Metal Casting Techniques
When you’re choosing between lost wax casting and other metal casting techniques, you’ll find that each method offers distinct advantages depending on your project’s requirements.
Lost wax casting uses expendable plaster or ceramic molds, making it perfect for intricate designs and fine detail work that other methods can’t achieve. Unlike die casting’s nonexpendable metal molds designed for mass production, you’ll create a wax model that melts away, forming a void for pouring molten metal.
This technique excels in artistic applications like jewelry and sculptures because it captures complex shapes and textures beautifully.
The burnout phase removes wax completely, producing cleaner castings compared to sand casting, where mechanical mold removal can introduce imperfections into your finished piece.
Common Mistakes to Avoid When Learning Lost Wax Casting
As you begin your lost wax casting journey, you’ll likely encounter two critical stumbling blocks that can derail your entire project.
Inadequate wax model preparation often stems from rushing through the initial stages, while poor investment mixing techniques can create weak molds that crack under pressure.
These foundational errors will cascade through every subsequent step, turning what should be a rewarding creative process into a frustrating cycle of failed casts.
Inadequate Wax Model Preparation
Why do so many beginners struggle with lost wax casting despite following proper techniques? The answer often lies in inadequate wax model preparation. Your wax model serves as the foundation for your entire casting, and any shortcuts here will compromise your final metal piece.
Critical preparation steps include:
- Account for shrinkage – Design your wax model slightly larger since wax contracts when cooling.
- Ensure proper sprue placement – Incorrect attachment prevents proper metal flow and creates incomplete castings.
- Eliminate air bubbles – Pour wax smoothly to avoid trapped air that creates weak spots.
- Smooth all surfaces – Rough areas translate directly into flaws in your finished casting.
- Accurately weigh your model – Determines the exact metal quantity needed for complete mold filling.
Poor Investment Mixing Techniques
Precision becomes absolutely critical when mixing your investment material, yet this step trips up more beginners than any other aspect of lost wax casting.
Poor investment mixing creates air bubbles that compromise your final casting’s integrity, leading to defects and weak spots in your metal piece.
You’ll ruin your mold performance if you mix longer than eight minutes, as prolonged mixing introduces unwanted air.
Getting your water-to-investment ratio wrong produces mixtures that are either too thick or runny, preventing proper detail capture and structural integrity.
Always use vacuum mixing to eliminate trapped air bubbles—skipping this creates voids that destroy intricate designs.
Let your investment material set undisturbed for 10-15 minutes before burnout, since premature disruption causes incomplete curing and weak molds.
Where to Learn Lost Wax Casting Skills and Techniques
Where can you master the art of lost wax casting as a complete beginner?
Professional casting studios like The Crucible offer extensive programs that’ll transform you from novice to skilled artisan. These facilities provide structured learning environments with expert instructors who understand beginner techniques.
Professional casting studios provide structured environments where expert instructors guide complete beginners through proven techniques that build genuine artisan skills.
Start your journey with these essential learning opportunities:
- Introductory classes – 3-hour taster sessions give you foundational knowledge without major time commitment
- Hands-on workshops – Learn chainmaking, soldering, and metal clay alongside casting fundamentals
- Supervised lab sessions – Practice your skills while receiving immediate instructor feedback
- Jewelry-making guilds – Connect with local communities offering resources and networking opportunities
- Specialized programs – Advanced courses covering various project sizes and complex techniques
These resources guarantee you’ll develop confidence in lost wax casting through proper guidance and community support.
Getting Started With Your First Lost Wax Casting Project
After you’ve gained foundational knowledge through classes and workshops, it’s time to tackle your first lost wax casting project with careful planning and preparation.
Start by creating a detailed wax model using microcrystalline wax for its pliability, adding sprues for proper metal flow while accounting for shrinkage.
The investment process requires vacuum mixing plaster-silica mixture to eliminate air bubbles before pouring into your flask.
Once cured, perform the burnout process in a kiln following temperature guidelines to remove wax completely.
Pour your molten metal carefully, then quench after 2-5 minutes.
Complete your casting by removing sprues and polishing the surface for a professional finish.
Frequently Asked Questions
How to Begin Lost Wax Casting?
You’ll start by gathering essential materials like microcrystalline wax, investment plaster, and casting metal. Create your wax model first, adding sprues for proper metal flow, then weigh it to calculate required metal amounts.
What Is Lost Wax Casting?
You’ll create a detailed wax model, encase it in refractory material, then melt out the wax. You’ll pour molten metal into the hollow mold, creating intricate jewelry, sculptures, or decorative pieces.
What Are the Problems With Lost Wax Casting?
You’ll face porosity from gas bubbles, incomplete fills from poor sprue placement, cracked molds from inconsistent investment mixing, oxidation from overheating, and labor-intensive cleaning that’s time-consuming and requires careful attention.
Do You Need a Vacuum for Lost Wax Casting?
You don’t absolutely need a vacuum for lost wax casting, but it’s highly recommended. You’ll get much better results with fewer air bubbles and defects when you use vacuum during investment mixing and pouring.
In Summary
You’ve now got the foundational knowledge to start your lost wax casting journey. Remember, this ancient technique requires patience and practice to master. Don’t get discouraged if your first attempts aren’t perfect – even experienced casters face challenges. Start with simple projects, invest in quality materials, and prioritize safety above all else. With dedication and the right guidance, you’ll soon be creating beautiful metal pieces using this timeless craft.


Leave a Reply