Lost wax casting lets you create metal jewelry by first carving a detailed wax model, then coating it with heat-resistant investment material. You’ll heat the mold to melt away the wax, leaving a cavity where you pour molten metal. This 6,000-year-old technique transforms your single handmade pieces into production runs, making it perfect for creating multiple identical jewelry items with intricate details. Master this process and you’ll unveil the secrets to scalable jewelry manufacturing.
Understanding the 6,000-Year History of Lost Wax Casting
Discovery reveals lost wax casting’s remarkable journey spanning over 6,000 years, making it one of humanity’s oldest and most enduring metalworking techniques.
You’ll find the earliest evidence in an amulet from the Indus Valley, demonstrating how ancient civilizations mastered this sophisticated metal casting process.
Throughout history, you can trace artifacts created using this technique across continents, from sculptural ornaments to textile reliefs.
The method’s versatility became evident when Europeans adopted it during the 18th century, eventually evolving into investment casting by the 19th century to meet growing industrial demands.
European adoption in the 18th century transformed lost wax casting into investment casting, adapting ancient techniques for modern industrial requirements.
Today, you’ll discover this technique remains essential in jewelry making and beyond, including dentistry applications.
Its longevity proves how traditional craftsmanship seamlessly blends with modern technological advances.
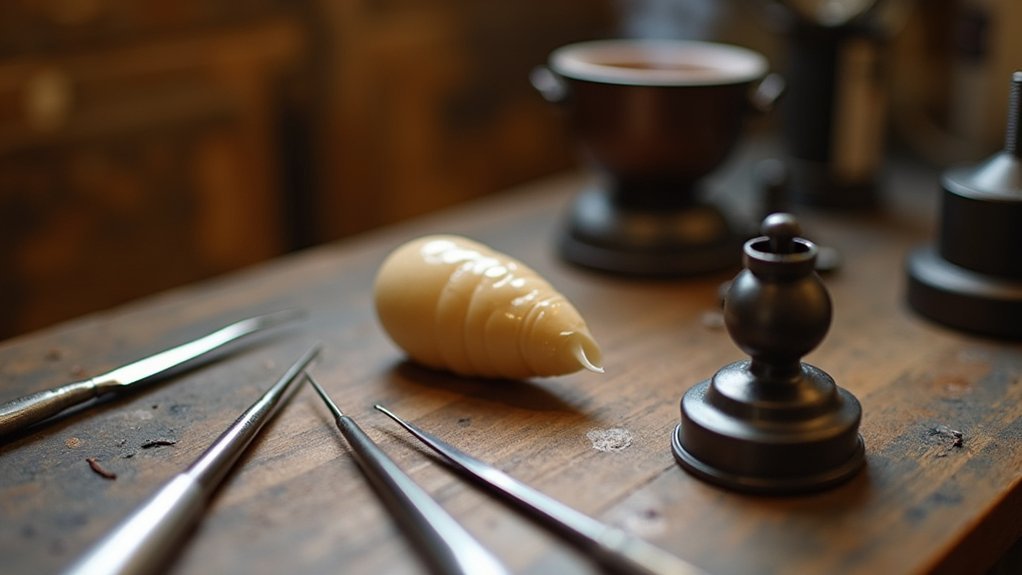
Essential Tools and Materials for Wax Carving
You’ll need specific types of jewelry wax, each designed for different carving techniques and detail work.
Your basic carving toolkit should include files, scalpels, and sanding tools to shape and refine your wax models effectively.
Don’t forget essential safety equipment like gloves and protective eyewear to keep yourself safe while working with sharp carving instruments.
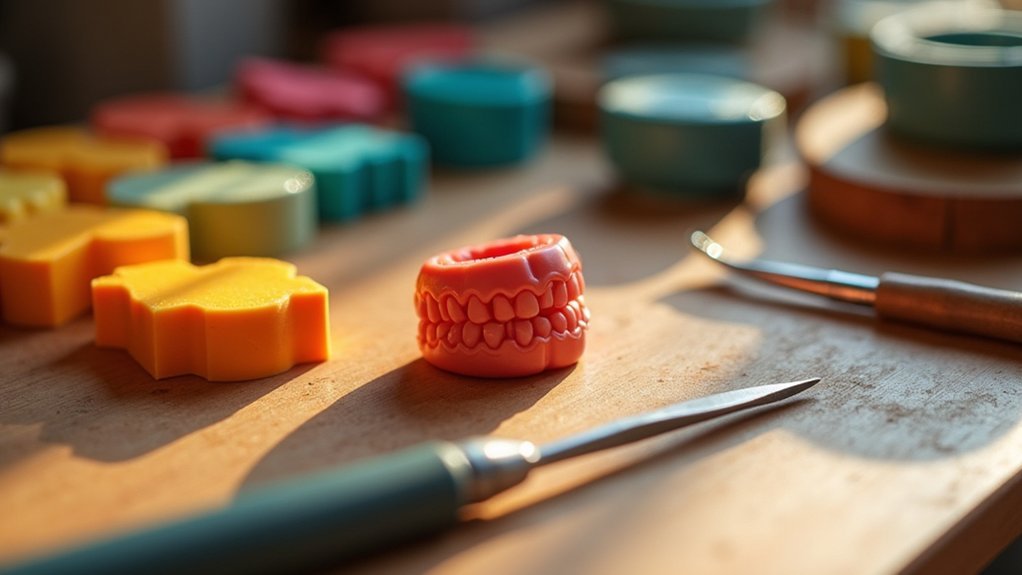
Types of Jewelry Wax
Understanding the different types of jewelry wax is fundamental to successful lost wax casting, as each variety offers distinct properties suited for specific carving techniques and design requirements.
You’ll find hard wax like Ferris and green wax perfect for creating sharp edges and precise details, while soft wax such as turquoise wax works better for delicate carving.
Blue wax offers flexibility for rounded surfaces, making it ideal for curved designs.
Purple wax serves as your go-to general-purpose option, balancing hardness with flexibility for various projects.
You’ll need proper tools like files and scalpels to shape these waxes effectively.
Remember to make precise calculations when weighing your finished wax model, as accurate measurements guarantee successful casting results.
Basic Carving Tools
Mastery of wax carving begins with assembling the right collection of basic carving tools that’ll transform raw wax into precise jewelry models.
You’ll need files, scalpels, and sanding tools as your foundation for shaping and refining designs. These basic carving tools work differently with various wax types, so jewellers often invest in custom tools like Kate Wolf’s specialized sets for harder materials.
Don’t overlook safety equipment—gloves and goggles protect you during wax carving and subsequent investment processes.
Keep a wax-to-metal conversion chart nearby to calculate the accurate weight of metal required from your wax model’s dimensions. This reference tool prevents costly miscalculations when determining how much precious metal you’ll need for casting your finished piece.
Safety Equipment Required
While creativity drives your wax carving passion, protective equipment forms the essential barrier between you and potential hazards throughout the casting process.
You’ll need safety goggles to shield your eyes from flying debris and a dust mask to prevent inhaling harmful particles. Heat-resistant gloves protect your hands when handling hot tools and materials during melting phases.
Establish a well-ventilated workspace to minimize exposure to dangerous fumes from wax and investment materials, creating a safe working environment.
Keep a fire extinguisher within reach since torches pose significant fire risks during metal casting. A first aid kit should remain accessible for treating minor injuries.
Consider using non-toxic waxes and low-fume waxes, which reduce harmful exposure while maintaining effective carving properties for beginners.
Types of Jewellers Wax and Their Properties
When you’re selecting jewellers wax for your project, you’ll notice that different colors indicate specific hardness levels and working properties.
Each color-coded wax offers distinct characteristics that’ll affect how easily you can carve details and achieve your desired finish.
Understanding these wax hardness levels and their color-coded properties will help you choose the right material for your specific design requirements.
Wax Hardness Levels
Understanding the different hardness levels of jewelers wax will dramatically impact your carving success and final piece quality.
Green Wax offers maximum hardness, making it perfect when you’re creating sharp edges and precise details.
Purple Wax provides general-purpose hardness with enough flexibility for most projects.
Blue Wax delivers softer characteristics, ideal for rounded surfaces and organic shapes that require easier manipulation during the carving process.
File-a-wax excels for detailed work, while Turquoise Wax combines exceptional strength with flexibility for intricate designs.
Your choice of wax hardness levels directly affects how easily you can shape your piece. Softer varieties allow more organic forms, while harder jewellers wax maintains crisp lines and edges throughout your carving process.
Color-Coded Properties
The color-coding system in jewelers wax isn’t just for aesthetics—it’s your roadmap to selecting the perfect material for each specific technique and design element.
File-a-wax comes in various colors, each offering distinct properties for your projects.
Green wax delivers maximum hardness, perfect for sharp edges and detailed jewellery work requiring precision.
Purple wax strikes an ideal balance between hardness and flexibility, making it your go-to choice for general carving tasks.
Blue wax offers greater flexibility with reduced hardness, ideal for rounded shapes and simpler designs.
Turquoise wax excels in surface finish quality while maintaining excellent strength and flexibility—perfect for intricate designs demanding professional results.
Understanding these color-coded properties helps you choose the right wax for every carving challenge.
Creating Your First Wax Model Step-by-Step
Five essential steps will guide you through creating your first wax model for lost wax casting.
First, select the appropriate wax type—softer waxes work best for intricate details, while harder varieties suit sharp edges.
Choosing the right wax consistency ensures optimal detail capture—soft wax for fine features, hard wax for crisp geometric forms.
Second, shape your wax model using specialized tools like files and scalpels, maintaining a clean workspace to prevent contamination.
Third, attach the spruing system properly to create channels for metal flow and avoid casting defects.
Fourth, weigh your finished wax model and use a wax to metal conversion chart to calculate the metal needed for casting.
Finally, position your model in the flask with at least 1/4 inch clearance from edges to prevent blowouts during the investment process.
Preparing Wax Pieces for the Casting Process
Once you’ve completed carving your wax model, you’ll need to attach sprues properly to guarantee molten metal can flow into the mold cavity.
You must also weigh your wax pieces and use a specific gravity chart to calculate exactly how much metal you’ll need for casting.
These preparation steps are critical because they directly affect whether your casting will succeed or fail.
Sprue Attachment Methods
After creating your wax model, you’ll need to attach it to a sprue system that acts as a highway for molten metal to reach every corner of your piece.
Proper sprue attachment is essential for successful casting outcomes during the investment process.
Position your sprue at the lowest point of your wax model to guarantee ideal metal flow and prevent air pockets from forming.
You must keep at least 1/4 inch between your wax and the flask edge to avoid blowouts during casting.
Make sure your pieces are securely attached to the sprue base or button, creating stable connections that won’t break during investment.
Ideal placement directly impacts casting success, preventing incomplete fills and defects in your final jewelry piece.
Weight Calculation Requirements
With your wax pieces properly attached to the sprue system, you’ll need to calculate the exact amount of metal required for casting. Weight calculation is critical since wax pieces are considerably lighter than their corresponding metal counterparts.
You’ll use a wax to metal conversion chart to determine accurate weight requirements, as wax weighs 10 times less than silver and 16 times less than 18-carat gold.
Essential considerations for proper weight calculation include:
- Weigh your completed wax pieces after sprue placement to guarantee accurate measurements
- Maintain 1/4 inch spacing between wax pieces and flask edge to prevent investment blowouts
- Calculate extra molten metal needed for the sprue system and button
Proper calculations prevent insufficient metal during the casting process while minimizing waste and guaranteeing successful results.
Investment Mixing and Flask Preparation Techniques
Before you begin mixing your investment, you’ll need to calculate the precise amount required for your flask size. Measure water and investment powder separately to guarantee accurate ratios during the mixing process.
Mix for three minutes until you achieve uniform consistency, then vacuum for approx two minutes, making sure bubbling completely stops to eliminate air pockets.
When you pour the investment into your flask preparation area, maintain careful control to avoid disturbing your wax models. Keep at least 1/4 inch spacing between models and flask edges to prevent blowouts.
Always follow silica dust precautions by wearing protective equipment during investment mixing. After pouring, let some completely cool and set undisturbed for 10-15 minutes before proceeding to burnout.
The Burnout Process and Kiln Operations
Once your investment has fully set, you’ll need to position the flask in your kiln to begin the critical burnout phase.
The burnout process involves gradually increasing temperature over 2.5 to 12 hours, depending on your investment flask size. This controlled heating guarantees complete wax elimination while preparing the mold cavity for molten metal.
During burnout, you’ll reach temperatures up to 1400°F (760°C) following a specific ramping schedule. This creates a clear pathway for proper metal flow during the casting process.
Key burnout considerations include:
- Maintaining gradual temperature increases to prevent cracking
- Guaranteeing complete wax removal for clean mold cavities
- Heating your crucible red hot before adding metal
Successful burnout creates the foundation for high-quality castings by eliminating all wax residue.
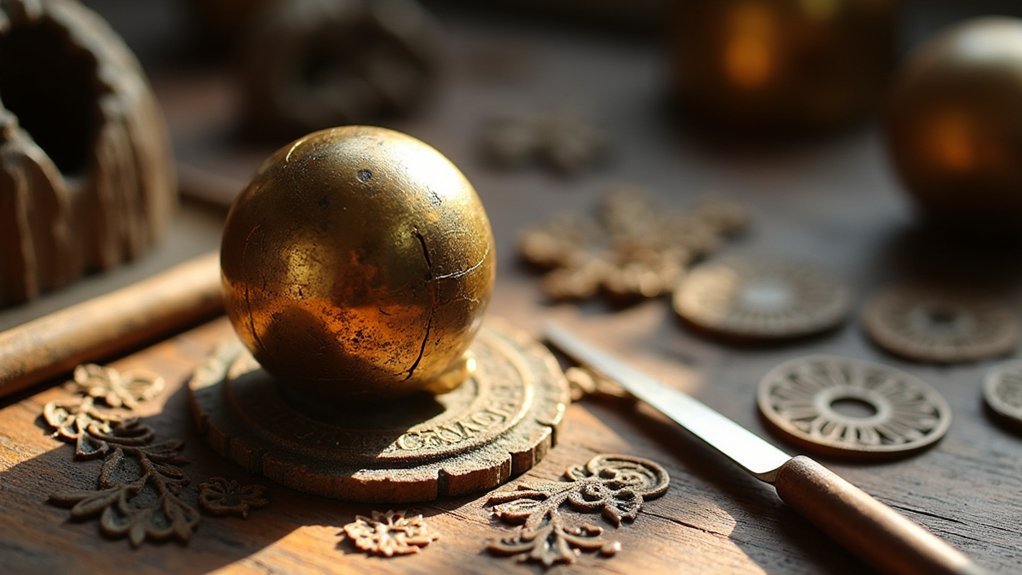
Melting Metal and Pouring Your Cast
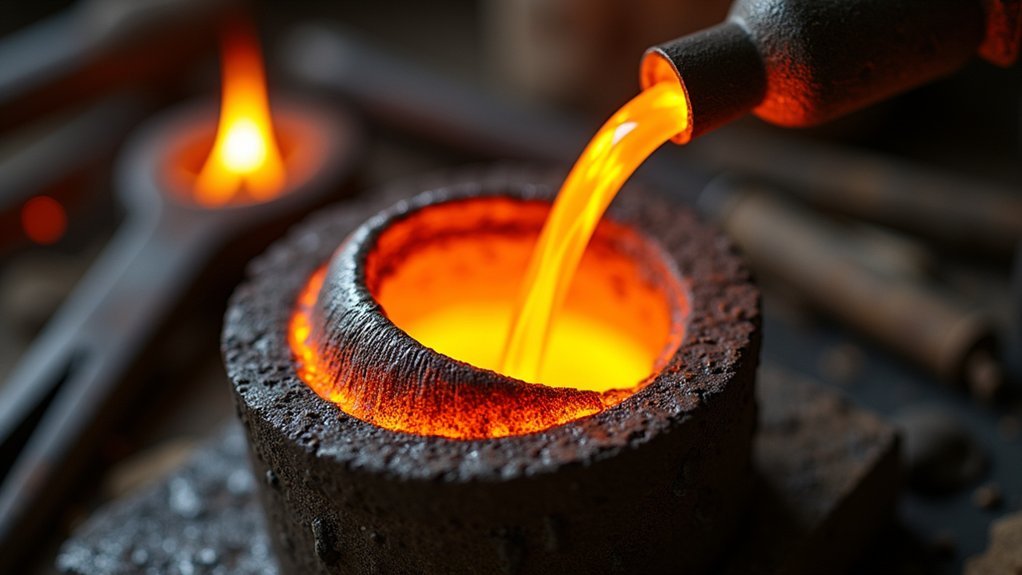
After completing the burnout process, you’re ready to melt your precious metal and execute the pour that transforms your wax model into jewelry.
Heat your crucible until it’s red hot before melting the metal. Add flux to remove impurities and achieve a clean cast.
Heat your crucible to red-hot temperatures before adding metal, then introduce flux to eliminate impurities for optimal casting results.
Position your flask upside down on the casting table with holes facing up.
Activate your vacuum pump during pouring to guarantee complete fill and eliminate air pockets. Keep a torch on the molten metal while pouring to prevent oxidation.
Pour the little bit of excess metal to ensure full cavity filling. The vacuum helps draw metal into intricate details where wax used to melt.
Let the investment cool for 2 minutes before quenching to preserve casting integrity.
Cooling, Quenching, and Safety Considerations
While the metal begins to solidify, proper cooling and quenching techniques will determine your casting’s final quality and structural integrity.
You’ll need to wait 2-5 minutes before quenching, though some alloys require up to an hour for safe cooling. Don’t rush this process—casting structures that are too hot can suffer damage, especially with delicate stones.
When ready for quenching, verify your flask is fully submerged in water to prevent thermal shock and cracking. You’ll know it’s working when all parts are bubbling beneath the surface.
Essential safety precautions include:
- Wearing protective gear like gloves and goggles
- Maintaining proper ventilation in your workspace
- Keeping emergency equipment nearby for burns or splashes
These measures protect you from hot metal splashes and harmful fumes.
Cleaning Investment From Your Finished Pieces
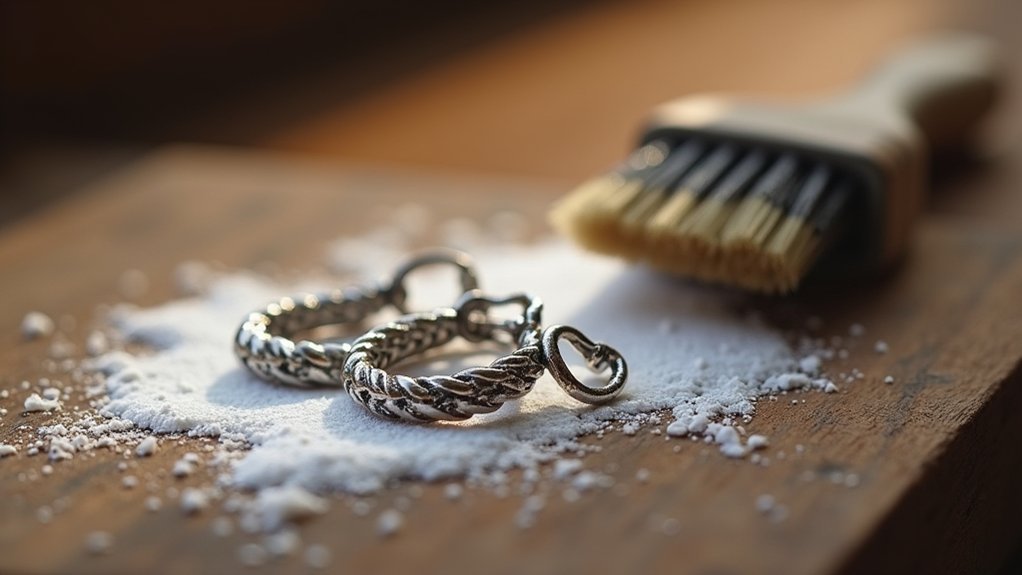
Following proper cooling and quenching, your cast jewelry emerges encased in hardened investment material that must be completely removed to reveal the finished piece. Cleaning investment requires a systematic approach to achieve professional results.
| Method | Process | Best For |
|---|---|---|
| Scrubbing | Use toothbrush to scrub off bulk material | Initial cleaning |
| Soaking | Soak cast pieces in vinegar overnight | Detailed areas |
| Ultrasonic | Place in ultrasonic cleaners for quick removal | Investment residues |
Start by scrubbing away loose investment, then soak stubborn areas in vinegar. Ultrasonic cleaners offer the fastest solution when available. You’ll likely need combining all three methods for complete removal. Guarantee no investment remains before proceeding to final polishing, as residues will compromise your jewelry’s appearance and quality.
Finishing Techniques and Final Polish
Once you’ve removed all investment material, your casting will likely display rough surfaces, sprue marks, and minor imperfections that require systematic refinement.
Finishing techniques begin with grinding and filing to eliminate major flaws, followed by progressive sanding stages. After initial cleaning, you’ll pickle your piece in mild acid solution to remove oxidation and remaining residue.
Systematic refinement starts with aggressive grinding and filing, then advances through progressive sanding before acid pickling removes stubborn oxidation and residue.
Your polishing process involves multiple stages:
- Start with coarse abrasives and progress to finer compounds
- Apply texturing if desired to disguise imperfections and enhance aesthetics
- Complete final polishing with appropriate compounds for desired shine
The choice of abrasives greatly affects your finish quality.
This systematic approach to cleaning and polishing guarantees you’ll achieve a high-quality final product that showcases professional craftsmanship in your lost wax casting work.
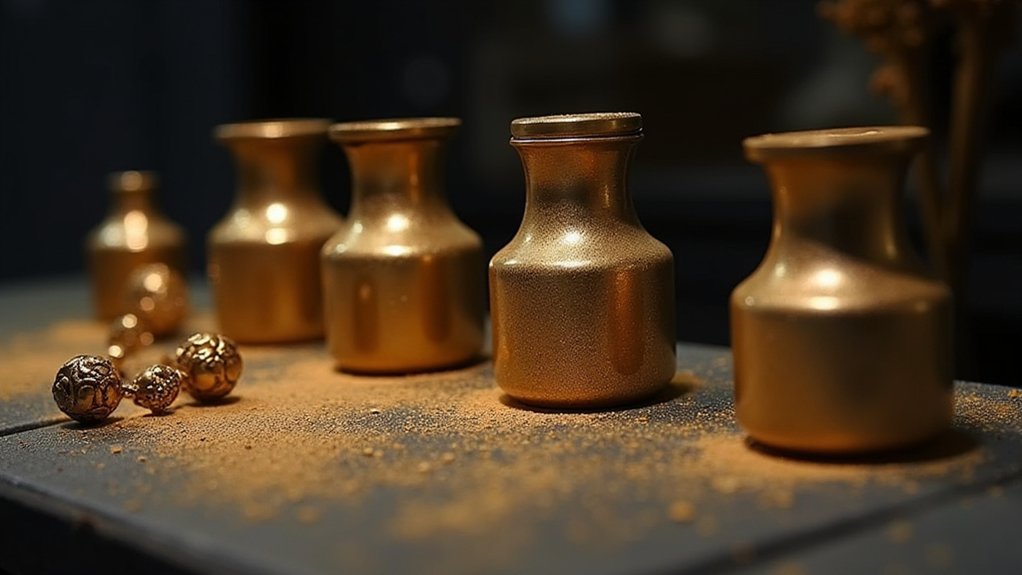
From Single Pieces to Production Runs
After mastering the finishing techniques on individual pieces, you’ll discover that lost wax casting’s true versatility emerges when scaling from single creations to efficient production runs.
Once you’ve perfected your wax model, you can create silicone molds to replicate it multiple times. These duplicate wax pieces get sprued together, forming a wax tree structure that allows simultaneous casting of numerous items.
Each wax model’s weight helps you calculate the exact metal needed using conversion ratios, ensuring precise material usage. The investment process remains the same, but you’re now casting multiple pieces at once.
This streamlined casting process dramatically reduces labor costs and time investment. What started as individual creations transforms into efficient production runs, making your jewelry business both scalable and profitable.
Frequently Asked Questions
What Is Lost Wax Casting Jewelry?
You’ll create jewelry by sculpting a wax model, encasing it in heat-resistant material, then melting out the wax and pouring molten metal into the cavity, allowing you to produce intricate designs efficiently.
How to Begin Lost Wax Casting?
Start by gathering essential tools: jeweler’s wax, carving tools, sprue base, investment material, and kiln. Choose appropriate wax type, then carve your design while incorporating sprues for proper metal flow during casting.
What Are the Problems With Lost Wax Casting?
You’ll face wax shrinkage causing size inaccuracies, improper sprue placement creating flow issues, inadequate burnout leaving residue, air bubbles forming voids in investment, and incorrect quenching timing damaging your final casting.
Do You Need a Vacuum for Lost Wax Casting?
You don’t absolutely need a vacuum for simple lost wax casting, but you’ll get considerably better results using one. It removes air bubbles and helps molten metal fill intricate details completely.
In Summary
You’ve now learned the fundamentals of lost wax casting, from its ancient origins to modern finishing techniques. Start with simple designs and don’t rush the process—each step builds upon the last. Remember that practice makes perfect, and you’ll improve with every piece you create. Whether you’re crafting single pieces or planning production runs, you’ve got the knowledge to begin your jewelry-making journey with confidence.


Leave a Reply