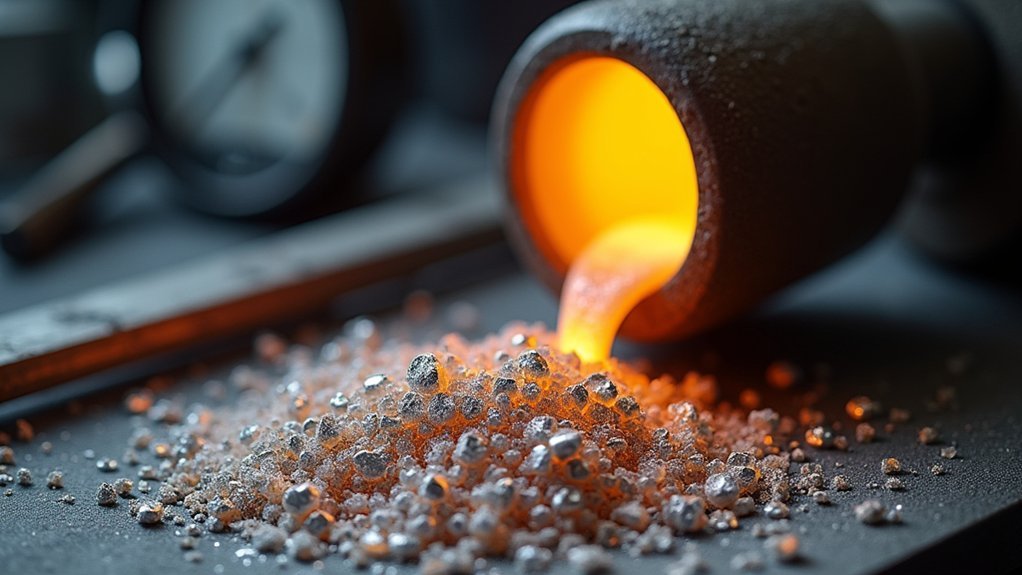
You can cast precious metal alternatives using low melting point alloys like gallium (86°F) or Cerrolow 117 (117°F) instead of traditional metals requiring 800-1000°F temperatures. You’ll need a plastic syringe, heat-resistant silicone molds, and basic safety gear. Simply melt the alloy in hot water, pour into preheated molds, and allow cooling. These castings can then be gold or silver plated for an authentic appearance. Master these techniques to achieve professional-quality results.
Understanding Low Melting Point Alloys for Precious Metal Casting
While traditional precious metal casting requires temperatures that can reach over 1000°F for silver and 800°F for gold, low melting point alloys like Gallium and Cerrolow 117 revolutionize the process by melting at just 117°F.
Low melting point alloys revolutionize casting by eliminating dangerous high-temperature requirements while delivering excellent results at just 117°F.
You’ll find these alloys transform your casting approach, eliminating dangerous high-temperature requirements while maintaining excellent results.
You can safely handle these materials without specialized equipment or extreme heat protection.
Cerrolow 136, melting at 136°F, provides another viable option, though you’ll need to take into account potential toxicity from lead-containing compositions.
Understanding each alloy’s specific flow point guarantees you’ll achieve quality castings with minimal defects like porosity.
This low temperature approach makes precious metal casting accessible to hobbyists and professionals seeking safer, more manageable alternatives to traditional methods.
Essential Equipment and Safety Precautions for Low Temperature Metal Work
Although low temperature metal casting requires considerably less heat than traditional methods, you’ll still need specific equipment and safety measures to protect yourself during the process.
Your essential equipment includes:
- A reliable plastic syringe for melting metals like gallium (86°F) or Cerrolow alloy (117°F)
- Appropriate crucibles to prevent contamination during the casting process
- Safety gear including goggles, gloves, and a leather jacket for protection against spills
- High-quality mold materials such as InstaMorph or silicone for durability
You must guarantee all tools and molds are completely dry and preheated, as moisture can cause dangerous explosions when molten metal makes contact.
Proper ventilation is vital, especially when working with materials that may emit harmful fumes. These precautions will keep you safe while achieving professional results.
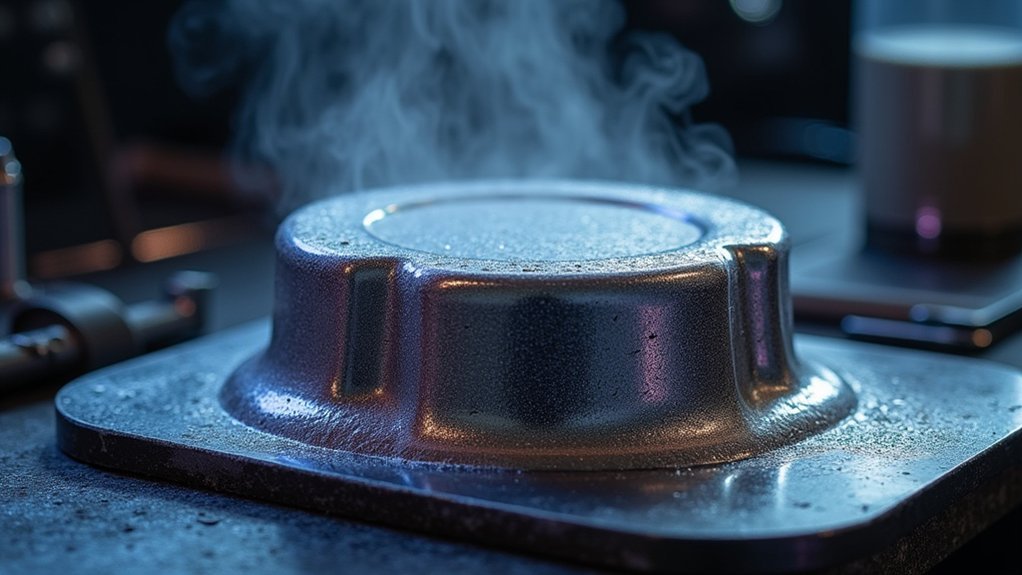
Mold Preparation Techniques Using Heat-Resistant Materials
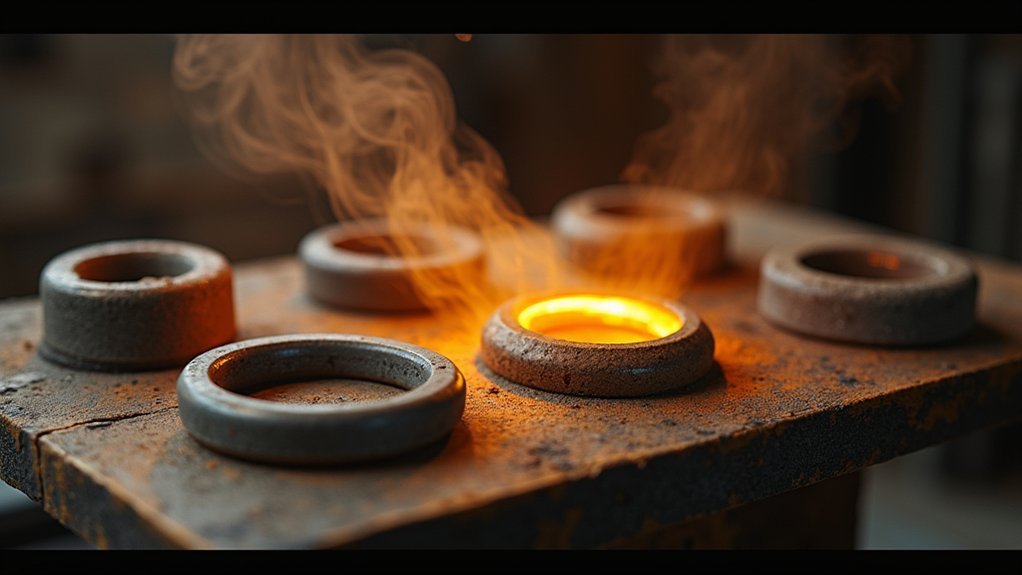
Once you’ve assembled your equipment and safety gear, your success depends heavily on proper mold preparation using materials that can handle the heat requirements of low-temperature metal casting.
Choose heat-resistant materials like silicone or aluminum that withstand temperatures up to 136°F without damage. Create a stable mold structure by gluing at least five pieces of gum together to securely hold molten metal.
Before casting, preheat your mold to achieve ideal mold temperature and minimize thermal shock, ensuring better detail transfer to your final piece.
Use orange-dyed InstaMorph as a visual aid to easily spot damage or wear during preparation. Never mix different InstaMorph batches, as this compromises mold integrity and consistency in your cast pieces.
Temperature Control Guidelines for Different Metal Types
You’ll need to match your casting temperature precisely to each metal type, as gold requires 800°F for thick pieces while fine work needs 1000°F.
Sterling silver demands higher heat between 1000°F-1200°F, but low-temperature alloys like gallium melt at just 86°F.
Managing your mold’s heat becomes critical since flasks cool at 100°F per minute, directly affecting your casting quality.
Low Temperature Alloys
When casting precious metals, understanding temperature control becomes markedly easier with low temperature alloys like Gallium and Cerrolow 117, which melt at just 86°F and 117°F respectively.
These low melting alloys offer significant advantages for beginners and professionals seeking precise control without extreme heat requirements.
You’ll find these alloys perfect for practicing casting techniques before working with precious metals.
Here’s what makes them ideal:
- Easy handling – You can melt them with simple heat sources like hot water or low-power torches
- Compatible molds – They work excellently with InstaMorph and other plastic mold materials
- Cost-effective – Perfect for prototyping and testing designs before using expensive precious metals
- Safety benefits – Lower temperatures reduce burn risks and equipment requirements
However, you must still manage shrinkage and porosity in thicker sections carefully.
Optimal Casting Temperatures
Temperature precision forms the foundation of successful precious metal casting, and each metal type demands specific heat ranges to achieve ideal results.
For gold casting, you’ll need approximately 800°F for thick pieces, while delicate lace work requires about 1000°F for proper flow. Sterling silver performs best within 1000°F to 1200°F, ensuring optimal filling and detail retention.
Your flask temperature selection depends on piece complexity. Large, plain pieces work well between 800°F and 950°F, but fine detail work needs higher ranges of 900°F to 1150°F.
When working with low-melting alloys like gallium or Cerrolow 117F, don’t exceed 117°F to prevent mold damage.
Remember this vital rule: always cast metals at temperatures 100°F above their flow point for smooth, successful fills into your molds.
Mold Heat Management
While metal temperature control sets the stage for successful casting, your mold’s heat management determines whether that precision translates into flawless results.
Managing mold temperatures requires careful attention to each metal’s specific requirements and your piece’s characteristics.
For low melting point metals, you’ll need precise temperature control:
- Gallium casting: Keep mold temperatures 800°F to 1000°F below its 86°F melting point to prevent premature solidification
- Cerrolow alloy work: Preheat molds to 800°F-900°F when casting the 117°F melting point alloy for ideal detail retention
- Piece-specific adjustments: Use 800°F for thick items, up to 1150°F for delicate filigree work
- Timing considerations: Account for 100°F per minute cooling rates when planning your pour sequence
This systematic approach guarantees consistent, high-quality results.
Step-by-Step Low Temperature Casting Process
Five essential steps comprise the low temperature casting process, each requiring precise execution to achieve professional results.
First, you’ll select your low-temperature metal like gallium or Cerrolow alloy. These materials melt at casting temperatures between 86°F to 136°F, making them perfect for InstaMorph molds.
Next, prepare your mold by ensuring it’s contamination-free and properly shaped. Then melt your chosen metal in a plastic syringe submerged in hot water, monitoring until fully liquefied.
| Step | Temperature Range | Duration |
|---|---|---|
| Metal Selection | Room temp | 5 minutes |
| Mold Preparation | Room temp | 10 minutes |
| Metal Melting | 86°F-136°F | 15 minutes |
| Cooling/Demolding | Room temp | 30 minutes |
Pour steadily into the mold, capturing all details. Finally, allow complete cooling before demolding to preserve quality and mold integrity.
Preventing Porosity and Common Casting Defects
Perfect execution of each casting step means nothing if defects compromise your final piece. Porosity remains the biggest threat to successful precious metal casting, but you can prevent it with proper technique.
Monitor your metal temperature closely—pouring cold metal causes premature freezing, while excessive heat creates shrinkage porosity. Maintain ideal pouring temperature for consistent results.
Key prevention strategies include:
- Design sprues at least as heavy as your casting’s thickest section to prevent shrinkage porosity
- Keep metal away from air during melting to avoid gas contamination and sulfur dioxide exposure
- Create uniform, flared sprues that won’t solidify prematurely and cut off metal supply
- Assess venting requirements for complex shapes to allow proper gas escape
These practices guarantee clean fills and defect-free castings every time.
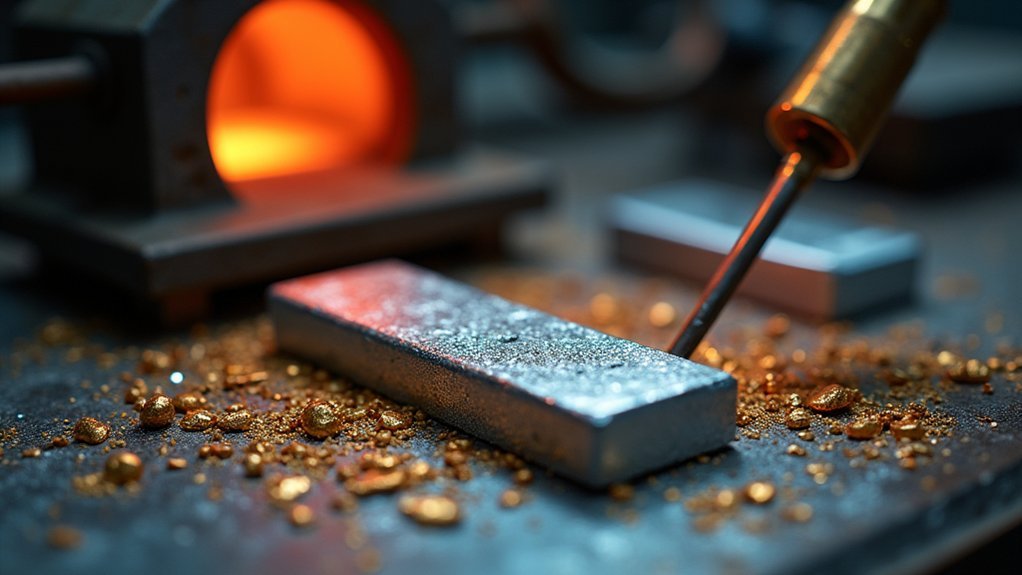
Surface Preparation and Finishing Methods for Cast Pieces
Once you’ve successfully cast your precious metal pieces, you’ll need to prepare their surfaces before applying any plating or final finishes.
Your approach to pre-plating treatment directly impacts the quality and appearance of the finished product.
You’ll want to master both polishing techniques and proper surface preparation methods to achieve professional results.
Pre-Plating Surface Treatment
While your casting process may produce excellent results, the surface quality of your cast pieces will ultimately determine the success of your electroplating efforts.
You’ll need to focus on achieving clean pulls from your molds, as any imperfections will show through the final plated finish.
To prepare your cast metal pieces for plating, you’ll want to:
- Polish systematically using sandpaper grits from 120 to 600 for progressive smoothing
- Apply wet sanding techniques to lubricate and cool the sandpaper while improving surface quality
- Use specialized polishing compounds designed specifically for soft metals to achieve ideal shine
- Target a semi-gloss finish on your pieces, which promotes better plating adhesion while minimizing extensive polishing requirements
This thorough surface treatment guarantees your electroplating will bond properly and deliver professional-quality results.
Polishing and Finishing Techniques
Since your cast pieces emerge from the mold with their basic form established, you’ll need to transform their raw surface into a foundation that accepts plating beautifully. Start by ensuring clean pulls from molds, as any imperfections will directly affect your final appearance.
Begin sanding with 120-grit sandpaper to remove major defects, then progress through finer grits up to 600. Wet sanding improves the process by lubricating and cooling your sandpaper. For gold plating, polishing creates the necessary shiny finish using compounds designed for soft metals like pewter.
| Plating Type | Surface Requirement | Time Investment |
|---|---|---|
| Gold | Mirror polish | High |
| Nickel | Even matte | Moderate |
| Silver | Smooth finish | Medium |
Alternative Casting Techniques: Slush Casting and Electroforming
Beyond traditional casting methods, you can explore slush casting and electroforming as effective alternatives for working with precious metals at reduced temperatures.
Slush casting involves pouring molten metal into your mold, then quickly draining it once a thin shell forms. This technique works exceptionally well with pewter and low-melting alloys, capturing intricate details while using considerably less material than solid casting.
Electroforming creates parts by electroplating heavy copper layers in molds, producing lightweight yet detailed structures perfect for jewelry applications.
- Clean and smooth mold surfaces promote better adhesion and superior finish quality
- Use 3-5 volts for gold plating and 5-7 volts for nickel electroforming
- Slush casting minimizes shrinkage issues common in traditional solid casting
- Both techniques require proper preparation and appropriate equipment for success
Cost-Effective Metal Selection and Plating Options
Three primary factors determine your metal selection for low-temperature casting: melting point, cost, and plating compatibility. Lead-free pewter and low-temperature alloys like Cerrolow 117 offer excellent cost-effective metal selection options for small projects without expensive high-heat equipment.
| Metal | Melting Point | Plating Compatibility |
|---|---|---|
| Lead-free Pewter | 400-500°F | Requires primer layers |
| Cerrolow 117 | 117°F | Good with preparation |
| Bismuth Alloys | 200-300°F | Excellent |
| Tin-based Alloys | 350-450°F | Good |
You’ll need copper primer followed by nickel or silver before gold plating to prevent color absorption. Gold plating costs $50-$300 per piece, with an 8oz. solution bottle ($355) plating 6-7 pieces. Pewter’s reactivity requires additional considerations, but slush casting minimizes material use while creating thin-walled pieces perfect for plating.
Frequently Asked Questions
What Is the Process of Low Temperature Casting Metal?
You’ll melt low-temperature metals like gallium in a heated syringe, then pour the molten metal into prepared molds made from materials like InstaMorph, ensuring proper temperature control and safety precautions throughout.
What Is a Low Temperature Melting Metal for Casting?
You’ll find gallium’s perfect for low-temperature casting since it melts at just 86°F. You can also use Cerrolow 117, which melts at 117°F, or Cerrolow 136 at 136°F for casting applications.
What Alloy Melts at Low Temperature?
You’ll find gallium melts at just 86°F, while Cerrolow 117 melts at 117°F and Cerrolow 136 at 136°F. These bismuth-based eutectic alloys offer excellent low-temperature options for your casting projects.
What Temp Do Precious Metals Melt?
You’ll find gold melts at 1,064°C, while sterling silver melts between 1,000-1,200°F. Aluminum requires 660°C, and lead melts at just 327.5°C, making it easier to work with.
In Summary
You’ve now mastered the fundamentals of low-temperature precious metal casting. Remember to prioritize safety protocols and temperature control as you practice these techniques. Don’t rush the cooling process, and you’ll achieve professional results. Whether you’re using alternative alloys or electroforming methods, consistency in your approach will minimize defects. Keep experimenting with different mold materials and finishing techniques to refine your skills and expand your casting capabilities.


Leave a Reply