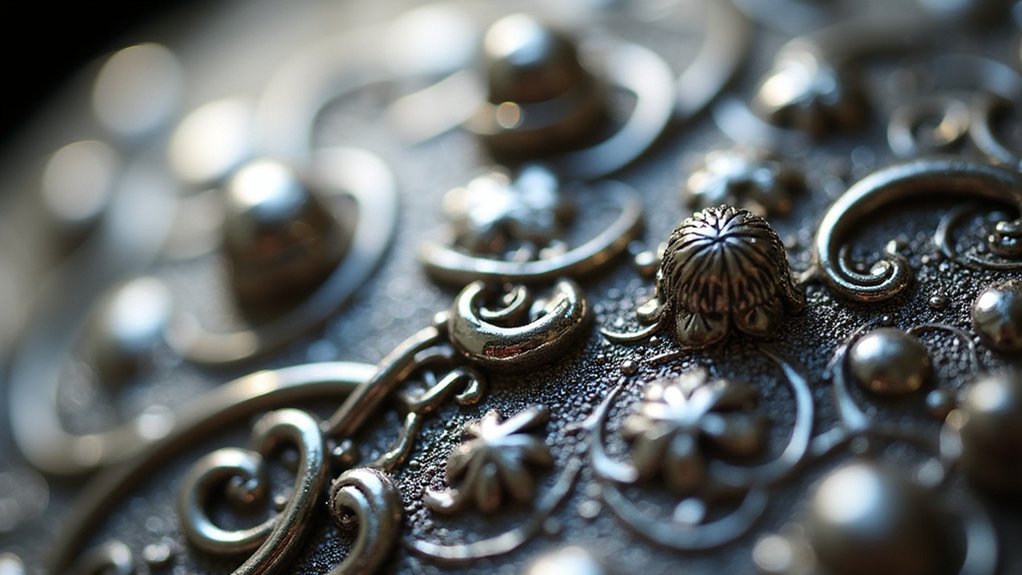
Metal chasing and repoussé are ancient jewelry-making techniques that transform flat metal sheets into three-dimensional artwork. You’ll work from the reverse side during repoussé to create raised forms, then add intricate surface details from the front using chasing tools and specialized punches. These methods date back over 4,500 years and appear in treasures like Tutankhamun’s golden mask. Copper’s excellent workability makes it perfect for beginners exploring these time-honored techniques that’ll reveal endless creative possibilities.
Understanding the Fundamentals of Metal Chasing and Repoussé Techniques
When you explore the ancient metalworking arts of chasing and repoussé, you’re stepping into techniques that have shaped decorative metalwork for thousands of years.
These complementary methods create stunning three-dimensional effects on metal surfaces through strategic hammering approaches.
Repoussé, meaning “pushed up” in French, involves working from the metal’s reverse side to create raised forms and sculptural elements.
You’ll hammer outward to establish the primary shapes and dimensional structure.
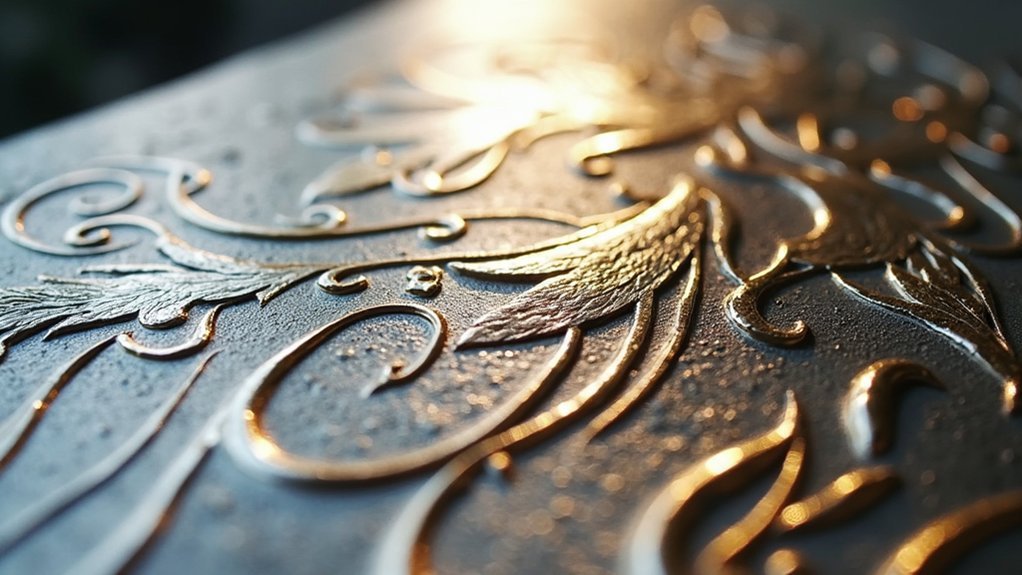
Chasing, derived from “chasser” meaning to drive out, adds intricate detail from the front surface.
You’ll use specialized chasing tools and various punches like liners, planishers, and doming tools to refine textures and define precise elements.
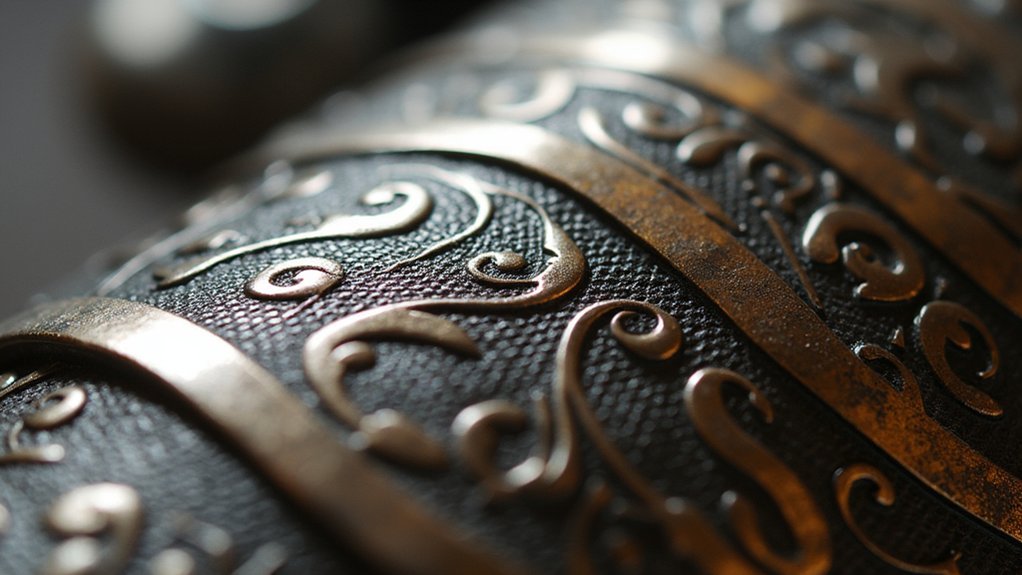
Together, these techniques transform flat metal into complex, layered artwork with remarkable depth and visual impact.
Historical Origins and Cultural Significance of Chasing and Repoussé
These time-honored techniques stretch back over 4,500 years, with archaeological evidence revealing their presence in Mesopotamian artifacts from around 2500 BCE.
Ancient civilizations across the globe embraced chasing and repoussé as essential metalworking techniques. You’ll find stunning examples of repoussé in Tutankhamun’s golden mask and the intricate Gundestrup Cauldron from 100 BCE.
Pre-Columbian cultures like the Moche and Inca created breathtaking ceremonial pieces that demonstrate the cultural significance these methods held in their societies.
The historical importance of this metalworking technique continues today. You can see its evolution in monuments like the Statue of Liberty, proving that chasing and repoussé remain relevant artistic expressions that bridge ancient craftsmanship with contemporary creativity.
Essential Tools and Materials for Metal Chasing and Repoussé Work
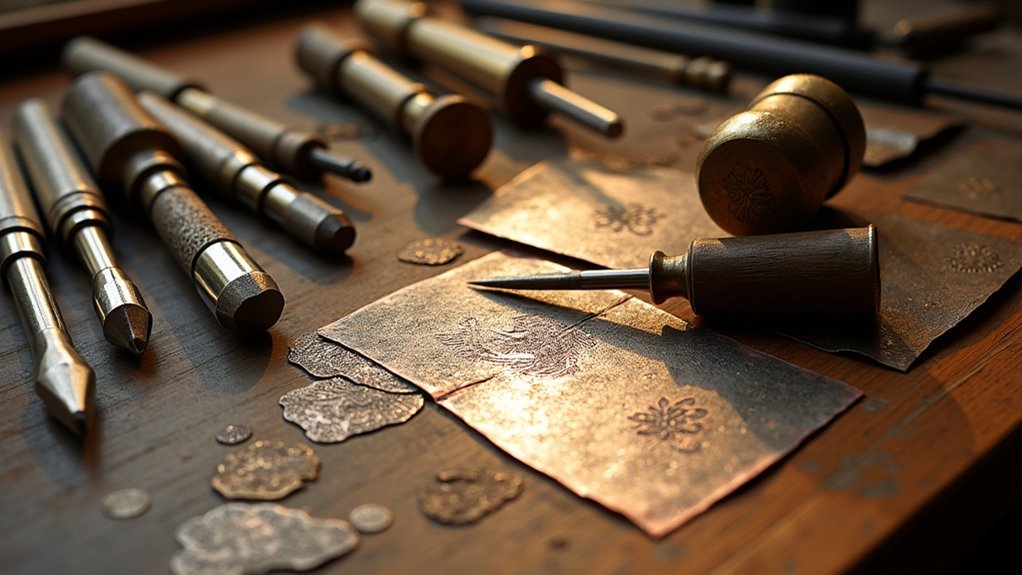
Before you can begin creating stunning chased and repoussé jewelry, you’ll need to assemble the right collection of specialized tools and materials.
Your essential jewelry tools include various chasing punches—liners for precise lines, planishers for smoothing surfaces, and doming punches for creating dimensional forms. A chasing hammer with its characteristic curved handle provides the control you need for detailed work.
You’ll require a pitch bowl filled with resin-based red pitch to secure your metal sheets during the repoussé technique. This pitch absorbs hammer strikes while holding your work steady. For simpler projects, thick books can substitute for shallow designs.
Don’t forget safety equipment—goggles and aprons protect you from hot materials and debris. These tools and materials form the foundation for successful metal forming.
Safety Considerations and Proper Workspace Setup
Having the right tools means nothing if you’re working in an unsafe environment that puts you at risk. Your workspace setup requires careful attention to prevent accidents and guarantee quality results.
Start with proper ventilation to avoid inhaling harmful fumes, especially when heating pitch or other materials. Wear safety goggles with side protection and heat-resistant gloves when handling hot materials. A cotton apron protects against flying debris and molten substances.
Organize the workspace by keeping tools clean and systematically arranged to minimize accident risks and enhance efficiency. Ascertain adequate lighting for clear visibility during intricate tasks.
Maintain a relaxed posture while working—keep your shoulders loose and hold tools lightly for better control and precision throughout the chasing and repoussé process.
Step-by-Step Process for Creating Chasing and Repoussé Designs
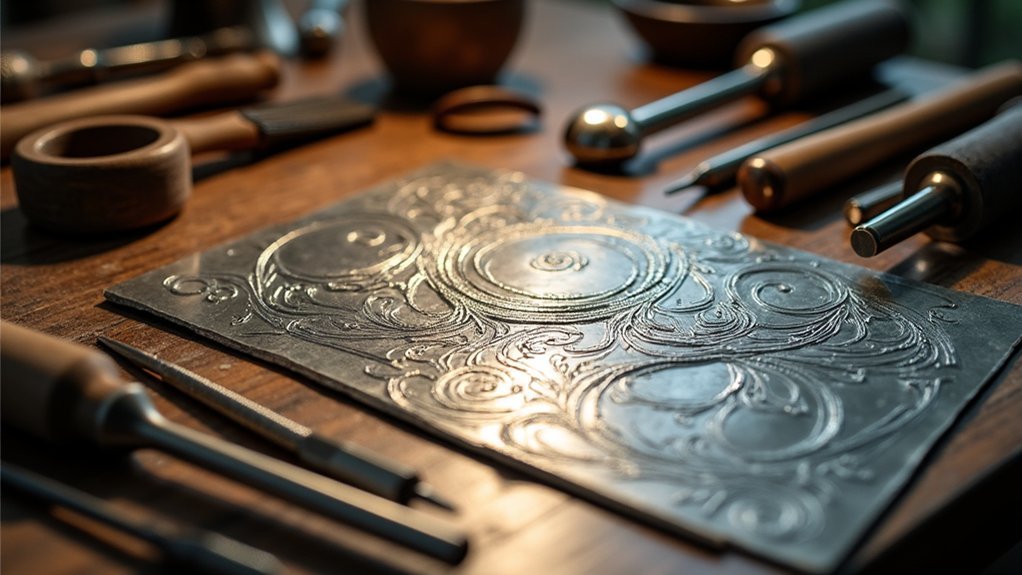
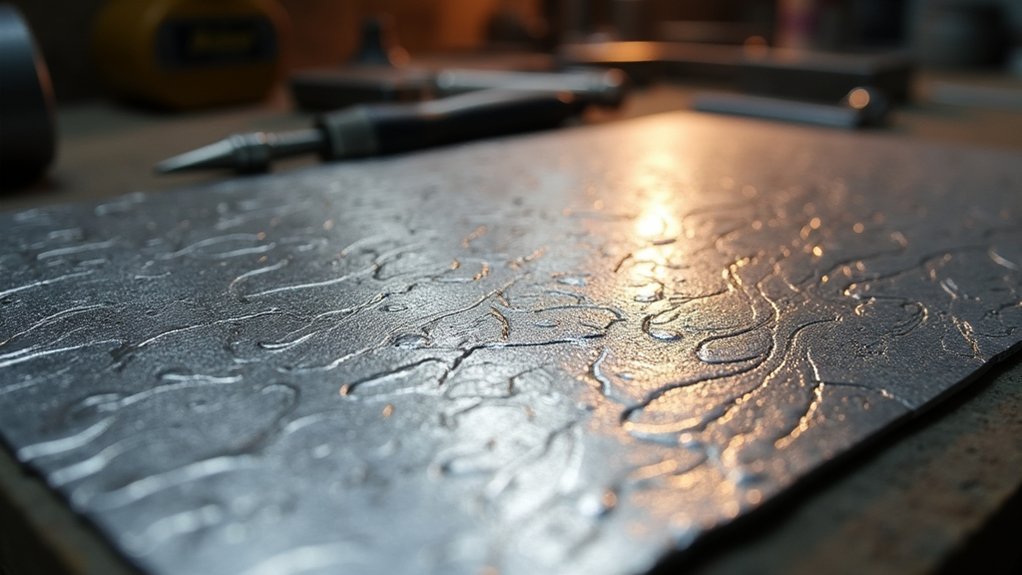
Once you’ve established your safe workspace, you can begin the rewarding process of transforming flat metal into dimensional art. Start by sketching your design on paper, then transfer it to your metal sheet—copper works best for beginners. Clean the surface thoroughly before securing it onto softened pitch in your pitch bowl.
| Step | Front Side | Back Side | Tools Needed |
|---|---|---|---|
| 1 | Outline design | – | Tracer punch, hammer |
| 2 | Define details | Create volume | Various chasing punches |
| 3 | Refine lines | Shape repoussé areas | Detail punches |
| 4 | Final touches | Check depth | Smoothing tools |
Use your tracer punch to outline the design, then work from the back for repoussé techniques. Remember to anneal regularly to maintain workability, then finish by removing pitch residue and polishing.
Working With Pitch and Alternative Support Methods
While you can attempt chasing and repoussé on an anvil or steel block, you’ll achieve far superior results using proper support materials that yield to your hammer blows.
Traditional pitch remains the gold standard for metal to create detailed surface textures and complex designs.
Traditional pitch delivers unmatched precision for intricate metalwork, making it the preferred foundation for professional chasing and repoussé artisans.
Essential support methods for using these techniques:
- Pitch bowls – Heat pine resin, plaster, and oil mixture to 20-25°C for ideal malleability in bowls with minimum 7.5-inch diameter.
- Thick soft books – Perfect for shallow designs and lightweight projects requiring minimal tools needed.
- Sand-filled leather cushions – Provide excellent stability during hammering while accommodating curved metal forms.
Properly prepare your support materials before starting work.
The right foundation determines whether your hammer blows create crisp details or frustrating dents in your metal.
Annealing and Metal Preparation Techniques
You’ll need to master proper heat application methods to effectively anneal your metal throughout the chasing and repoussé process.
Understanding how to restore your metal’s flexibility through controlled heating and cooling cycles guarantees you can continue working without cracking or tearing.
You must also establish consistent cleaning routines between annealing processes to maintain ideal working conditions and prevent contamination that could compromise your results.
Heat Application Methods
Before you begin shaping metal through chasing and repoussé techniques, you must master annealing—a controlled heating process that transforms hard, brittle metal into a soft, workable material.
This essential technique prevents cracking when pushing back metal to create intricate detail and texture in your jewelry pieces.
Proper heat application requires specific temperature control. For copper, you’ll work within 600°F to 1200°F, depending on your desired softness level.
Use these key steps with your jewelry tools:
- Heat the metal evenly across the entire surface
- Allow slow cooling to prevent warping or stress fractures
- Clean oxidation through pickling before beginning work
Regular annealing throughout your metalworking process maintains flexibility, enabling complex designs without material failure during chasing operations.
Metal Flexibility Restoration
Once you’ve heated your metal, restoring its flexibility becomes crucial for successful chasing and repoussé work.
Metal flexibility restoration through annealing involves heating your material to 600-700°F, then allowing slow cooling to reduce internal stresses. This process makes your metal workable again after extensive hammering that’s caused hardening and brittleness.
You’ll need to anneal regularly throughout your chasing and repoussé project to prevent cracking.
Before starting, clean metal surfaces thoroughly, removing oxidation and oil residues for better pitch adhesion and effective hammer strikes.
After annealing, quench your metal in water to lock in desired properties, but avoid thermal shock that causes warping.
Proper preparation guarantees your metal remains flexible and responsive throughout the detailed forming process.
Cleaning Between Processes
Three essential cleaning steps guarantee your metal remains pristine between annealing cycles and chasing work. Proper cleaning techniques preserve your piece’s integrity while maintaining ideal malleability for continued manipulation.
After annealing, you’ll need to address pitch residue and oxides that accumulate during heating processes:
- Quench and scale removal – Immediately quench your heated metal in water, then gently clean the surface using a brass brush or fine abrasive to eliminate any scale formation.
- Mild cleaning solution – Use a gentle soap solution with a soft cloth to remove contaminants without damaging the surface finish or causing tarnishing.
- Final preparation – Apply non-abrasive cleaners and dry the metal immediately to prevent contamination that could interfere with your chasing and repoussé techniques.
Finishing and Refining Your Chasing and Repoussé Jewelry
Once you’ve completed your chasing and repoussé work, you’ll need to anneal the piece again to relieve internal stresses and restore the metal’s workability for finishing.
Clean the surface thoroughly to remove any oxidation or debris that accumulated during the forming process.
You can then focus on final polishing techniques that’ll transform your textured metalwork into a refined piece of jewelry.
Annealing and Surface Cleaning
After completing your chasing and repoussé work, you’ll need to refine your piece through careful annealing and surface cleaning to achieve professional results.
Annealing reduces internal stresses in your metal, enhancing malleability and preventing cracks during final adjustments. You should anneal regularly throughout your repoussé techniques, especially after significant shaping.
Surface cleaning follows each annealing session to remove pitch residue and oxidation. This process guarantees your design’s clarity and detail shine through.
Here’s your finishing sequence:
- Anneal your metal piece to relieve stress and maintain workability
- Clean the surface using soft cloths or gentle abrasives
- Polish with specialized compounds for a smooth, professional finish
Proper surface cleaning and polishing transform your chasing and repoussé techniques into stunning jewelry pieces with crisp textures and brilliant shine.
Final Polishing Techniques
With your annealing and surface cleaning complete, you’re ready to transform your chasing and repoussé piece into polished jewelry through precise finishing techniques.
Start by using a large round punch to smooth the sides, creating an even surface while eliminating sharp edges that could affect wearability.
Next, employ a piercing saw to cut away excess material and unwanted edges, refining your piece’s overall shape and design. This step requires careful attention to maintain the integrity of your decorative work.
To finalize your jewelry, file the surface meticulously to achieve a professional polished finish. This polishing process enhances the aesthetic quality and prepares your piece for wear.
Complete the techniques by thoroughly cleaning your jewelry using methods appropriate for your specific metal type, preventing future tarnish while preserving your chasing and repoussé details.
Tips for Developing Your Metal Relief Skills and Techniques
Five essential strategies can accelerate your mastery of metal chasing and repoussé techniques.
Starting with copper sheets provides the ideal foundation for your beginners guide, as these materials offer superior malleability compared to harder metals.
Repoussé requires consistent practice and patience to develop muscle memory.
Essential development strategies include:
- Regular annealing – Heat your metal periodically to maintain workability and reduce internal stresses that make shaping difficult.
- Proper ergonomics – Maintain relaxed posture and grip while using hand tools to improve precision and prevent fatigue.
- Tool variety – Invest in diverse chasing punches for adding detail, including liners and planishers that create unique textures.
Remember that techniques are often used imperfectly at first.
Embrace these variations as they contribute to your piece’s distinctive handmade character and artistic value.
Frequently Asked Questions
What Is the Difference Between Repousse and Chasing?
You’ll push metal from behind when doing repoussé to create raised designs, while you’ll hammer the front surface during chasing to add fine details and textures to your metalwork pieces.
What Is Repoussé Jewelry?
You’ll find repoussé jewelry features three-dimensional designs created by hammering metal from behind. This ancient technique pushes patterns forward, creating raised relief work on malleable metals like gold, silver, and copper for stunning textured pieces.
What Is Metal Chasing?
You’ll hammer the front side of metal sheets to create intricate, detailed designs. You’re fundamentally pushing material inward to form sunk patterns, using specialized punches and careful strikes for precise texture.
What Is Repoussé and Chasing Techniques?
You’ll shape metal using repoussé by hammering from the reverse side to create raised designs, then add detailed patterns with chasing from the front side using specialized punches and hammers.
In Summary
You’ve now discovered the ancient art of chasing and repoussé, where you’ll transform flat metal into stunning dimensional jewelry pieces. With your essential tools, proper workspace, and understanding of pitch support systems, you’re ready to create beautiful relief designs. Remember to practice your hammer control, maintain consistent annealing schedules, and take your time with finishing work. You’ll develop your skills through patience and repetition, mastering this timeless metalworking technique that’s captivated artisans for centuries.


Leave a Reply