You’ll achieve metal jewelry 3D printing success by choosing the right method like DMLS for intricate designs, optimizing your CAD with 1.5mm minimum wall thickness and flat bed surfaces, selecting quality materials like Ultrafuse 316L, setting hotend temperatures between 215-235°C with 100% infill density, implementing careful post-processing with progressive sanding from 200 to 2000 grit, following proper debinding and sintering protocols, and applying professional polishing techniques with jeweler’s rouge for mirror-like finishes that’ll transform your creations into stunning pieces.
Choose the Right Metal 3D Printing Method for Your Jewelry Project
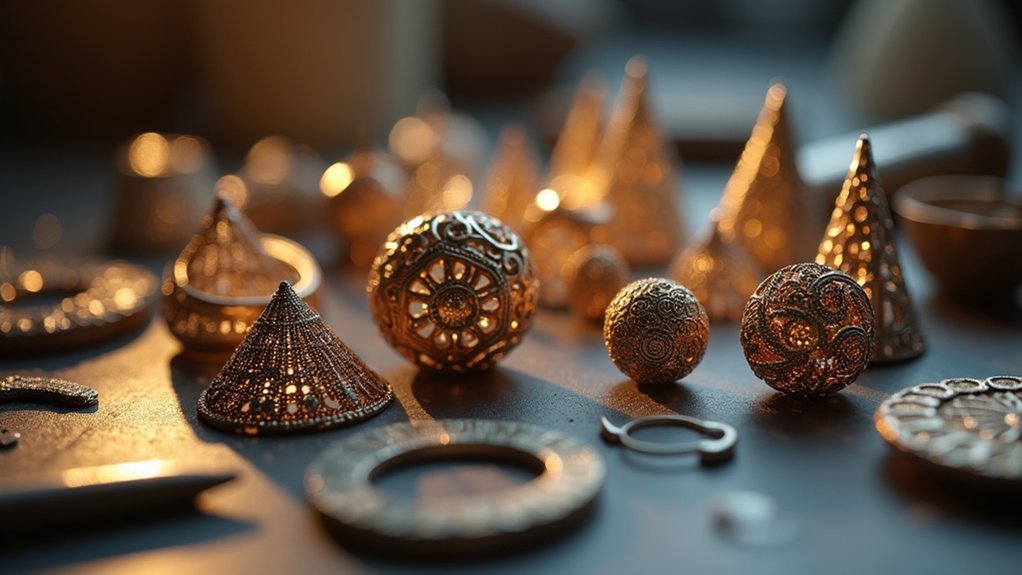
When selecting a metal 3D printing method for your jewelry project, you’ll need to balance design complexity, material properties, and production volume to achieve excellent results.
Selective Laser Sintering and Direct Metal Laser Sintering excel at creating intricate designs with DMLS producing fully dense, functional metal parts perfect for detailed pieces.
For high-volume production, consider Ultrafuse 316L metal filament that enables cost-effective desktop printing, though it requires debinding and sintering processes.
Indirect methods like investment casting using wax models deliver exceptional detail and superior surface finishing, making them ideal for complex jewelry designs.
Jewelry makers should evaluate their specific requirements including material properties and design intricacy, while ensuring their chosen method aligns with available post-processing capabilities for ideal aesthetic results.
Optimize CAD Design for Metal Printing Success
After selecting your metal 3D printing method, your design’s geometry becomes the foundation for successful jewelry production.
You’ll need to guarantee one side of your design remains completely flat to maximize bed adhesion and prevent warping during the printing process.
Maintain a minimum wall thickness of 1.5 mm throughout your jewelry piece. This critical measurement guarantees structural integrity during debinding and sintering stages.
Design with a high width-to-height aspect ratio for enhanced stability, particularly when creating intricate details.
Avoid thin walls and overhangs by incorporating features with angles of 50 degrees or steeper. This prevents sagging during post-processing.
Optimize your designs for a 100 x 100 x 100 mm build envelope and include approximately 35% infill overlap to maximize strength and durability.
Select Appropriate Materials and Filaments
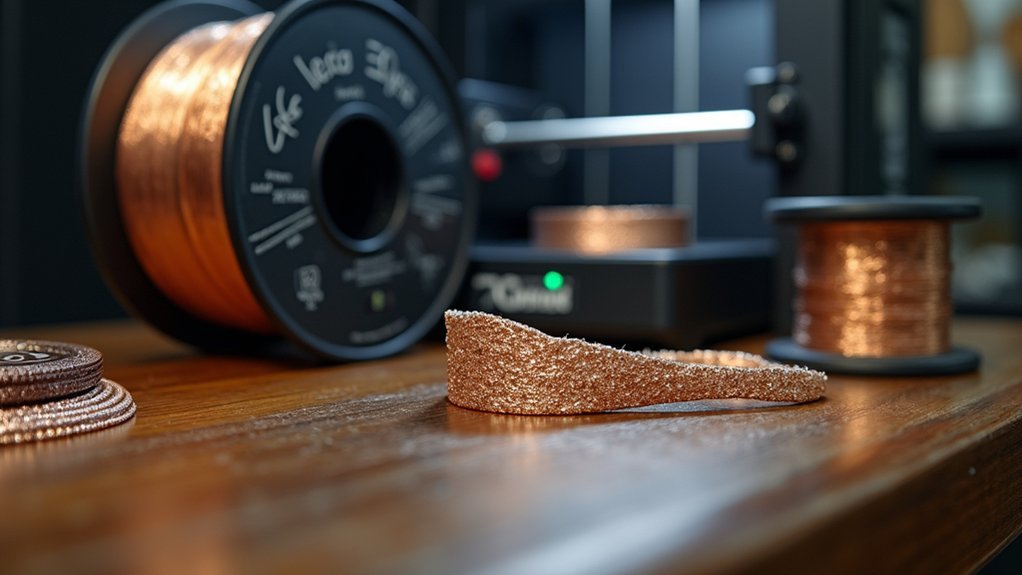
Since your design foundation is established, you’ll need to select appropriate materials and filaments that can withstand the demanding debinding and sintering processes ahead. High-quality options like BASF Ultrafuse 316L contain over 80% stainless steel with polymer base, guaranteeing durable results after sintering. Consider material properties carefully – titanium offers lightweight biocompatibility, while stainless steel provides excellent corrosion resistance.
| Material | Key Properties | Best Applications |
|---|---|---|
| 316L Stainless Steel | Corrosion resistant, strong | Rings, bracelets |
| Titanium | Lightweight, biocompatible | Earrings, sensitive skin |
| Cobalt-Chrome | High strength, thermal resistant | Statement pieces |
| Bronze | Aesthetic appeal, workable | Decorative jewelry |
| Copper | Conductive, malleable | Artistic designs |
Verify your printer’s compatibility with Metal Laser Sintering (DMLS) and metal powder requirements. Following recommended print settings guarantees successful metal 3D printing outcomes.
Master Critical Print Settings and Parameters
You’ll transform your metal jewelry prints from failures to masterpieces by nailing three critical parameters that make or break every project.
Temperature control, layer height, and infill patterns aren’t just settings—they’re the foundation that determines whether your 316L stainless steel piece becomes a stunning ring or expensive waste.
Master these fundamentals, and you’ll consistently produce jewelry-grade parts that meet professional standards.
Temperature Control Essentials
When printing metal jewelry with Ultrafuse 316L filament, precise temperature control becomes the cornerstone of successful results.
You’ll need to set your hotend between 215-235°C for ideal flow during the printing process, but never exceed 250°C as this degrades the metal components. Your heated bed should maintain 100-120°C throughout printing with metal to guarantee proper adhesion and prevent warping.
Disable part cooling entirely – consistent layer bonding requires warm conditions that cooling fans disrupt.
Create a stable print environment free from drafts, as temperature fluctuations compromise your metal jewelry’s quality.
These temperature control measures work together to prevent delamination, maintain structural integrity, and deliver the precision that metal jewelry demands.
Consistency in thermal management determines your printing success.
Layer Height Optimization
Beyond temperature management, layer height settings directly impact your metal jewelry’s surface finish and structural integrity.
You’ll want to maintain a layer height between 0.10 mm and 0.25 mm for best results when printing jewelry. This range effectively balances detail resolution with printing speed, guaranteeing your pieces meet quality standards without excessive production time.
For complex geometries requiring intricate details, reduce your layer height to finer settings. While this increases print duration, you’ll achieve superior surface quality essential for professional jewelry work.
Consistency is key—maintain the same layer height throughout your entire print to prevent defects and guarantee uniformity.
Test different settings with your specific printer and material combination. Keep your nozzle clean to prevent blockages that compromise layer height consistency during printing.
Infill Pattern Selection
Although layer height affects surface quality, infill pattern selection determines your metal jewelry’s structural integrity and material efficiency. For maximum strength in metal jewelry, you’ll want 100% infill density using Lines or Concentric patterns. This creates solid structural integrity throughout your piece.
Set your infill overlap to 35% for better layer bonding and reduced internal voids.
However, you can adjust your approach for intricate designs. Lower infill density with detailed patterns maintains aesthetic appeal while minimizing material usage.
Combine any infill pattern with wall thickness of at least 1.5mm to prevent warping during sintering.
Experiment with different patterns during design phases. This lets you balance weight, strength, and print time while using materials efficiently for your specific metal jewelry requirements.
Implement Proper Post-Processing Techniques
You’ll need to carefully remove supports from your printed jewelry piece to avoid damaging delicate features or creating surface imperfections.
Clean the piece thoroughly to eliminate any residual powder or debris that could interfere with subsequent finishing steps.
Polish your jewelry systematically using progressively finer sandpaper followed by jeweler’s rouge to achieve that professional, mirror-like finish that sets quality pieces apart.
Remove Supports Carefully
Precision becomes paramount when removing supports from your 3D-printed metal jewelry, as one careless move can damage hours of meticulous work.
Remove supports carefully using precision tools like the Sonic Saber to protect delicate features on your printed parts. This gentle approach minimizes damage to intricate details that define your design’s character.
After support removal, clean the piece thoroughly to eliminate residual debris that could compromise quality.
Inspect attachment points where supports connected to your jewelry, then use files or sandpaper to smooth these areas for seamless changes.
Post-processing doesn’t end there—apply jeweler’s rouge for professional-grade polish that enhances luster.
Always follow manufacturer guidelines to maintain metal integrity while achieving your desired aesthetic.
Careful support removal sets the foundation for exceptional finished pieces.
Polish for Professional Finish
Three distinct stages of surface refinement transform your raw 3D-printed metal jewelry into professional-quality pieces that rival traditional craftsmanship.
After removing supports, you’ll begin thorough post-processing to achieve stunning results.
Start with progressive sanding using varying grits:
- Initial smoothing: Begin with 200-grit sandpaper to eliminate rough textures and layer lines
- Fine refinement: Progress through higher grits up to 2000 for silky-smooth surfaces
- Final polish: Apply jeweler’s rouge or polishing compound on a buffing wheel for mirror-like shine
Consider additional surface treatments like plating or protective coatings to enhance durability and aesthetics.
Always verify compatibility between treatments and your base metal.
Inspect your jewelry under bright lighting after each stage, catching imperfections early.
This methodical approach guarantees professional-grade results.
Execute Effective Debinding and Sintering Procedures
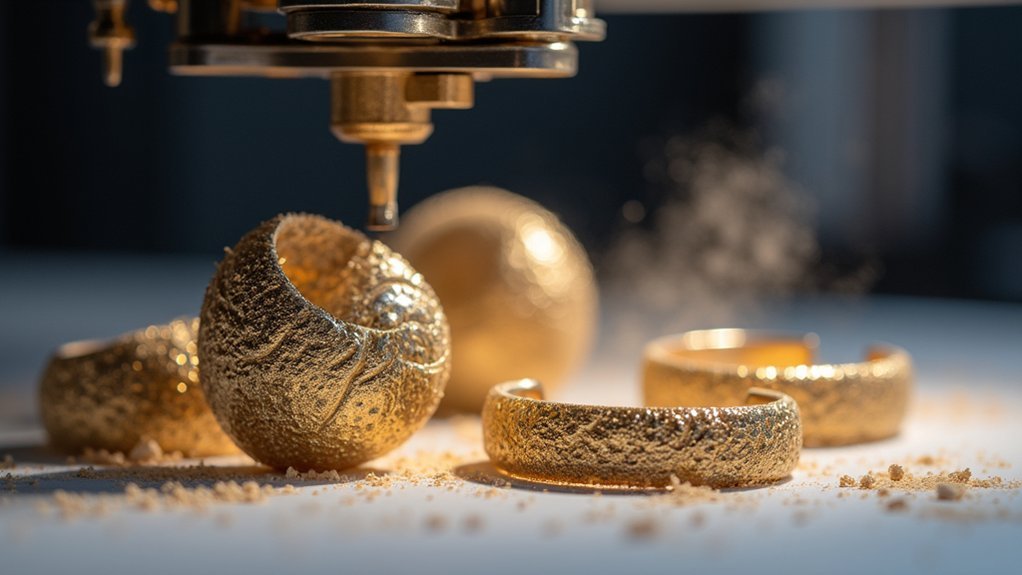
While your 3D printed metal jewelry might look complete straight from the printer, the green parts you’ve created are only the beginning of the manufacturing process.
You’ll need professional debinding and sintering services to transform your Ultrafuse 316L creations into functional metal parts with proper mechanical properties.
During catalytic debinding, polymer binders decompose in a controlled environment, preparing your pieces for the next phase.
Sintering occurs at approximately 1400°C, where metal particles fuse together to achieve nearly 100% solid density.
You must follow BASF’s recommended schedules precisely to avoid defects.
Monitor the entire process closely—improper handling causes warping, cracking, or incomplete fusion that’ll compromise your jewelry’s integrity and ruin all your careful printing work.
Apply Professional Finishing and Polishing Methods
Fresh from the sintering process, your 3D printed metal jewelry requires careful finishing to achieve the professional appearance customers expect.
Proper finishing transforms raw 3D printed metal pieces into polished jewelry that meets professional standards and customer expectations.
Unlike traditional metal casting, 3D printed functional metal parts need systematic surface preparation. Start with 220-grit sandpaper and progress to 2000-grit for ideal surface finish.
Professional polishing methods include:
- Progressive sanding technique – Use increasingly finer grits to eliminate layer lines and achieve smooth surfaces
- Specialized polishing compounds – Apply jeweler’s rouge specific to your metal type using soft cloths or buffing wheels
- Rotary tool precision – Access intricate design areas with specialized polishing bits for consistent shine
Consider investing in a polishing machine for uniform results across multiple pieces.
Always clean finished jewelry with soft cloths, removing residual compounds for professional presentation.
Frequently Asked Questions
Can You 3D Print Metal Jewelry?
Yes, you can 3D print metal jewelry using techniques like SLS or DMLS with materials including gold and stainless steel. You’ll need post-processing steps like sintering and polishing for ideal results.
What Are the Disadvantages of 3D Metal Printing?
You’ll face high equipment costs exceeding $100,000, complex post-processing requirements, limited material options, potential warping issues, and higher per-unit costs for low-volume production compared to traditional manufacturing methods.
What Metals Cannot Be 3D Printed?
You can’t 3D print tungsten due to its extreme melting point, reactive metals like lithium and magnesium, high-carbon steels prone to cracking, and non-metallic materials like ceramics.
How Long Does It Take to 3D Print Jewelry?
You’ll spend 1-3 hours printing simple jewelry pieces, while complex designs take 6+ hours. Add 2-10 hours for post-processing like cleaning and polishing, making total production time range from hours to days.
In Summary
You’ve now got the essential knowledge to tackle metal jewelry 3D printing with confidence. Remember, success comes from choosing the right method, optimizing your designs, selecting quality materials, nailing your print settings, and executing proper post-processing. Don’t rush the debinding and sintering stages—they’re vital for achieving professional results. With practice and attention to these seven key areas, you’ll consistently produce stunning metal jewelry pieces that meet professional standards.


Leave a Reply