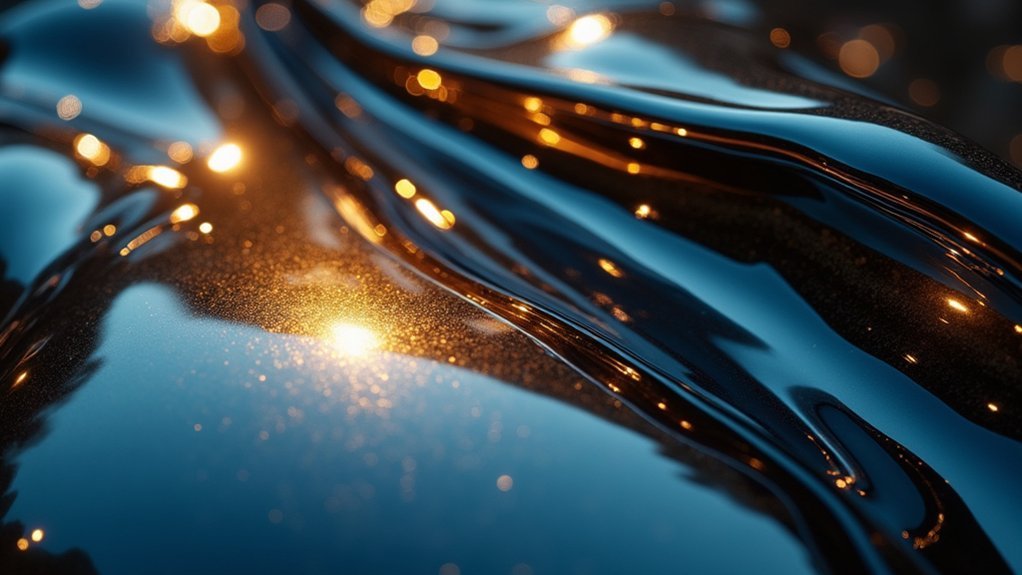
You’ll master metal photography by positioning your light source at 90-degree angles to your camera, which minimizes glare while preserving texture details. Use diffused lighting through softboxes and control reflections with black and white cards—black cards absorb excess light for deeper shadows, while white cards soften harsh highlights. Experiment with low camera angles to reduce unwanted reflections, and rotate polarizing filters slowly to adjust reflection intensity without complete removal. These foundational techniques will reveal advanced methods that transform ordinary metal objects into enchanting artistic subjects.
Master the Law of Reflection for Metal Photography

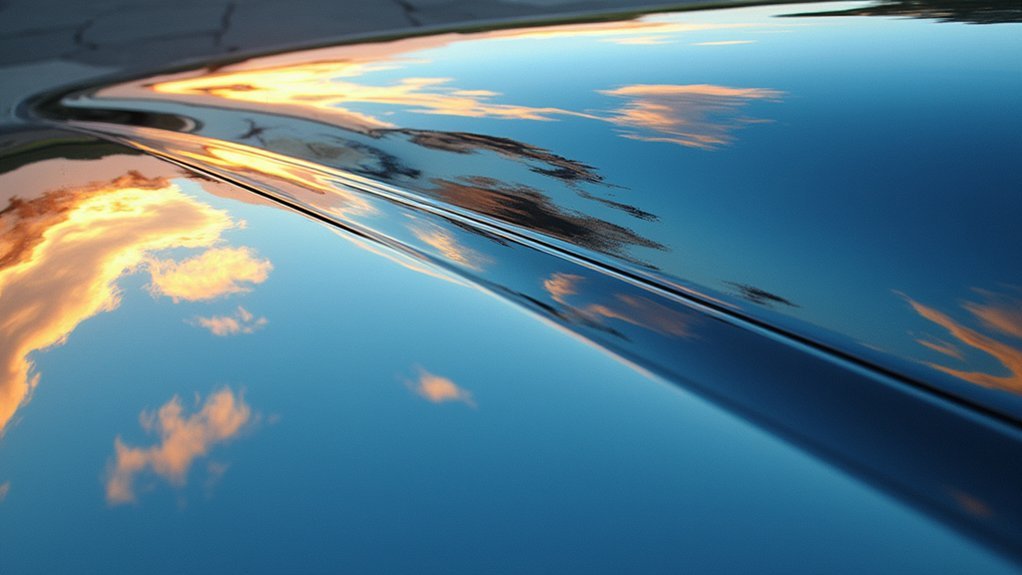
Why do some metal photographs look stunning while others appear flat and lifeless? The secret lies in understanding the law of reflection, which governs how light behaves on reflective surfaces.
When light hits metal, the angle of incidence equals the angle of reflection – this fundamental principle determines whether you’ll capture brilliant detail or distracting glare.
Position your camera and light source at a 90-degree angle to minimize harsh specular highlights while maximizing texture and dimensionality.
Achieve optimal metal photography by positioning your camera and light at precise 90-degree angles for maximum texture without harsh glare.
Remember, metal acts like a mirror, so you’re fundamentally controlling what gets reflected back to your lens. Adjust your shooting angle deliberately to capture desired reflections without introducing unwanted background elements.
Master this law, and you’ll transform ordinary metal objects into compelling photographic subjects.
Position Your Light Source at 90-Degree Angles
When photographing metal objects, position your light source at a 90-degree angle to your camera to eliminate harsh reflections that’ll otherwise wash out important details.
This strategic placement gives you superior control over how light interacts with the reflective surface, preventing blown-out highlights while preserving essential texture and dimension.
At this angle, you’ll create flattering illumination that accentuates the metal’s contours without overwhelming glare. The positioning reveals unique characteristics like sheen and finish—key elements for compelling product photography.
You’ll notice how this technique enhances the metallic surface’s natural properties while maintaining visual clarity.
Maintain this 90-degree angle consistently throughout your shoot to achieve cohesive results. This approach guarantees effective reflection management across all images, creating professional-quality photographs that showcase metal objects at their best.
Use Diffused Lighting to Control Specular Highlights
You’ll want to set up your softbox to create even, gentle illumination that wraps around the metal surface rather than creating harsh point reflections.
Start by positioning your diffused light source close enough to soften shadows but far enough to avoid overpowering the subject’s natural texture.
Adjusting the distance between your light and the metal object gives you precise control over reflection intensity and shadow gradation.
Softbox Setup Techniques
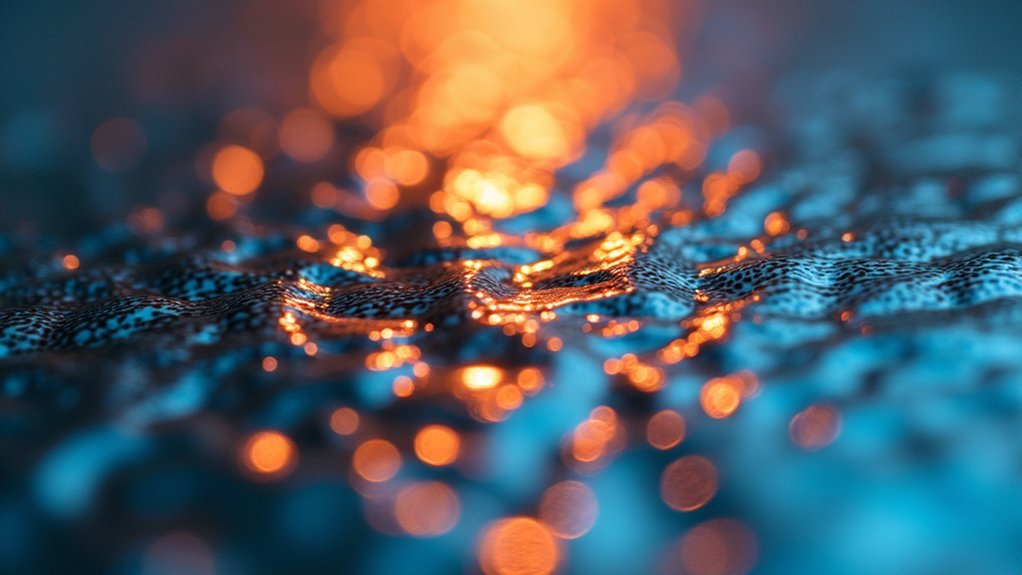
The softbox stands as your primary tool for taming metal’s notorious specular highlights, transforming harsh reflections into beautifully controlled illumination.
Position your softbox at an angle to create diffuse lighting that minimizes harsh reflections while capturing the object’s texture and intricate details. Adjust the distance strategically—closer positioning intensifies light, while greater distance softens it, giving you precise control over shadows and highlights on that shiny metallic surface.
Choose a large softbox to guarantee even light distribution across your subject, effectively reducing those problematic specular highlights that smaller sources create.
Incorporate black cards alongside your softbox to subtract light and create dimensional shadows that enhance visual interest. Experiment with different angles relative to both your camera and object to discover the most flattering setup.
Light Distance Adjustments
Mastering light distance becomes essential once you’ve established your softbox setup, as even minor adjustments can dramatically transform how specular highlights appear on metallic surfaces. You’ll need to experiment with positioning your light source at varying distances to control reflection intensity. Closer lights create stronger, more concentrated highlights, while positioning larger sources further away produces softer illumination that won’t blow out your reflective subjects.
| Distance | Light Quality | Highlight Intensity | Best For | Shadow Effect |
|---|---|---|---|---|
| Close (1-2ft) | Hard, intense | Very strong | Detail work | Sharp shadows |
| Medium (3-4ft) | Balanced | Moderate | General shots | Soft shadows |
| Far (5-6ft) | Soft, even | Gentle | Large objects | Minimal shadows |
| Very far (7ft+) | Very soft | Subtle | Wide scenes | No shadows |
| Variable | Dynamic | Controlled | Creative work | Mixed effects |
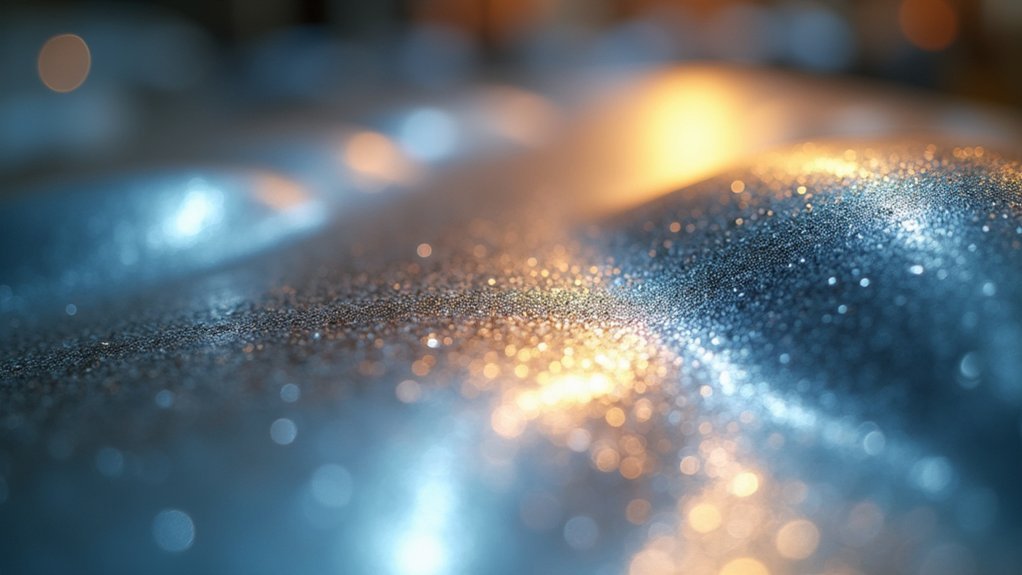
Create Gradation With Black and White Cards
When photographing shiny metal objects, black and white cards become your secret weapons for controlling light and creating stunning gradation effects.
Position your black card at an angle similar to your metal subject to absorb excess light and enhance shadows, creating natural depth. Your white card reflects light back onto the surface, softening harsh highlights and balancing exposure.
Strategic card placement controls light absorption and reflection, absorbing excess brightness while softening harsh highlights for balanced, dimensional metal photography.
Experiment with different distances and angles for both cards to fine-tune the light-shadow interplay. This creates a more dimensional appearance in your final image.
You’ll manipulate contrast and detail by adjusting the cards’ orientation on the reflective surface. These simple tools give you greater control over reflections and highlights, transforming ordinary shots into polished, professional-looking photographs with beautiful gradation.
Experiment With Camera Angles to Minimize Glare
Since glare can make or break your metal photography, finding the right camera angle becomes essential for capturing clean, detailed shots. You’ll want to experiment with low camera angles when photographing shiny objects, as this approach reduces unwanted reflections while enhancing detail visibility. The key is maintaining a 45-degree angle relative to both your metal surface and light source.
| Distance | Recommended Angle | Expected Result | Tips |
|---|---|---|---|
| Close proximity | Lower angles | Reduced glare | Avoid perpendicular positioning |
| Medium distance | 45-degree standard | Balanced lighting | Adjust based on reflection |
| Far distance | Variable angles | Controlled results | Monitor light source position |
| Any distance | Tilted object | Improved clarity | Tilt away from camera |
Set Up a Light Tent for Controlled Environments
A light tent creates the ultimate controlled environment for photographing reflective metal objects by eliminating unwanted reflections and providing even, diffused illumination.
You’ll dramatically improve your metal surface photography by constructing one using white fabric or translucent materials that soften harsh lighting.
Position multiple light sources outside the tent at various angles to achieve balanced illumination while reducing those problematic specular highlights that plague metal photography.
Your light tent setup should include:
- Adequate sizing – guarantee the tent accommodates your subject with space for proper lighting and camera positioning
- Strategic light placement – position sources outside at multiple angles for even coverage
- External reflection control – block surrounding elements that could reflect onto the metal surface
- Experimental positioning – adjust tent placement to optimize light-shadow balance for enhanced metallic finishes
Apply Polarizing Filters to Reduce Unwanted Reflections
You’ll gain precise control over reflections by rotating your polarizing filter while monitoring the viewfinder to see real-time changes in glare intensity.
Position your light source at a 90-degree angle to your lens for maximum polarization effectiveness, as this configuration produces the strongest reduction in unwanted reflections.
Master these rotation techniques and ideal positioning to selectively enhance or minimize metal surface reflections based on your creative vision.
Filter Rotation Control Techniques
While polarizing filters are renowned for eliminating reflections, they actually give you precise control over which reflections stay and which disappear in your metal photography. By rotating the filter, you’ll adjust reflection intensity rather than simply removing them entirely. This rotation technique lets you enhance desirable reflections while minimizing distracting glare on any reflective surface.
Position your light source at a 90-degree angle to your lens for maximum polarization effectiveness. As you rotate the polarizing filter, you’ll notice reflections strengthening and weakening.
Don’t forget to compensate for the filter’s darkening effect by adjusting your exposure settings.
- Rotate slowly while viewing through your camera to see real-time reflection changes
- Mark ideal filter positions for consistent results across multiple shots
- Test different rotation angles for varying creative effects
- Monitor exposure changes as filter rotation affects light transmission
Optimal Angle Implementation
Mastering the ideal angle for your polarizing filter transforms chaotic metal reflections into controlled, professional-looking images. Position your filter at a 90-degree angle relative to light sources for maximum reflection enhancement and glare reduction.
The best angle depends on how light hits your reflective surface, making precise positioning essential for professional results. Rotate your filter while looking through your lens to fine-tune reflections for clearer, more vibrant metal surfaces.
Remember that different angles and distances from your subject dramatically affect reflection intensity and quality. Since polarizing filters darken images, you’ll need to adjust exposure settings to prevent underexposure.
Experiment with various positions to discover how angle changes impact your final photograph’s reflection quality and overall visual appeal.
Bounce Light Off Cards Instead of Direct Flash
When direct flash hits metal surfaces, it creates harsh reflections that can ruin your shot, but bouncing light off white or grey cards offers a simple solution that transforms these challenging subjects into stunning photographs.
Position your cards at angles that reflect light onto shiny metal objects, creating even illumination without specular highlights. This technique mimics natural lighting conditions and gives you complete control over how reflections appear in your composition.
- Use larger light sources like softboxes or oversized white cards to create softer, more diffused lighting
- Experiment with card distance and angles to fine-tune the light’s interaction with your metal subject
- Choose white or grey cards to maintain color accuracy while diffusing harsh flash intensity
- Create dimensionality by balancing highlights and shadows through strategic card placement
Balance Shadows and Highlights With Multiple Light Sources
Building on your success with bounced lighting, you’ll discover that using multiple light sources transforms flat metal surfaces into three-dimensional masterpieces with rich contrast and visual depth.
Position your primary light to illuminate the metal while adding a fill light to soften harsh shadows and reveal intricate surface details. You’ll want to experiment with different distances and angles for each light source, manipulating intensity and direction to achieve perfect gradation on reflective surfaces.
Incorporate grids or reflectors to control light spread, ensuring defined highlights while maintaining rich, dimensional shadows. Adjust your light sources relative to your camera angle to minimize unwanted reflections and create compelling shadows and highlights that enhance your metal piece’s aesthetic appeal.
Enhance Metal Texture Through Post-Processing Techniques
You can dramatically improve your metal photography by strategically enhancing shadow details while preserving the bright highlights that give metal its characteristic shine.
Use dodge and burn techniques in post-processing to selectively brighten darker areas without blowing out the reflective surfaces that define metallic textures.
This targeted approach lets you reveal hidden surface details while maintaining the natural contrast that makes metal appear authentic and three-dimensional.
Shadow Detail Enhancement
Although metal surfaces capture light beautifully, their shadowed areas often hide intricate textures that can make or break your photograph’s impact.
Shadow detail enhancement through strategic post processing reveals the hidden depth and character within these darker regions. You’ll transform flat, lifeless shadows into rich areas that showcase the metal’s true texture and dimension.
Focus on these key techniques for effective shadow detail enhancement:
- Use Photoshop’s shadows/highlights tool to selectively brighten dark areas without affecting bright reflections
- Apply layer masks for targeted adjustments that maintain natural-looking results across your entire image
- Increase contrast specifically in shadow regions to reveal hidden metallic details and texture
- Maintain consistent post processing techniques across similar images for a cohesive, professional portfolio aesthetic
Highlight Preservation Methods
When metal surfaces reflect intense light, preserving highlight detail becomes essential for maintaining the authentic appearance of your subject’s texture and finish. Effective highlight preservation methods start with careful exposure adjustment techniques that protect blown-out areas on shiny metal surfaces.
You’ll want to use Photoshop’s selective editing tools to gradually reduce overexposed highlights while maintaining the metallic finish’s natural brilliance. Layer-based adjustments give you precise control over highlight intensity without affecting shadow detail.
Apply subtle modifications using brush and gradient tools to fine-tune contrast in specific areas. Dodge and burn techniques help you selectively darken problematic highlights while enhancing dimensional quality.
Save custom presets for consistent results across similar metallic subjects, ensuring your highlight preservation methods maintain professional standards throughout your post-processing workflow.
Frequently Asked Questions
How Do You Photograph Reflective Metal?
Position your light source at a 90-degree angle to your camera and use a polarizing filter. Employ soft, diffused lighting with softboxes while experimenting with different angles to minimize glare and capture stunning reflections.
How to Avoid Reflection in Metal Photography?
You’ll minimize reflections by positioning lights at 45-degree angles, using polarizing filters, surrounding your setup with foam boards, tilting objects away from camera, and diffusing light sources through softboxes.
How Do You Make Metal Less Reflective?
You can apply dulling spray or matte finish to metal surfaces to reduce their reflective properties. Alternatively, you’ll achieve similar results by lightly sanding the surface or using anti-glare coatings specifically designed for metals.
How Can I Improve the Reflection of a Photo?
You’ll improve photo reflections by using a polarizing filter to reduce glare, shooting from low angles, employing graduated neutral density filters for balanced exposure, and capturing multiple images to blend in post-processing.
In Summary
You’ve now got the essential techniques to capture stunning metal reflections. Don’t forget to practice positioning your lights at proper angles and using diffusion to tame those harsh highlights. Experiment with polarizing filters and bounce cards until you find what works best for each piece. Remember, it’s all about controlling reflections rather than eliminating them completely. Keep shooting, and you’ll master metal photography in no time.
Leave a Reply