You’ll capture stunning jewelry photos by shooting on overcast days when natural light acts like a giant softbox, eliminating harsh shadows and glare. Position your pieces at slight angles to minimize reflections while using white foam boards as reflectors to fill shadows and illuminate gemstones effectively. Create diffused lighting by covering windows with tracing paper or using white umbrellas outdoors. Maintain consistent color temperature by setting custom white balance and avoiding mixed lighting sources. These techniques transform simple setups into professional-quality results that showcase every detail.
Harness Overcast Days and Window Light for Optimal Conditions
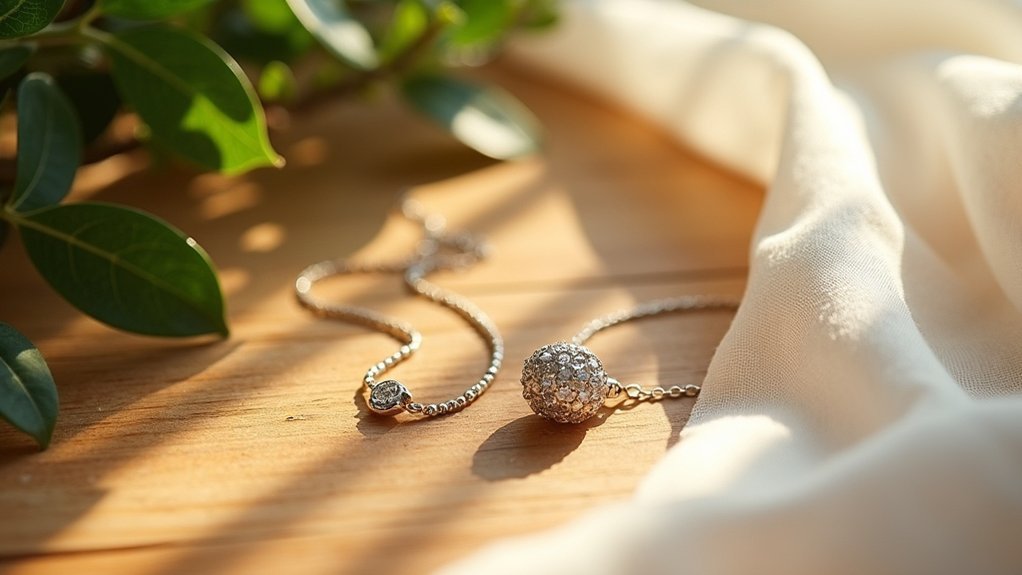
When you’re photographing jewelry, overcast days become your secret weapon for achieving professional-looking results. The naturally diffuse light creates soft lighting that eliminates harsh reflections and shadows while capturing intricate details with stunning clarity.
Position your pieces near large windows to maximize this natural light advantage – you’ll notice how window light enhances colors without creating unflattering glare.
During overcast conditions, you won’t struggle with the intense contrasts that plague sunny-day jewelry photography. This even illumination minimizes shadows naturally, allowing your pieces to shine without overwhelming brightness.
The consistent diffusion acts like a giant softbox, wrapping your jewelry in gentle light that reveals textures and sparkle beautifully. You’ll find that overcast window light delivers the professional quality that makes your jewelry photography stand out effortlessly.
Position and Angle Your Setup to Minimize Reflections and Glare
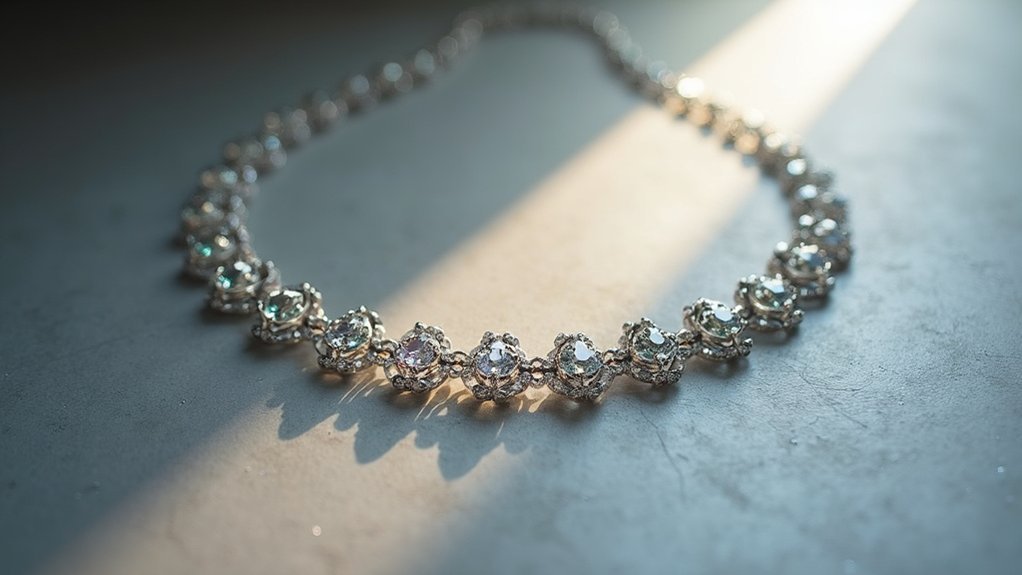
Although jewelry naturally attracts light, strategic positioning transforms potential glare from enemy to ally in your photography. Position your jewelry at a slight angle to direct sunlight—this simple adjustment dramatically reduces unwanted reflections while highlighting intricate details.
Strategic positioning transforms jewelry photography’s greatest challenge—unwanted glare—into your most powerful tool for capturing brilliant, detailed shots.
Your camera setup requires equal attention; use a tripod to maintain consistent positioning while experimenting with various angles that minimize glare and maximize visibility.
Natural light works best when you control distance and direction. Adjust spacing between your jewelry, camera, and light source to find the ideal balance.
Incorporate white foam boards as natural reflectors, strategically placing them to bounce light onto your pieces. This technique fills shadows effectively while reducing harsh reflections.
Use White Reflectors and Fill Cards to Control Shadows
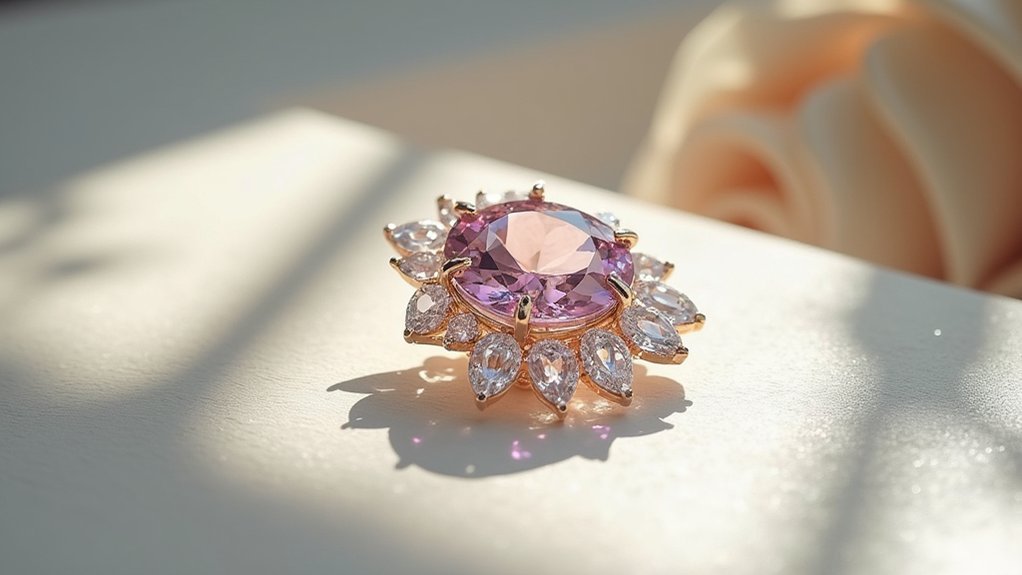
Since shadows can steal the spotlight from your jewelry’s finest details, white reflectors and fill cards become your most valuable lighting tools.
Position white reflectors at 45-degree angles to bounce light directly onto your jewelry, effectively illuminating gemstones while reducing harsh contrasts. Fill cards made from white poster board work perfectly to minimize unwanted shadows created by jewelry’s contours, ensuring intricate details remain visible.
Experiment with reflector distances to control lighting intensity and enhance illumination without creating glare.
Multiple reflectors give you greater command over your natural light setup, allowing you to illuminate all angles evenly. This consistent approach to jewelry photography creates professional-looking images that showcase craftsmanship beautifully, maintaining a cohesive aesthetic throughout your work.
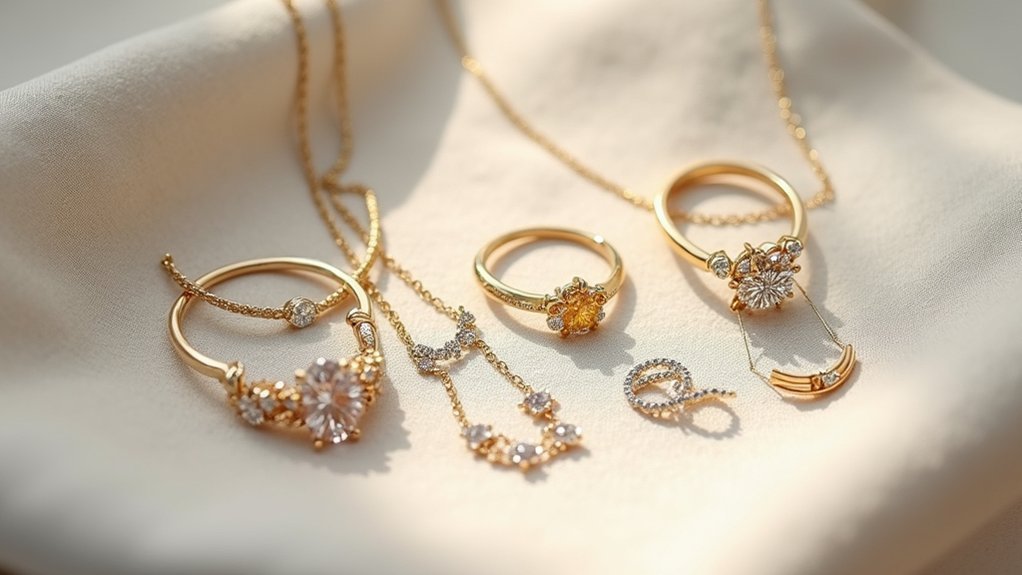
Create Diffused Lighting With Simple Materials and Techniques
Building on your reflector techniques, you can create even more professional results by diffusing your light source itself. Transform harsh sunlight into soft lighting by covering windows with tracing paper or white vellum indoors.
For outdoor shoots, position large white umbrellas to create beautifully diffused light that eliminates harsh shadows.
Your jewelry photography setup benefits tremendously from these simple materials. White poster boards work double-duty – they diffuse incoming light and reflect light back onto your pieces.
This combination guarantees even illumination while minimizing shadows that obscure intricate details.
These photography tips don’t require expensive lighting equipment. Experiment with different distances and angles to find the perfect balance.
The goal is highlighting intricate details without overexposing the sparkle that makes jewelry enchanting.
Maintain Consistent Color Temperature Throughout Your Shoot
While diffused lighting creates beautiful soft shadows, maintaining consistent color temperature guarantees your jewelry’s true colors shine through every shot.
Natural light changes dramatically throughout the day, making white balance critical for accurate gemstone representation.
White balance becomes your most powerful tool when natural light’s shifting temperatures threaten to compromise your gemstone’s authentic brilliance and color fidelity.
Follow these essential steps for consistent results:
- Set custom white balance using a gray card – This secures daylight-balanced lighting remains accurate across different shooting conditions.
- Avoid mixing artificial light sources with natural light – Different color temperatures create unwanted color inconsistencies that distort metals and stones.
- Use neutral colors for reflectors and diffusers – White or silver surfaces maintain true color temperature without introducing color casts.
When shooting outdoors, monitor the time carefully.
Midday sun provides cooler, more consistent lighting than golden hour’s warm tones, making it ideal for professional jewelry photography requiring precise color accuracy.
Frequently Asked Questions
How to Photograph Jewelry in Natural Light?
You’ll want to position your jewelry near large windows on overcast days. Use white reflectors to bounce light and minimize shadows. Shoot at 45-degree angles with neutral backgrounds to highlight details.
What Camera Settings Are Best for Jewelry Photography?
You’ll want to use RAW format with f/11 or higher aperture for sharp details. Set ISO 100-200 to minimize noise, adjust white balance to 5500K for daylight, and use a tripod for stability.
What Is the Best Lighting for Jewelry Photography?
You’ll want soft, diffused natural light for jewelry photography. Position pieces near large windows on overcast days, use white reflectors to bounce light, and shoot during golden hour for warm tones that enhance sparkle.
What Is the Best ISO for Jewelry Photography?
You’ll achieve the best results using ISO 100-400 for jewelry photography. Start with ISO 100 in bright natural light for maximum detail and minimal noise. Increase to 200-400 only when necessary in dimmer conditions.
In Summary
You’ve got the tools to capture stunning jewelry photos using natural light. Don’t overthink it—start with cloudy days and window setups, then experiment with angles and reflectors. Remember that consistency beats perfection, so stick with one color temperature throughout your session. Practice these techniques regularly, and you’ll develop an eye for the subtle lighting that makes jewelry sparkle. Your investment in mastering natural light will pay off in professional-quality results.
Leave a Reply