
You’ll master plique-à-jour by selecting mica backing for heat resistance, constructing wire frameworks under 5mm for ideal light transmission, and maintaining precise firing temperatures between 1400-1600°F. Design cells between 1-3mm for proper enamel flow, layer translucent enamels for depth, and use circular torch motions for even heating. Polish with specialized wheels and apply protective coatings for museum-quality finishes. These foundational techniques will transform your approach to creating professional stained-glass jewelry effects.
Master the Art of Temporary Backing Selection for Flawless Results
When you’re creating plique-à-jour enamel pieces, your choice of temporary backing material can make or break your entire project. Mica stands out as the preferred option due to its exceptional heat resistance and transparency, letting you monitor your enamel’s color and design throughout firing.
The right temporary backing material is absolutely critical—it can determine whether your plique-à-jour enamel project succeeds or fails completely.
You’ll need to select the right thickness carefully—too thick blocks light transmission, while too thin won’t support your work adequately.
Copper foil offers another reliable temporary backing alternative.
Whatever material you choose, guarantee proper adhesion to your metal frame using suitable adhesive to prevent separation during firing.
Don’t hesitate to experiment with different backing materials and techniques. This experimentation often creates unique effects that’ll enhance your piece’s overall aesthetic quality and set your jewelry apart.
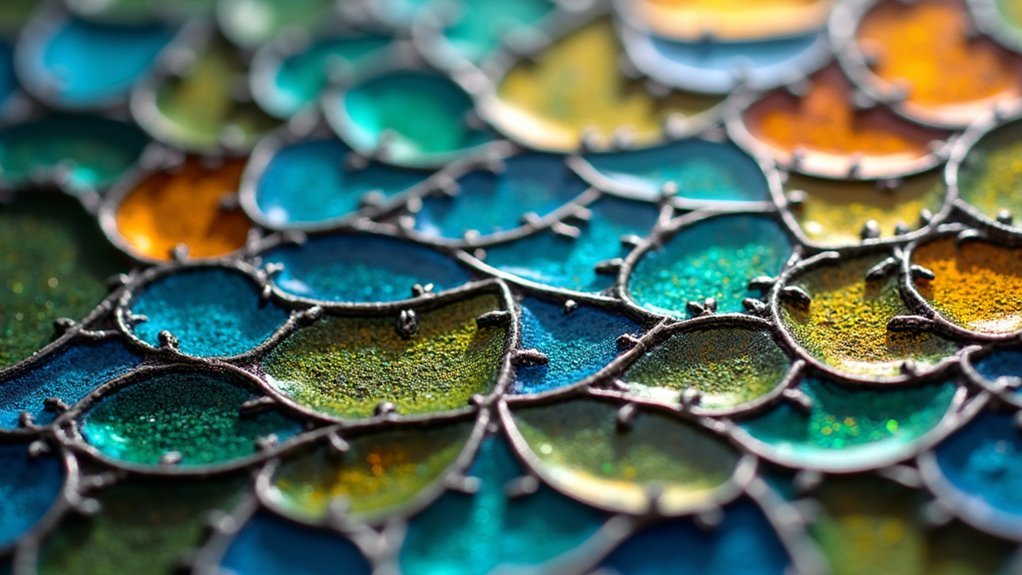
Perfect Your Metal Framework Construction for Maximum Light Transmission
Your wire gauge selection directly impacts how much light passes through your plique-à-jour piece, with finer gauges creating more delicate frameworks that maximize luminosity.
You’ll need to balance structural strength with transparency by choosing wires thin enough to avoid blocking light yet thick enough to support the enamel during firing.
The size of your cells determines the visual impact of each translucent section, so you must optimize these openings to create the perfect interplay between metal structure and glowing enamel.
Wire Gauge Selection
Although structural integrity matters in plique-à-jour enameling, achieving peak light transmission depends heavily on selecting the right wire gauge for your framework. Your wire gauge selection directly impacts how brilliantly light passes through the transparent enamel.
For best results, choose finer gauges between 28-30. These create minimal obstruction while maintaining necessary strength. Thinner wires enhance your piece’s transparency and overall luminosity.
Consider these essential factors for superior wire gauge selection:
- Material quality – Use fine silver or gold for durability and aesthetic appeal
- Joint integrity – Confirm proper soldering at all connections to prevent gaps that compromise enamel stability
- Wire shape variation – Experiment with round or square profiles to create different light effects and visual depth
Proper gauge selection transforms ordinary pieces into stunning light-catching masterpieces.
Cell Size Optimization
Precision in cell construction determines whether your plique-à-jour piece captures light like a cathedral window or falls flat with dull transparency.
You’ll achieve superior results by limiting cell sizes to 5mm maximum, preventing enamel cracking while maximizing light transmission. Create your framework using metal strands at least 0.5mm in diameter—this maintains structural integrity without blocking precious light flow.
Experiment with organic, rounded cell shapes rather than rigid geometric forms. These dynamic configurations allow light to dance through your Plique-à-Jour Enamel more dramatically.
Keep your soldering joints clean and minimal; excessive bulk kills light entry. Apply enamel uniformly at 1mm thickness for vibrant color clarity.
Advanced Enamel Layering Techniques for Depth and Brilliance
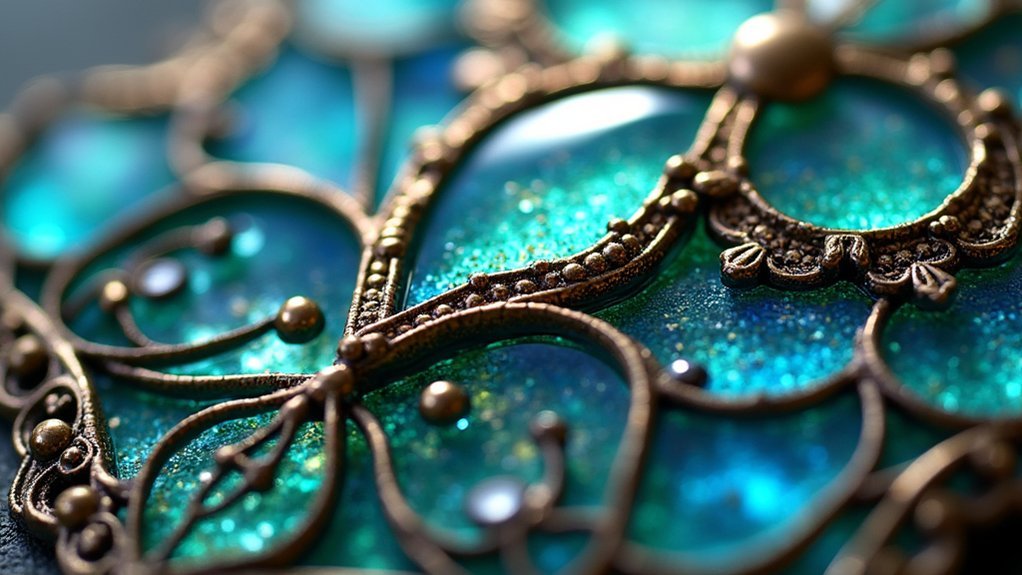
When you master advanced layering techniques, you’ll transform your plique-à-jour work from simple transparent windows into luminous, multidimensional artworks that capture and manipulate light with stunning effect.
Create depth by varying transparent enamel thicknesses across different layers. Light refracts differently through each layer, producing remarkable dimensionality.
Strategic placement of translucent enamels between opaque layers enhances visual complexity as colors interact when light passes through.
Your layering success depends on these critical factors:
- Use finer mesh or thinner metal strands for delicate cell structures that accommodate intricate multi-layer designs.
- Experiment with different firing temperatures for each layer to achieve ideal color clarity and brilliance.
- Allow sufficient cooling time between applications to prevent cracking and guarantee proper adhesion.
Each enamel within your layered composition contributes to the final piece’s luminous quality and depth.
Temperature Control Mastery During Torch and Kiln Firing
Perfect enamel layering means nothing if your firing temperature destroys hours of meticulous work.
Temperature control separates amateur attempts from professional plique-à-jour pieces that captivate collectors.
Professional plique-à-jour demands precise temperature mastery—the difference between collector-worthy artistry and amateur disappointment.
You’ll need precise monitoring between 1400°F to 1600°F (760°C to 870°C), depending on your specific enamel.
Don’t guess—invest in a quality pyrometer to track temperatures accurately inside your kiln or beneath your torch flame.
When torch firing, move your flame in circular motions to distribute heat evenly across the enamel surface.
This prevents localized overheating that’ll crack your delicate work.
Remember: cooling’s just as critical as heating.
Rush the cooling process, and thermal shock will destroy your piece faster than overheating ever could.
Repair Methods for Cracked or Failed Plique-à-Jour Sections
When you encounter cracks or complete failures in your Plique-à-Jour enamel work, you’ll need to quickly assess whether you’re dealing with hairline surface cracks or sections that have completely separated from the metal framework.
Your repair approach depends entirely on this initial evaluation—minor cracks can often be filled with compatible enamel powder and re-fired, while failed sections require complete removal and replacement of the damaged enamel.
You’ll find that successful repairs start with understanding the specific type of damage you’re facing and selecting the appropriate restoration technique accordingly.
Crack Assessment Techniques
Although plique-à-jour enamel appears delicate, you can successfully repair most damage with proper assessment and technique. Effective crack assessment techniques begin with thorough visual examination of the enamel surface, searching for fissures or breaks that signal adhesion problems or firing temperature issues.
Your crack assessment techniques should include:
- Close visual inspection – Examine the entire enamel surface systematically for visible damage or irregularities.
- Magnified examination – Use magnifying tools to detect hairline cracks invisible to naked eyes.
- Documentation process – Record crack locations, sizes, and damage patterns for repair planning.
You’ll need to identify whether cracks are surface-level or penetrate deeply into the enamel layers. This assessment determines your repair approach – whether you’ll apply compatible enamel fills or completely remove failed sections for rebuilding.
Enamel Replacement Process
The enamel replacement process requires precision and patience to restore your plique-à-jour piece to its original beauty.
Start by carefully removing damaged enamel using a fine dental tool, avoiding the metal framework to prevent additional damage. Clean the metal cells thoroughly with a soft brush and gentle cleaning solution to guarantee proper adhesion.
Mix new transparent or translucent enamel powders with water to your desired consistency. Apply the mixture into cleaned cells using a small brush or scoop tool. This enameling technique demands steady hands and attention to detail.
Fire the piece in an enameling kiln at the appropriate temperature, allowing the enamel to fuse with the metal framework.
Finally, polish repaired areas with a polishing wheel to achieve a smooth finish that seamlessly matches surrounding enamel.
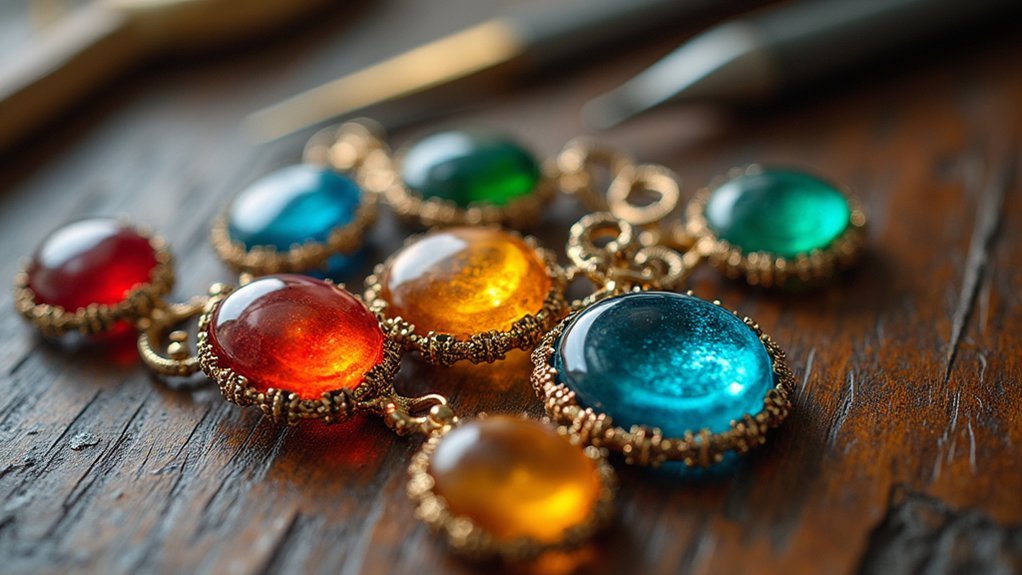
Strategic Cell Size Planning for Optimal Capillary Action
Since capillary action drives the success of your plique-à-jour work, you’ll want to design cells between 1 to 3 millimeters for ideal enamel flow and adhesion.
Smaller cells strengthen your enamel structure while reducing cracking risks during firing.
Your cell arrangement directly impacts firing success through these key considerations:
- Heat distribution – Position cells to promote even kiln temperatures, ensuring consistent melting and proper enamel adhesion.
- Frame thickness balance – Match larger cells with thicker metal frameworks to maintain structural integrity throughout the piece.
- Enamel compatibility – Test different cell sizes with your specific enamels, as viscosity and melting points vary between formulations.
Don’t hesitate to experiment with various dimensions.
Each enamel type behaves differently, so testing helps you identify suitable cell sizes for your specific materials and achieve professional results.
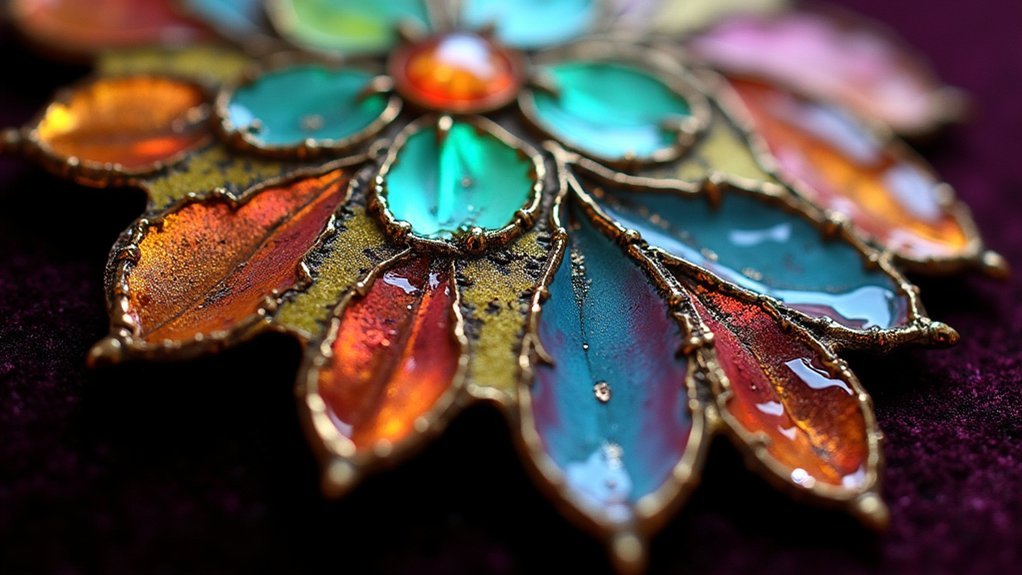
Professional Finishing Techniques for Museum-Quality Pieces
Once your cells are perfectly formed and fired, transforming your plique-à-jour piece into a museum-worthy masterpiece demands precise finishing techniques that’ll elevate both its visual impact and longevity.
Start with meticulous polishing using specialized wheels to enhance enamel translucency and highlight delicate metalwork. Layer transparent and translucent enamels in varying thicknesses for dynamic depth. Control your final firing temperature accurately—over-firing causes cracking and dull finishes.
| Technique | Purpose |
|---|---|
| Specialized wheel polishing | Enhances translucency |
| Layered enamel application | Creates visual depth |
| Protective coating application | Preserves vibrancy |
Apply protective coatings after polishing to maintain vibrancy and prevent scratches. Regularly inspect for chips, repairing them with compatible enamel materials. These professional Plique-à-Jour techniques guarantee your pieces maintain museum-quality appearance while preventing deterioration over time.
Frequently Asked Questions
Which of the Enameling Techniques Is the Most Difficult?
You’ll find plique-à-jour is the most difficult enameling technique. You’re creating transparent enamel without backing support, relying only on delicate metal strands. You’ll face high failure rates due to cracking risks during firing processes.
Can You Torch Fire Plique a Jour?
You can torch fire plique-à-jour, but you’ll need precise flame control and consistent distance. Apply thin enamel layers, fire multiple times, and use proper safety gear for best results.
What Is Grisaille Enamel Technique?
You’ll create grisaille enamel using gray shades on white bases, building layers for three-dimensional effects. You’re fundamentally painting with enamel, achieving monochromatic artwork that resembles classical paintings with intricate depth and detail.
What Temperature Is Needed for Enameling?
You’ll need temperatures between 1450°F to 1600°F for proper enamel firing. Start with lower temperatures for transparent enamels and gradually increase. Always test small samples first to find your specific enamel’s ideal firing temperature.
In Summary
You’ve now mastered the essential techniques that separate amateur attempts from professional plique-à-jour work. Don’t rush your first projects—start with simple geometric patterns before tackling complex designs. Remember that each firing teaches you something new about how your materials behave. Keep detailed notes on what works, and don’t be discouraged by failures. With patience and practice, you’ll create stunning translucent enamels that rival museum pieces.
Leave a Reply