You’ve probably wondered whether your favorite gemstones can survive PMC’s firing process, and the answer isn’t as straightforward as you’d expect. While traditional jewelry making gives you endless setting options after the fact, PMC demands you think differently about when and how you secure your stones. Some gems can handle the heat, others can’t, and there’s a third category that’ll surprise you with their unpredictable behavior under fire.
Fire-in-Place Method for Gemstone Setting
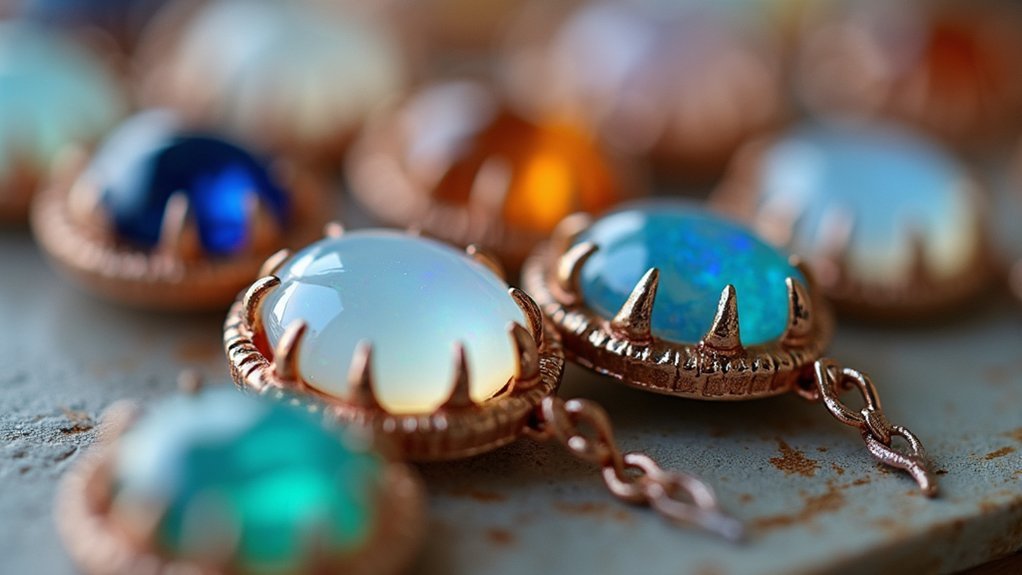
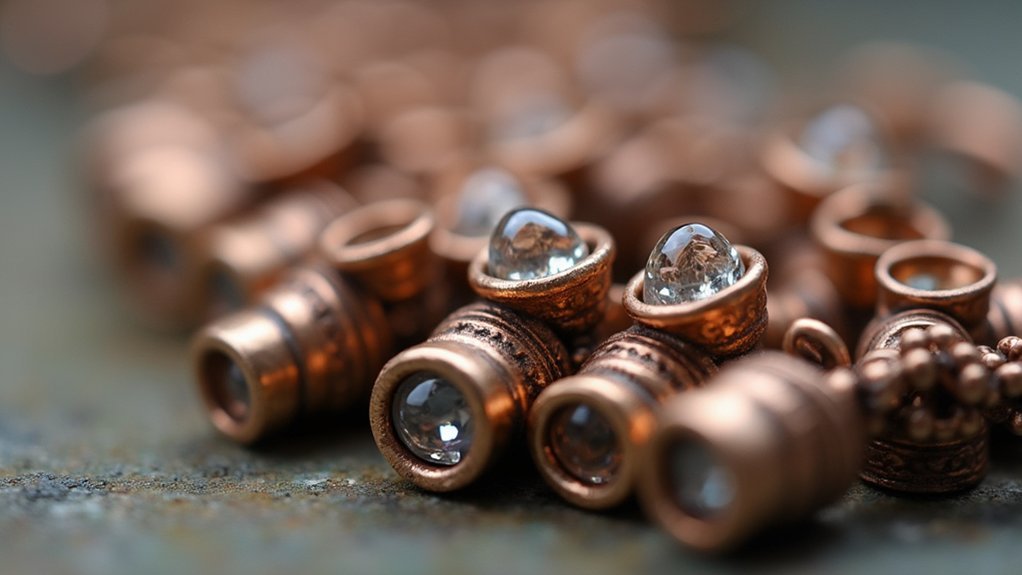
The fire-in-place method revolutionizes gemstone setting by allowing you to embed stones directly into dried PMC before firing. During this process, the clay sinters into metal and shrinks, securing your gemstones in place naturally.
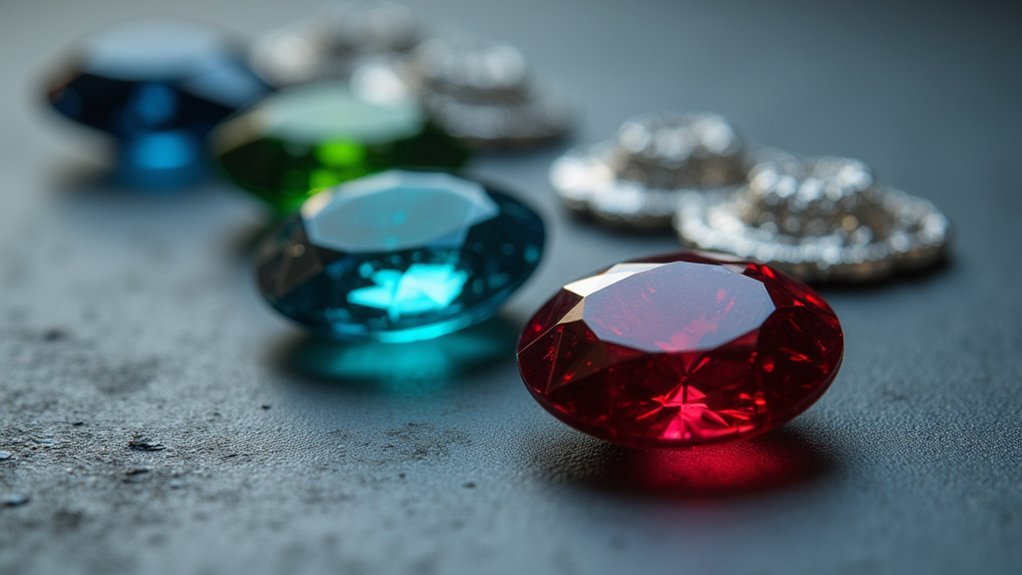
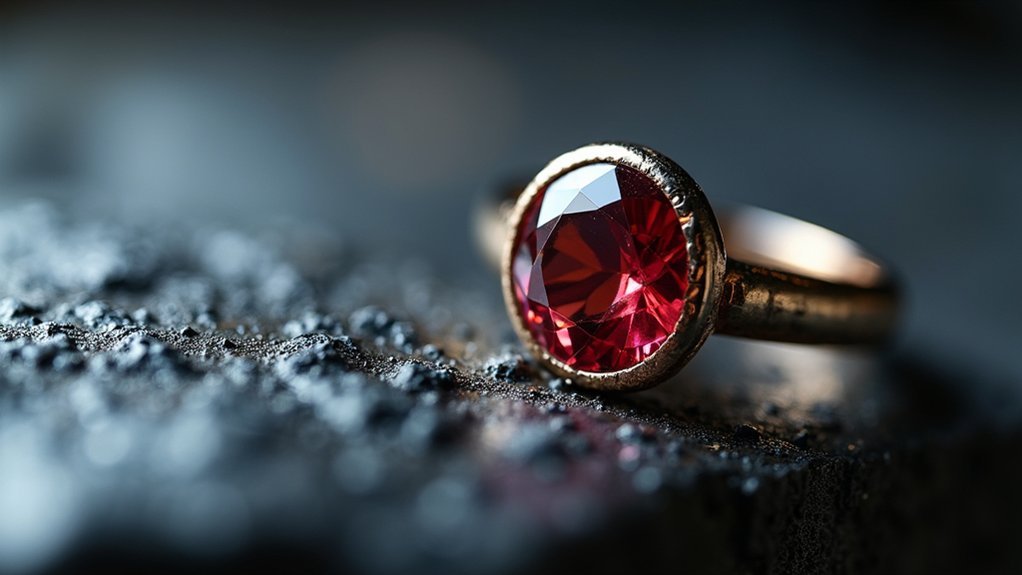
You can’t use just any stones with this technique. Lab-created options like Cubic Zirconias work well, along with certain natural gemstones such as Ruby and Sapphire that withstand high firing temperatures.
Always test unfamiliar stones first by placing them on a firing brick for 30 seconds to check for color changes or cracks.
While pieces can be torch fired, kiln firing distributes heat more evenly, reducing gemstone damage risk.
After firing, let your pieces cool naturally for ten minutes to prevent thermal shock and cracking.
Identifying Heat-Resistant Gemstones
How can you determine which gemstones will survive PMC’s intense firing temperatures? Understanding heat-resistant gemstones is essential for successful stone setting in PMC projects.
Selecting heat-resistant gemstones is crucial for PMC success – knowing which stones can survive intense firing temperatures prevents costly project failures.
Natural fireable stones include Labradorite, Moonstone, Ruby, and Sapphire, which can withstand sintering temperatures. Man-made stones like Cubic Zirconias offer superior stability during firing compared to natural alternatives.
However, you must avoid these non-fireable options:
- Quartz family stones – Amethyst, Agate, and Carnelian will crack under heat
- Fire Opals and Emeralds – These stones can’t handle temperature fluctuations
- Diamonds – Despite their hardness, they’re unsuitable for PMC firing
Always test gemstones on a firing brick for 30 seconds to one minute before use.
Check for cracks or color changes to confirm their suitability for your stone setting applications.
Testing Stones Before Firing
Knowing which stones can handle heat sets the foundation, but proper testing confirms their stability before you commit to your final piece.
Start by placing your gemstone on a firing brick and exposing it to heat for 30 seconds to one minute. This quick test reveals potential problems without damaging the stone completely.
After testing gemstones, inspect them carefully for color changes, cracks, or surface damage. Natural gemstones with visible inclusions pose higher cracking risks during firing, so pay extra attention to these areas.
Even man-made stones like Cubic Zirconias need testing since they may appear stable but still fail under high temperatures.
Always cross-reference your results with established guides or databases listing successfully tested gemstones to confirm your stone’s firing compatibility.
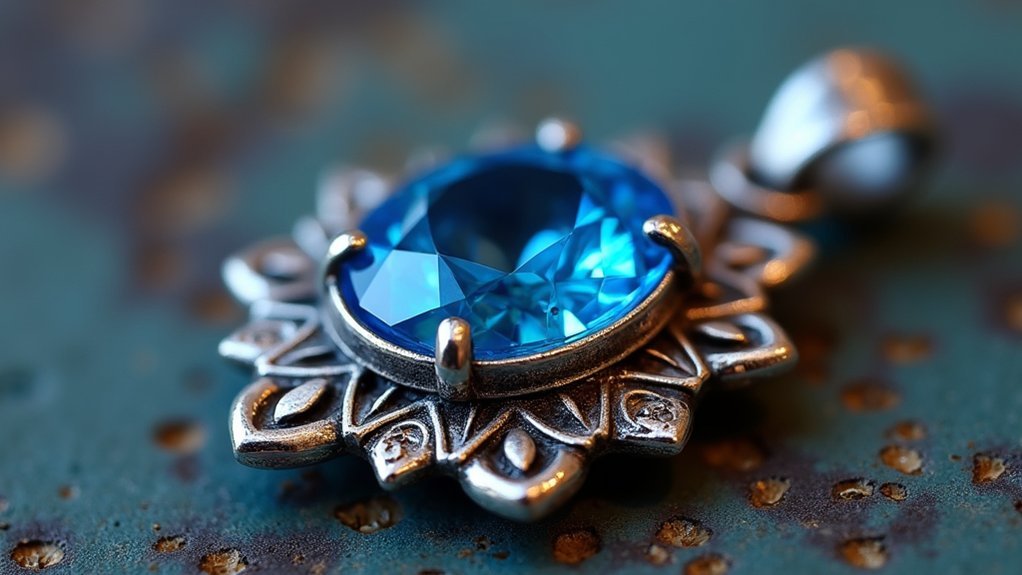
Bezel Setting Techniques With Metal Clay
You’ll find two primary approaches when creating bezel settings with metal clay: embedding wire directly into unfired clay or using a two-step firing process.
The embedding method requires you to cut your bezel wire 1mm larger than your stone and press it at least 2mm deep into the clay base for proper stability.
The two-step process involves attaching your bezel to already-fired metal clay, which gives you more control but requires careful attention to material choices and connection techniques.
Embedding Wire Methods
While embedding wire into metal clay requires precision, this technique creates secure and professional-looking bezel settings for your stones.
You’ll need to cut your bezel wire to fit approximately 1mm larger than your stone’s circumference. Press the wire at least 2mm deep into your metal clay base to establish proper anchoring.
Key steps for successful wire embedding:
- Apply thick slip generously at the connection point between wire and clay to prevent separation during firing.
- Smooth all surfaces thoroughly before firing to eliminate rough edges and achieve professional results.
- Secure with additional reinforcement using extra wire or thicker slip applications for enhanced stability.
These setting techniques require careful attention to detail, as improper clay management can lead to deformation and inconsistent results during the firing process.
Two-Step Firing Process
Fine silver bezel wire works exceptionally well with the two-step firing process, which offers greater control over stone placement and reduces the risk of clay deformation.
You’ll attach the bezel to your fully sintered metal clay piece rather than incorporating it during the initial firing stage. This bezel setting approach prevents oxidation issues that can occur with other metals.
To secure your fine silver bezel wire, apply thick slip generously around its base. You can add extra wire for additional stability if needed.
Fire the assembly using the same schedule as your original piece. Watch for common complications like air bubbles forming around the bezel or shifting during firing.
This two-step firing process lets you position gemstones precisely while protecting delicate stones from firing damage.
Working With Milled Metal Bezels
When you’re working with milled metal bezels in your PMC projects, you’ll need to prepare them properly before embedding to guarantee a strong bond.
The key challenge you’ll face is managing the shrinkage differential – your metal clay will shrink during firing while the bezel stays the same size.
You’ll want to rough up the bezel’s sides and size it correctly from the start to account for these dimensional changes.
Bezel Preparation Methods
Since milled metal bezels offer superior strength and precision compared to clay-formed alternatives, you’ll need to master specific preparation techniques to achieve seamless integration with your PMC projects.
Proper bezel preparation guarantees successful setting gemstones in metal clay. You’ll achieve the best results by following these essential steps:
- Size your bezel wire – Cut it 1mm larger than your stone and embed at least 2mm into the clay base for stability during firing.
- Apply thick slip – Cover all connection points between bezel and clay, smoothing uneven surfaces to prevent gaps or deformation.
- Verify fit integrity – Check that closed bezels sit completely flat against backing plates with no gaps before firing.
Fire silver at maximum recommended temperature for one hour minimum to guarantee proper sintering and secure bezel attachment.
Shrinkage and Fit
Understanding shrinkage differentials between milled metal bezels and PMC becomes essential for achieving professional results in your stone settings.
Since milled metal doesn’t shrink while PMC contracts approximately 8-12% during firing, you’ll need to calculate these differences carefully to prevent gaps or misalignment.
Embed your bezel at least 2mm into the clay base, ensuring it sits level before firing.
Apply thick slip around the bottom edge to create a stronger bond and prevent shifting during the sintering process.
After placement, check that your bezel sits flat against the backing plate without rocking or gaps.
Test-fit everything multiple times before firing, as the clay’s shrinkage will affect how securely the bezel holds your stone post-firing.
Prong Setting Applications
Although prong settings offer tremendous versatility in PMC jewelry making, you’ll find they work exceptionally well with both faceted gemstones and smooth cabochons.
When setting gemstones with metal clay, you can create prongs using either wire or clay itself.
Here are three key considerations for successful prong applications:
- Minimum three prongs – This guarantees your stone stays secure while maximizing light exposure for brilliance.
- Wire gauge selection – Choose thicker wire for larger stones to provide adequate strength and support.
- Strategic positioning – Place prongs to hold the stone firmly without blocking excessive light.
You can experiment with various prong designs and placements to create innovative pieces.
The flexibility of prong settings in metal clay work allows you to develop unique jewelry while maintaining the structural integrity needed for lasting wear.
Tube Setting for Small Stones
Two primary methods exist for creating tube settings in PMC work: using pre-made metal tubing or forming your own tubes from clay. Pre-made milled metal tubing works excellently for tube settings, though you’ll often need custom cutting to achieve proper fit for your specific stone.
When working with metal clay directly, roll a snake larger than your stone’s diameter to form the tube before embedding it into your piece.
Tube settings excel with small stones ranging from 2-4 mm in diameter. This technique elevates your stone above the backing, creating an attractive showcase while maintaining secure placement.
You must measure carefully and adjust dimensions for a snug fit. If needed, two-part epoxy provides additional security for your stone placement.
Calculating Shrinkage for Accurate Fit
Successful stone setting in PMC requires careful measurement calculations since your clay will shrink 8-10% during firing.
PMC shrinkage of 8-10% during firing demands precise measurement calculations to ensure proper stone setting results.
You’ll need to compensate for this shrinkage to guarantee your stones fit properly after the firing process.
To achieve accurate results with metal clay, follow these essential steps:
- Measure your stone dimensions and increase your setting size accordingly to account for the expected shrinkage rate.
- Cut bezel wire approximately 1mm larger than your stone to allow for shrinkage while maintaining a snug fit.
- Conduct test firings with sample pieces to verify actual shrinkage rates before creating final pieces.
Different metal clay formulations shrink at varying rates, so you’ll want to calculate the specific shrinkage rate for your chosen material.
This preparation guarantees your bezel settings will accommodate stones perfectly after firing.
Two-Step Firing Methods
When stone setting proves challenging with single-firing methods, you’ll find two-step firing techniques offer greater control and precision.
These two-step firing methods involve sintering your PMC piece first, then attaching the bezel or prong setting before a second firing.
This approach offers significant advantages when setting gemstones. You can use fine silver bezel wire, which eliminates oxidization concerns during firing.
The key is securing your bezel with thick slip and additional wire when needed to guarantee stability.
Fire your bezel to fit using the same schedule as your main piece for consistent results.
Watch for potential complications like air bubbles forming under the bezel. You may need to reposition elements to achieve the perfect bezel to fit your stone properly.
Soldering Techniques for Post-Fire Setting
Advanced stone setters often turn to soldering techniques when they need precise control over bezel placement after the initial firing is complete.
Post-fire soldering gives experienced jewelers the precision they need for perfect bezel positioning without compromising delicate gemstones.
You’ll find this approach eliminates the risk of damaging heat-sensitive gemstones during the firing process while ensuring accurate positioning of your settings.
When implementing post-fire soldering, follow these essential steps:
- Use fine silver bezel wire to minimize oxidation issues that plague sterling silver during re-firing.
- Apply thick slip to secure your bezel cup to the metal clay base before soldering.
- Control temperature carefully to prevent solder from flowing into the porous metal body.
The rough surface of freshly sintered PMC promotes excellent bonding between your bezel cup and base.
You’ll achieve professional results by mastering these soldering techniques through practice and available tutorials.
Carbon Firing vs. Open Shelf Methods
Although both carbon firing and open shelf methods can successfully set stones with PMC, your choice between these techniques depends on the specific gemstones you’re working with and the results you want to achieve.
Carbon firing places your pieces in a carbon-rich environment during kiln firing, creating a protective atmosphere that minimizes oxidation and prevents stone degradation. This method works particularly well with fine silver bezels and helps maintain gemstone color integrity.
Open shelf firing allows for superior heat distribution and reduces thermal shock risks. It’s ideal for stable gemstones like lab-created stones, rubies, and sapphires that withstand higher temperatures without cracking.
When using open shelf firing, let your pieces cool naturally to prevent sudden temperature changes that could damage the stones.
Setting Non-Fireable Gemstones
When you’re working with non-fireable gemstones, you’ll need to master bezel wire embedding techniques that don’t expose your stones to firing temperatures.
You can create secure settings by cutting fine silver bezel wire at least 1mm larger than your stone and embedding it a minimum of 2mm into your metal clay base.
Two-step firing methods allow you to fire your PMC piece first, then solder the bezel and set your gemstone afterward, giving you complete control over the process.
Bezel Wire Embedding
Since non-fireable gemstones can’t withstand PMC firing temperatures, you’ll need to embed bezel wire into your piece before firing and set the stones afterward. This technique allows you to work with delicate materials like pearls, opals, or emeralds that would be damaged by high heat.
Start by cutting your bezel wire 1mm larger than your stone’s perimeter. Push the wire at least 2mm deep into your metal clay base to guarantee proper anchoring during firing. Apply thick slip generously around the connection point where the bezel wire meets the clay.
Essential steps for success:
- Thoroughly smooth all surfaces around the bezel before firing.
- Check wire placement for proper stone fit.
- Reinforce connections with additional slip layers.
Proper technique prevents deformation and guarantees consistent, professional results when setting gemstones.
Two-Step Firing Methods
You’ll want to use fine silver bezel wire to prevent oxidation problems that sterling silver creates during re-firing.
Apply thick slip generously to secure the bezel connection, and reinforce it with additional wire for stability.
Match your firing schedule to your metal clay piece’s requirements for consistent results.
Watch for air bubbles forming beneath the bezel and guarantee proper positioning throughout the process.
Two-step firing methods give you complete control over setting gemstones without heat damage.
Troubleshooting Common Setting Issues
Although PMC stone setting offers remarkable creative possibilities, even experienced metalsmiths encounter challenges that can compromise their results. Understanding common issues helps you achieve professional outcomes consistently.
Understanding common PMC stone setting challenges helps experienced metalsmiths achieve consistently professional results despite the technique’s creative possibilities.
Address these frequent problems systematically:
- Improper fit issues – Always press stones into settings before firing to check for gaps, and verify your shrinkage calculations match your design specifications.
- Weak connections – Use thick slip between stones and bezels to eliminate air bubbles that create weak bonds during firing.
- Bezel deformation – Choose fine silver bezels over sterling silver options, as they resist oxidation and maintain their shape better under high temperatures.
When stones shift during firing, secure them with additional wire supports. These preventive measures guarantee your settings remain stable throughout the entire firing process.
Frequently Asked Questions
What Stones Can Be Fired in PMC?
You can fire natural stones like Labradorite, Moonstone, Ruby, and Sapphire in PMC. Cubic Zirconias work too. Avoid Quartz family stones, Emeralds, and natural Diamonds since they’ll crack from heat damage.
What Is the Best Stone Setting?
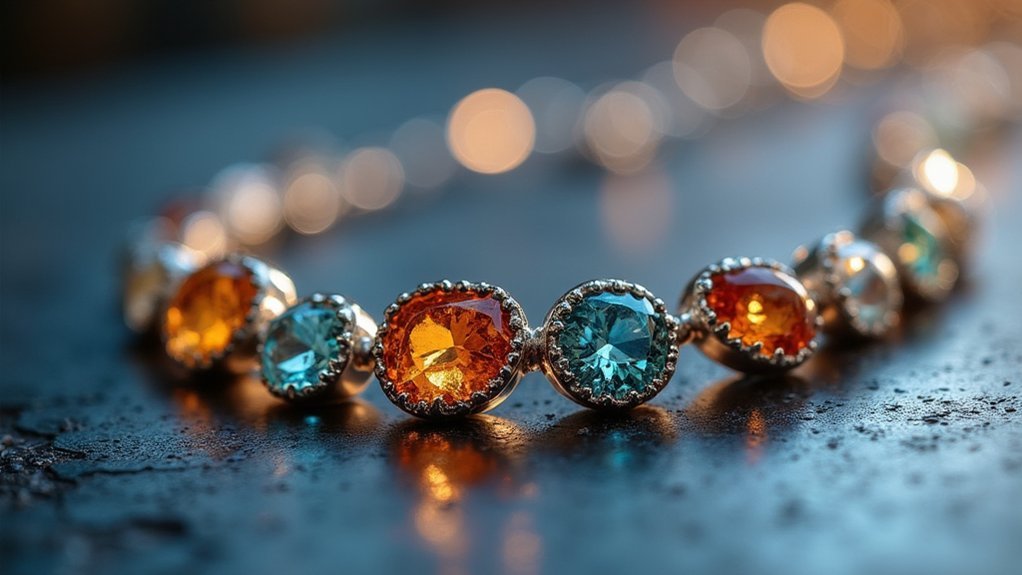
You’ll find bezel settings work best for most PMC projects. They’re secure, beginner-friendly, and perfect for cabochons. You can easily wrap fine silver wire around stones before firing without complicated techniques.
What Stones Can I Use in Metal Clay?
You can use lab-created stones like Cubic Zirconia, synthetic gemstones, and heat-resistant natural stones such as Ruby, Sapphire, and Moonstone. Avoid Quartz family stones, Emeralds, and Diamonds as they’ll crack during firing.
What Is the Stone Setting Without Prongs?
You’ll use bezel settings instead of prongs. Cut bezel wire 1mm larger than your stone, embed at least 2mm into clay, then solder or use thick slip for attachment strength.
In Summary
You’ll find success with PMC stone setting by matching your technique to your gemstone’s fire tolerance. If you’re working with heat-resistant stones, you can fire them in place using bezels or prongs. For delicate gems, you’ll need to set them post-firing with soldered findings or mechanical connections. Remember to test unfamiliar stones first, account for clay shrinkage, and use thick slip for strong joints that’ll last.


Leave a Reply