You’ve spent hours crafting the perfect metal clay piece, only to discover cracks running through your design or joints that won’t align properly. Don’t toss that project in the trash just yet. These common failures aren’t the end of your creative journey—they’re simply detours that can be corrected with the right techniques. Whether you’re dealing with shrinkage issues or uneven surfaces, there’s likely a solution that’ll save your work.
Repairing Cracks and Fissures With Slip Application

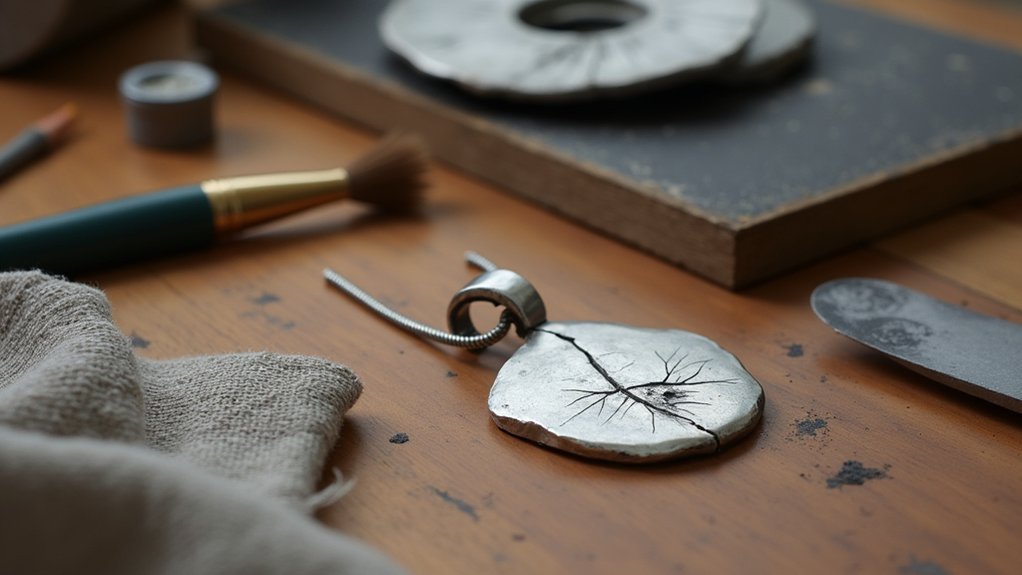
When cracks and fissures appear in your metal clay project, you can salvage it with a simple slip application technique.
Start by preparing slip through mixing water with dry clay until you achieve a creamy consistency. This mixture effectively fills gaps during the repairing cracks process.
Creating the perfect slip consistency is crucial – mix dry clay with water until it reaches a smooth, creamy texture for optimal crack repair.
Apply the slip generously using a brush or finger, ensuring it penetrates deep into the crack for ideal bonding. Once applied, smooth the surface with your fingers or tools to blend the repair seamlessly with surrounding metal clay areas.
Allow your piece to dry completely before proceeding to the firing process. Moisture during firing can create complications, so patience is essential.
Fire according to manufacturer specifications to solidify your repair and restore structural integrity.
Realigning Misjointed Pieces Before Final Firing
If misaligned pieces threaten your metal clay project’s final appearance, you can correct the positioning before firing with careful realignment techniques.
Start by gently separating the misaligned pieces using a craft knife or thin spatula, taking care not to damage the clay. Apply fresh slip to both surfaces you’re working to rejoin, ensuring complete coverage for ideal bonding.
Press the pieces together firmly and maintain pressure until the slip begins setting, which helps secure proper alignment. Allow thorough drying before proceeding, as any remaining moisture can cause cracking or warping during firing.
Once completely dry, sand the edges and surfaces smooth for seamless integration, preparing your piece for successful final firing.
Salvaging Dried Clay Through Rehydration Techniques
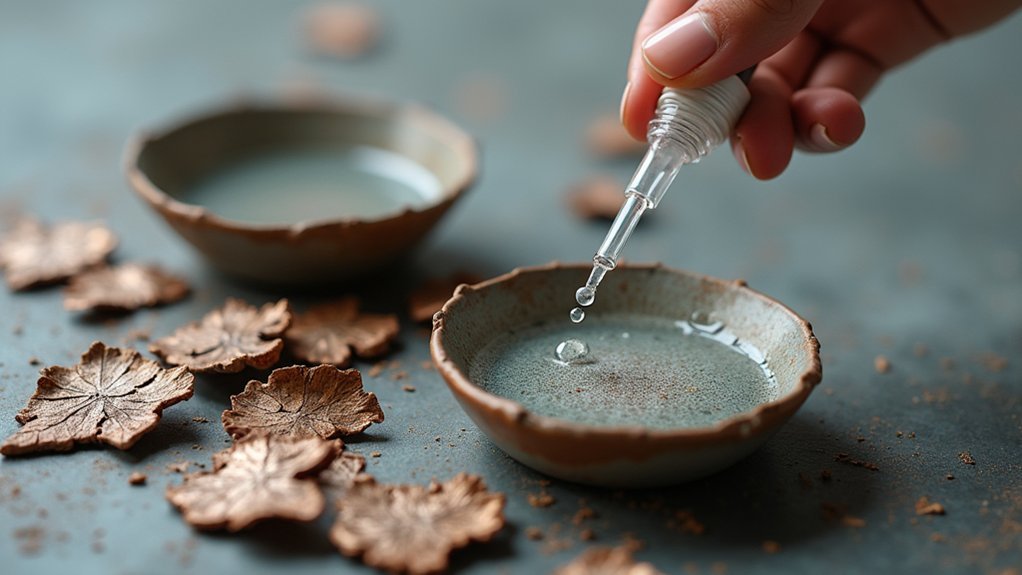
Prevention works best for maintaining your metal clay projects, but dried clay doesn’t spell disaster for your work. You can salvage dried Art Clay Silver through simple rehydration techniques that transform unusable clay back into workable material.
Start by grinding your dried clay into fine powder, then gradually add water drops to avoid over-saturation. This sustainable material can be completely reused, reducing waste considerably.
| Step | Action | Result |
|---|---|---|
| Grind | Powder dried clay finely | Uniform particles |
| Hydrate | Add water gradually | Workable consistency |
| Store | Wrap in cling film with baby wipe | Maintained moisture |
These tips and tricks guarantee you’ll never waste precious metal clay again. Consider watching instructional videos for additional rehydration techniques and insights.
Correcting Uneven Surfaces With Post-Firing Methods
Although firing transforms your metal clay into solid metal, surface imperfections can still appear that require correction. You can effectively address these issues using targeted post-firing techniques.
Start by using a rotary tool with sanding drums to smooth major imperfections without compromising your piece’s integrity. For deeper irregularities, carefully reshape specific areas with a metal clay file before proceeding to finer correction methods.
Your finishing process should follow this sequence:
- Begin with coarse wet/dry sandpaper (400 grit)
- Progress through finer grits up to 2000
- Clean thoroughly to remove all dust and debris
- Apply polishing compound for enhanced shine
- Finish with a brass brush for mirror-like results
This systematic approach guarantees you’ll restore your piece’s surface quality while maintaining its structural integrity.
Fixing Shrinkage Problems and Size Adjustments

Metal clay’s natural shrinkage during firing can transform a perfectly sized piece into one that’s frustratingly too small for its intended purpose.
You’ll typically see 8-10% shrinkage during drying and firing, so planning ahead prevents disappointment. Start with thicker slabs when anticipating larger final sizes, though remember they shrink less uniformly than thinner pieces.
When shrinkage leaves your piece too small, you’ve got two reliable size adjustments.
First, add additional clay to increase dimensions—just make sure you properly blend and join the new material using slip for strong adhesion.
Adding fresh clay with proper slip bonding rescues undersized pieces from the disappointment pile.
Second, if your piece is slightly oversized after firing, carefully file or sand the edges to achieve the perfect fit.
Keep in mind this approach can alter your original design, so proceed thoughtfully.
Frequently Asked Questions
How Do You Rehydrate Metal Clay?
Add a few drops of water to your dried metal clay and knead it thoroughly until moisture distributes evenly. If it’s very dry, wrap it in cling film and let it sit overnight.
Can You Solder Fired Metal Clay?
You can solder fired metal clay using compatible silver solder. Clean the surface thoroughly first, control temperature carefully to avoid damage, and use flux if needed for stronger adhesion.
How Do You Get Clay to Stick to Metal?
Clean the metal with degreasing agent, then score its surface for grip. Apply thin slip to both materials, press them together, and let them dry completely before firing to create a strong bond.
Does Metal Clay Shrink When Fired?
You’ll see metal clay shrink 8-10% during firing as water and binder burn away. Plan ahead by making your pieces larger initially, especially rings, since you can’t reverse this natural shrinkage process.
In Summary
You’ve now got five reliable techniques to rescue your metal clay projects when things go wrong. Don’t let small setbacks discourage you from experimenting with this versatile medium. Practice these repair methods regularly, and you’ll build confidence in your troubleshooting abilities. Remember that even experienced artists encounter failures – it’s part of the creative process. Keep these quick fixes in your toolkit, and you’ll transform potential disasters into successful pieces.


Leave a Reply